Hi guys and gals!
For fun's sake, posterity, and for something to do this lazy Friday afternoon (I'm self-employed and nothing on the agenda today), I decided to chronicle this years gardening adventures. This is the second year I've lived in sunny Covina, CA, and although last years gardening hit several snags, I think I've learned a bit and hope to do better. I also enjoyed my habaneros so much that I decided to jump into the world of super hots!
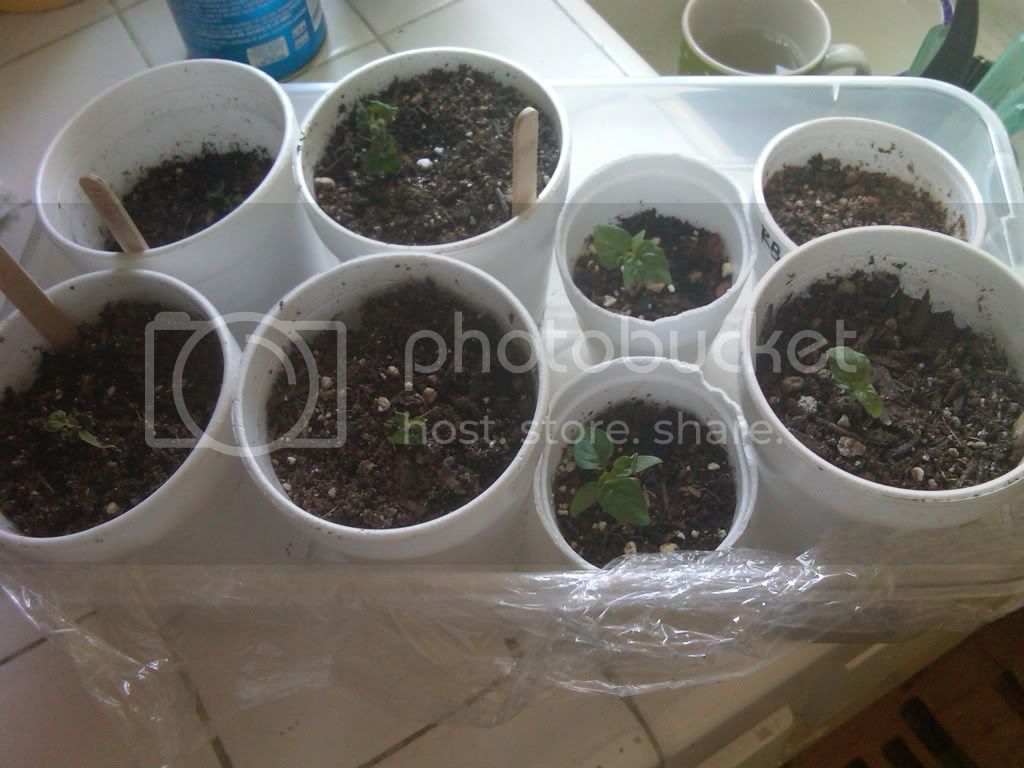
So far I'm growing:
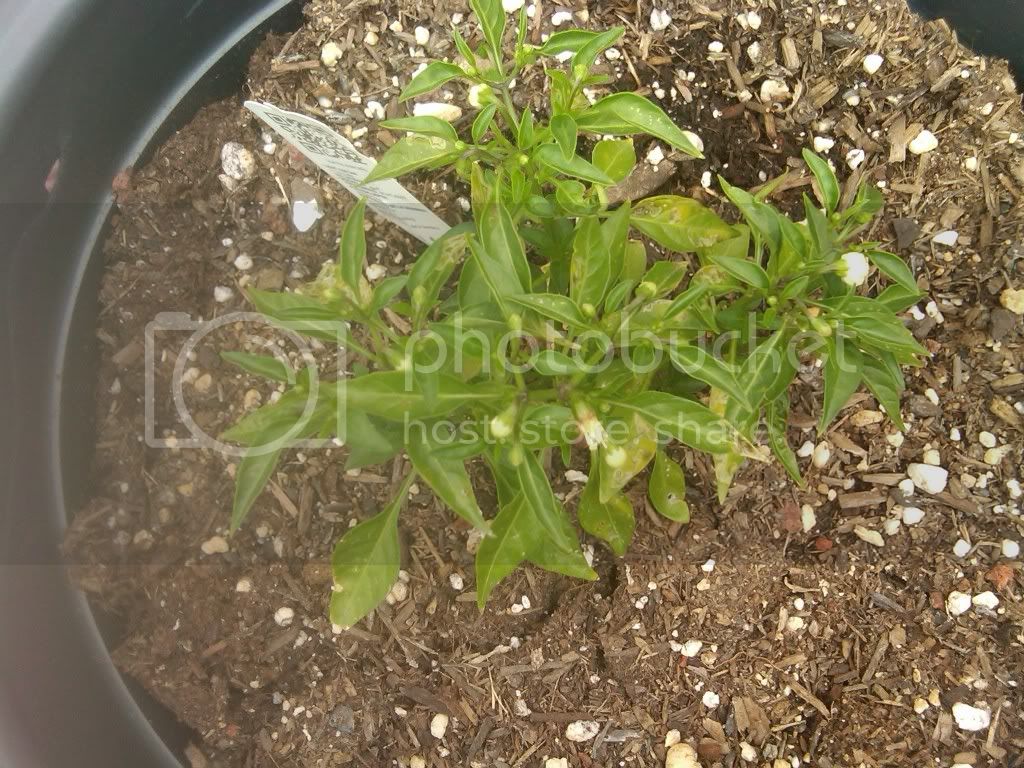
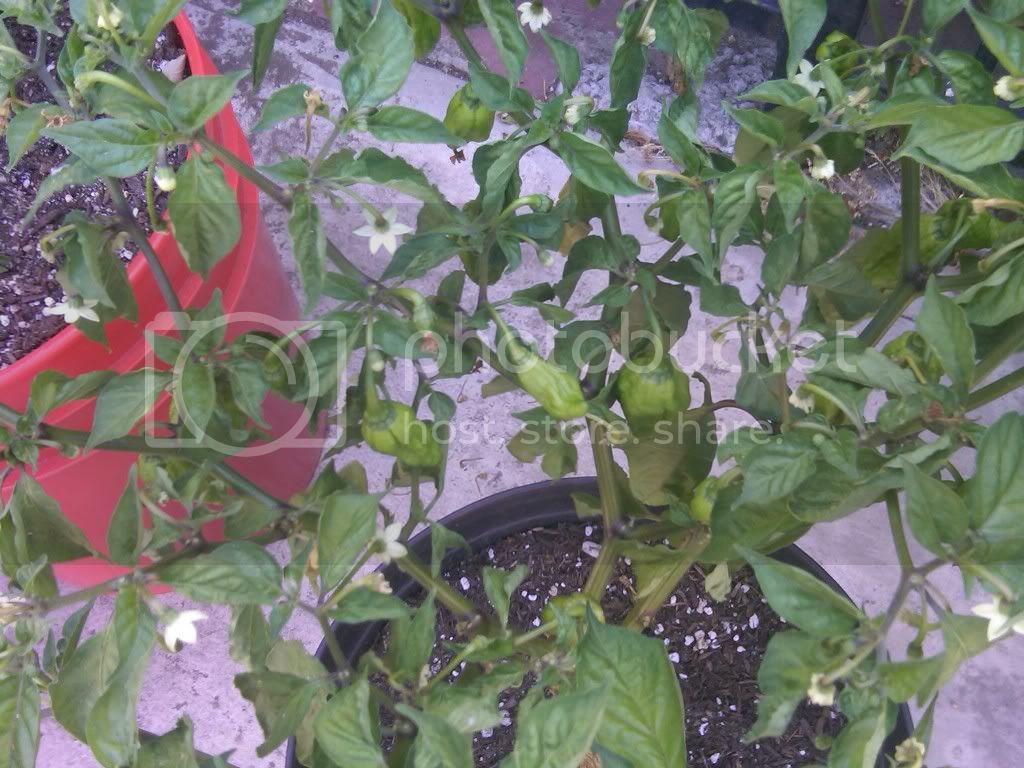
1. Last years standard orange habanero from Home Depot - recently re-potted and heavily pruned due to damage from a freak hail storm

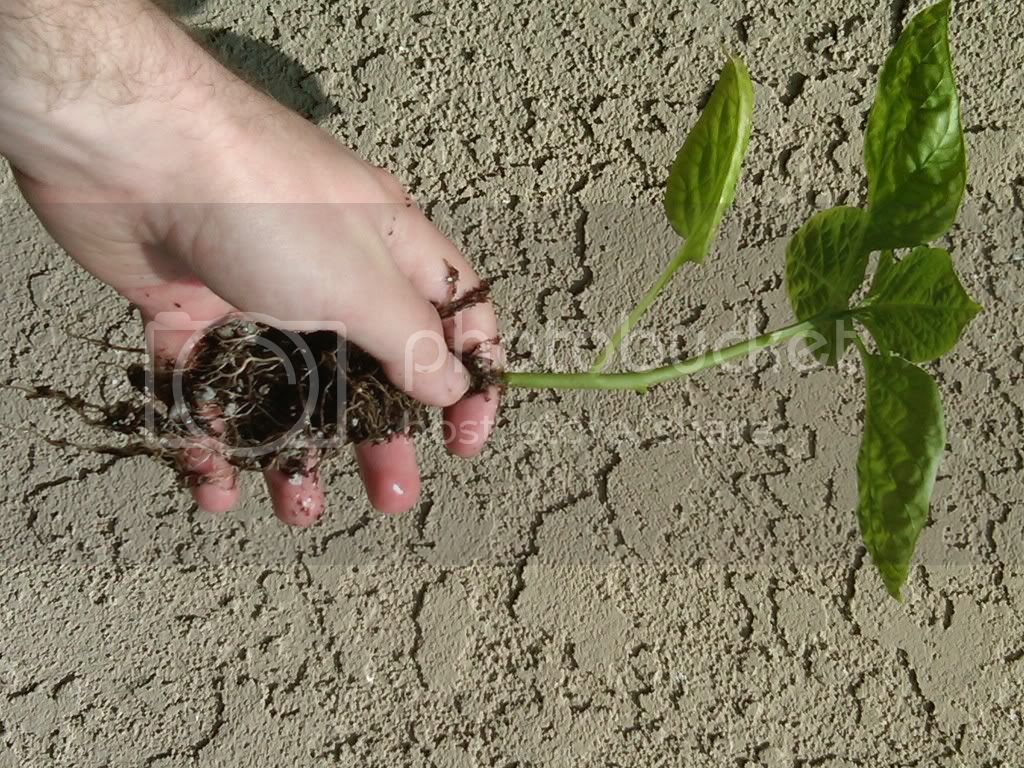
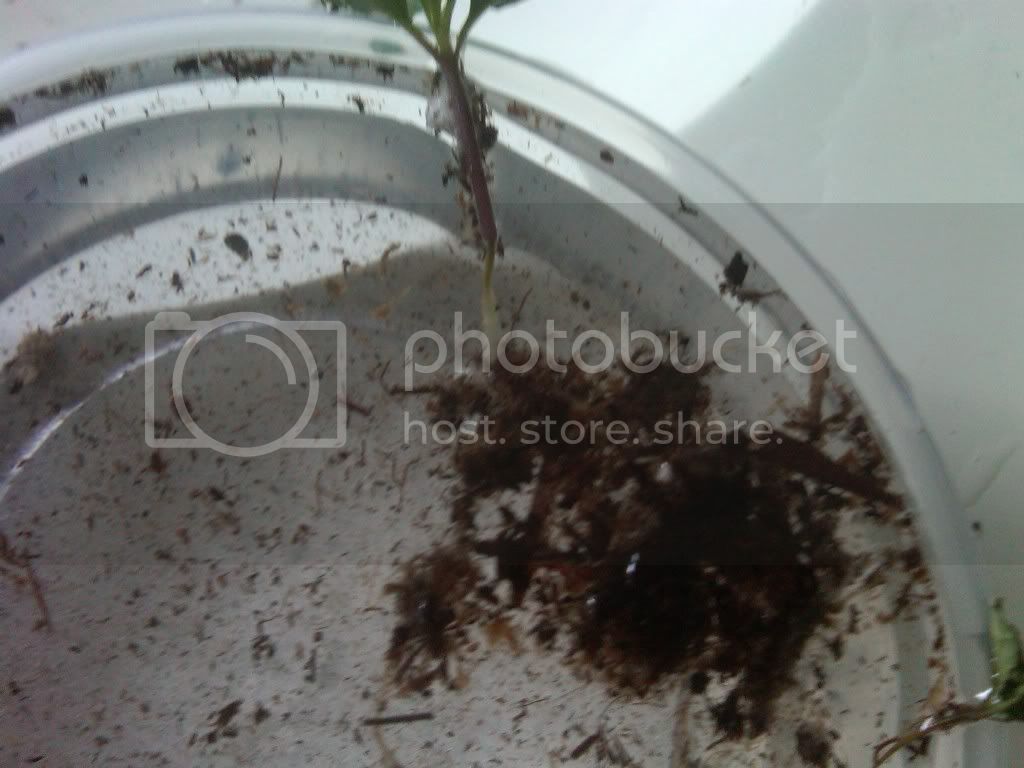
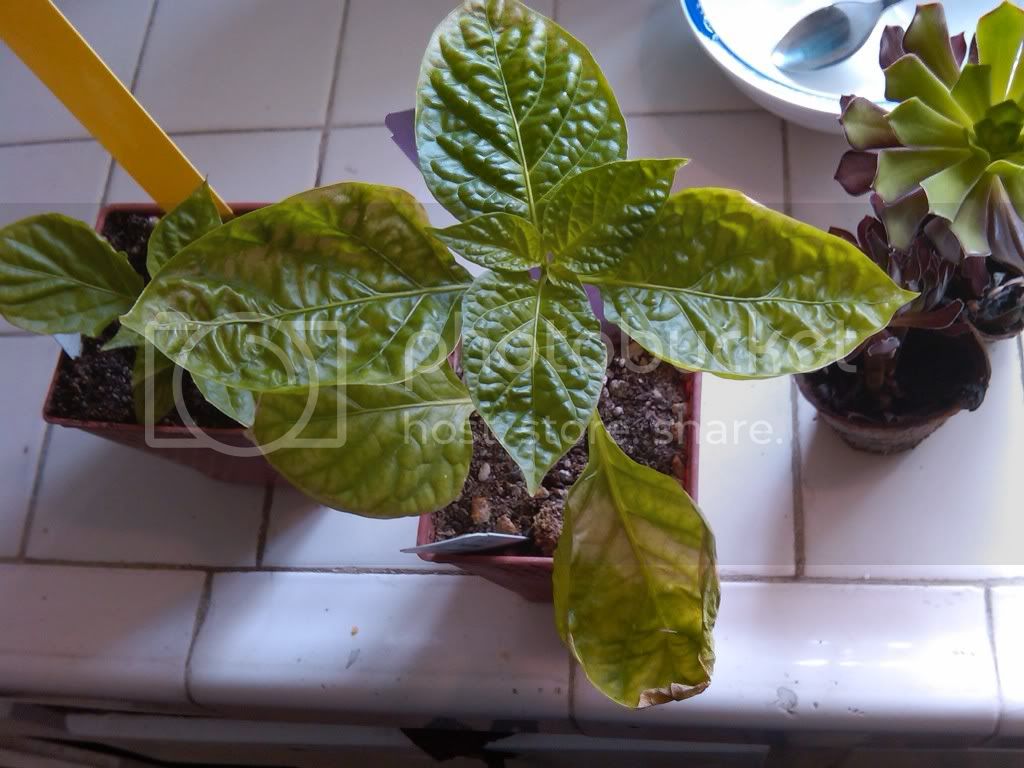
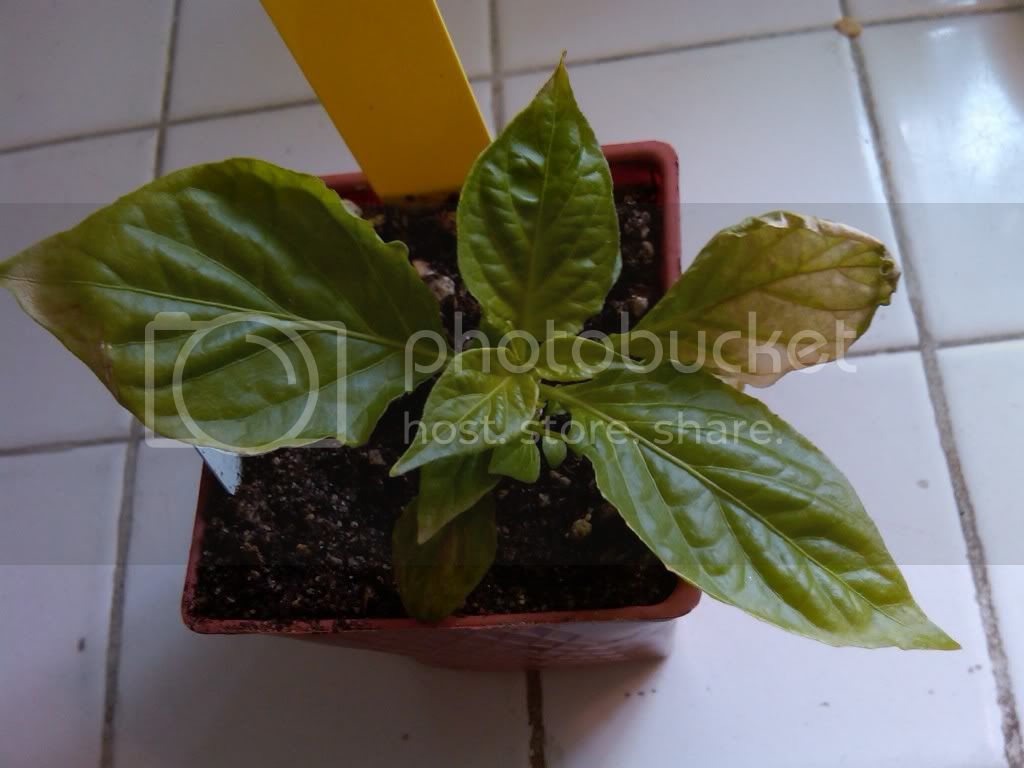
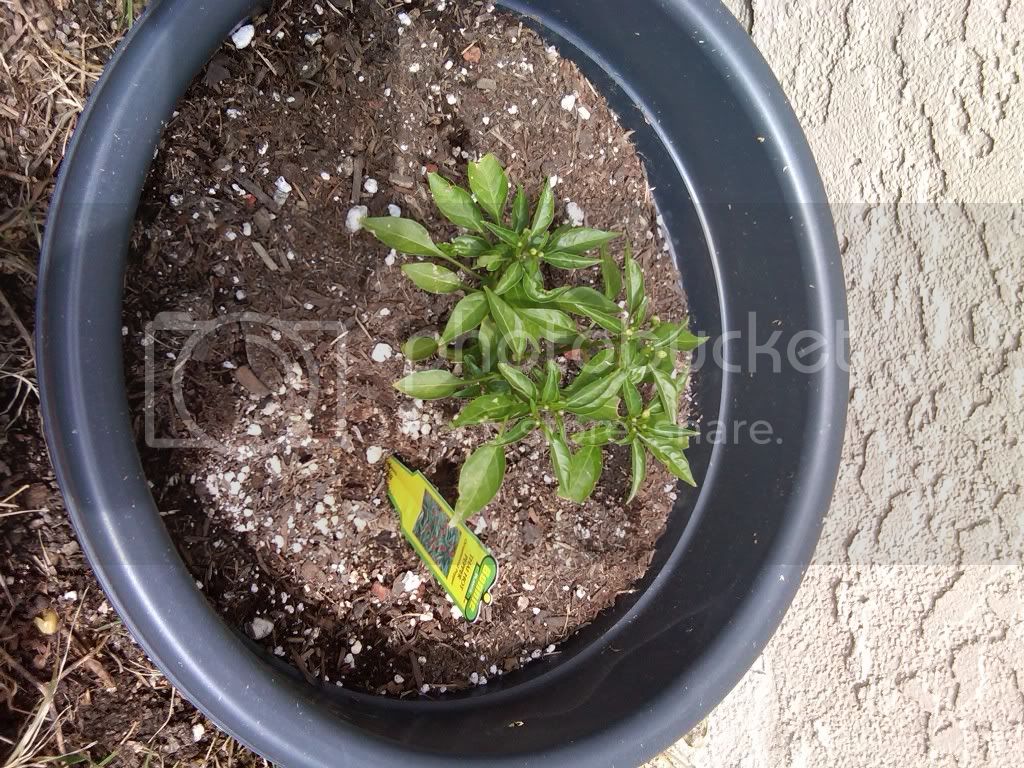
2. Two Trinidad Scorpion Peppers (recently purchased from the Cal State Fullerton Aboreum)
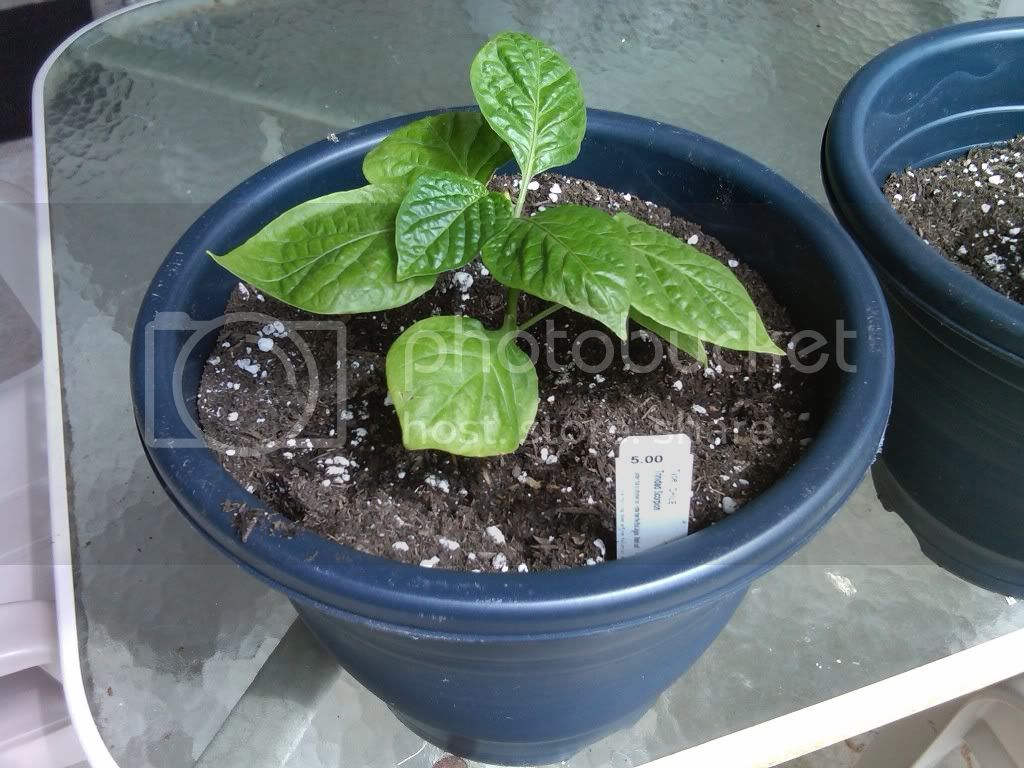
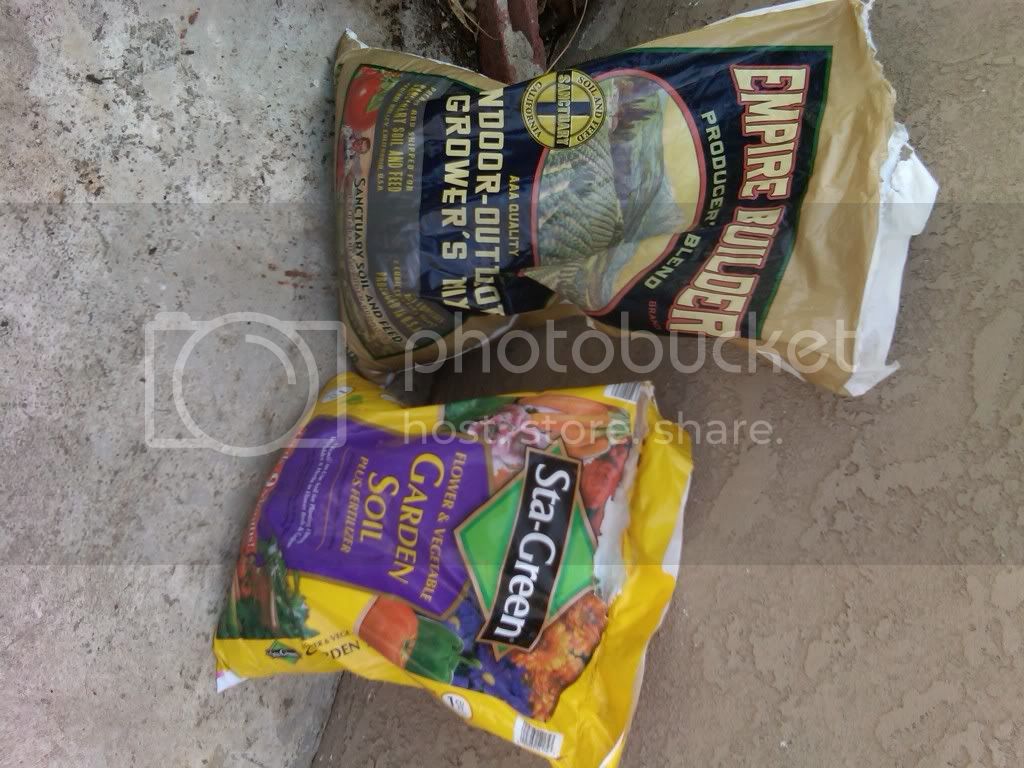
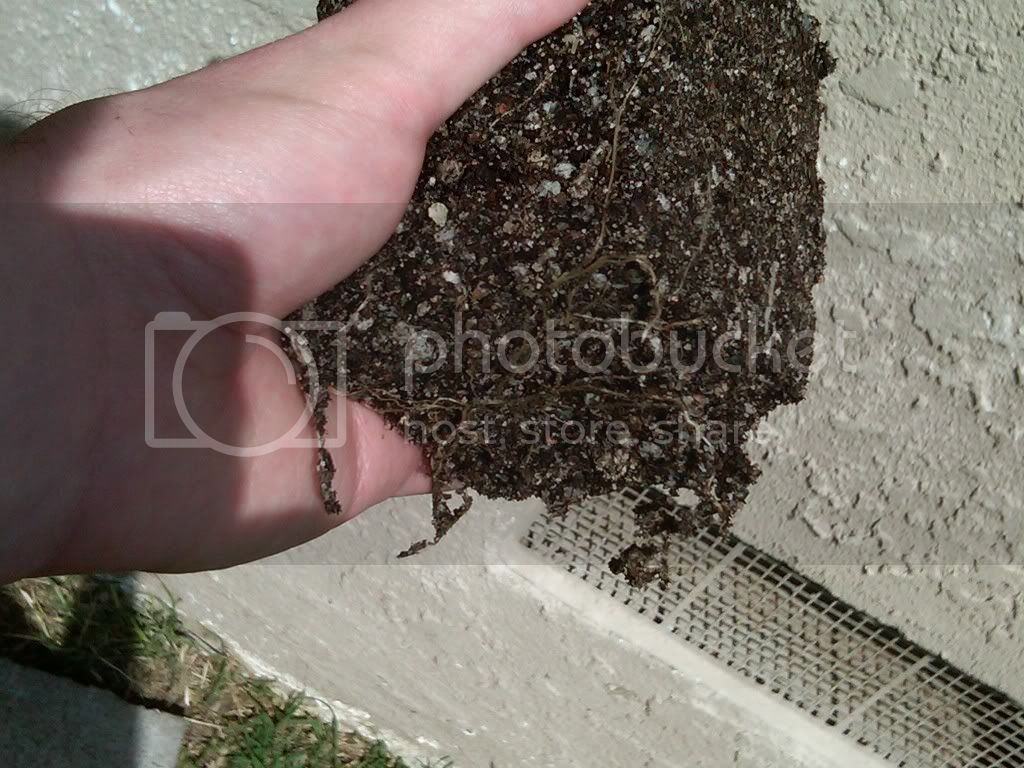
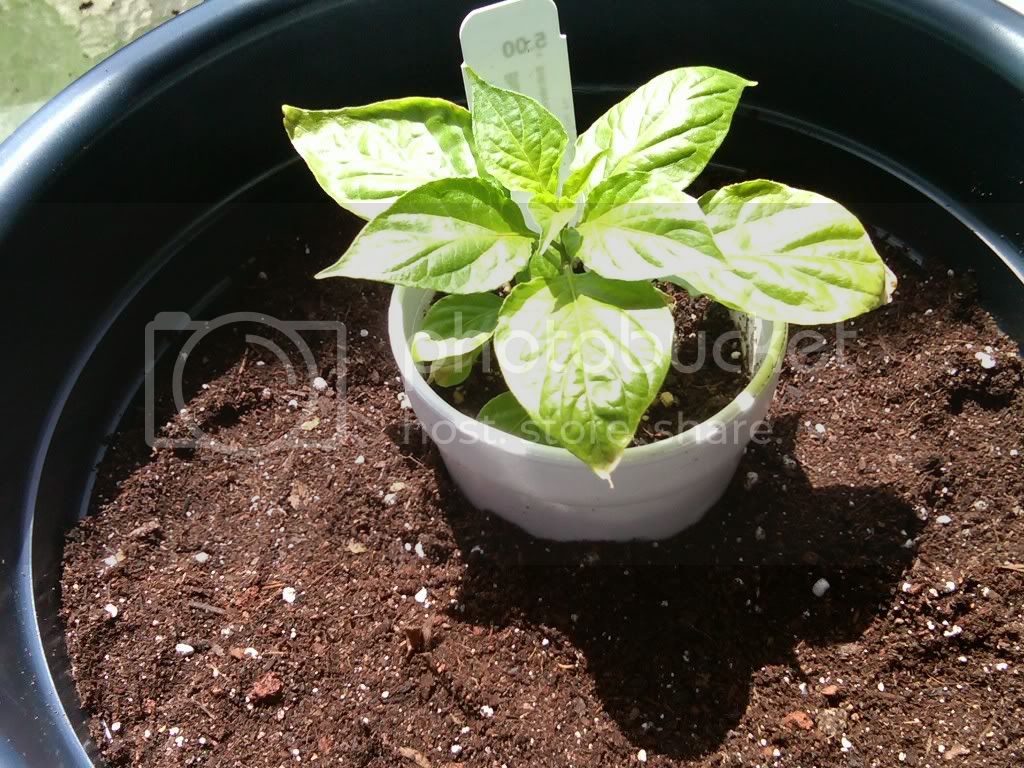
The first one is healthier. It had good root developement and did not get much sun damage while hardening off. It's sister did. All my plants from Cal State were in terrible soil (very sandy, green time release fert bubbles), and were absolutely infested with bugs. I killed the bugs when I found them, and surprisingly they havn't come back. Plant #1 did have what I suspected was a mild case of powdery mildew - whitish residue on some of the leaves, although it could have been hard water stains or possibly something they sprayed on em at Cal State. Transplanted yesterday, pic is from today.
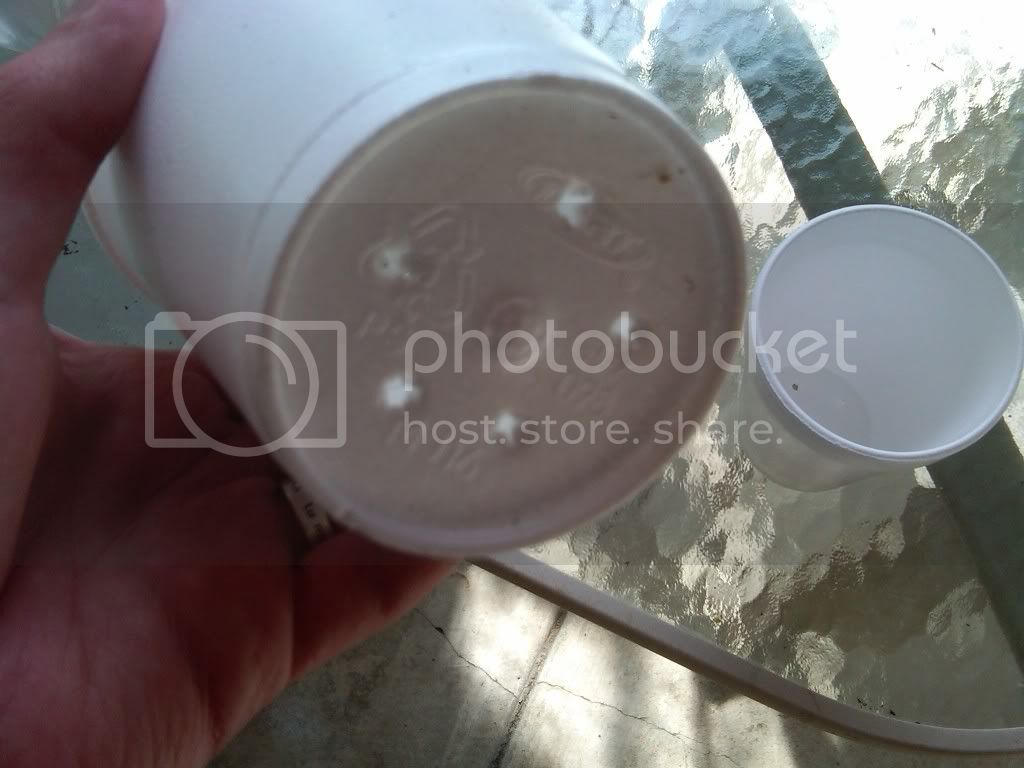
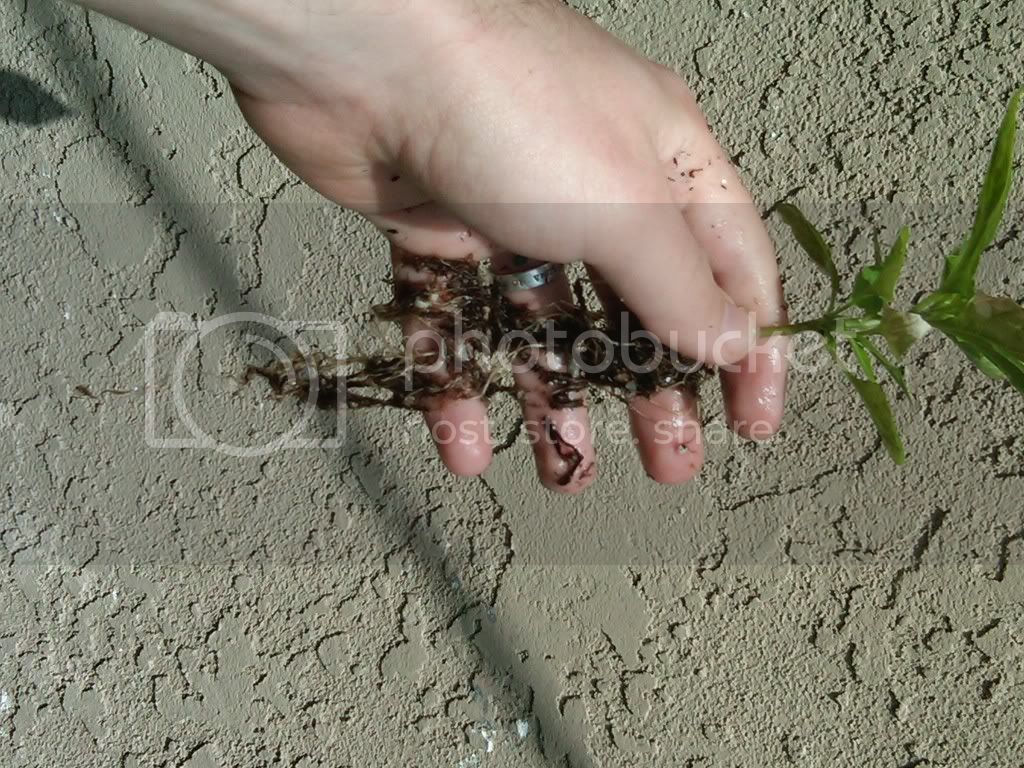
Scorpion #2 was already a little light burned when purchased, and has not done as well. It has dropped about 35% of its leaves either by me pulling them off from bug infestation or from light burn. Transplanted today into a 16 oz. Styrofoam cup - I don't trust that soil. (Transplant pics in following post.)
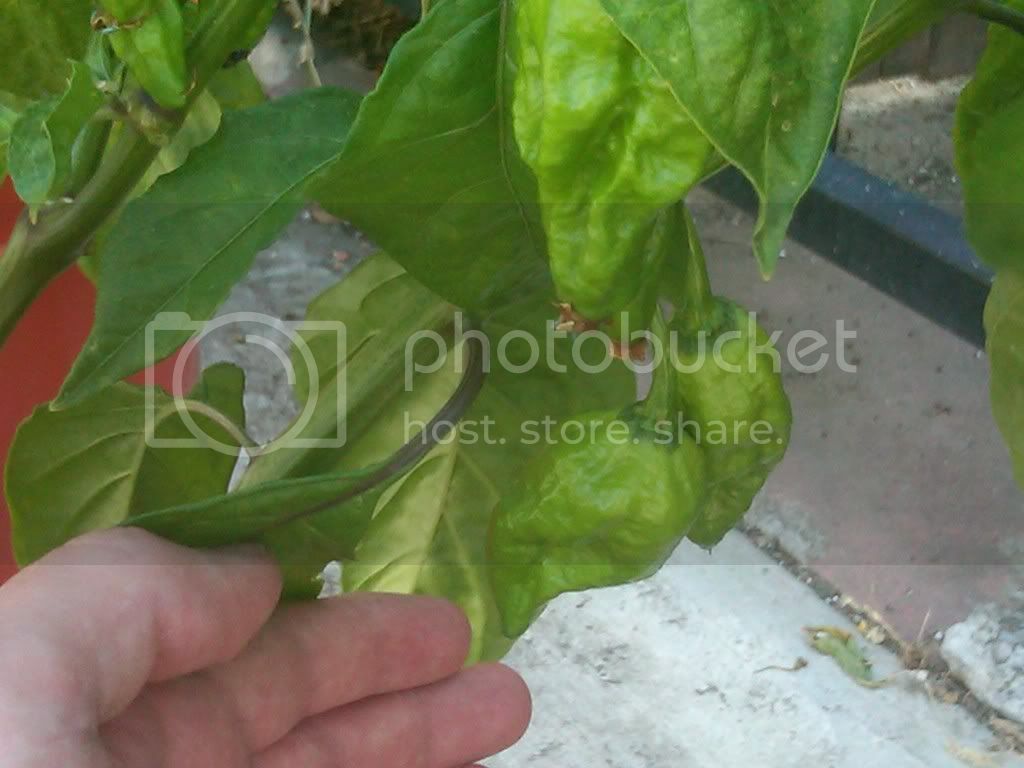
3. One Bhut Jolokia (from Cal State, hopefully more to folllow; Red (4) & Chocolate (4) seeds from Spicegeist currently germinating in paper towels on the cable box.
The Cal State Bhut was both the most infested plant from Cal State & the most light burnt. Transplanted to Styrofoam cup today to get it out of that soil.
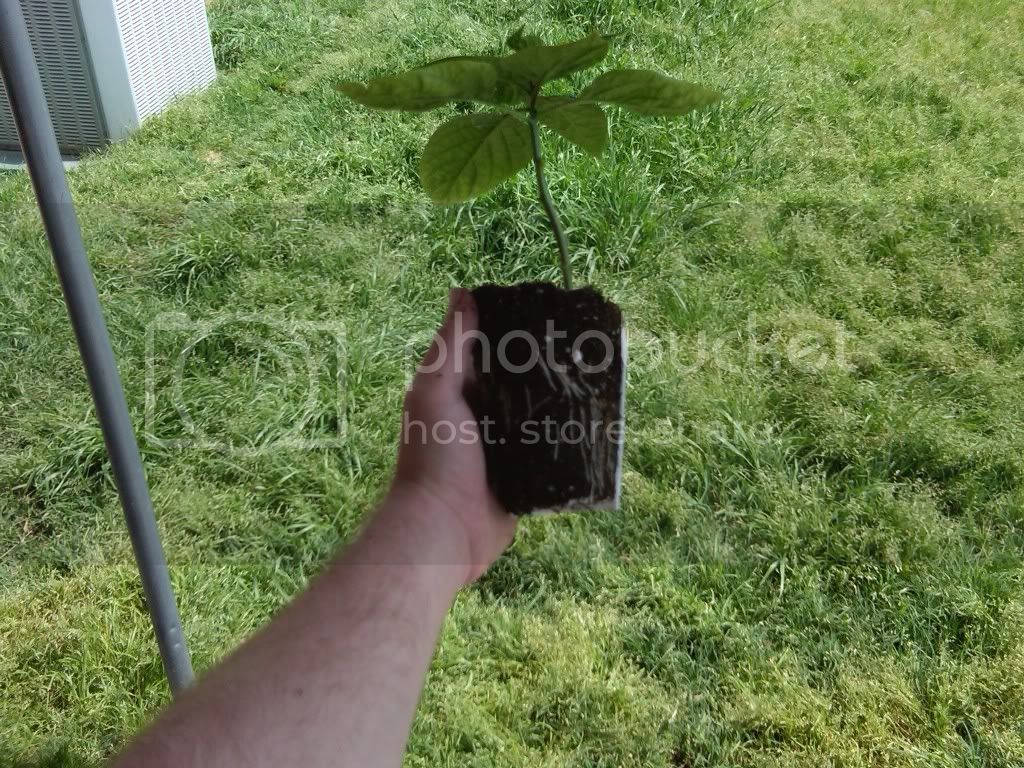
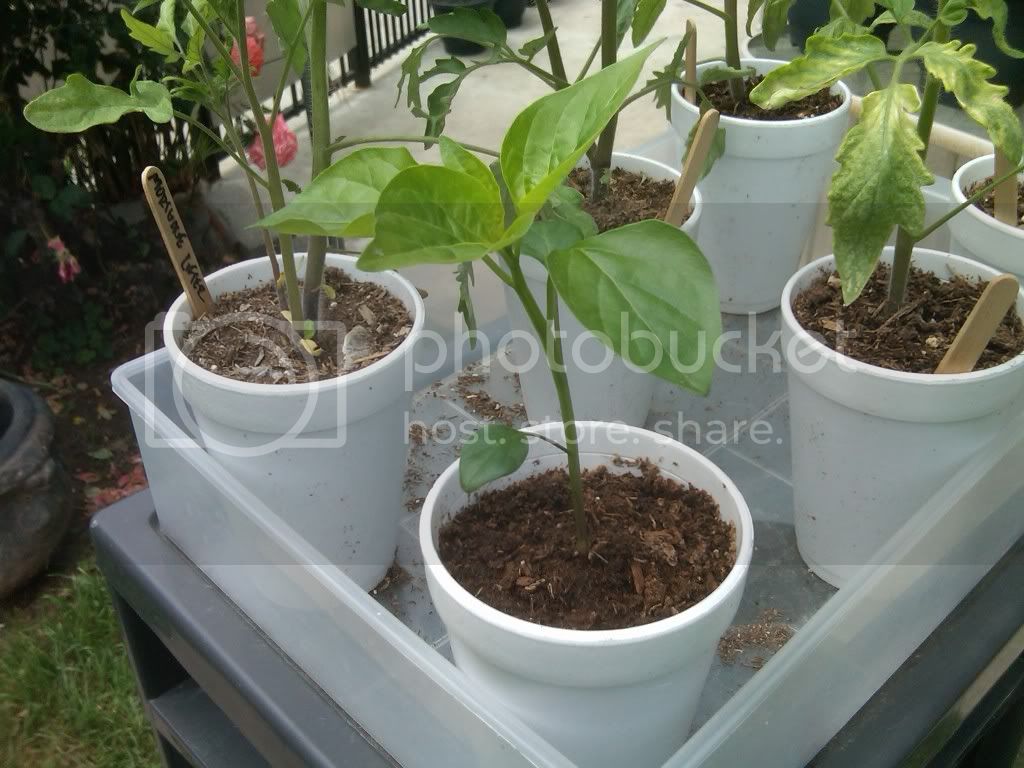
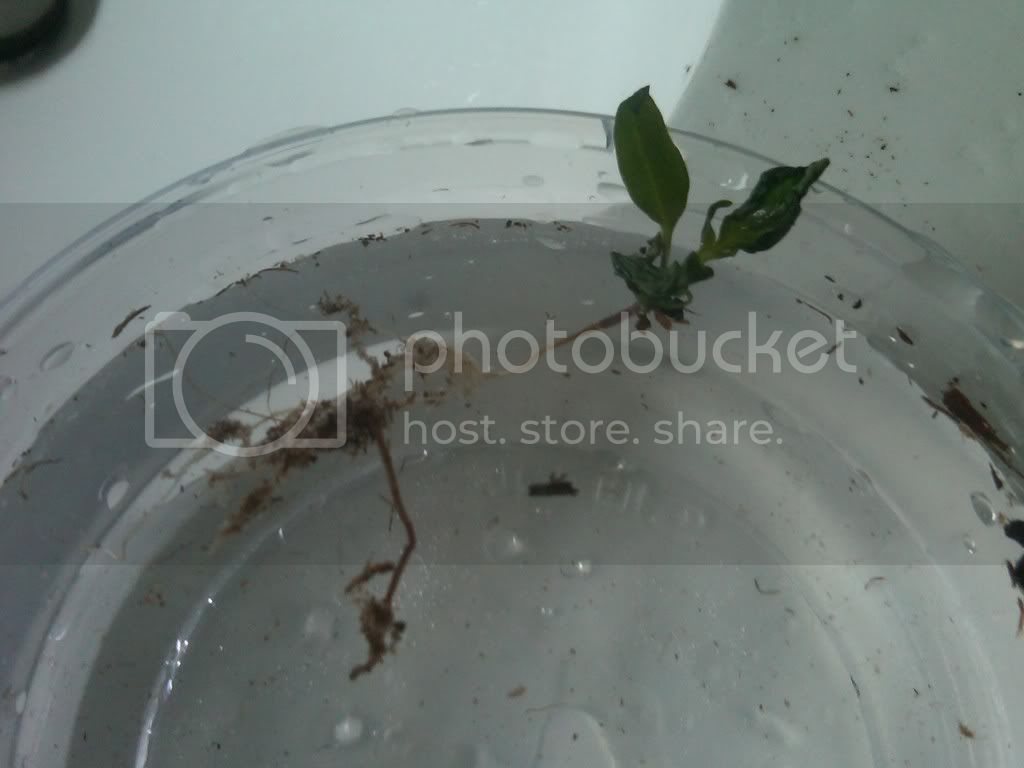
4. One "Jamaican Yellow Pepper" from Cal State
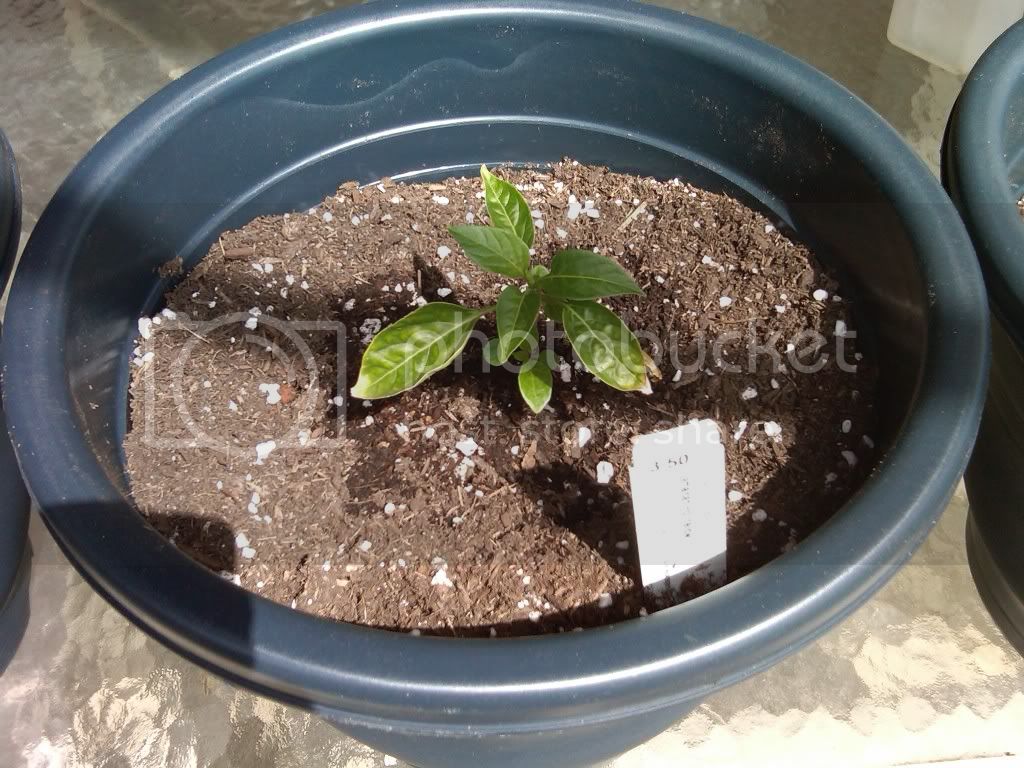
I don't know much about this guy. I wanted a Fatali, but the seedlings at the sale were essentially dead, little withered up things, so I looked for something to fill the void. This is what I got. Transplanted yesterday- was surprised at the minimal root development. Noticeably turned into the sun today - appears to like the sun more than any of the others; hasn't gotten sun burnt while in my care at all.
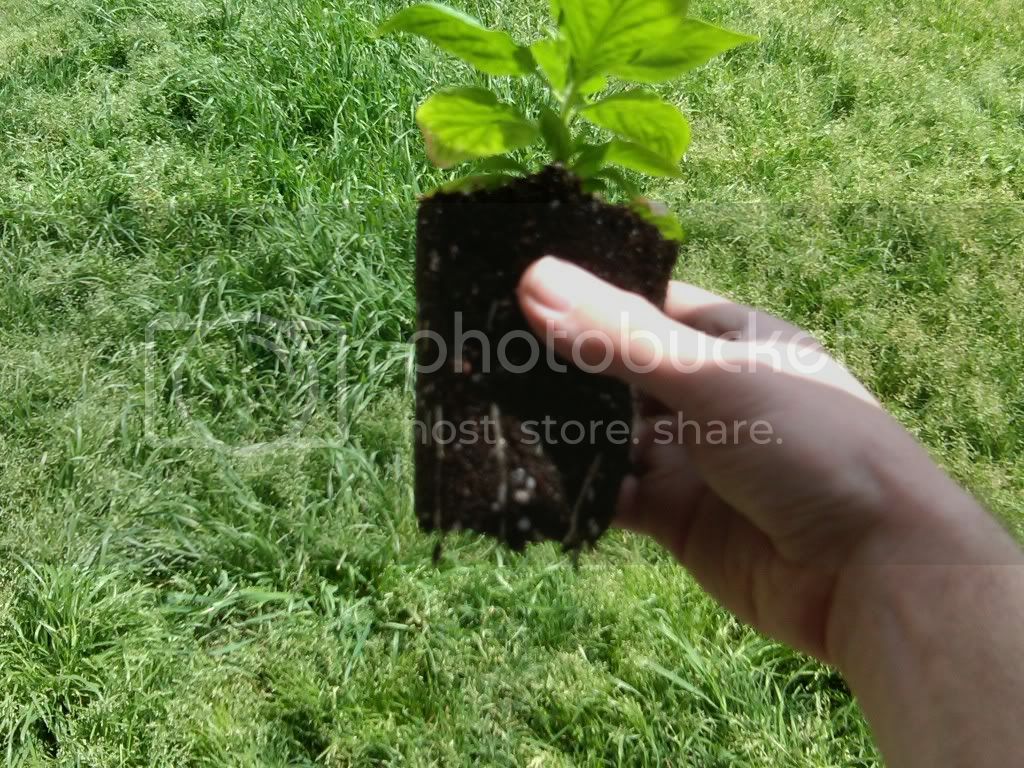
5. One Caribbean Red from Cal State
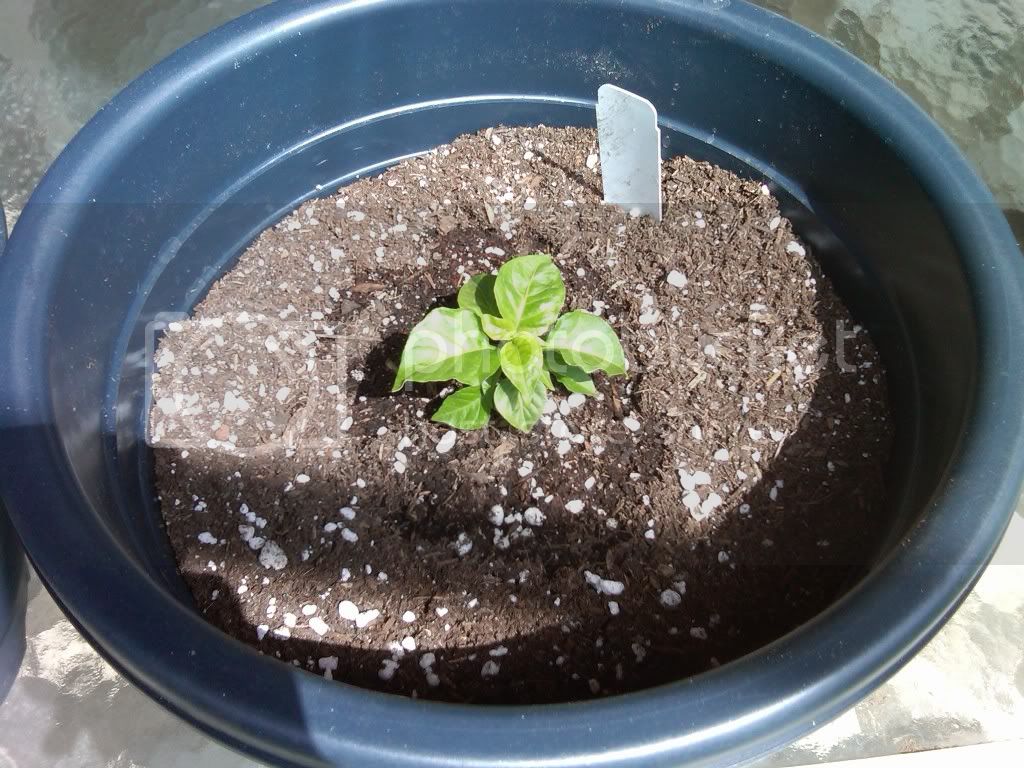
I also wanted a Red Savina, but couldn't find them at the sale (they were on the list.) So I got this instead. It's very small and stocky, but was the least infested with bugs and has had no sunburn at all. Surprisingly good root development next to the Jamaican Yellow, which is twice as tall, and had about 1/4th of the root system. Transplanted yesterday.
6. Thai Hot Pepper
From Home Depot, was transplanted when I repotted the Hab. Bugs have been munching him a bit, but otherwise looks pretty happy. Has his first round of pods forming.
7. Unknown Number of "Aji Mix" from Aji Joe (Thanks Joe.)
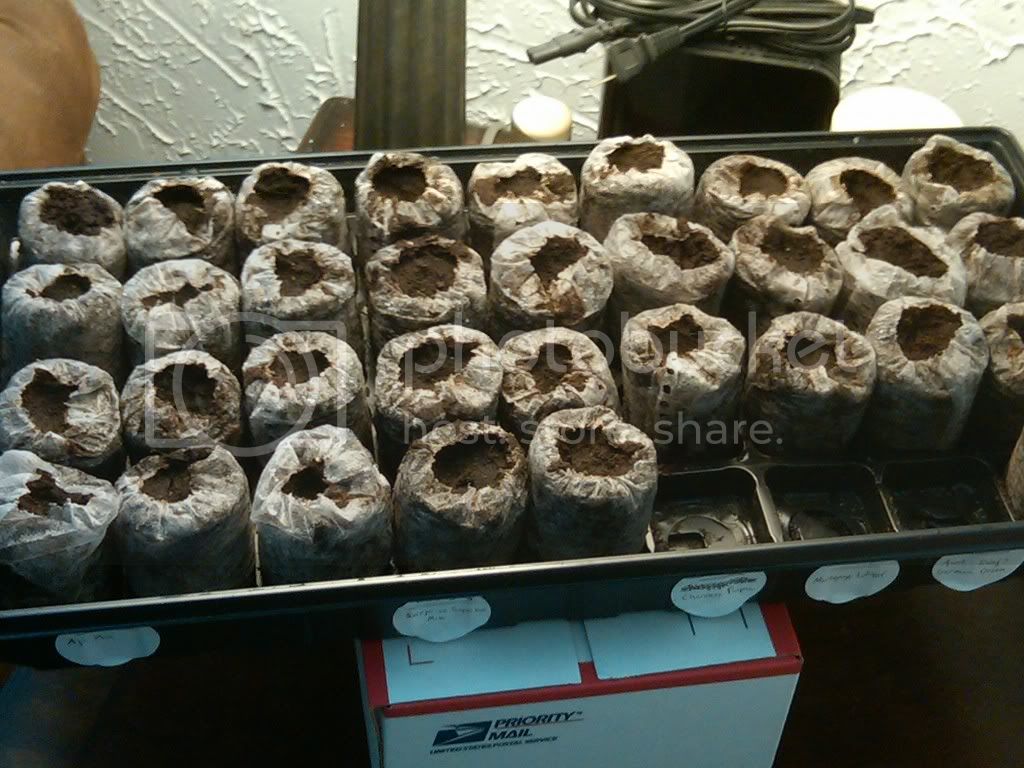
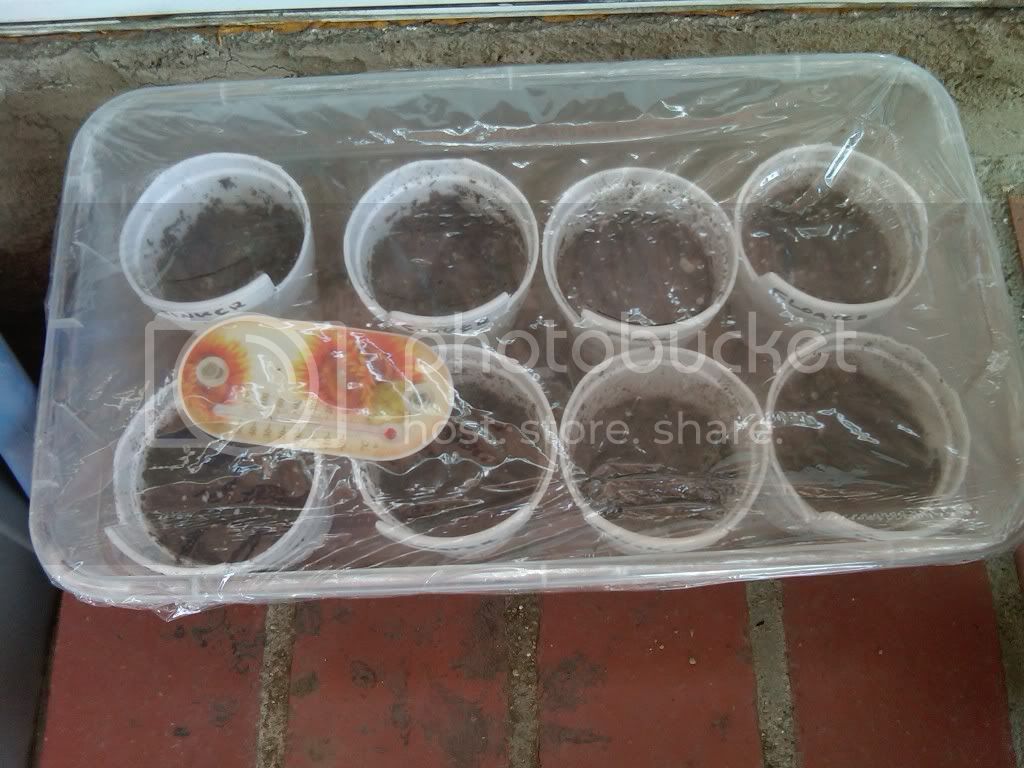
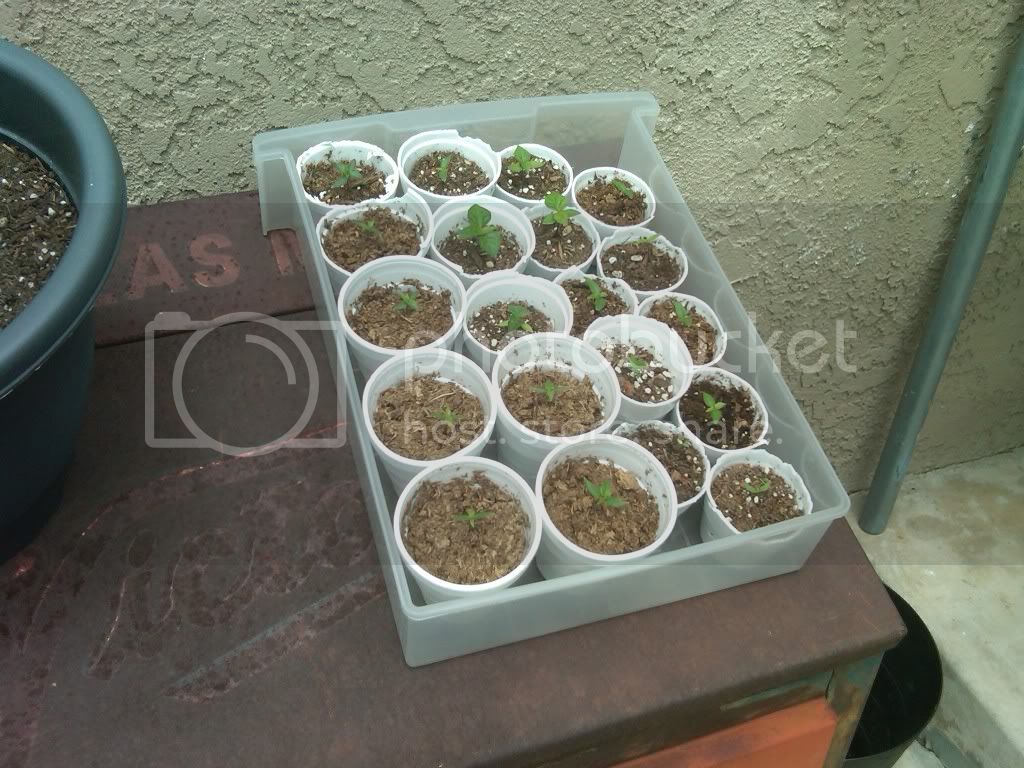
I've got 2 rows, 2 seeds each in my seed germinator (4x2x2= possible 16), as well as a couple in paper towels. I was concerned when i burned a few tomato seedlings to death that I may have burned the peppers to. After digging through on peat pellet, I found that 2 seeds had yet to grow a tail; I removed them and put them in moist paper towels / ziplocks them to test for viability, with another 4 from my bag as controls. I decided to check another pellet, and found one with a small tail (it was brown though, and possibly torched, but I put it back in the pellet. ) I concluded I may have buried the pepper seeds to deeply.
8. Unknown Number of "Suprise Superhot Mix" from Aji Joe (Thanks again!.)
I planted 3 rows each with 2 seeds, so a total potential for 24 plants. No signs of life (or death) as I didn't investigate these pellets yet. Very easily could have burned em all. WIll conduct further autopsy investigations if I don't see any peppers in the next week, and I may start some of Joe's seeds back up in paper towels as well.
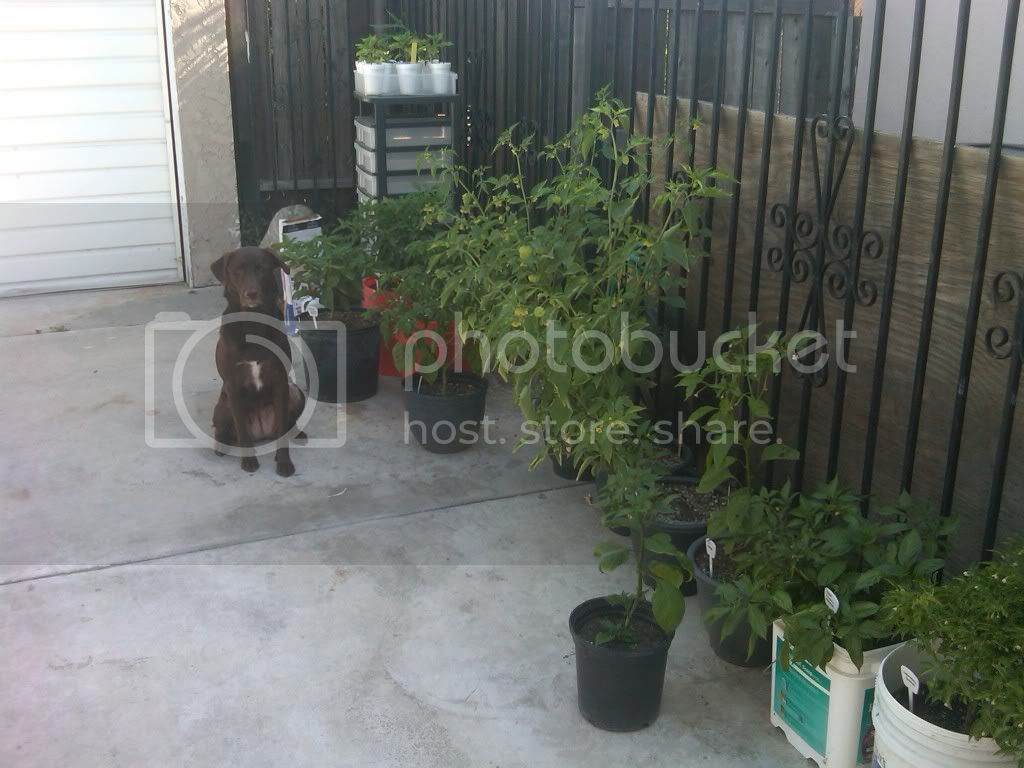
9. Tomatoes & Tomatillos
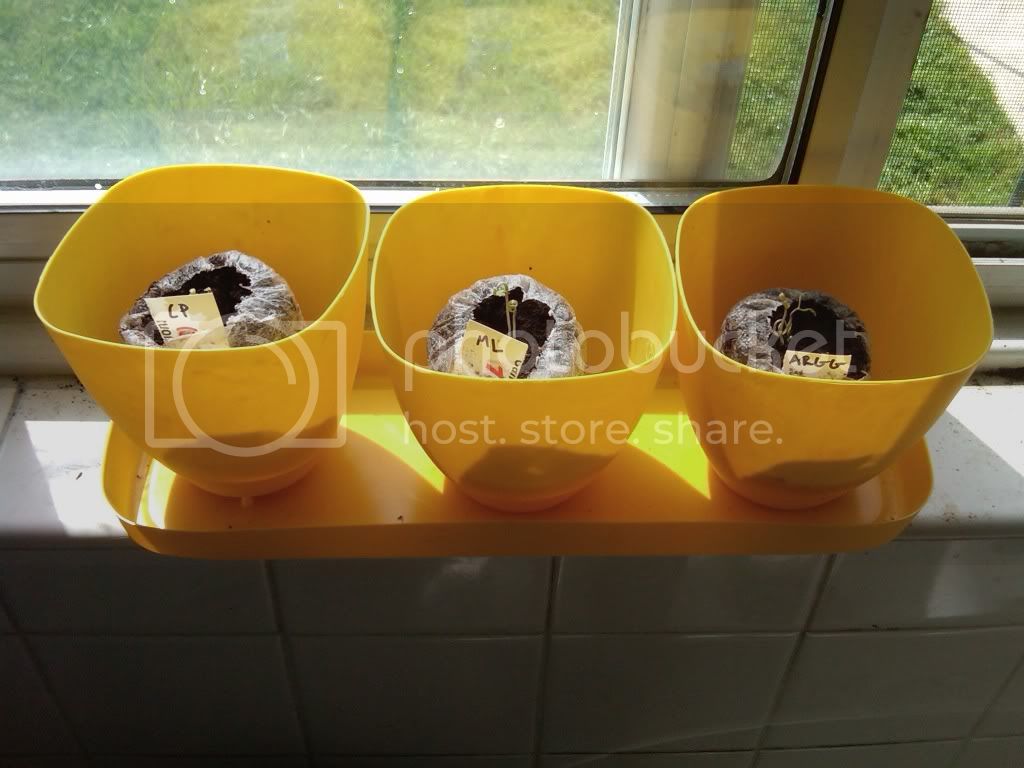
I have a couple of rows in the seed germinator of "Cherokee Purple," "Mortgage Lifter," and "Aunt Ruby's German Green", as well as a row of "Purple Tomatillos".A few have sprouted already. I'm nt sure but I think I buried them closer to the surface than I buried the peppers, which may have assisted in germination.
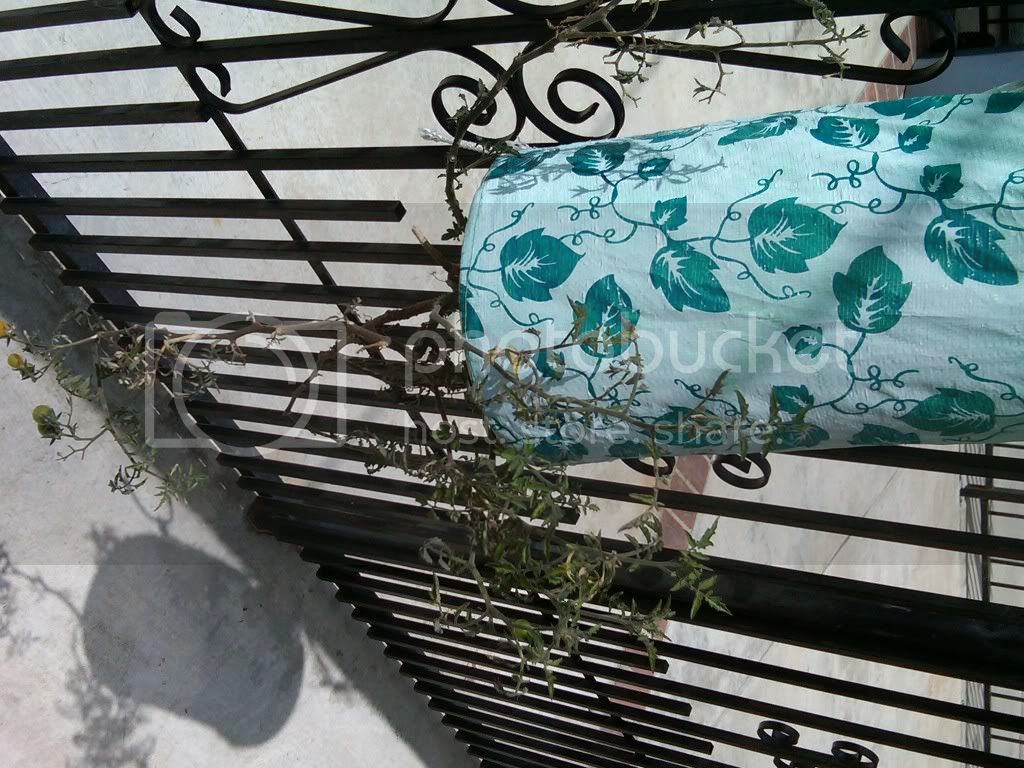
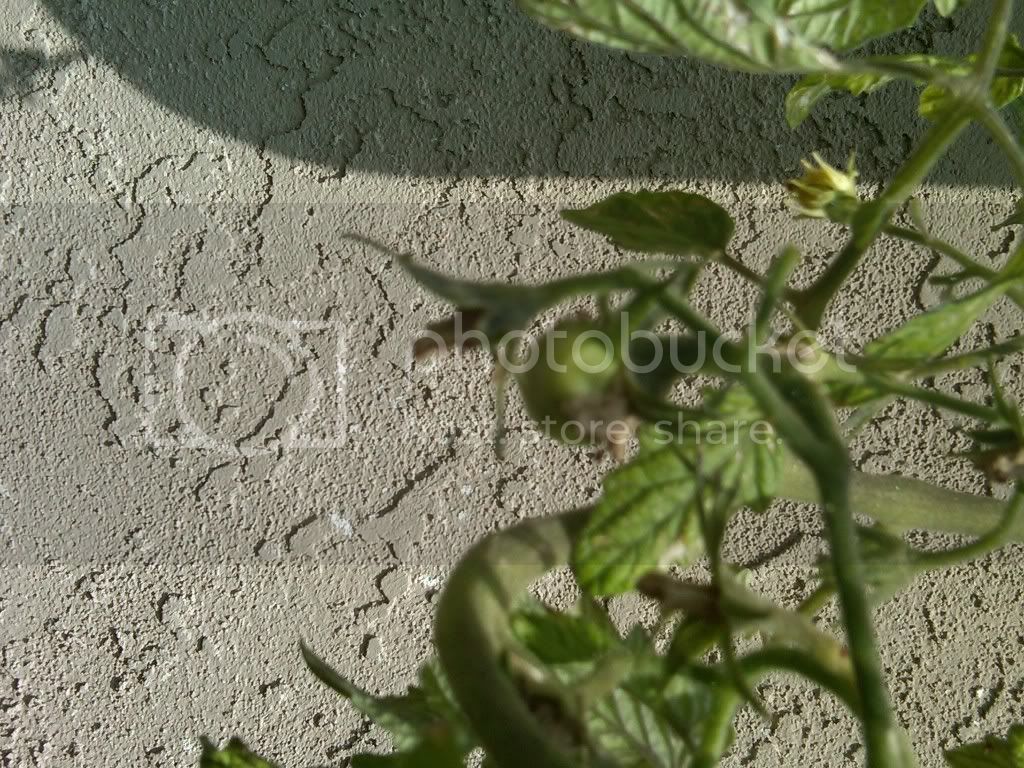
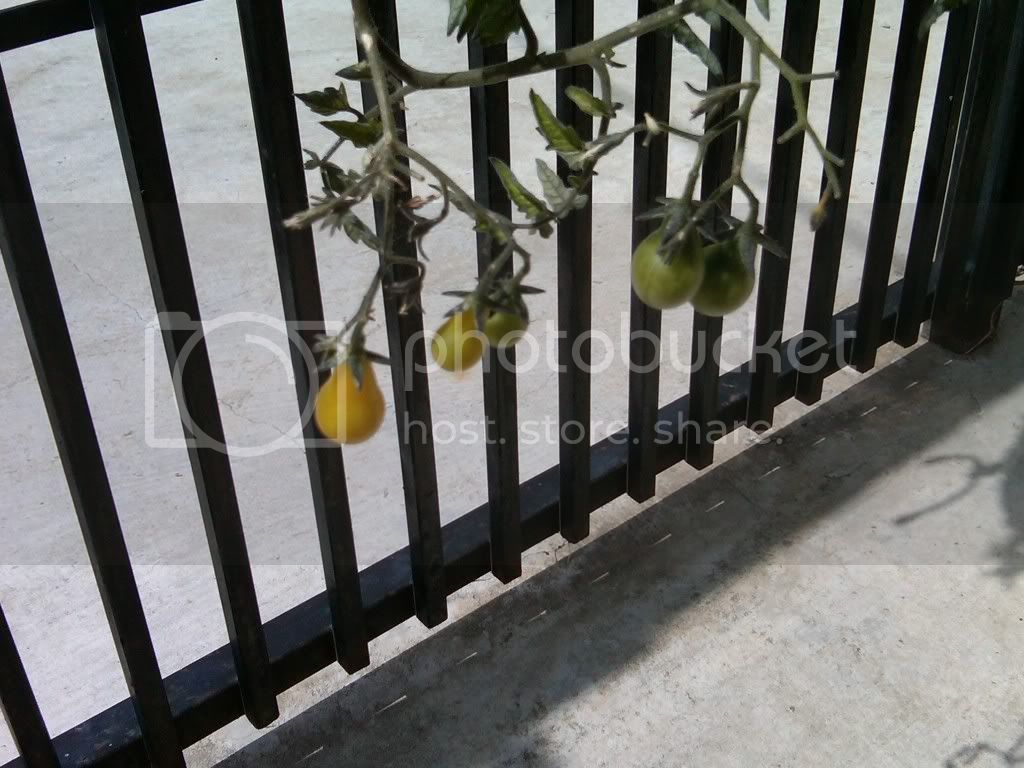
I also have two hold overs in "Topsy Turveys" from last year....both are heirloom varieties that my girlfriends mom got me from QVC. I dont remeber the names as my dog ( a pup at the time) ripped into all of them, and nearly killed them before I planted. All packaging and name tags were destroyed. (She much better behaved now thank god...although we have a part time roommate with a Jack Russel who got into some of my other plants. One grows small yellow teardrop shaped tomatoes, and has been pretty bountiful over the last year. The other grows HUGE (grapefruit size) pink tomatoes, but only one at a time. There have been 3 of them over the last year, and there's a new one growing. Unfortunately, some animal ALWAYS eats it the day I decide "It looks pretty good- I'll pick it tomorrow."
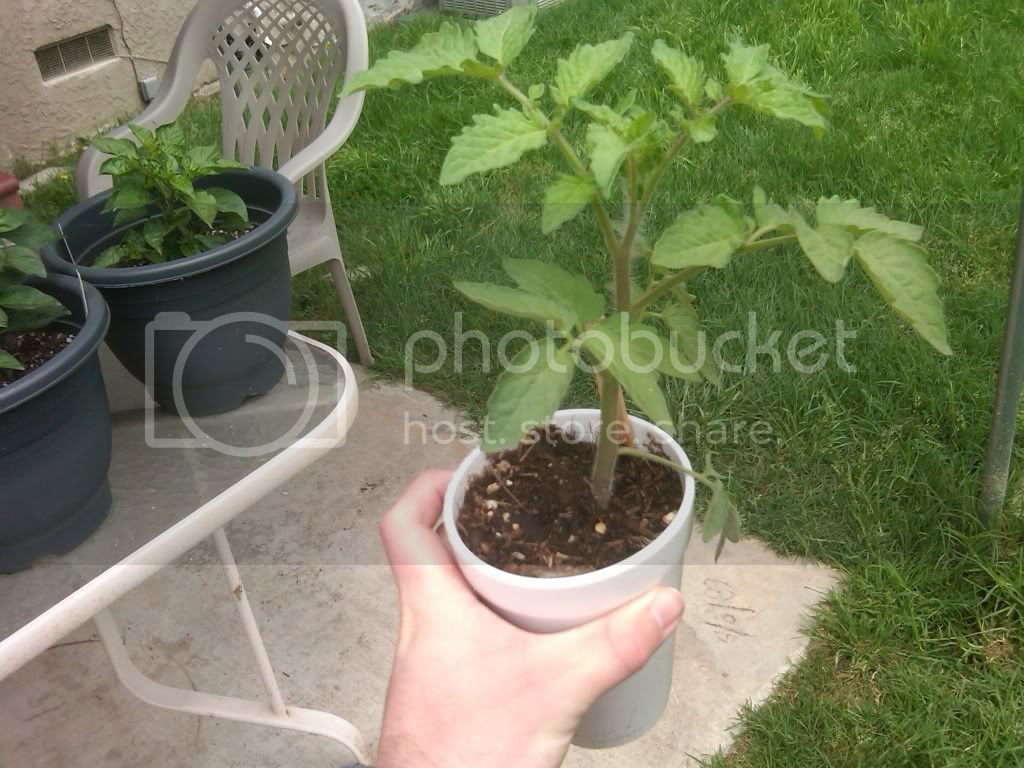
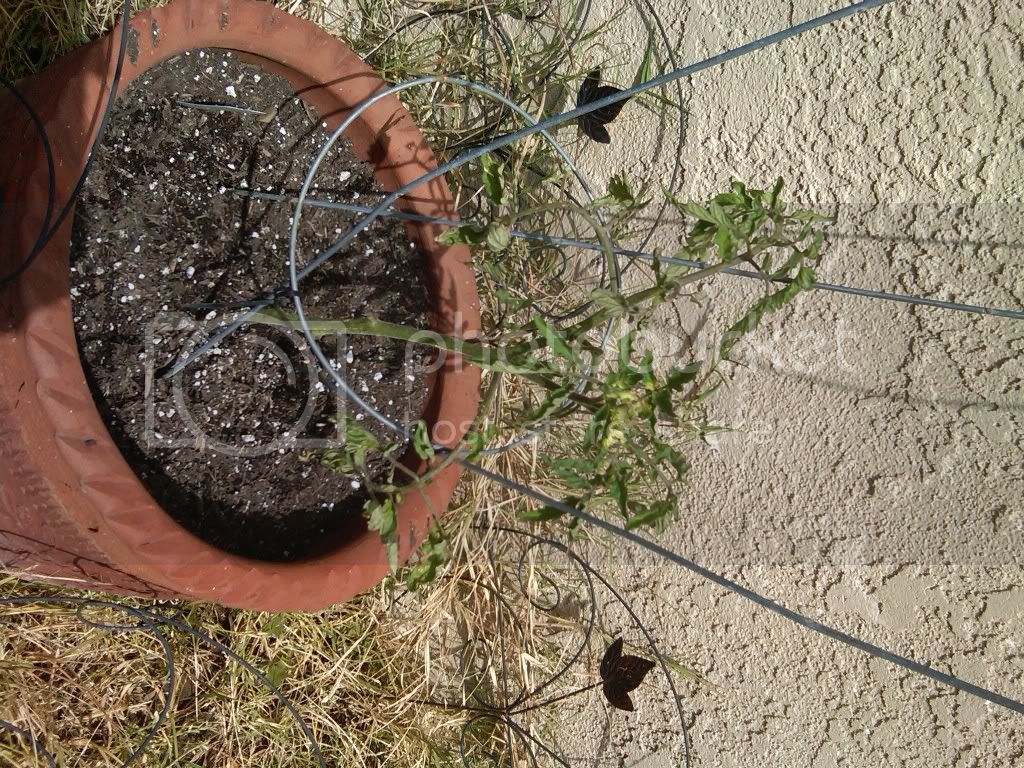
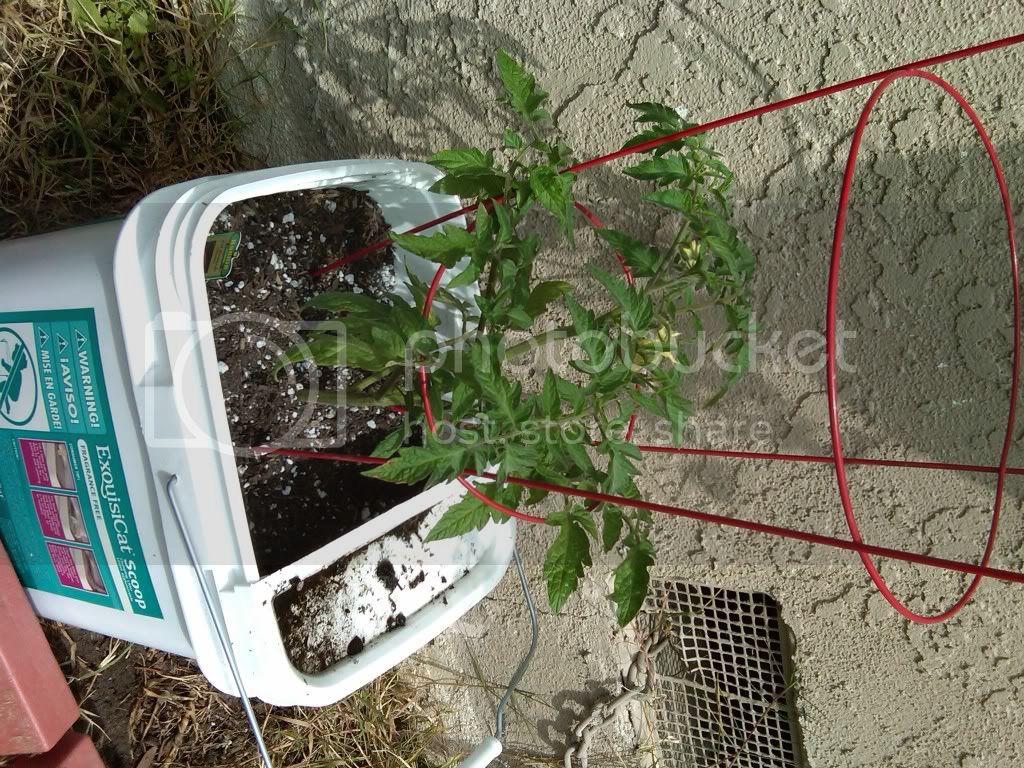
Black Prince Tom (a victim of the ice storm, transplanted from a protein powder container to a large pot - the previous home of the habanero)...he's obviously got some issues, leaves curled in, some yellowing on some fo his new growth; he was in really crappy "Black Magic" soil I used last year, so hopefully the transplant solves the issue.
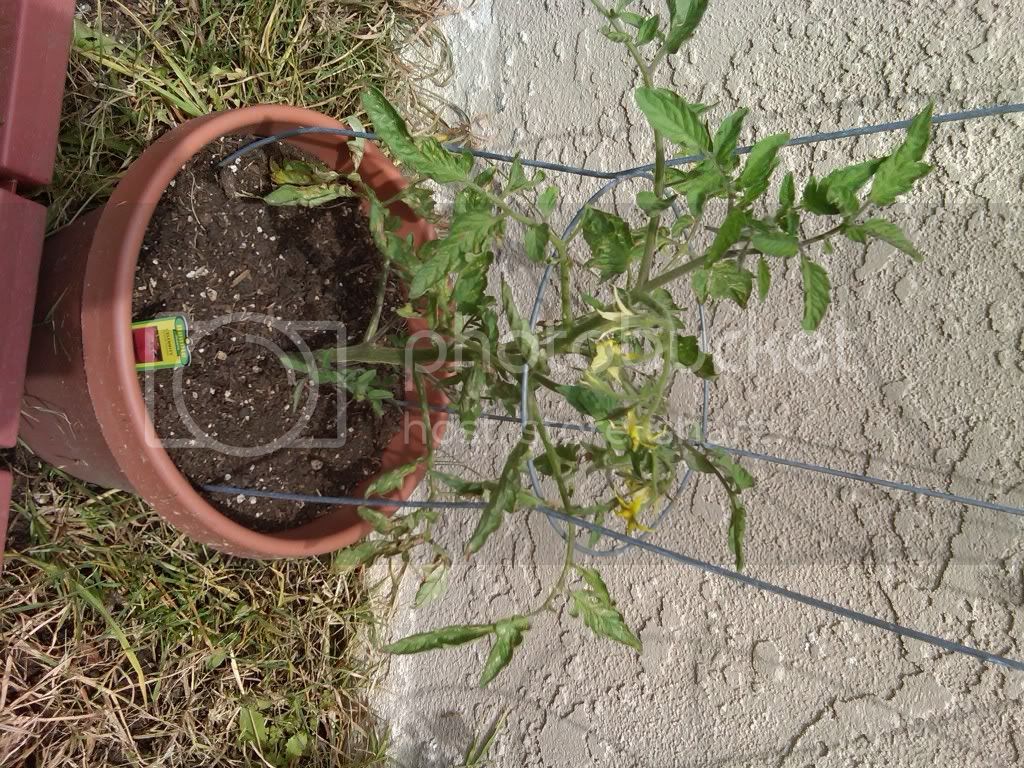
Celebrity (Another victim of the ice storm, note the lower leaves, but doing perfectly since.)
Red Beefsteak (saved from the ice storm because he was attacked by the Jack Russel and was recuperating inside for a few days prior to planting.)
For fun's sake, posterity, and for something to do this lazy Friday afternoon (I'm self-employed and nothing on the agenda today), I decided to chronicle this years gardening adventures. This is the second year I've lived in sunny Covina, CA, and although last years gardening hit several snags, I think I've learned a bit and hope to do better. I also enjoyed my habaneros so much that I decided to jump into the world of super hots!
So far I'm growing:
1. Last years standard orange habanero from Home Depot - recently re-potted and heavily pruned due to damage from a freak hail storm
2. Two Trinidad Scorpion Peppers (recently purchased from the Cal State Fullerton Aboreum)
The first one is healthier. It had good root developement and did not get much sun damage while hardening off. It's sister did. All my plants from Cal State were in terrible soil (very sandy, green time release fert bubbles), and were absolutely infested with bugs. I killed the bugs when I found them, and surprisingly they havn't come back. Plant #1 did have what I suspected was a mild case of powdery mildew - whitish residue on some of the leaves, although it could have been hard water stains or possibly something they sprayed on em at Cal State. Transplanted yesterday, pic is from today.
Scorpion #2 was already a little light burned when purchased, and has not done as well. It has dropped about 35% of its leaves either by me pulling them off from bug infestation or from light burn. Transplanted today into a 16 oz. Styrofoam cup - I don't trust that soil. (Transplant pics in following post.)
3. One Bhut Jolokia (from Cal State, hopefully more to folllow; Red (4) & Chocolate (4) seeds from Spicegeist currently germinating in paper towels on the cable box.
The Cal State Bhut was both the most infested plant from Cal State & the most light burnt. Transplanted to Styrofoam cup today to get it out of that soil.
4. One "Jamaican Yellow Pepper" from Cal State
I don't know much about this guy. I wanted a Fatali, but the seedlings at the sale were essentially dead, little withered up things, so I looked for something to fill the void. This is what I got. Transplanted yesterday- was surprised at the minimal root development. Noticeably turned into the sun today - appears to like the sun more than any of the others; hasn't gotten sun burnt while in my care at all.
5. One Caribbean Red from Cal State
I also wanted a Red Savina, but couldn't find them at the sale (they were on the list.) So I got this instead. It's very small and stocky, but was the least infested with bugs and has had no sunburn at all. Surprisingly good root development next to the Jamaican Yellow, which is twice as tall, and had about 1/4th of the root system. Transplanted yesterday.
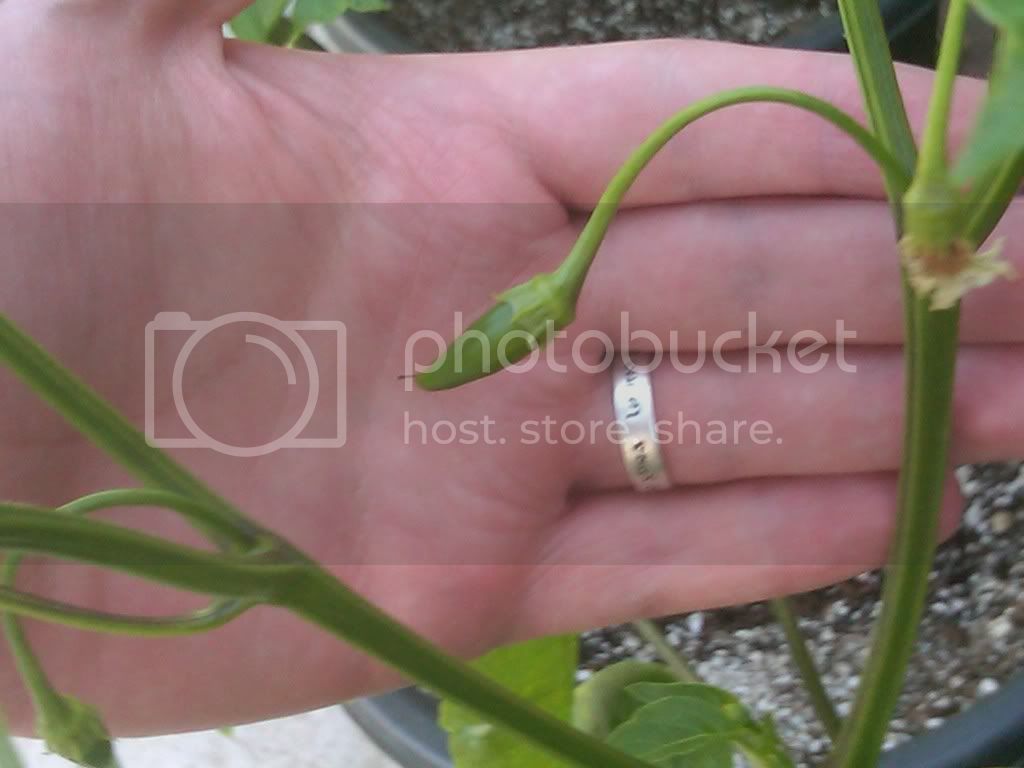
6. Thai Hot Pepper
From Home Depot, was transplanted when I repotted the Hab. Bugs have been munching him a bit, but otherwise looks pretty happy. Has his first round of pods forming.
7. Unknown Number of "Aji Mix" from Aji Joe (Thanks Joe.)
I've got 2 rows, 2 seeds each in my seed germinator (4x2x2= possible 16), as well as a couple in paper towels. I was concerned when i burned a few tomato seedlings to death that I may have burned the peppers to. After digging through on peat pellet, I found that 2 seeds had yet to grow a tail; I removed them and put them in moist paper towels / ziplocks them to test for viability, with another 4 from my bag as controls. I decided to check another pellet, and found one with a small tail (it was brown though, and possibly torched, but I put it back in the pellet. ) I concluded I may have buried the pepper seeds to deeply.
8. Unknown Number of "Suprise Superhot Mix" from Aji Joe (Thanks again!.)
I planted 3 rows each with 2 seeds, so a total potential for 24 plants. No signs of life (or death) as I didn't investigate these pellets yet. Very easily could have burned em all. WIll conduct further autopsy investigations if I don't see any peppers in the next week, and I may start some of Joe's seeds back up in paper towels as well.
9. Tomatoes & Tomatillos
I have a couple of rows in the seed germinator of "Cherokee Purple," "Mortgage Lifter," and "Aunt Ruby's German Green", as well as a row of "Purple Tomatillos".A few have sprouted already. I'm nt sure but I think I buried them closer to the surface than I buried the peppers, which may have assisted in germination.
I also have two hold overs in "Topsy Turveys" from last year....both are heirloom varieties that my girlfriends mom got me from QVC. I dont remeber the names as my dog ( a pup at the time) ripped into all of them, and nearly killed them before I planted. All packaging and name tags were destroyed. (She much better behaved now thank god...although we have a part time roommate with a Jack Russel who got into some of my other plants. One grows small yellow teardrop shaped tomatoes, and has been pretty bountiful over the last year. The other grows HUGE (grapefruit size) pink tomatoes, but only one at a time. There have been 3 of them over the last year, and there's a new one growing. Unfortunately, some animal ALWAYS eats it the day I decide "It looks pretty good- I'll pick it tomorrow."
Black Prince Tom (a victim of the ice storm, transplanted from a protein powder container to a large pot - the previous home of the habanero)...he's obviously got some issues, leaves curled in, some yellowing on some fo his new growth; he was in really crappy "Black Magic" soil I used last year, so hopefully the transplant solves the issue.
Celebrity (Another victim of the ice storm, note the lower leaves, but doing perfectly since.)
Red Beefsteak (saved from the ice storm because he was attacked by the Jack Russel and was recuperating inside for a few days prior to planting.)