First off I do NOT know all there is to know about growing peppers, nor would I ever claim to. I learn new things and methods each year. I wanted to share with you how I do things which has worked out well for me. I try and improve my process each year, but most times, I have to relearn what I learned last year (if that makes sense)
I am hoping that this will help the new pepper grower learn the process of seed starting and have written this from my personal experience...it's pretty straight forward and I know everyone does it their way but this way works best for me and usually ends up producing 90 + % germination rates...
Step by step process.
1. Cleanliness - Sanitize all tools/work areas/germination areas/trays before starting...I use a very strong solution of the harshest chemical my nose can stand while cleaning my work areas....wash hands very often to keep cleanliness at its best...remember cleanliness is the most important thing...think of your seeds/seedlings as if they were babies...they need care...
2. Seed Starting Medium - When deciding what media to start your seeds in, remember this...you want a light weight medium without large "chunks" in it...water retention of the media is also of utmost important...I use Hoffman's seed starting mix but most light weight "seed starting" mixes will work. A lot of growers use peat pucks and that is fine but they dry out too quickly and are the cause of many seedling deaths...
3. Pre-Soaking your Starting Medium - Soak your starting medium overnight in warm water to completely wet it before planting your seeds.
***Note - Obtain seeds from a reputable/trustworthy source***
4. Planting Seeds - Poke a hole in the soaked media using the blunt end of a sharpie about 1/2" deep. Planting shallower will result in more "helmets" on your seeds. Place the seeds in the holes and gently cover them up...a little pressure won't hurt but you don't want to "pack" the medium you are planting in.
5. Moisture - You want your starting medium damp, not wet...if at any time after the germination process starts, your medium dries out, your seeds are dead...any dry period will kill the embryo...Moist, not wet is very important to remember.
6. Germination Temperature - the temperature at which you germinate your seeds is of utmost importance - 80-86F is optimum. If you get lower than that, the seeds will still germinate (down to 60F probably) but germination percent decreases almost linearly as the temperature decreases. If you get higher than that, they germination percent also decreases and when you hit 95F or above for an extended period, can you say "zero"? Constant temperature is a key here IMO
7. Ambient Temperature - While not as important as germination temperature, ambient temperature of your grow area is important also...IMO 80F is about a perfect temperature to grow pepper seedlings.
8. Light - Light is not needed for pepper seed germination but once the seeds have "hooked", pour the light to them...as much as you can...mine get 3K lumens/ft[sup]2[/sup]
9. Stem Exercise - A fan blowing on the seedlings several times a day is required for stem health...you want to "exercise" the stems several times a day....this stretches the cell walls thus thickening and strengthening them...think of standing on one leg with a pretty good wind blowing on you for 30 minutes a day...that leg would get muscular...I run the fan on as high as the plants can stand it without breaking them down...
9. Fertilize - to fertilize or not to fertilize...up to ya...some people say no, some people say yes...I fertilize with 1/2 strength from the time the seeds hit the soil until first transplant then use full strength...that is my choice and works well for me....I use Botanicare products like Liquid Karma & ProGrow.
10. Watering - I have found the best way to know when you need to water is through experience...if the seedlings wilt, definitely time for water, however, if you will take a dry container, feel the weight of it, then take a soaked container and feel the weight of it, you will know when your plants need water...IMO this works better than moisture gauges or being on a set watering schedule...over watering will make your plants die over time...
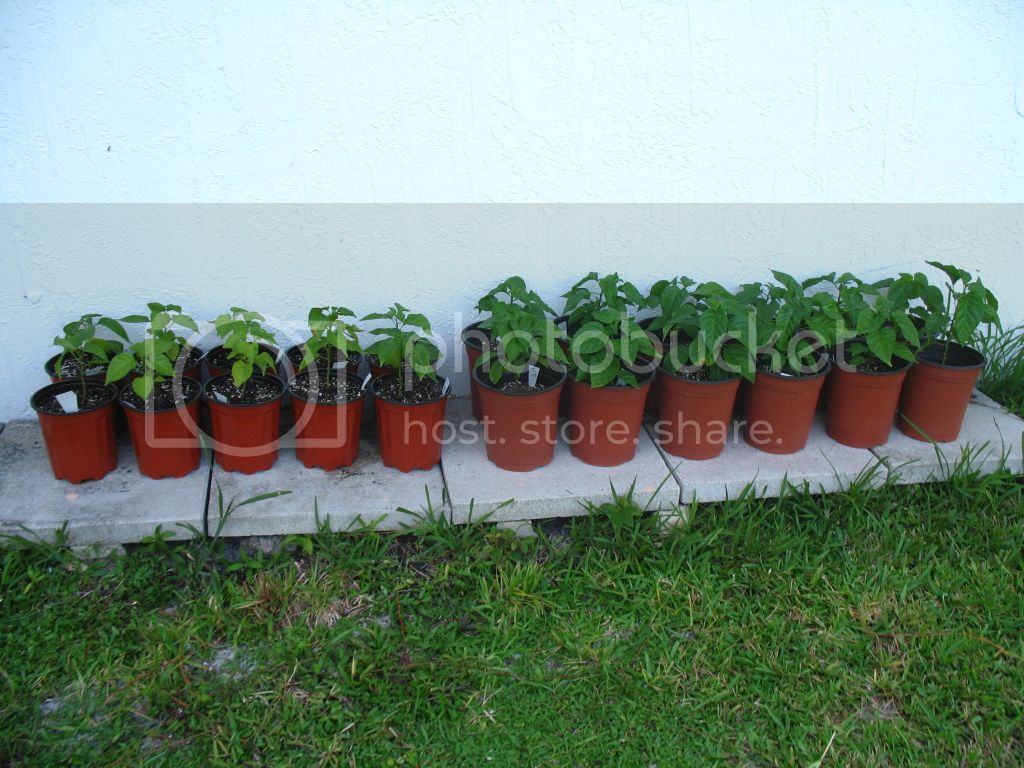
11. Transplant time - if using seed starting trays, transplant only when the roots start growing out of the bottom...remember, the health of your root ball determines the health of your plant. Transplanting several times to increasingly larger containers improves the health of the plant by making a more compact root ball, not root bound, just a good network of nice hairy roots. Something like this works really well...seed starting tray (3 weeks) to 3" square containers (3-4 weeks), to 6" containers (3-5 weeks) , to 2-3 gallon (2 months) to 5 gallon etc...however, because I grow so many plants, I only transplant three times...from seed starting tray to 3" container to 6" container to 5 gallon container....then during the season, I may transplant to 10 gallon containers...
enjoy growing...for those not growing in containers, go to ground or raised bed after 6" container....
If I have left anything out or if anyone simply disagrees with this method, please say so...I probably won't change but the process can be tweaked to fit your style of growing....
I am hoping that this will help the new pepper grower learn the process of seed starting and have written this from my personal experience...it's pretty straight forward and I know everyone does it their way but this way works best for me and usually ends up producing 90 + % germination rates...
Step by step process.
1. Cleanliness - Sanitize all tools/work areas/germination areas/trays before starting...I use a very strong solution of the harshest chemical my nose can stand while cleaning my work areas....wash hands very often to keep cleanliness at its best...remember cleanliness is the most important thing...think of your seeds/seedlings as if they were babies...they need care...
2. Seed Starting Medium - When deciding what media to start your seeds in, remember this...you want a light weight medium without large "chunks" in it...water retention of the media is also of utmost important...I use Hoffman's seed starting mix but most light weight "seed starting" mixes will work. A lot of growers use peat pucks and that is fine but they dry out too quickly and are the cause of many seedling deaths...
3. Pre-Soaking your Starting Medium - Soak your starting medium overnight in warm water to completely wet it before planting your seeds.
***Note - Obtain seeds from a reputable/trustworthy source***
4. Planting Seeds - Poke a hole in the soaked media using the blunt end of a sharpie about 1/2" deep. Planting shallower will result in more "helmets" on your seeds. Place the seeds in the holes and gently cover them up...a little pressure won't hurt but you don't want to "pack" the medium you are planting in.
5. Moisture - You want your starting medium damp, not wet...if at any time after the germination process starts, your medium dries out, your seeds are dead...any dry period will kill the embryo...Moist, not wet is very important to remember.
6. Germination Temperature - the temperature at which you germinate your seeds is of utmost importance - 80-86F is optimum. If you get lower than that, the seeds will still germinate (down to 60F probably) but germination percent decreases almost linearly as the temperature decreases. If you get higher than that, they germination percent also decreases and when you hit 95F or above for an extended period, can you say "zero"? Constant temperature is a key here IMO
7. Ambient Temperature - While not as important as germination temperature, ambient temperature of your grow area is important also...IMO 80F is about a perfect temperature to grow pepper seedlings.
8. Light - Light is not needed for pepper seed germination but once the seeds have "hooked", pour the light to them...as much as you can...mine get 3K lumens/ft[sup]2[/sup]
9. Stem Exercise - A fan blowing on the seedlings several times a day is required for stem health...you want to "exercise" the stems several times a day....this stretches the cell walls thus thickening and strengthening them...think of standing on one leg with a pretty good wind blowing on you for 30 minutes a day...that leg would get muscular...I run the fan on as high as the plants can stand it without breaking them down...
9. Fertilize - to fertilize or not to fertilize...up to ya...some people say no, some people say yes...I fertilize with 1/2 strength from the time the seeds hit the soil until first transplant then use full strength...that is my choice and works well for me....I use Botanicare products like Liquid Karma & ProGrow.
10. Watering - I have found the best way to know when you need to water is through experience...if the seedlings wilt, definitely time for water, however, if you will take a dry container, feel the weight of it, then take a soaked container and feel the weight of it, you will know when your plants need water...IMO this works better than moisture gauges or being on a set watering schedule...over watering will make your plants die over time...
11. Transplant time - if using seed starting trays, transplant only when the roots start growing out of the bottom...remember, the health of your root ball determines the health of your plant. Transplanting several times to increasingly larger containers improves the health of the plant by making a more compact root ball, not root bound, just a good network of nice hairy roots. Something like this works really well...seed starting tray (3 weeks) to 3" square containers (3-4 weeks), to 6" containers (3-5 weeks) , to 2-3 gallon (2 months) to 5 gallon etc...however, because I grow so many plants, I only transplant three times...from seed starting tray to 3" container to 6" container to 5 gallon container....then during the season, I may transplant to 10 gallon containers...
enjoy growing...for those not growing in containers, go to ground or raised bed after 6" container....
If I have left anything out or if anyone simply disagrees with this method, please say so...I probably won't change but the process can be tweaked to fit your style of growing....