During a recent trip to Costco, I came across this little gem for $8.99:
I've been mulling ideas about building a larger Earthbox, and I thought this might just fit the bill. In this build I'm going to attempt to go as cheap as possible, let's see how I do...
Here are the supplies and the tools in the now familiar operating theatre:
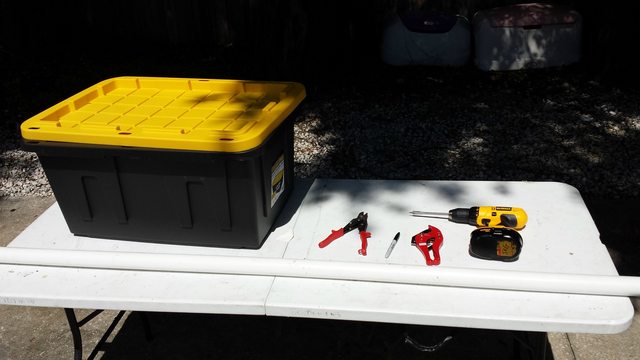
The components:
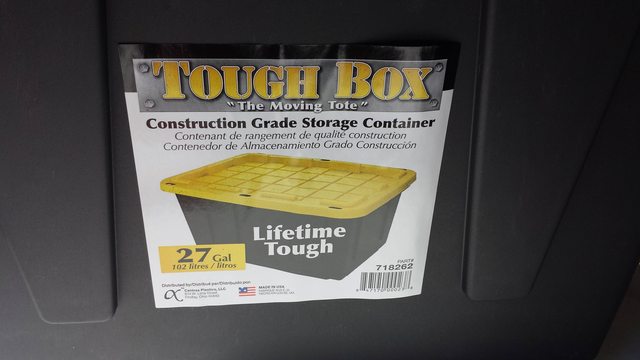
One $8.99 Tough Box a la Costco
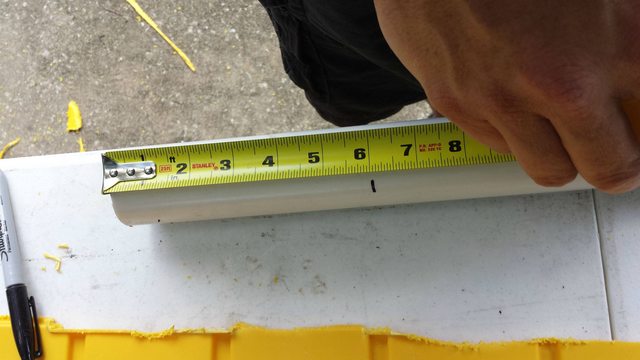
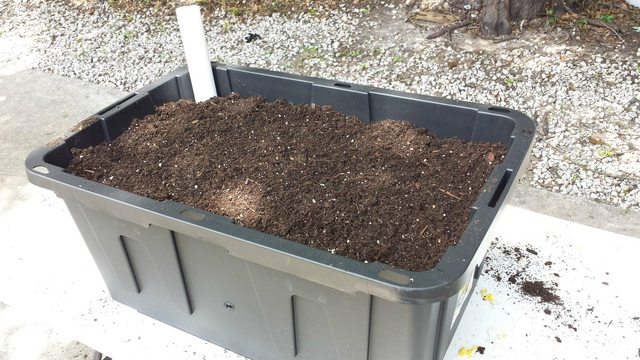
One length of 1 1/2" pvc pipe. I ended up using a little over 6'. This pipe I was what I had lying around, it could be any reasonable diameter.
Drill with 5/8" wood bit
Snips
Some method of cutting pvc pipe
Senor Sharpie
<not pictured> measuring tape
As I'm sure you all know, an earthbox simply consists of a layer of soil resting upon a grate above a water reservoir. As long as the water level is maintained and there are holes in the grates for the roots to grow down through, you essentially have an idiot proof planter with plants that have constant access to all the water and nutrients they need at all times. It's an elegantly simple design that combines hydroponics with the ease of dirt planting. You could buy one from earthbox.com for $32, or you could build a bigger one for nine bucks plus the pvc pipe. Let's get to it!
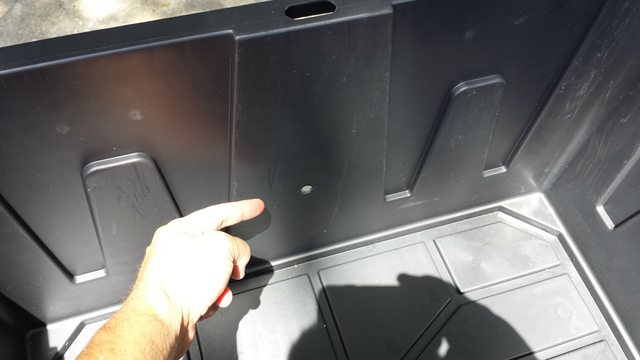
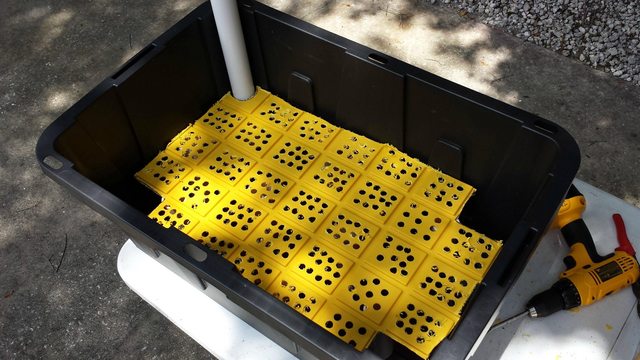
I was originally planning on using a piece of wire garden fence or something as the grate. As I gazed at the box, inspiration struck. I'm going to use the lid!
Have at you!
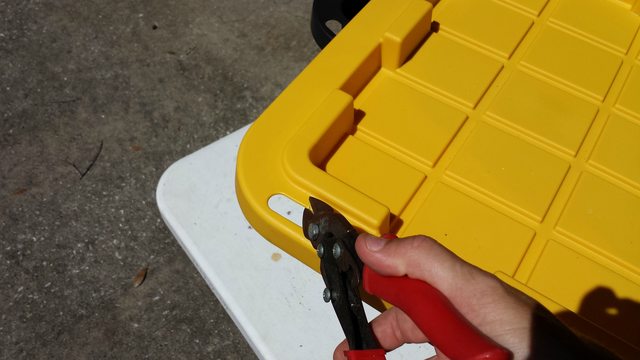
Full disclosure: trying to cut all this plastic off with snips was a royal pain in the @ss. I switched to a jigsaw early in the process and I recommend you do too.
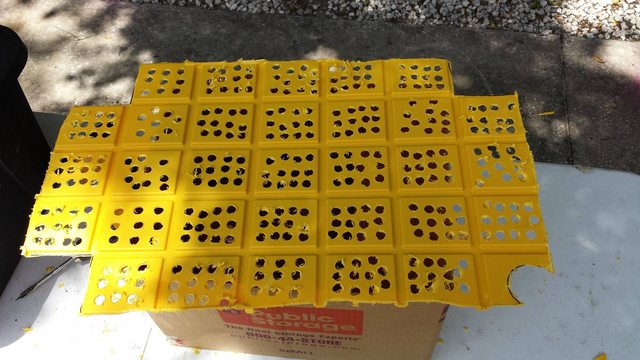
Edges removed:
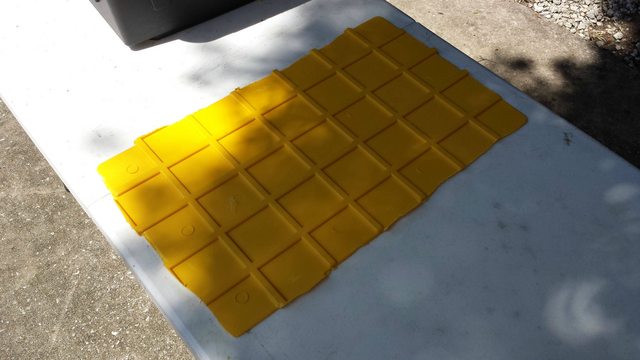
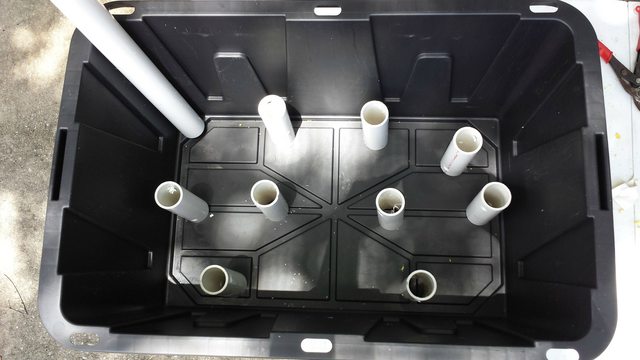
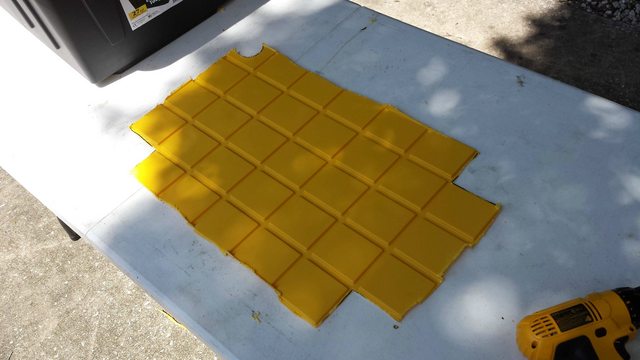
The jigsaw is definitely the way to go. Now let's cut out the corners for later soil packing. This is needed so that the soil will wick up some of the water and keep the dirt moist and tasty. We will also carve out a circle for the filling tube that will stick up and allow easy filling of the reservior.
Uh oh, that's 5 images... Time to start a new post! Follow me!
I've been mulling ideas about building a larger Earthbox, and I thought this might just fit the bill. In this build I'm going to attempt to go as cheap as possible, let's see how I do...
Here are the supplies and the tools in the now familiar operating theatre:
The components:
One $8.99 Tough Box a la Costco
One length of 1 1/2" pvc pipe. I ended up using a little over 6'. This pipe I was what I had lying around, it could be any reasonable diameter.
Drill with 5/8" wood bit
Snips
Some method of cutting pvc pipe
Senor Sharpie
<not pictured> measuring tape
As I'm sure you all know, an earthbox simply consists of a layer of soil resting upon a grate above a water reservoir. As long as the water level is maintained and there are holes in the grates for the roots to grow down through, you essentially have an idiot proof planter with plants that have constant access to all the water and nutrients they need at all times. It's an elegantly simple design that combines hydroponics with the ease of dirt planting. You could buy one from earthbox.com for $32, or you could build a bigger one for nine bucks plus the pvc pipe. Let's get to it!
I was originally planning on using a piece of wire garden fence or something as the grate. As I gazed at the box, inspiration struck. I'm going to use the lid!
Have at you!
Full disclosure: trying to cut all this plastic off with snips was a royal pain in the @ss. I switched to a jigsaw early in the process and I recommend you do too.
Edges removed:
The jigsaw is definitely the way to go. Now let's cut out the corners for later soil packing. This is needed so that the soil will wick up some of the water and keep the dirt moist and tasty. We will also carve out a circle for the filling tube that will stick up and allow easy filling of the reservior.
Uh oh, that's 5 images... Time to start a new post! Follow me!