My 2013 pepper crop was a disappointment. Most of the chilies I planted in the ground were either eaten by rabbits, died or grew poorly. I suspect that high soil pH is the reason for poor growth performance, but I haven't tested the soil. I do have a Pin Oak that wasn't doing well though and the arborist who treated it told me that the soil in my area has a high pH value (high 7's). I also made the mistake of thinking that fish emulsion was a complete fertilizer. I know better now.
Other plants that I grew in pots were started late, grew slowly and failed to set fruit before it became too hot and the blossoms dropped all summer long. Once it cooled off enough to set fruit, it became a race against time for the pods to ripen before it freezes.
I do plan to overwinter several of the 2013 plants for an early start next year, but my lack of success has forced me to come up with a better strategy.
2014 Crop Plan
To begin, I'm going to start my seeds this month (November). I've research methods and equipment and after a few days on Amazon, I think I have everything I need.
My crop this year has many super hots, but after the first of the year, I'll also start some Jalapeños, Chocolate Bells, California Wonder Bells and Banana Peppers. I also want to try some Aji Amarillo. However, this is what I will start this week.
Red Bhut Jolokia
Yellow Bhut Jolokia
Red Trinidad Scropion
Red Paper Latern
Trinidad Yellow 7 Pot
Yellow Devil's Tongue
Chocolate Habanero
Red Aji Dulce (no heat)
Red Savina
Orange Habanero
Fatalii
The Fatalli seeds were ordered from Pepper Gal where I also ordered sodium nitrate to soak the seeds in before planting. Everything else was ordered from Hinterland Trading.
Equipment
For equipment to germinate the seeds and maintain the plants until spring, I ordered:
21" x 11" x 2" propagation trays (5)
21" x 11" propagation tray domes (2)
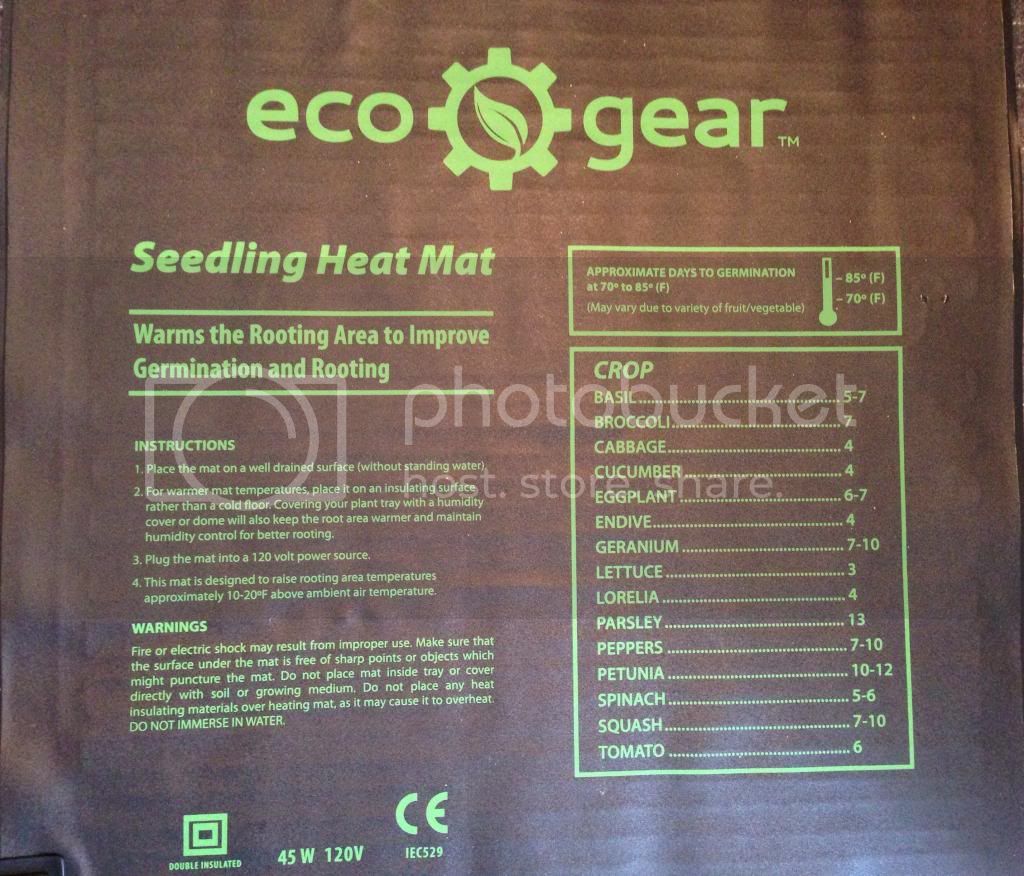
9" x 20" Ecogear Seed Heating Mat (1)
Hydrofarm FLCDG125D Fluorowing Compact Fluorescent System w/CFL Bulb (2)
Hydrofarm MTPRTC Digital Thermostat For Heat Mats (1)
23" W x 13" D x 30" H Three Shelf Unit (1)
All in, I spent ~$270, but everything can be used multiple times and should provide several years of productive use. (I might need to buy new grow bulbs at some point though.)
To hold my seedlings, I already have more new six-pack cell units than I know what to do with. Since each tray can hold 8 units of 6 cells for 48 total cells, I will need to double crop some varieties.
Seeding Method
Since super hot varieties are difficult to germinate, I'm going to employ a dual soaking strategy this year. The first step will be a 10 minute soak in a 3% hydrogen peroxide, water solution to reduce the risk of seed born viruses, diseases, and fungi. I'll utilize 1.5 teaspoons of H2O2 to one cup of warm water for this step.
The second stage will include a 24 hour soak in a solution of potassium nitrate and warm water mixed at 1 teaspoon KNO3 to one quart of water. I'll then place the solution and seeds in small, sealed jars on top of a seed heating mat for 24 hours.
For a planting medium, I plan on using Jiffy Organic Seeding Mix. Since germination may be erratic, I plan on cutting individual cells from six-pack units, filling them then placing them into uncut six-pack units in the heated propagation tray. This will allow me to move individual plants to under the grow light once they've sprouted.
Using a heat mat plugged into a thermostat, I plan to keep the cells at a targeted 85F in a closed propagation tray until germination.
Indoor Growing Strategy
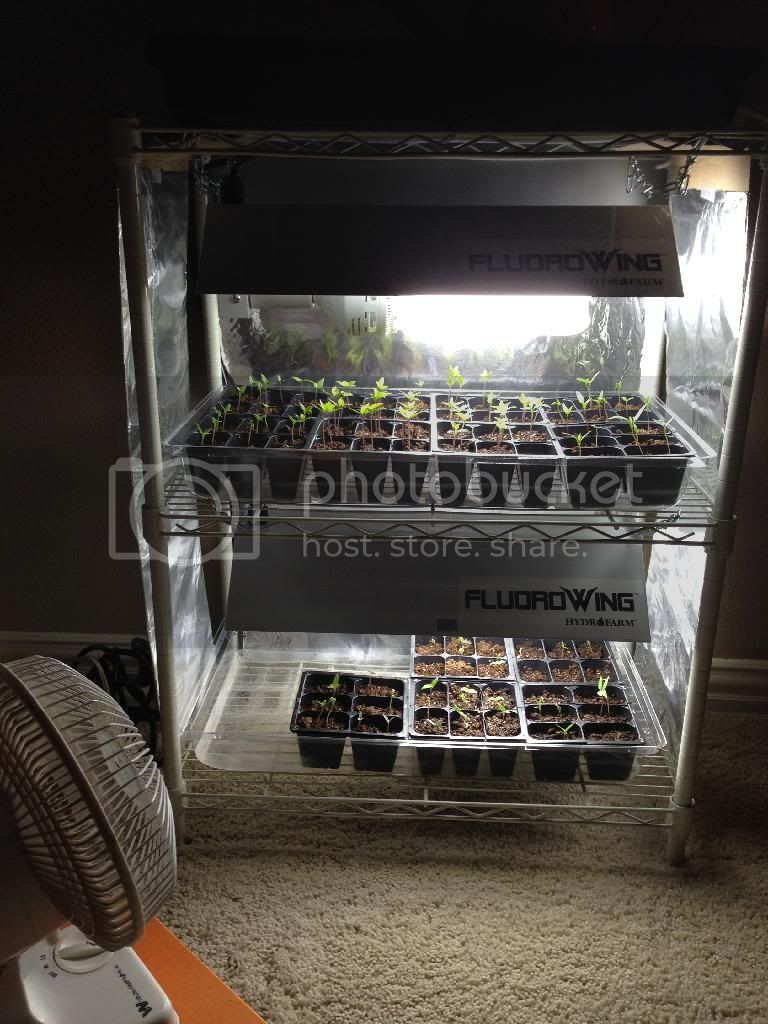
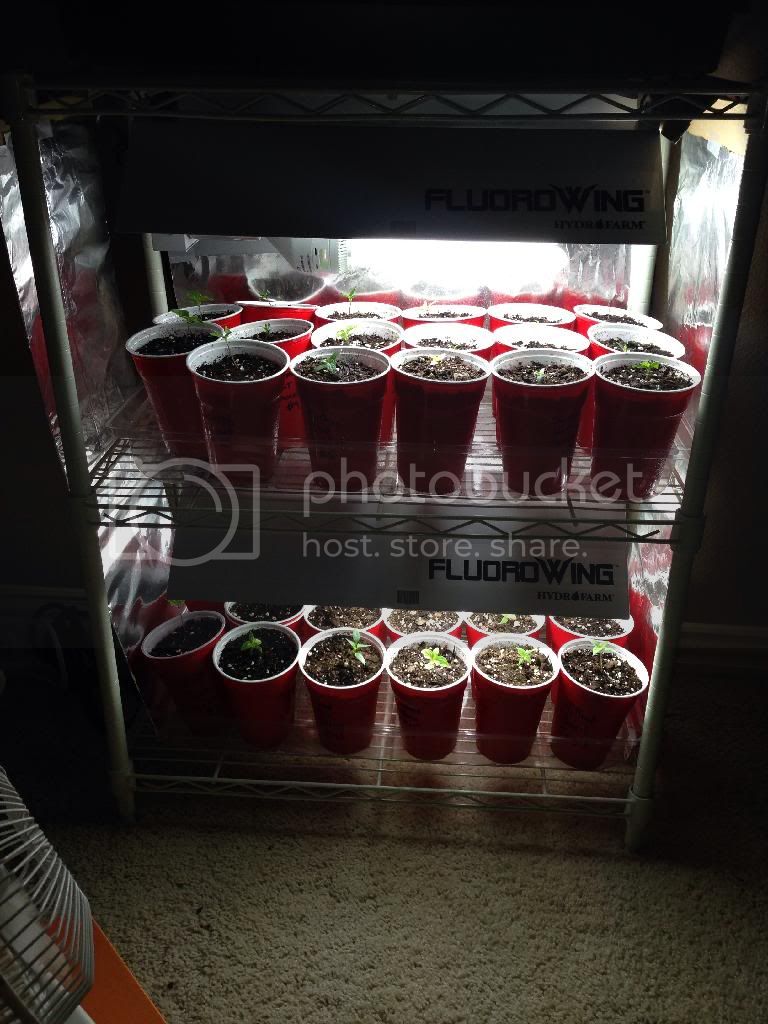
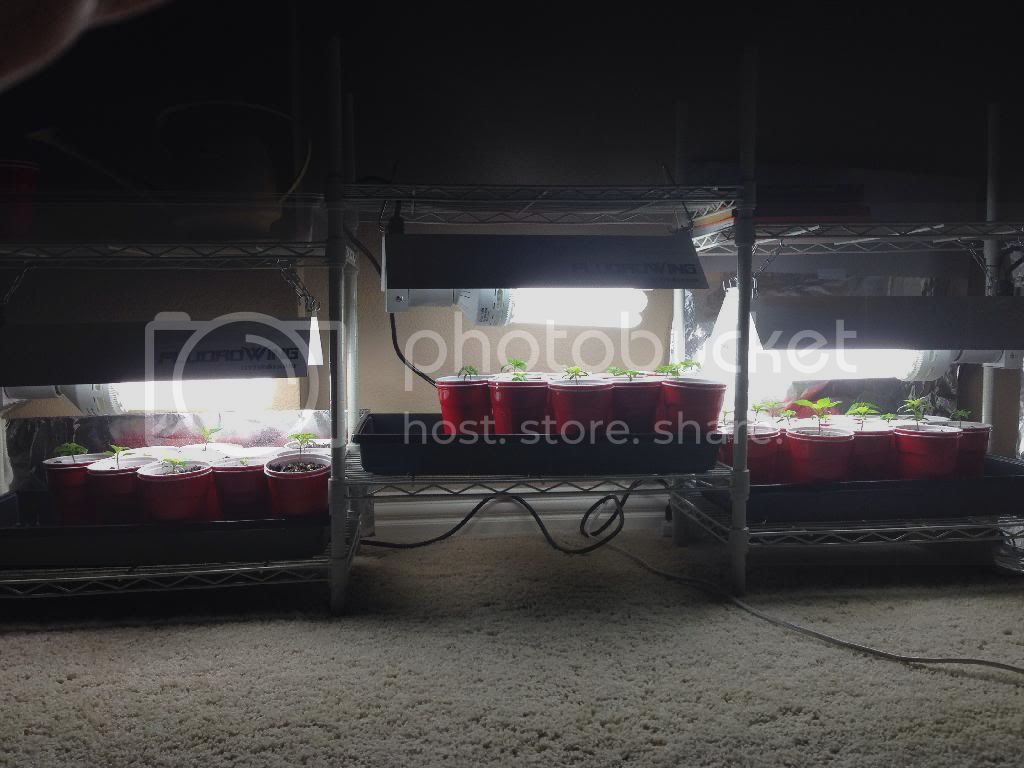
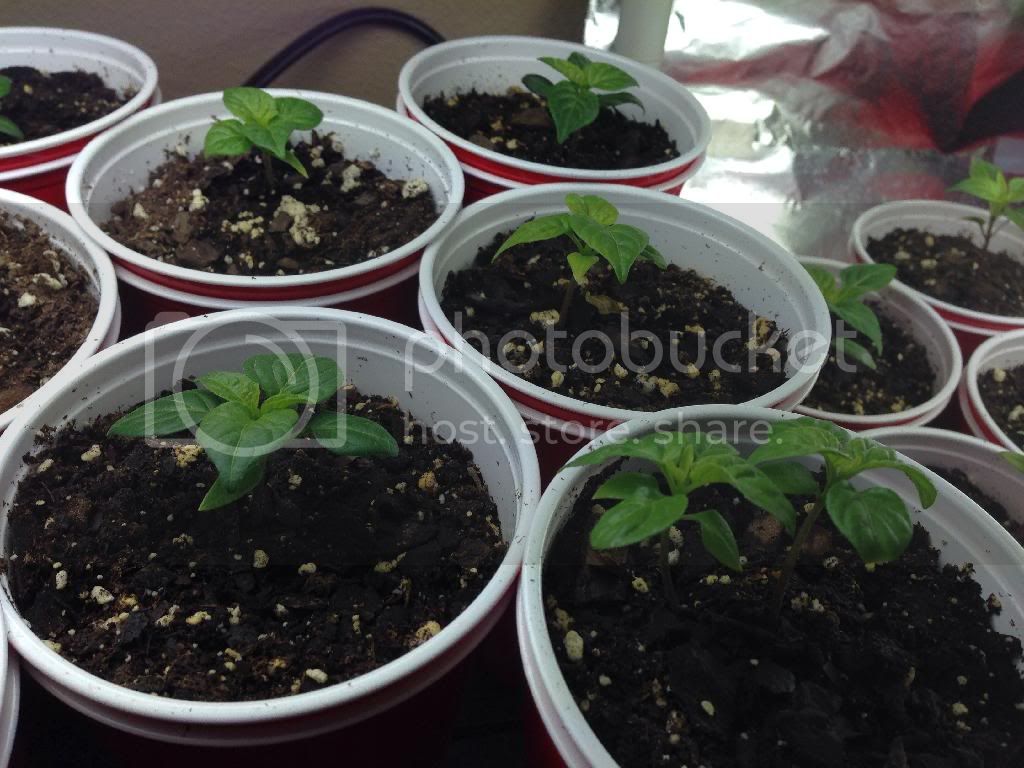
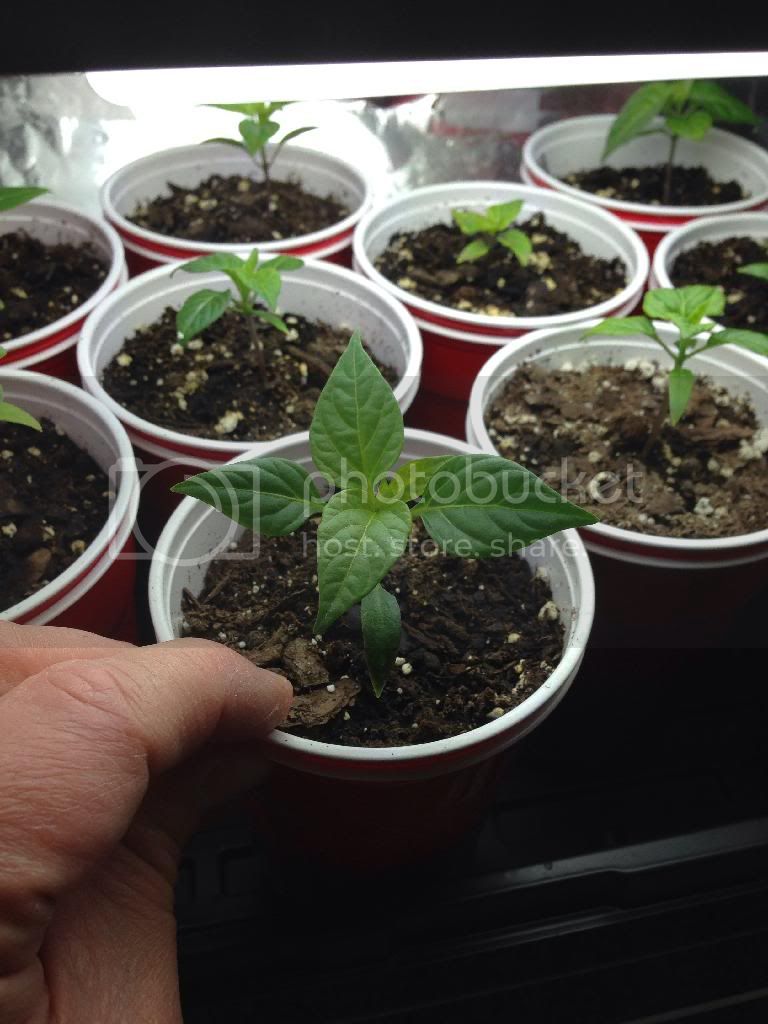
Once the seedlings have developed their first true leaves, I'll transplant the most healthy plants into larger containers using Fox Farms Ocean Forrest potting soil. I will then place the larger containers (probably 16 oz Solo cups) in propagation trays. I plan on hanging the two Hydrofarm Grow Lights on the second and third shelf of the 3-shelf unit I bought at Home Depot. I'll connect the lights and a small oscillating fan I have to a timer to provide roughly 15 hours of light and gentle air movement a day.
To maintain proper plant health, I plan on using Bayer Fruit, Citrus & Vegetable Insect Control for season long protection. I had a very difficult time controlling aphids this year using Neem oil and around September, white flies added to my frustration. I've heard good things about this product and look forward better insect control this year.
Once the seedlings are up, I'll start them with a very weak fish emulsion feeding once a week, but after they are transplanted, I plan on bi-weekly (or weekly, if I see some plants need it) feeding of Fish Emulsion (5-1-1), Vigoro Plant Food (10-10-10) and Epsom salts all dissolved in tap water that has sat in an open container for a few days to dissipate the chlorine or rain water if I'm able to collect enough. I also plan on spreading bone meal onto the surface of the soil every other week.
I'm a little concerned that my fertility program has too much N and not enough P or K, but I've read that others have had success with this regiment, so I'm going to start with that. If anyone has a better recommendation, I'd like to hear about it.
I started my Grow Log last week, but decided to post it here today so there will be a few entries all posted today, but correctly dated in the body of the post.
November 3, 2013
Over the summer, I bought several orange Rocoto peppers from Fiesta Market and saved a bunch of seeds. To date, I've tried twice to germinate those seeds with 0% success. Today I tried a new seeding method. I preformed a 10 minute H2O2 soak followed by a 36 hours soak in weak chamomile tea set on a heating mat. I intended a 24 hour soak, but was not able to plant when originally planned. I was going to use KNO3, but it has not arrived yet.
I planted 18 seeds, placed them in a covered seed tray and placed on a heating mat attached to a thermostat set to 85F.
November 9, 2013
Began the 2014 crop process today, however I changed my variety mix from what I originally planned above. I did this because I received some bonus seeds from Hinterland Trading that I wanted to try. So, today, I began soaking 13 different varieties using the soaking method described earlier. Also included in the crop plan is the Yellow Rocoto I planed on November 3, but which has not sprouted yet.
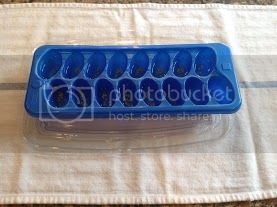
To simplify the soaking procedure, instead of using individual containers for each variety, I utilized two plastic ice cube trays. I numbered each cell in the tray with a number that corresponded with a particular variety. I mixed the H2O2 solution in a measuring cup then filled the first tray to ~ 3/4 full and added 12 seeds to each cell. While they were soaking, I then mixed the KNO3 solution and filled a second tray, again about 3/4 full and transferred the seeds to the second tray, placed it on a plastic lid in case of spillage and placed the whole unit on a heating mat in located in the corner of a out of the way room.
November 10, 2013
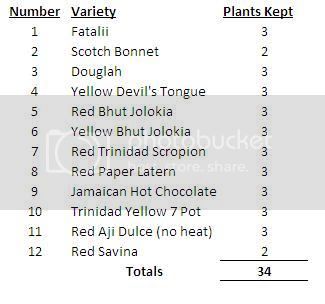
After soaking the seeds soaked for roughly 24 hours, I started the sowing process for the 2014 crop:
Fatalii
Scotch Bonnet
Douglah
Yellow Devil's Tongue
Red Bhut Jolokia
Yellow Bhut Jolokia
Red Trinidad Scropion
Red Paper Latern
Jamaican Hot Chocolate
Trinidad Yellow 7 Pot
Red Aji Dulce (no heat)
Red Savina
Orange Habanero
Yellow Rocoto
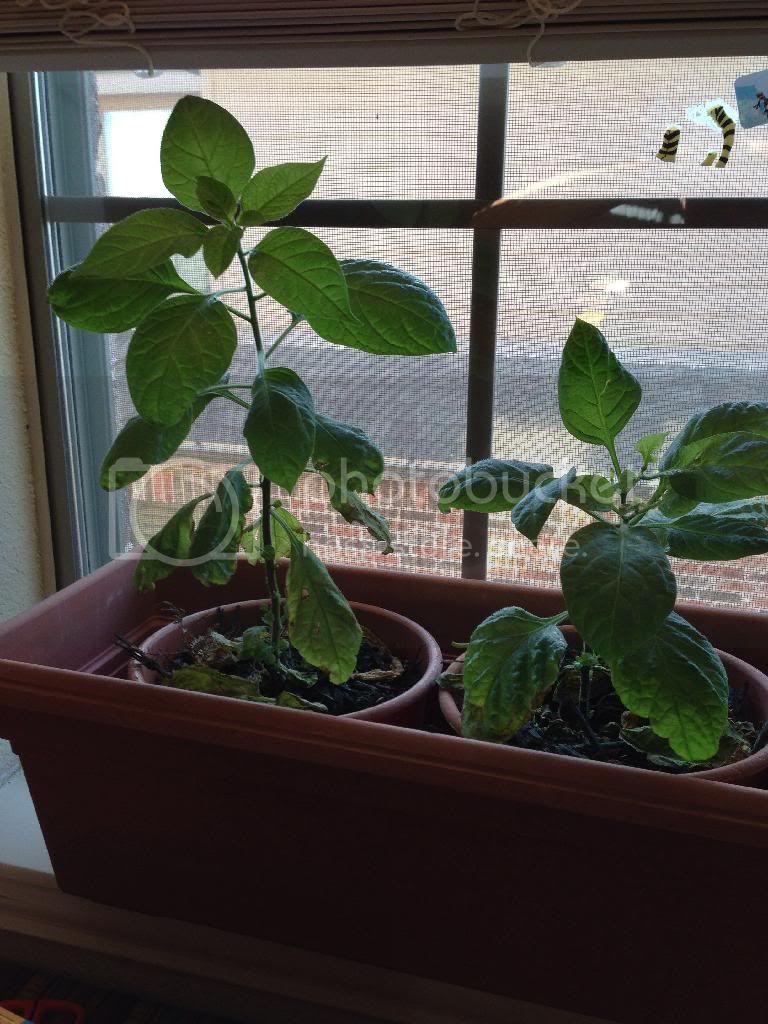
In addition to the varieties above, I also plan to over winter some of this year's plants, perhaps 4-5 plants in all. Since a freeze is forecasted mid-next week (Nov 12-13), I need to decide which plants to bring in soon. I also have seven Red Rocoto plants that I grew from seed this past summer. I started them in the summer because I've read that it takes about a season and a half to raise Rocotos. Right now, they are roughly 8" tall.
For starting my seeds, I used Jiffy Organic Seed Starter medium. To make it easier to work with, I mixed the soil with distilled water prior to filling the planting containers. I filled each cell, leaving a little room at the top, then placed two seeds in each cell. I then covered the seeds with roughly 1/8" - 1/4" of planting medium. This method produces a very loosely filled environment making it easy for the seeds to sprout and the plants to grow in.
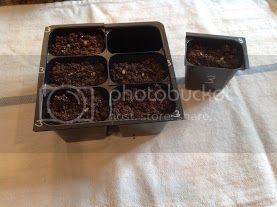
Since germination will be varied with some seeds of the same variety taking longer than others, I cut individual cells from six pack units and placed each into a corresponding intact unit. This will allow me to move spouted plants to a location where they can get light. Also, since these containers will be temporary and I didn't feel like writing the variety names 90 times, I labeled each cell with a number corresponding to the variety in the list above.
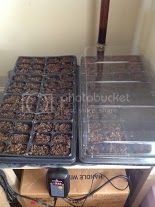
I then placed each six-pack into a propagation tray with a clear plastic cover. The two trays were placed on a double sized heating mat connected to a thermostat set to 85F. Even thought the soil was already moistened, I sprayed the the surface of each cells with a mist of distilled water before closing them up.
Other plants that I grew in pots were started late, grew slowly and failed to set fruit before it became too hot and the blossoms dropped all summer long. Once it cooled off enough to set fruit, it became a race against time for the pods to ripen before it freezes.
I do plan to overwinter several of the 2013 plants for an early start next year, but my lack of success has forced me to come up with a better strategy.
2014 Crop Plan
To begin, I'm going to start my seeds this month (November). I've research methods and equipment and after a few days on Amazon, I think I have everything I need.
My crop this year has many super hots, but after the first of the year, I'll also start some Jalapeños, Chocolate Bells, California Wonder Bells and Banana Peppers. I also want to try some Aji Amarillo. However, this is what I will start this week.
Red Bhut Jolokia
Yellow Bhut Jolokia
Red Trinidad Scropion
Red Paper Latern
Trinidad Yellow 7 Pot
Yellow Devil's Tongue
Chocolate Habanero
Red Aji Dulce (no heat)
Red Savina
Orange Habanero
Fatalii
The Fatalli seeds were ordered from Pepper Gal where I also ordered sodium nitrate to soak the seeds in before planting. Everything else was ordered from Hinterland Trading.
Equipment
For equipment to germinate the seeds and maintain the plants until spring, I ordered:
21" x 11" x 2" propagation trays (5)
21" x 11" propagation tray domes (2)
9" x 20" Ecogear Seed Heating Mat (1)
Hydrofarm FLCDG125D Fluorowing Compact Fluorescent System w/CFL Bulb (2)
Hydrofarm MTPRTC Digital Thermostat For Heat Mats (1)
23" W x 13" D x 30" H Three Shelf Unit (1)
All in, I spent ~$270, but everything can be used multiple times and should provide several years of productive use. (I might need to buy new grow bulbs at some point though.)
To hold my seedlings, I already have more new six-pack cell units than I know what to do with. Since each tray can hold 8 units of 6 cells for 48 total cells, I will need to double crop some varieties.
Seeding Method
Since super hot varieties are difficult to germinate, I'm going to employ a dual soaking strategy this year. The first step will be a 10 minute soak in a 3% hydrogen peroxide, water solution to reduce the risk of seed born viruses, diseases, and fungi. I'll utilize 1.5 teaspoons of H2O2 to one cup of warm water for this step.
The second stage will include a 24 hour soak in a solution of potassium nitrate and warm water mixed at 1 teaspoon KNO3 to one quart of water. I'll then place the solution and seeds in small, sealed jars on top of a seed heating mat for 24 hours.
For a planting medium, I plan on using Jiffy Organic Seeding Mix. Since germination may be erratic, I plan on cutting individual cells from six-pack units, filling them then placing them into uncut six-pack units in the heated propagation tray. This will allow me to move individual plants to under the grow light once they've sprouted.
Using a heat mat plugged into a thermostat, I plan to keep the cells at a targeted 85F in a closed propagation tray until germination.
Indoor Growing Strategy
Once the seedlings have developed their first true leaves, I'll transplant the most healthy plants into larger containers using Fox Farms Ocean Forrest potting soil. I will then place the larger containers (probably 16 oz Solo cups) in propagation trays. I plan on hanging the two Hydrofarm Grow Lights on the second and third shelf of the 3-shelf unit I bought at Home Depot. I'll connect the lights and a small oscillating fan I have to a timer to provide roughly 15 hours of light and gentle air movement a day.
To maintain proper plant health, I plan on using Bayer Fruit, Citrus & Vegetable Insect Control for season long protection. I had a very difficult time controlling aphids this year using Neem oil and around September, white flies added to my frustration. I've heard good things about this product and look forward better insect control this year.
Once the seedlings are up, I'll start them with a very weak fish emulsion feeding once a week, but after they are transplanted, I plan on bi-weekly (or weekly, if I see some plants need it) feeding of Fish Emulsion (5-1-1), Vigoro Plant Food (10-10-10) and Epsom salts all dissolved in tap water that has sat in an open container for a few days to dissipate the chlorine or rain water if I'm able to collect enough. I also plan on spreading bone meal onto the surface of the soil every other week.
I'm a little concerned that my fertility program has too much N and not enough P or K, but I've read that others have had success with this regiment, so I'm going to start with that. If anyone has a better recommendation, I'd like to hear about it.
I started my Grow Log last week, but decided to post it here today so there will be a few entries all posted today, but correctly dated in the body of the post.
November 3, 2013
Over the summer, I bought several orange Rocoto peppers from Fiesta Market and saved a bunch of seeds. To date, I've tried twice to germinate those seeds with 0% success. Today I tried a new seeding method. I preformed a 10 minute H2O2 soak followed by a 36 hours soak in weak chamomile tea set on a heating mat. I intended a 24 hour soak, but was not able to plant when originally planned. I was going to use KNO3, but it has not arrived yet.
I planted 18 seeds, placed them in a covered seed tray and placed on a heating mat attached to a thermostat set to 85F.
November 9, 2013
Began the 2014 crop process today, however I changed my variety mix from what I originally planned above. I did this because I received some bonus seeds from Hinterland Trading that I wanted to try. So, today, I began soaking 13 different varieties using the soaking method described earlier. Also included in the crop plan is the Yellow Rocoto I planed on November 3, but which has not sprouted yet.
To simplify the soaking procedure, instead of using individual containers for each variety, I utilized two plastic ice cube trays. I numbered each cell in the tray with a number that corresponded with a particular variety. I mixed the H2O2 solution in a measuring cup then filled the first tray to ~ 3/4 full and added 12 seeds to each cell. While they were soaking, I then mixed the KNO3 solution and filled a second tray, again about 3/4 full and transferred the seeds to the second tray, placed it on a plastic lid in case of spillage and placed the whole unit on a heating mat in located in the corner of a out of the way room.
November 10, 2013
After soaking the seeds soaked for roughly 24 hours, I started the sowing process for the 2014 crop:
Fatalii
Scotch Bonnet
Douglah
Yellow Devil's Tongue
Red Bhut Jolokia
Yellow Bhut Jolokia
Red Trinidad Scropion
Red Paper Latern
Jamaican Hot Chocolate
Trinidad Yellow 7 Pot
Red Aji Dulce (no heat)
Red Savina
Orange Habanero
Yellow Rocoto
In addition to the varieties above, I also plan to over winter some of this year's plants, perhaps 4-5 plants in all. Since a freeze is forecasted mid-next week (Nov 12-13), I need to decide which plants to bring in soon. I also have seven Red Rocoto plants that I grew from seed this past summer. I started them in the summer because I've read that it takes about a season and a half to raise Rocotos. Right now, they are roughly 8" tall.
For starting my seeds, I used Jiffy Organic Seed Starter medium. To make it easier to work with, I mixed the soil with distilled water prior to filling the planting containers. I filled each cell, leaving a little room at the top, then placed two seeds in each cell. I then covered the seeds with roughly 1/8" - 1/4" of planting medium. This method produces a very loosely filled environment making it easy for the seeds to sprout and the plants to grow in.
Since germination will be varied with some seeds of the same variety taking longer than others, I cut individual cells from six pack units and placed each into a corresponding intact unit. This will allow me to move spouted plants to a location where they can get light. Also, since these containers will be temporary and I didn't feel like writing the variety names 90 times, I labeled each cell with a number corresponding to the variety in the list above.
I then placed each six-pack into a propagation tray with a clear plastic cover. The two trays were placed on a double sized heating mat connected to a thermostat set to 85F. Even thought the soil was already moistened, I sprayed the the surface of each cells with a mist of distilled water before closing them up.