Hi Guys,
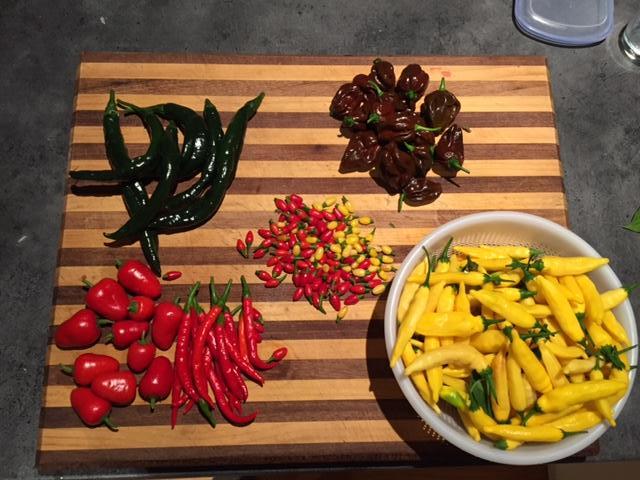
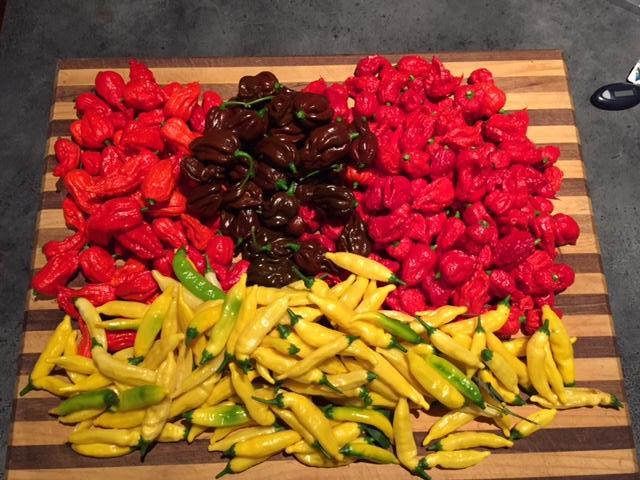
My season is almost over, and it's been a busy one. I didn't really have a chance to post a glog, but I was taking photos throughout the season, so I'd thought I post a photo summary for the record (and mine)....Plus this forum has given me a lot so I thought I'd give something back and I'm very interested in peoples comments and suggestions for improvements for next season....
2015-16 Growlist:
- Rocoto Red
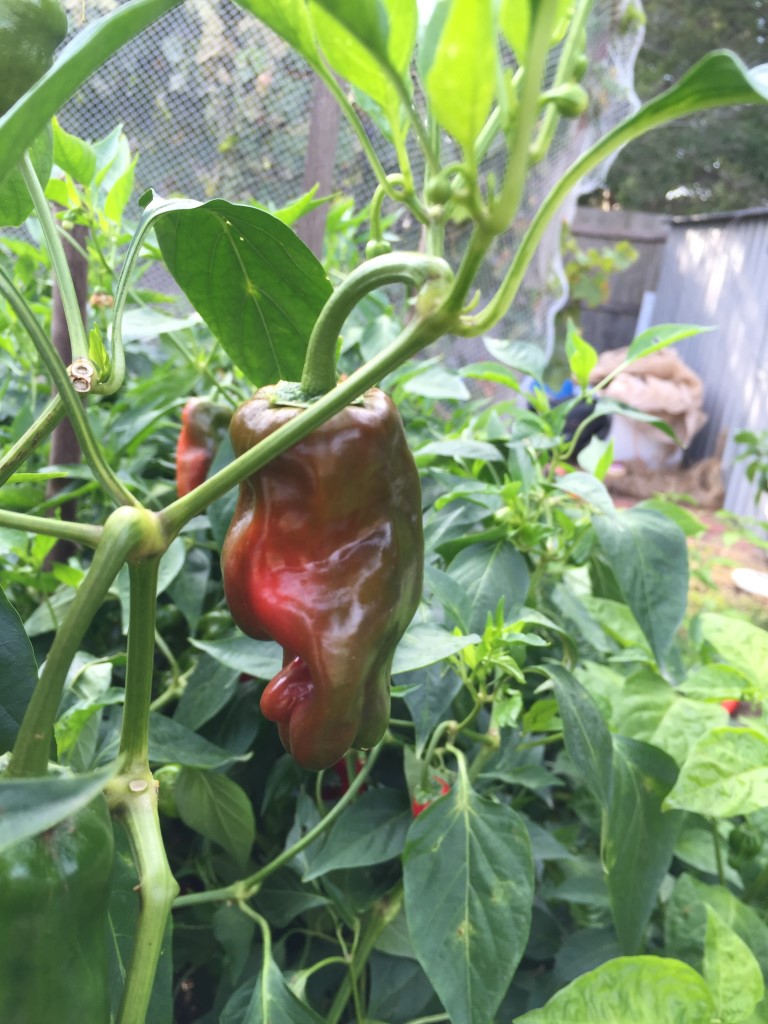
- Choc Habs
- Padron
- Dragon Pods
- Pineapple Baccatums
- Cumari
- African Bird
- Jalepeno
- Thai Prik
- Bulls Horns
- Pasilla
- Trinadad Scorpians
- Carolina Reapers
- Green Fire
- Tezpun
- Turkish Long
- Kashmiri
- Dorset Naga
Note: For the last two years I have sourced some of my pepper seeds from a supplier on eBay. I wont name the vendor, but suffice to say the variability in those seeds, especially compared to the photos provided was significant. There was even variability from plant to plant in the same seed packet. I wont be wasting my time with ebay suppliers again, and lesson learned, you get what you pay for.
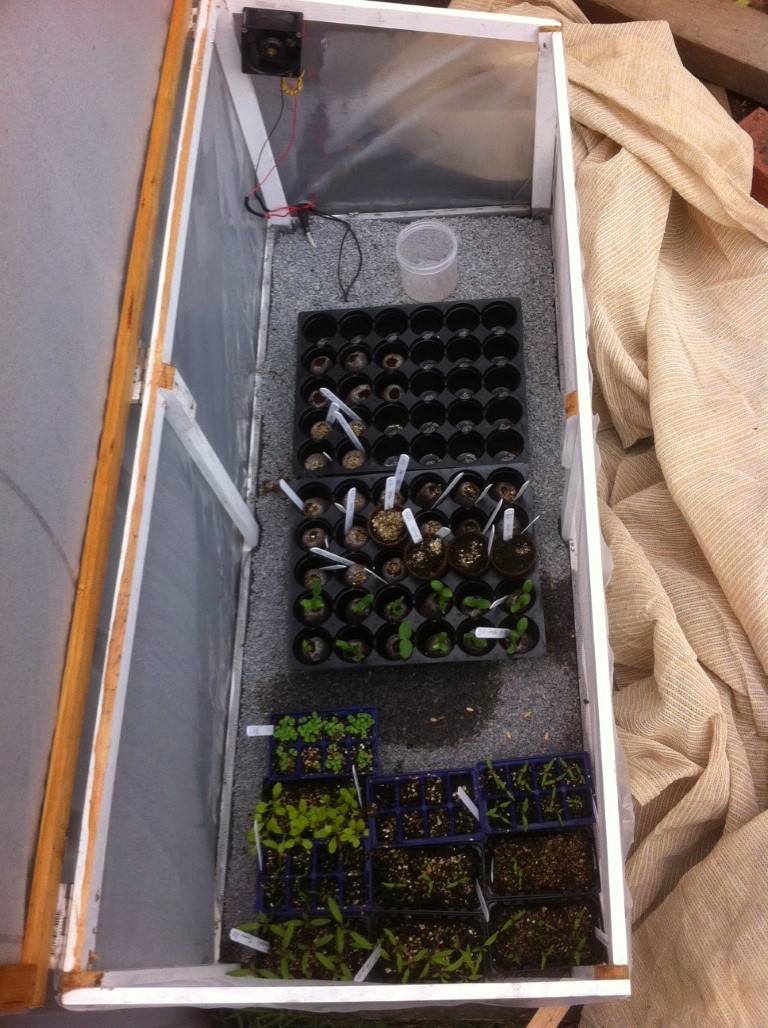
I had great success with the heated seed germination frame this year.
Some of the plastic is looking a bit sun damaged, so I will replace that in a few months ready to start again in July.
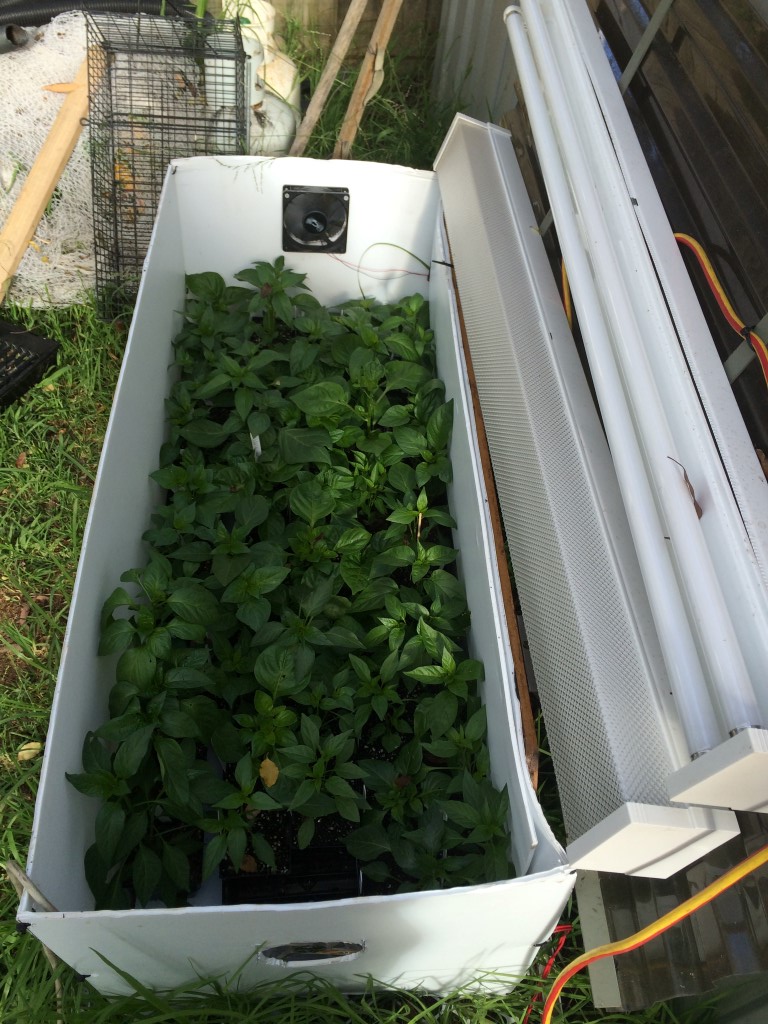
The grow box was also a great success last year. I was surprised at how thick and lush the folliage on the plants was. I will definitely be doing this again this season.
The flouro-light bank provided the perfect amount of light. I am still amazed that I did not suffer an outbreak of bugs like Aphids, but I'm pretty much convinced now that with the grow box being outside, there were some many predatory insects attracted to the lights that no sap sucking bugs had a chance. I never really thought of this as a benefit at the time, but it makes sense to me.
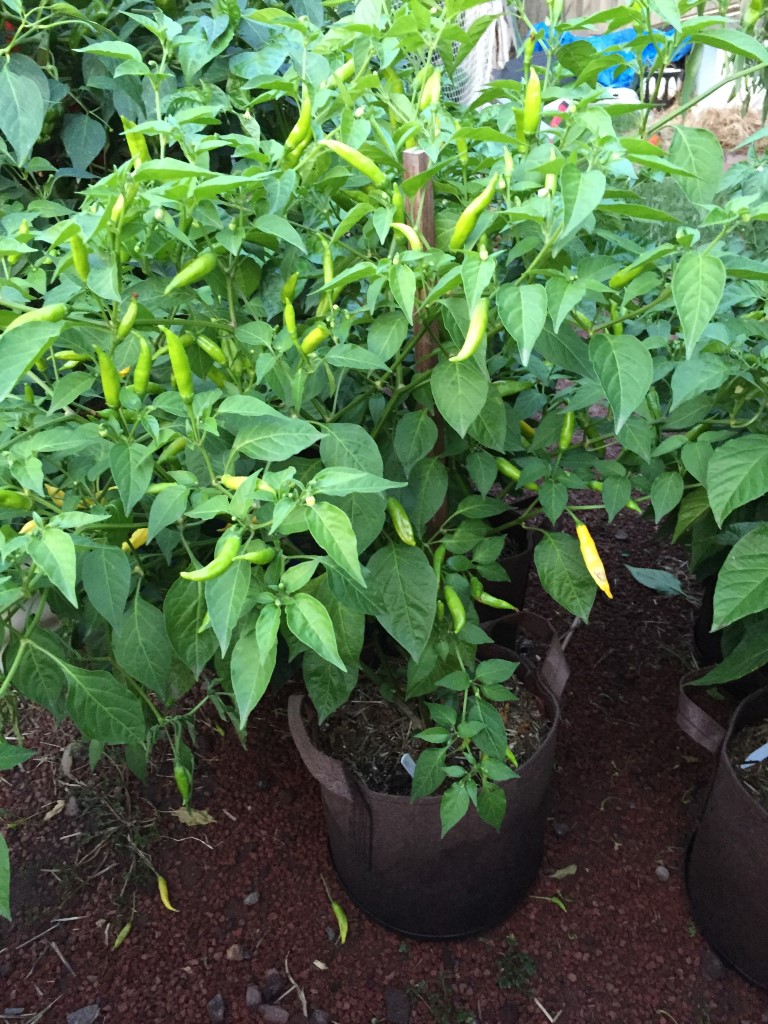
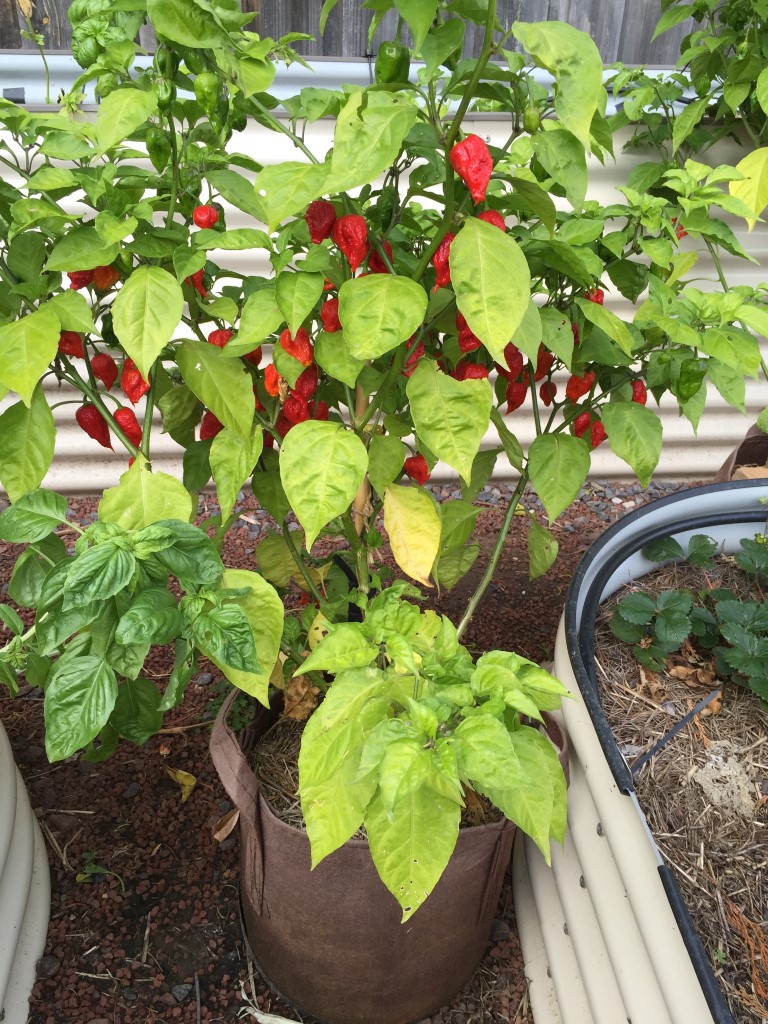
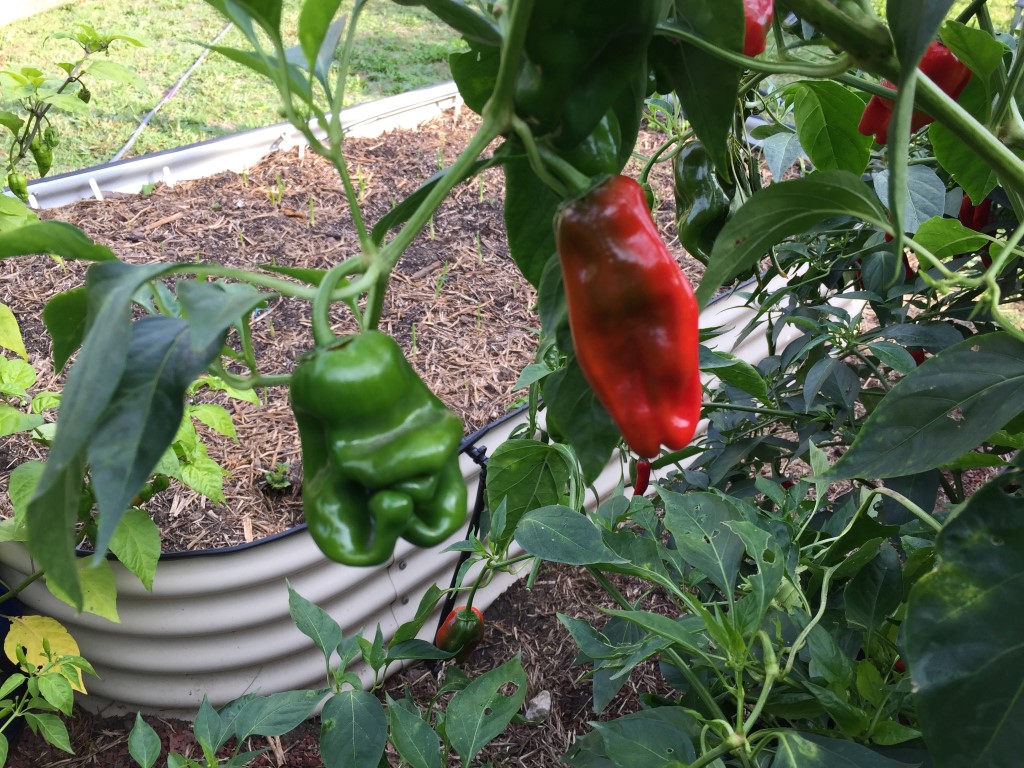
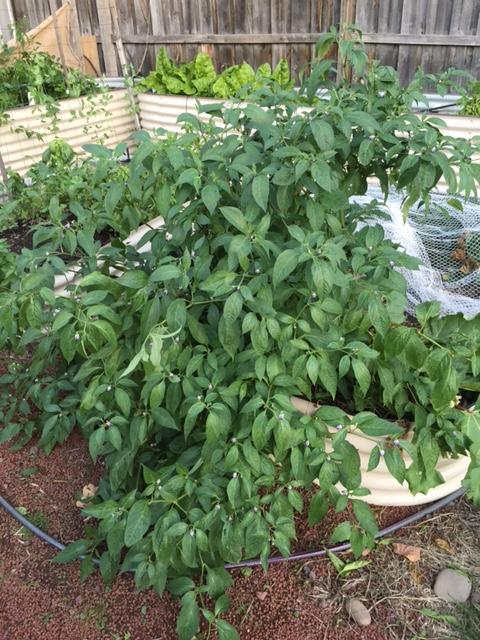
This season I planted peppers using 3 different methods [wicking beds, raised beds and grow pots].
The raised beds worked very well. In previous years, I had struggled with my raised beds because they had been invaded by tree roots from the next door neighbours trees.
This season I re-worked the beds, lining them with geo-textile material to prevent tree roots from getting into the soil. In addition, I added a drip irrigation system.
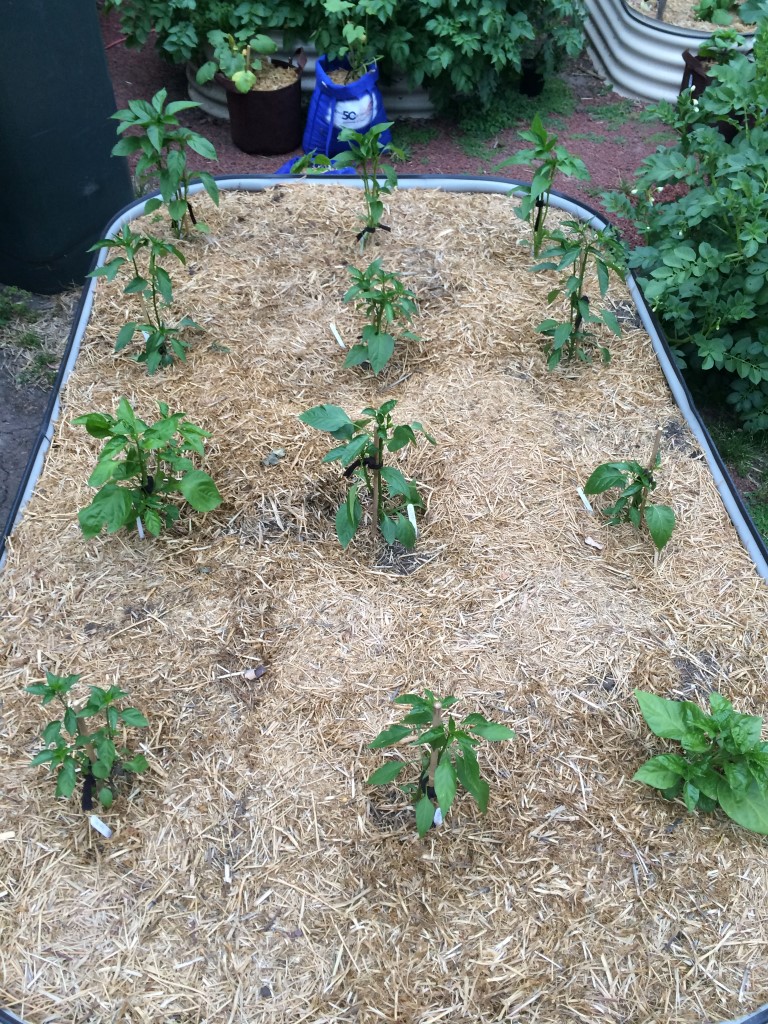
One mistake is that I didn't fully appreciate the difference the new beds and irrigation would make to the vigour of the peppers, there was not enough space between plants, and for the next season I will drop down to two plants per row. This photo was taken at the start of Dec 2015.
Here is the same bed from early Feb 2016. Things were getting a little cramped!
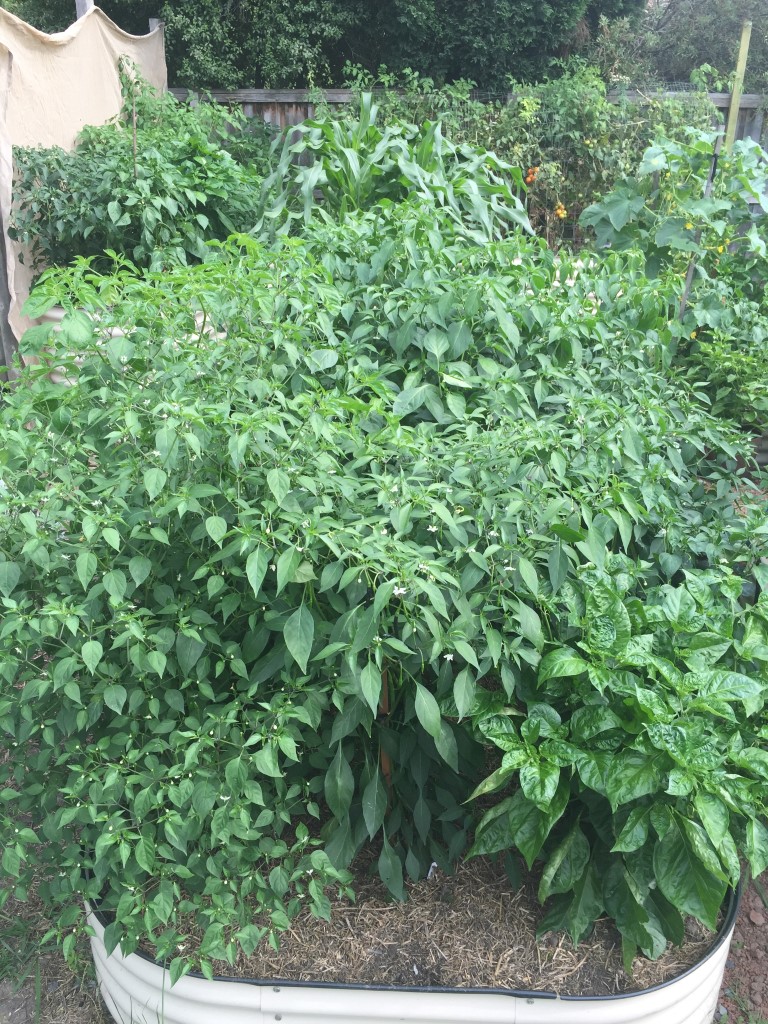
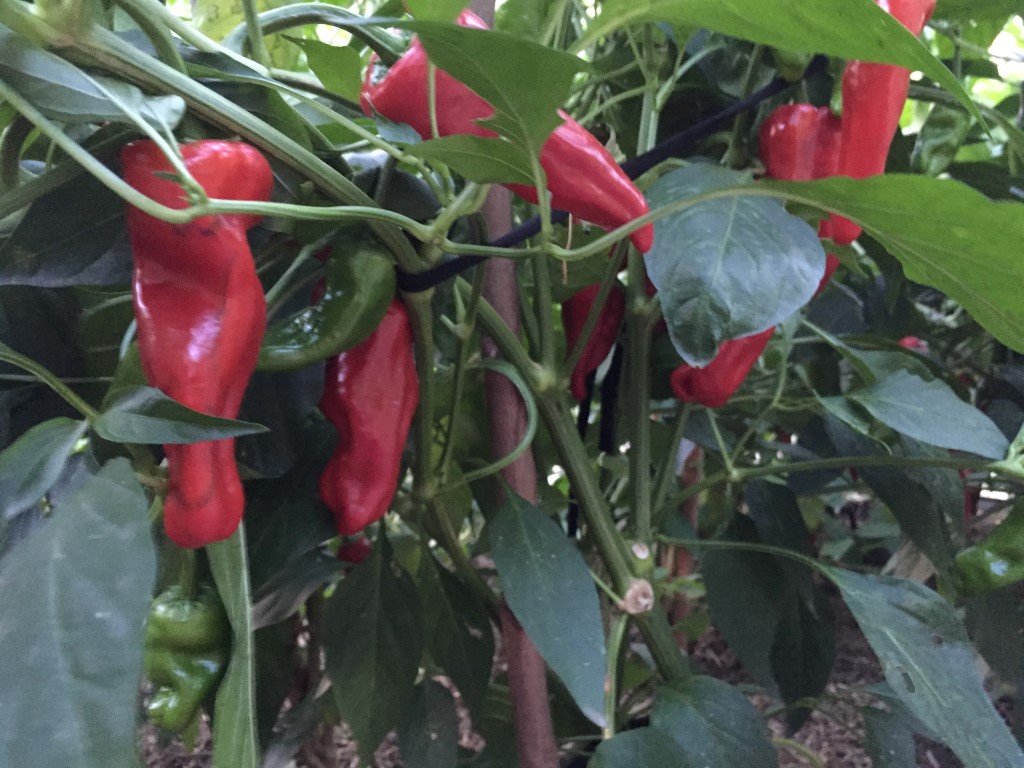
Here is the same bed at the start of this month (April). Crowed but still productive and healthy.

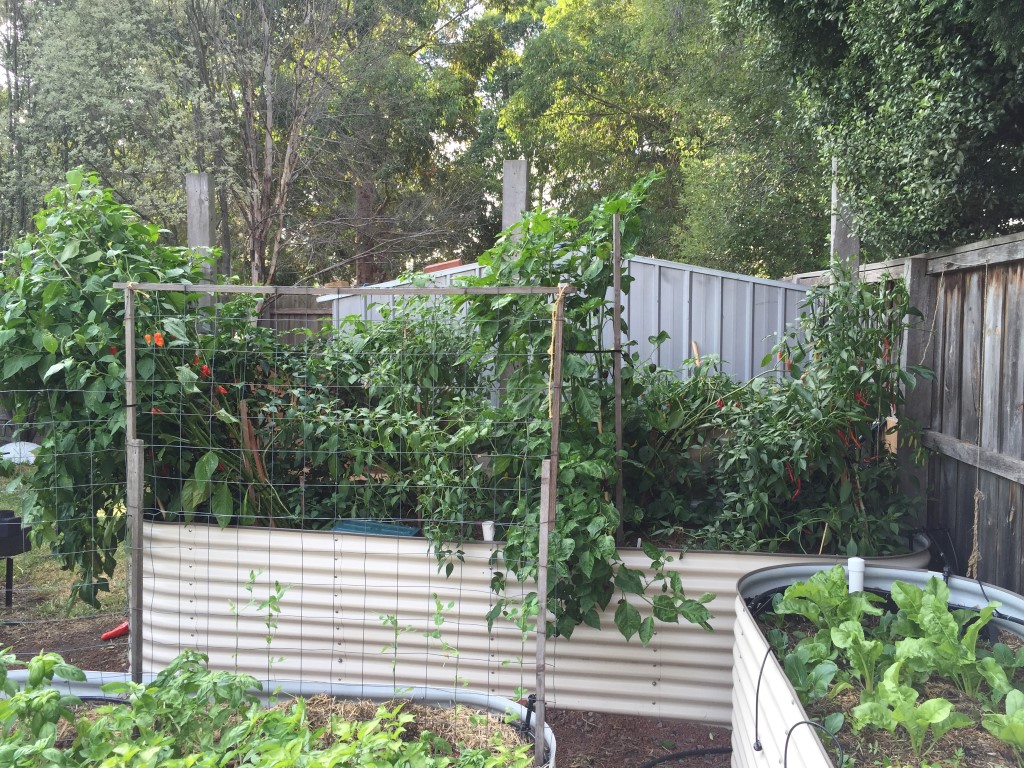
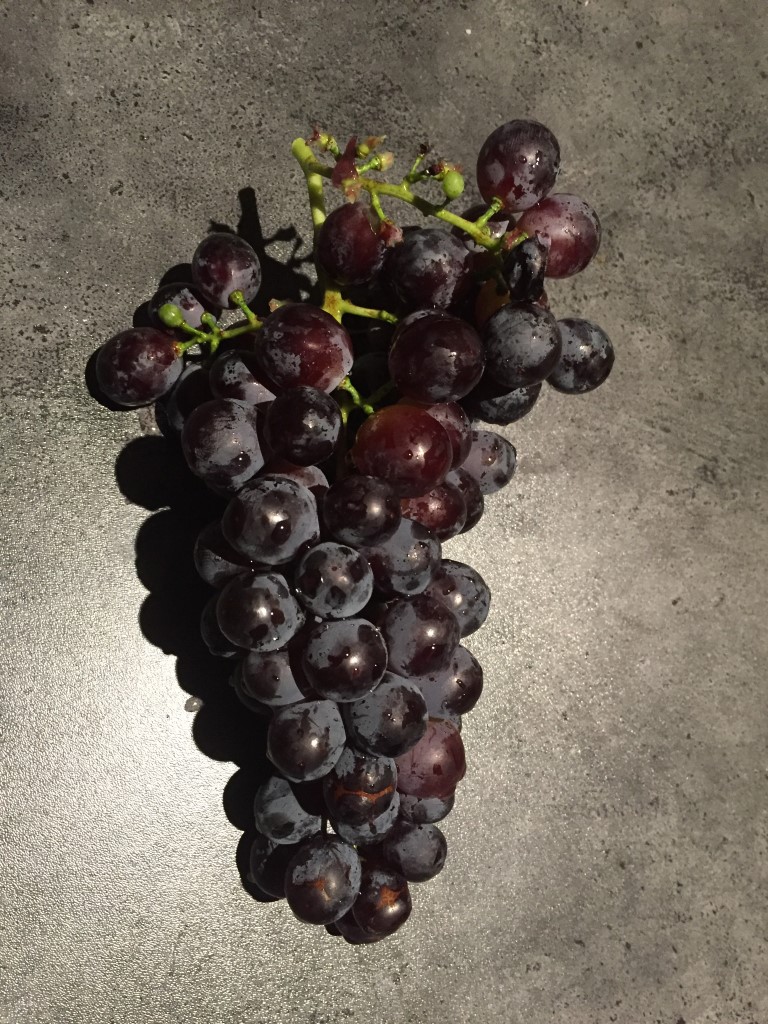
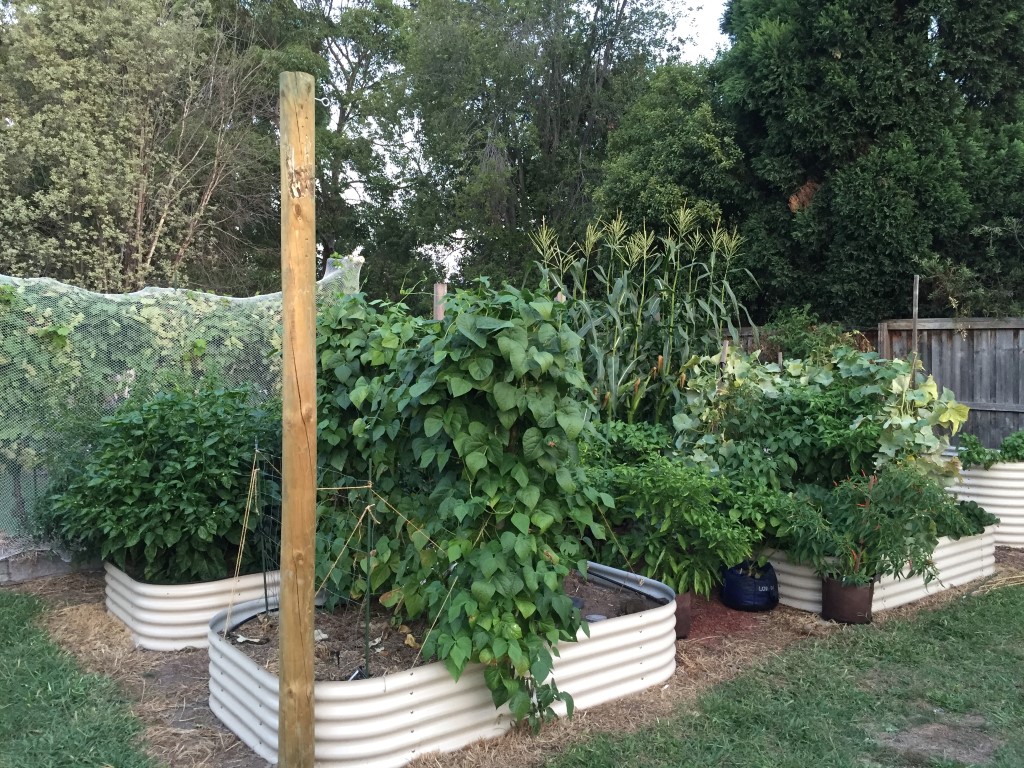
Here is a general overview of the vege garden itself from the start of Feb. In the rear left we have some muscatel grapes (netted), there are two long wicking beds, and then four raised beds.
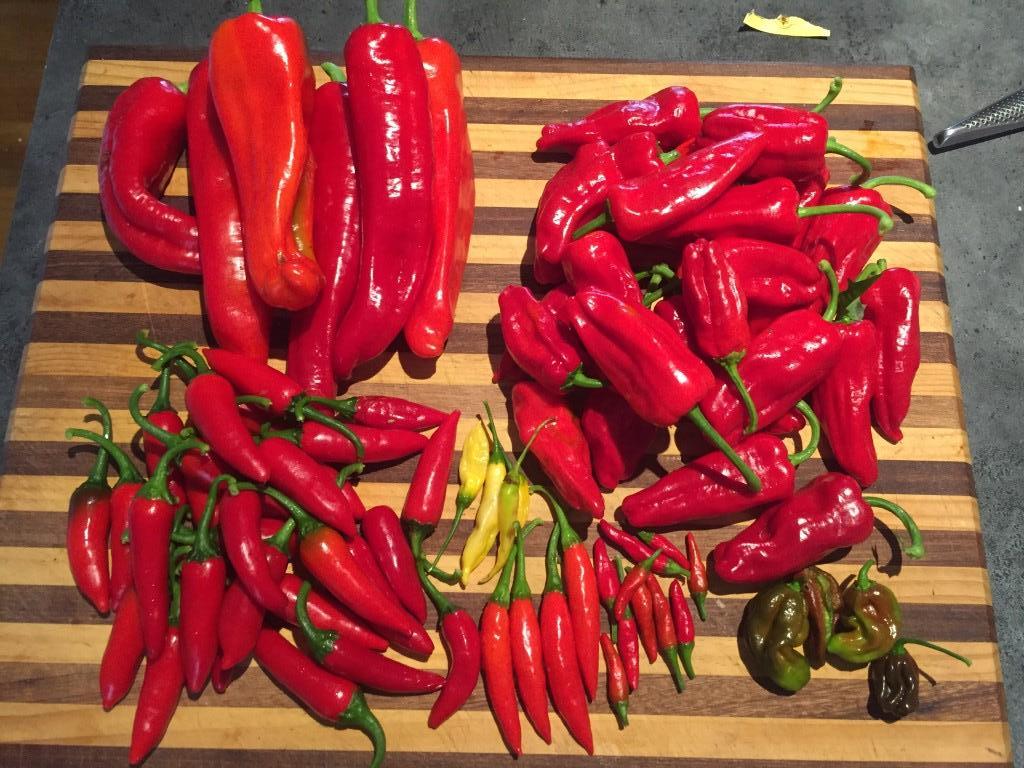
This season I grew most of the usual suspects, apart from lots of peppers there were tomatoes, corn, beans, cucumbers, melons, potatoes, herbs, etc.
I'll post some more photos tonight.
Cheers
Luke
My season is almost over, and it's been a busy one. I didn't really have a chance to post a glog, but I was taking photos throughout the season, so I'd thought I post a photo summary for the record (and mine)....Plus this forum has given me a lot so I thought I'd give something back and I'm very interested in peoples comments and suggestions for improvements for next season....
2015-16 Growlist:
- Rocoto Red
- Choc Habs
- Padron
- Dragon Pods
- Pineapple Baccatums
- Cumari
- African Bird
- Jalepeno
- Thai Prik
- Bulls Horns
- Pasilla
- Trinadad Scorpians
- Carolina Reapers
- Green Fire
- Tezpun
- Turkish Long
- Kashmiri
- Dorset Naga
Note: For the last two years I have sourced some of my pepper seeds from a supplier on eBay. I wont name the vendor, but suffice to say the variability in those seeds, especially compared to the photos provided was significant. There was even variability from plant to plant in the same seed packet. I wont be wasting my time with ebay suppliers again, and lesson learned, you get what you pay for.
I had great success with the heated seed germination frame this year.
Some of the plastic is looking a bit sun damaged, so I will replace that in a few months ready to start again in July.
The grow box was also a great success last year. I was surprised at how thick and lush the folliage on the plants was. I will definitely be doing this again this season.
The flouro-light bank provided the perfect amount of light. I am still amazed that I did not suffer an outbreak of bugs like Aphids, but I'm pretty much convinced now that with the grow box being outside, there were some many predatory insects attracted to the lights that no sap sucking bugs had a chance. I never really thought of this as a benefit at the time, but it makes sense to me.
This season I planted peppers using 3 different methods [wicking beds, raised beds and grow pots].
The raised beds worked very well. In previous years, I had struggled with my raised beds because they had been invaded by tree roots from the next door neighbours trees.
This season I re-worked the beds, lining them with geo-textile material to prevent tree roots from getting into the soil. In addition, I added a drip irrigation system.
One mistake is that I didn't fully appreciate the difference the new beds and irrigation would make to the vigour of the peppers, there was not enough space between plants, and for the next season I will drop down to two plants per row. This photo was taken at the start of Dec 2015.
Here is the same bed from early Feb 2016. Things were getting a little cramped!
Here is the same bed at the start of this month (April). Crowed but still productive and healthy.
Here is a general overview of the vege garden itself from the start of Feb. In the rear left we have some muscatel grapes (netted), there are two long wicking beds, and then four raised beds.
This season I grew most of the usual suspects, apart from lots of peppers there were tomatoes, corn, beans, cucumbers, melons, potatoes, herbs, etc.
I'll post some more photos tonight.
Cheers
Luke