More Cast Iron Reconditioning

I managed to find another old piece of cast iron. So I figured I would share me reconditioning it from start to finish.
This is an "Un-marked" "Un-named" item. Which complicates identifying it. How ever there are few key markings on from it's manufacturing that help indicate the date it was made.

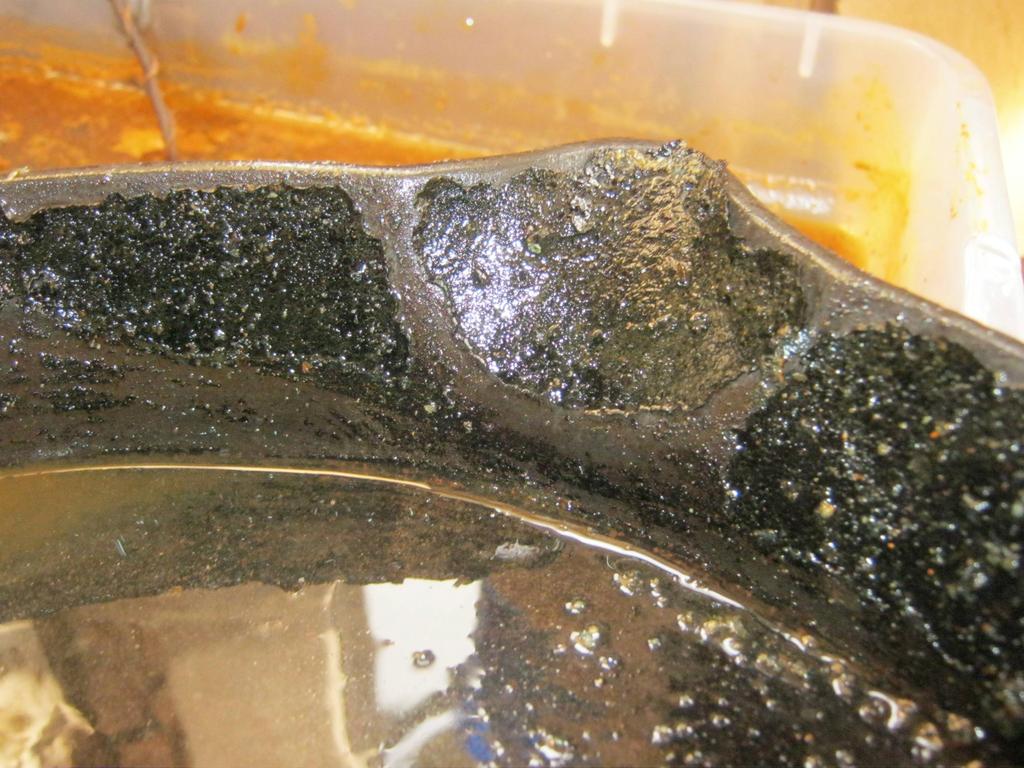
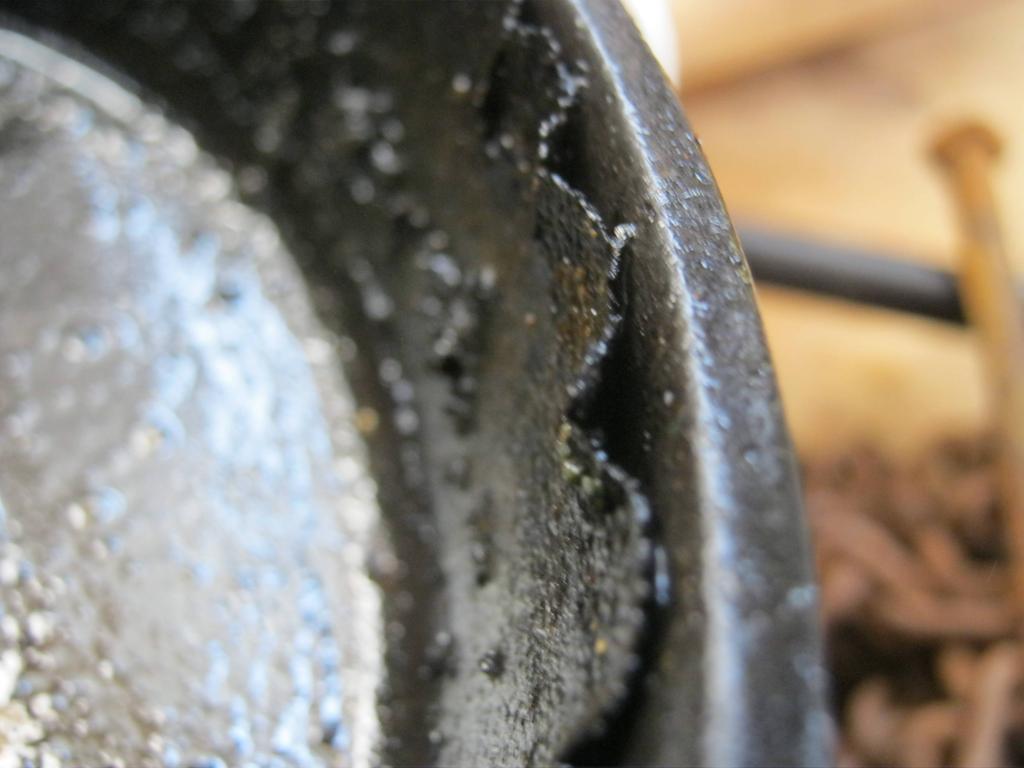
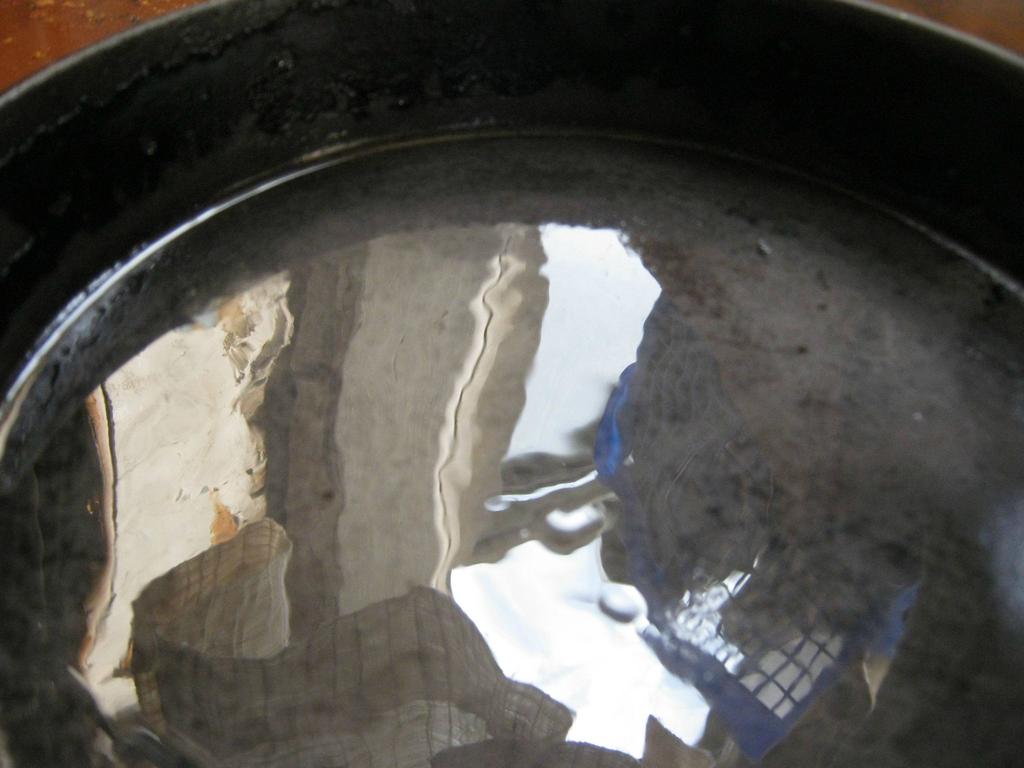
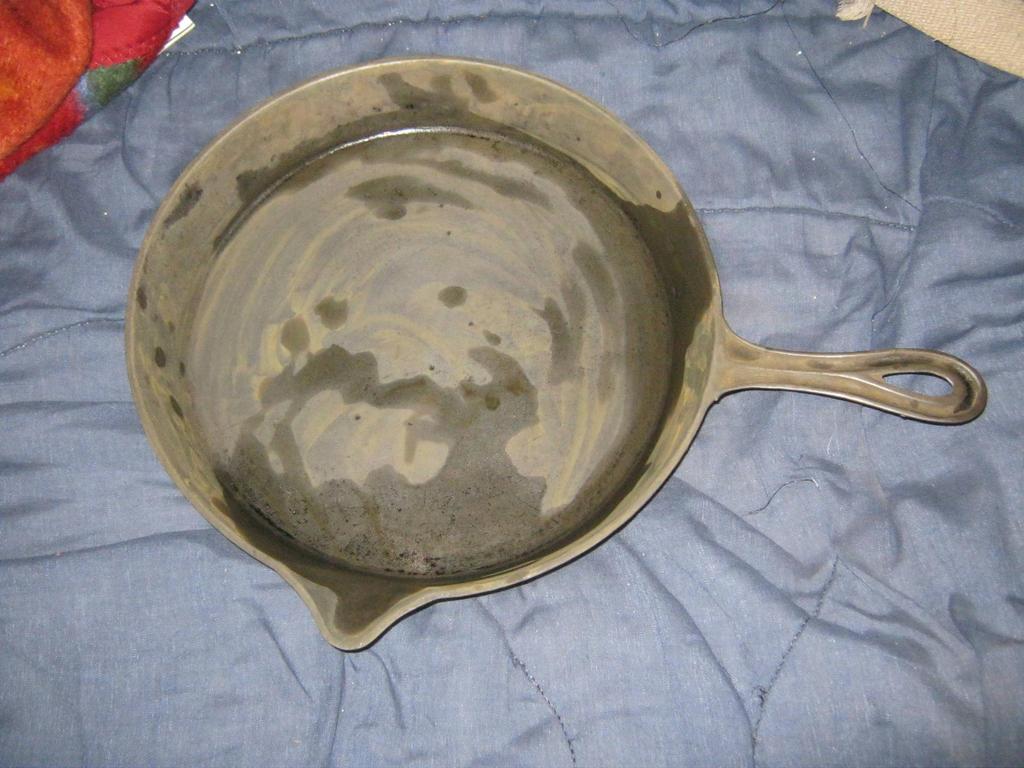
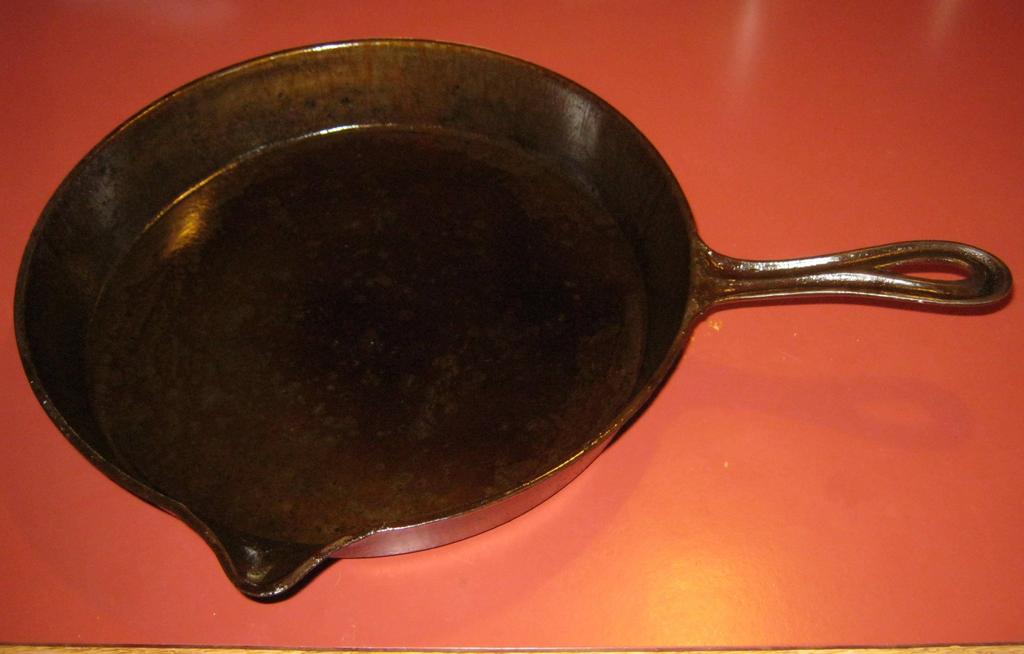
This is an overview of the pan.
unBz5.jpg


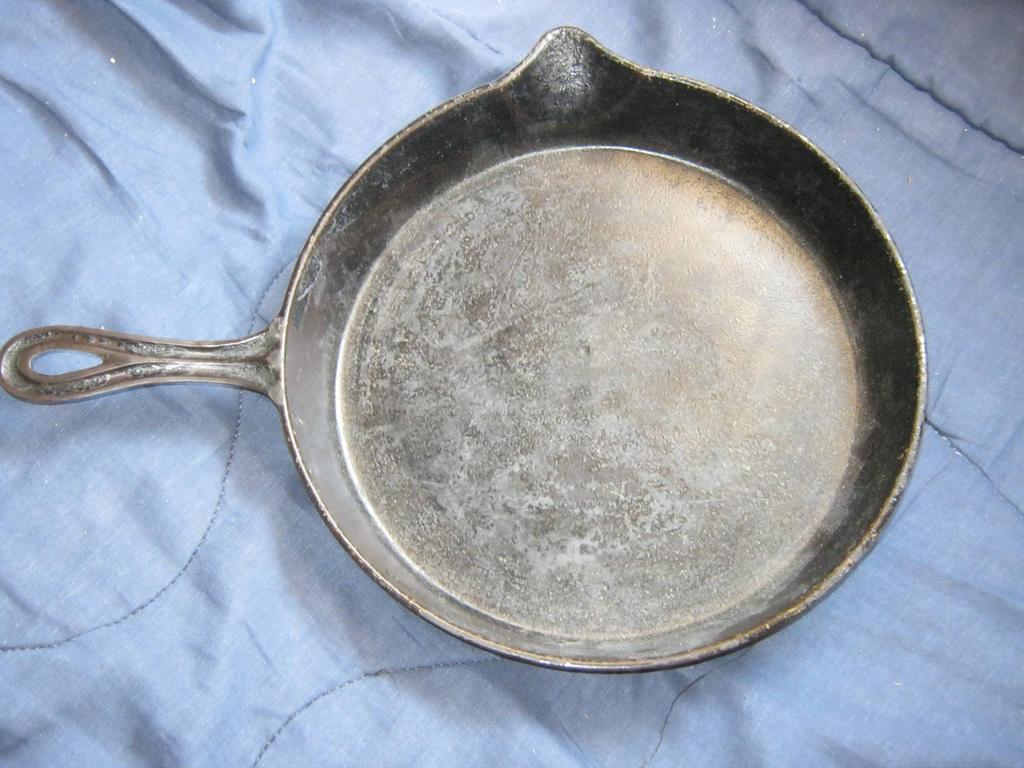
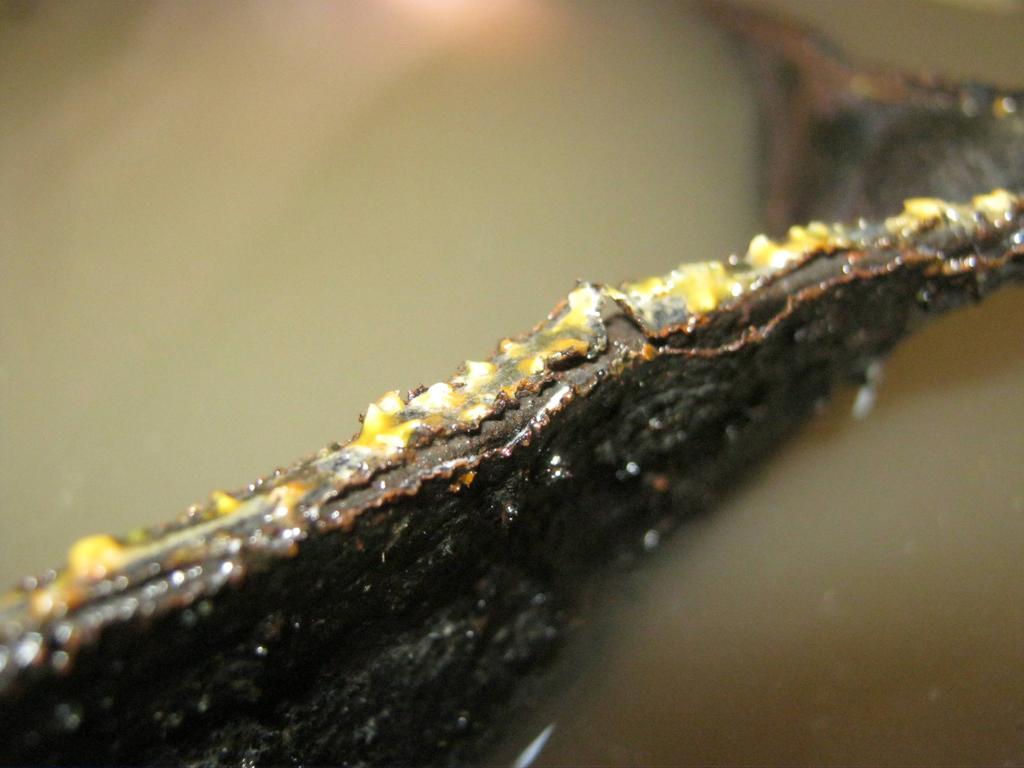
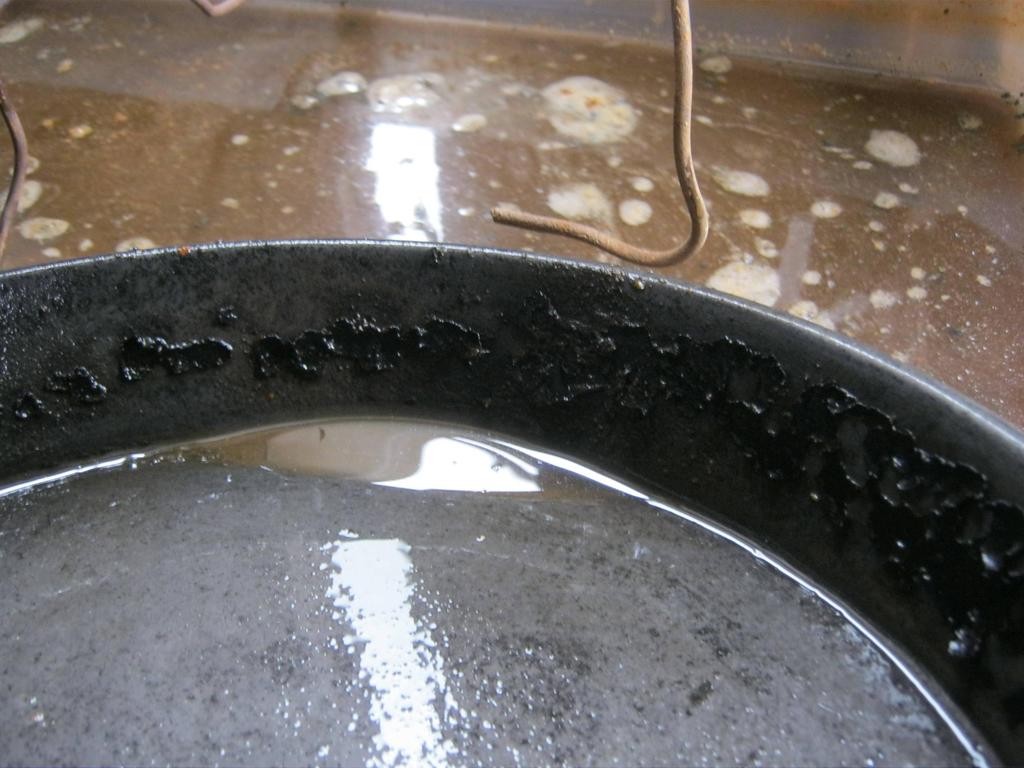
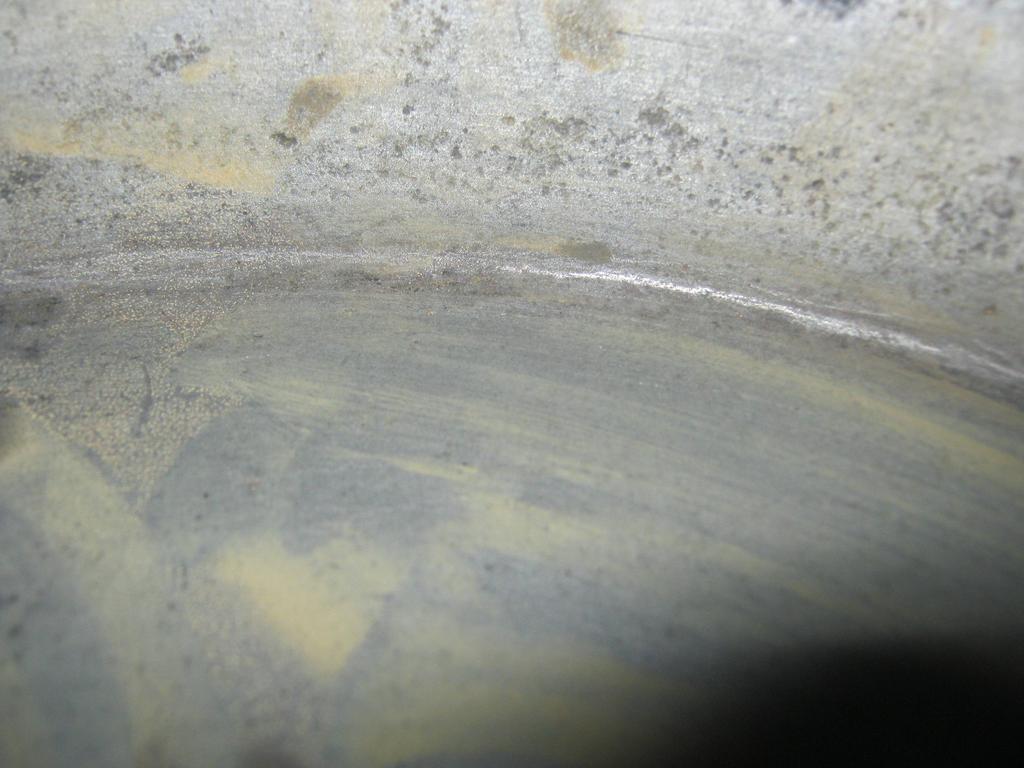
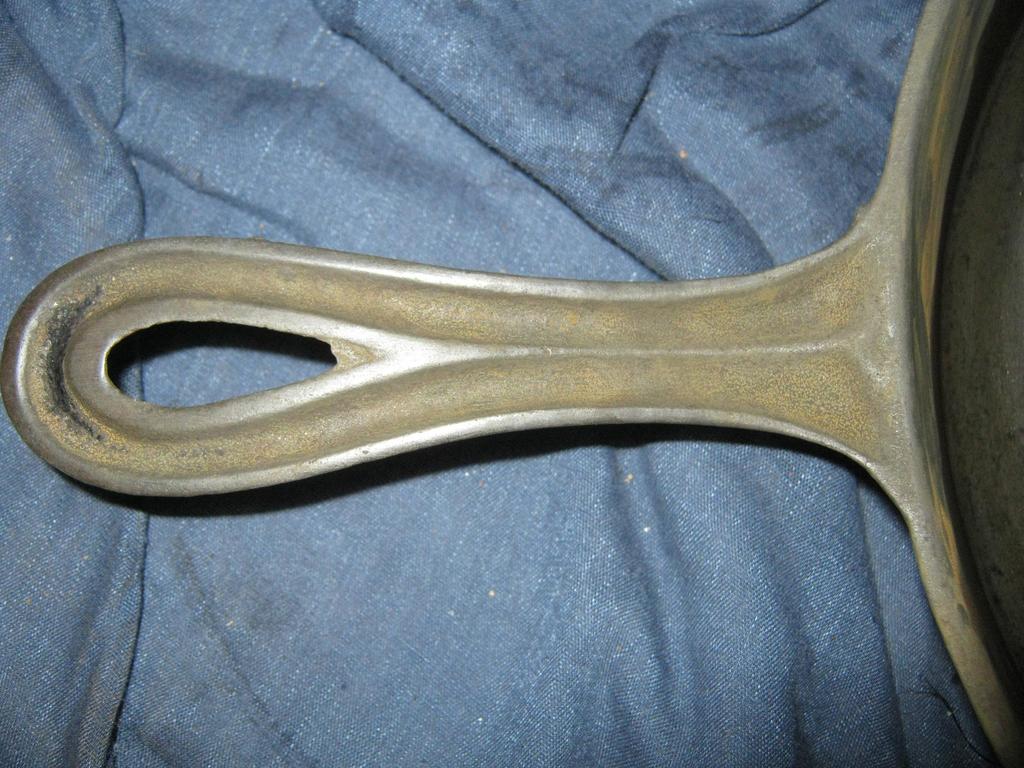
By looking at the pan I can tell it has recently been "scrubbed" and re-seasoned. A lot of the old season is left on it under the new. a good view of this is on the handle.
9Mqjy.jpg


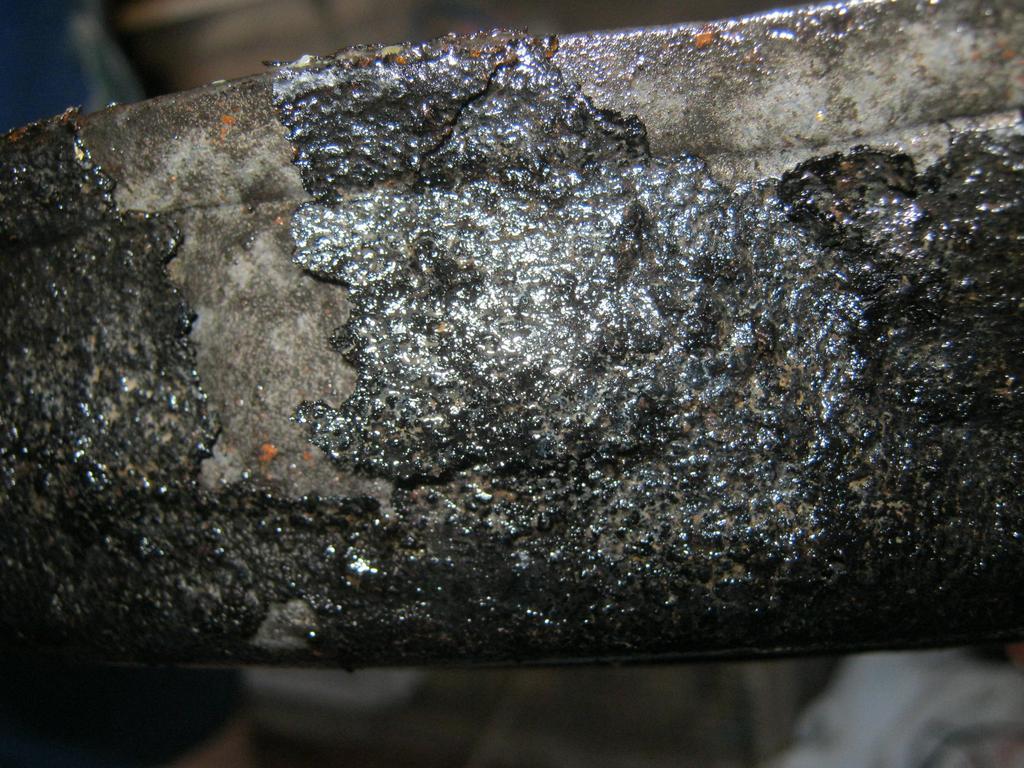
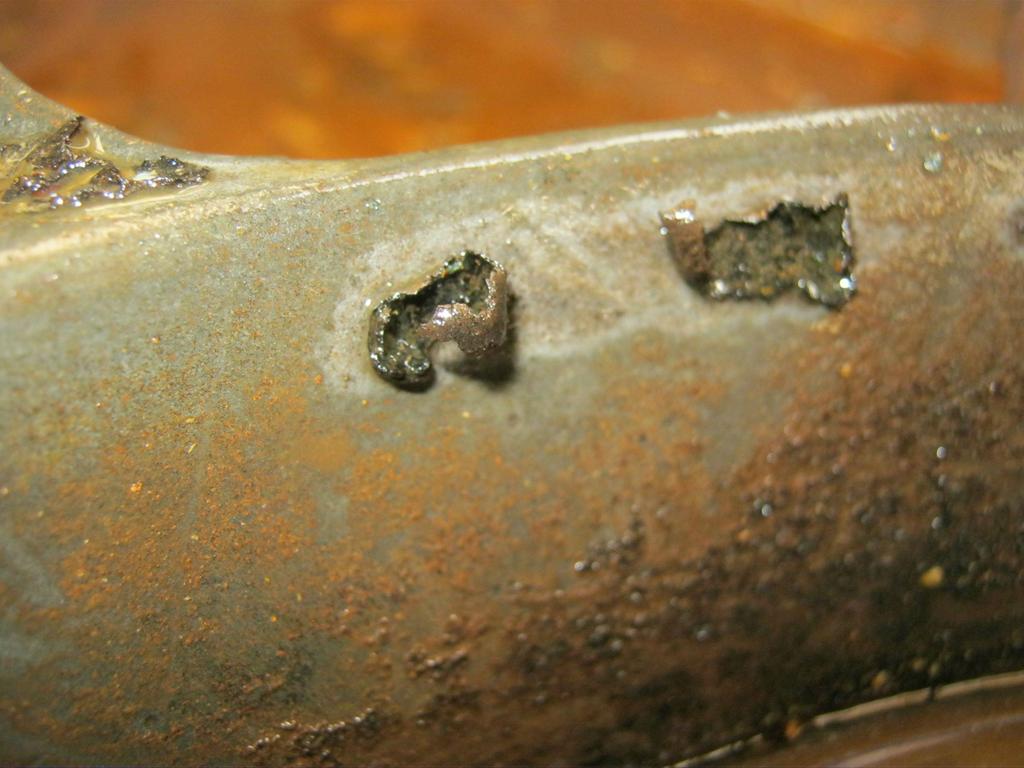
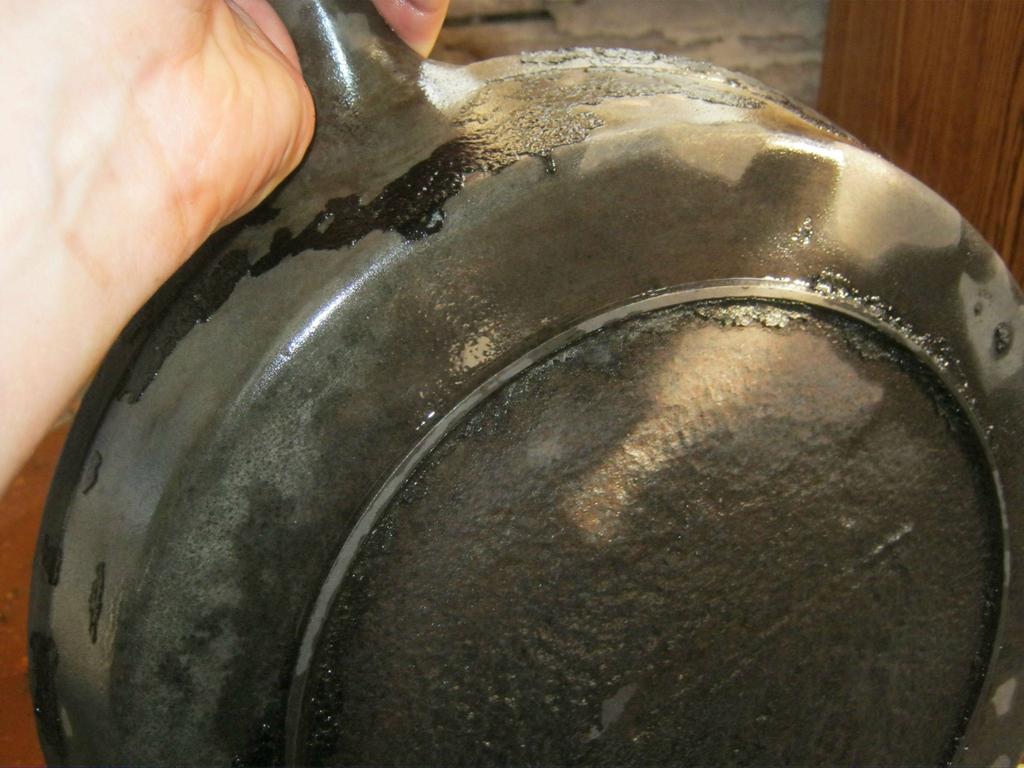
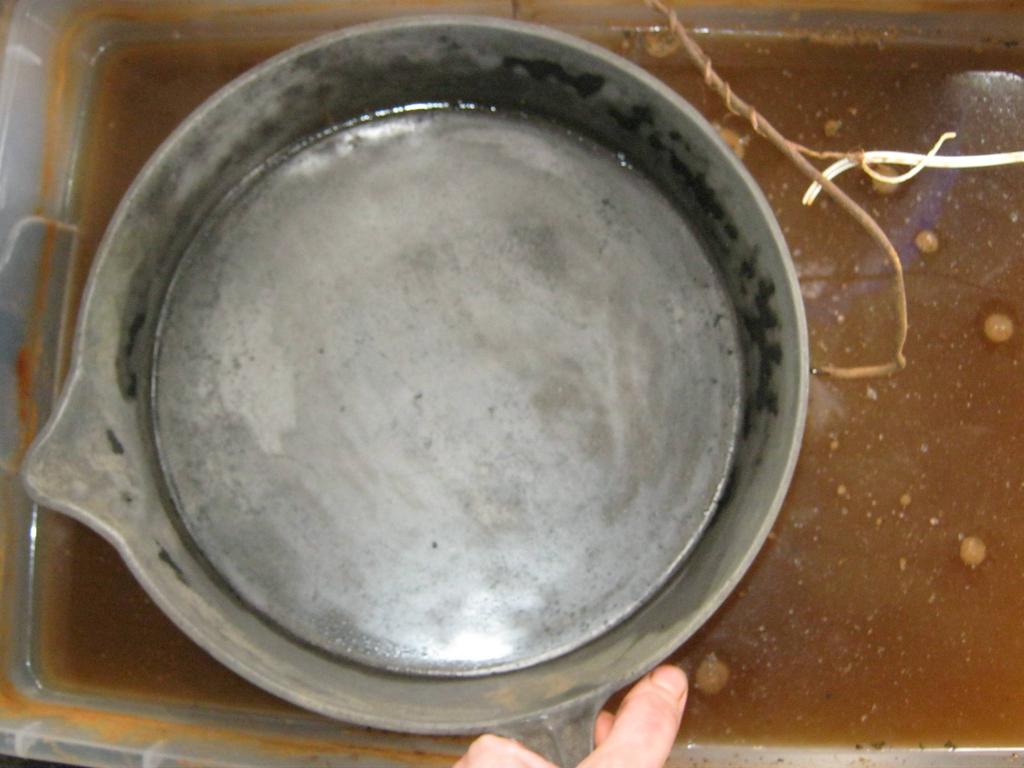
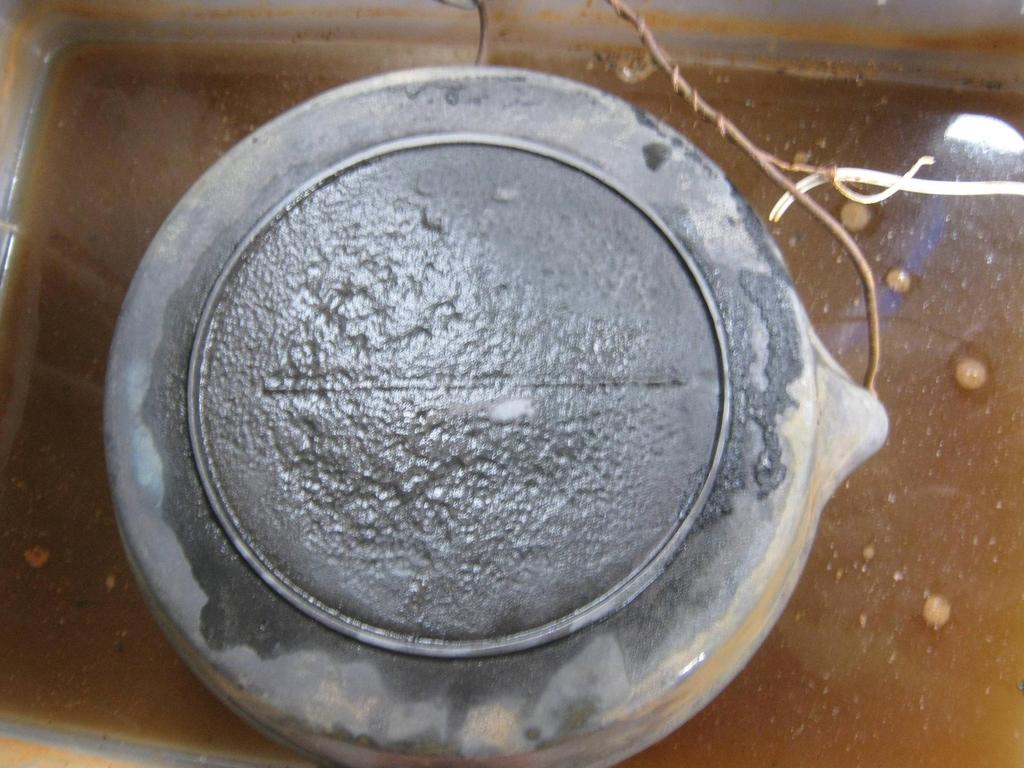
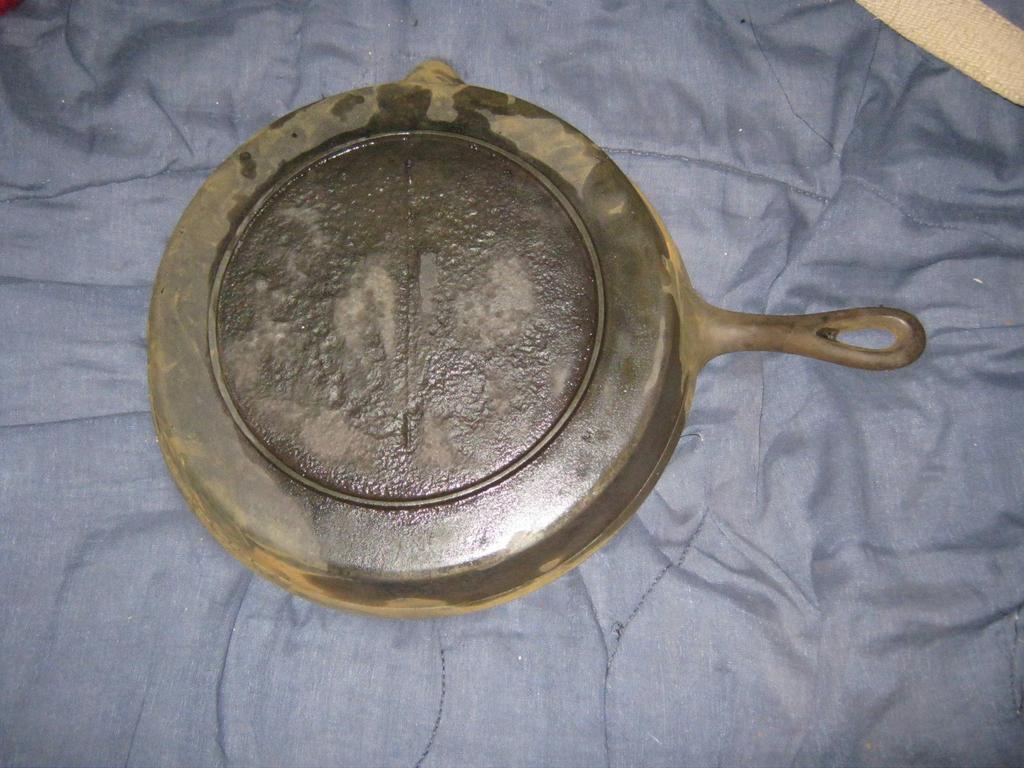
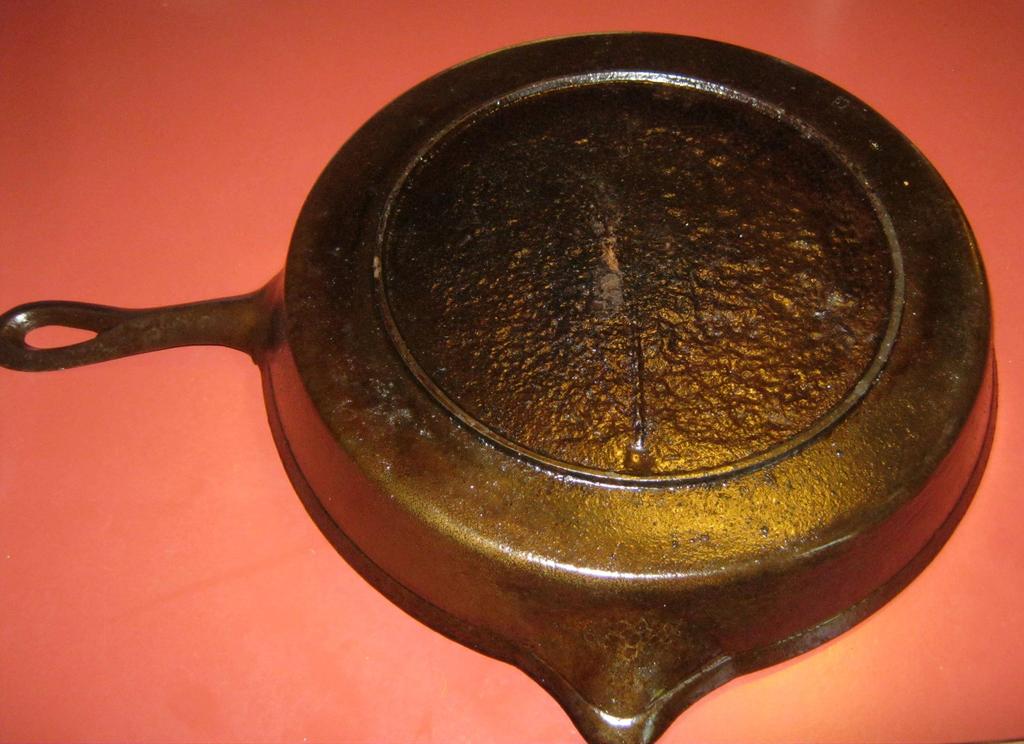
The bottom of the skillet is actually far more revealing.
aJBYi.jpg


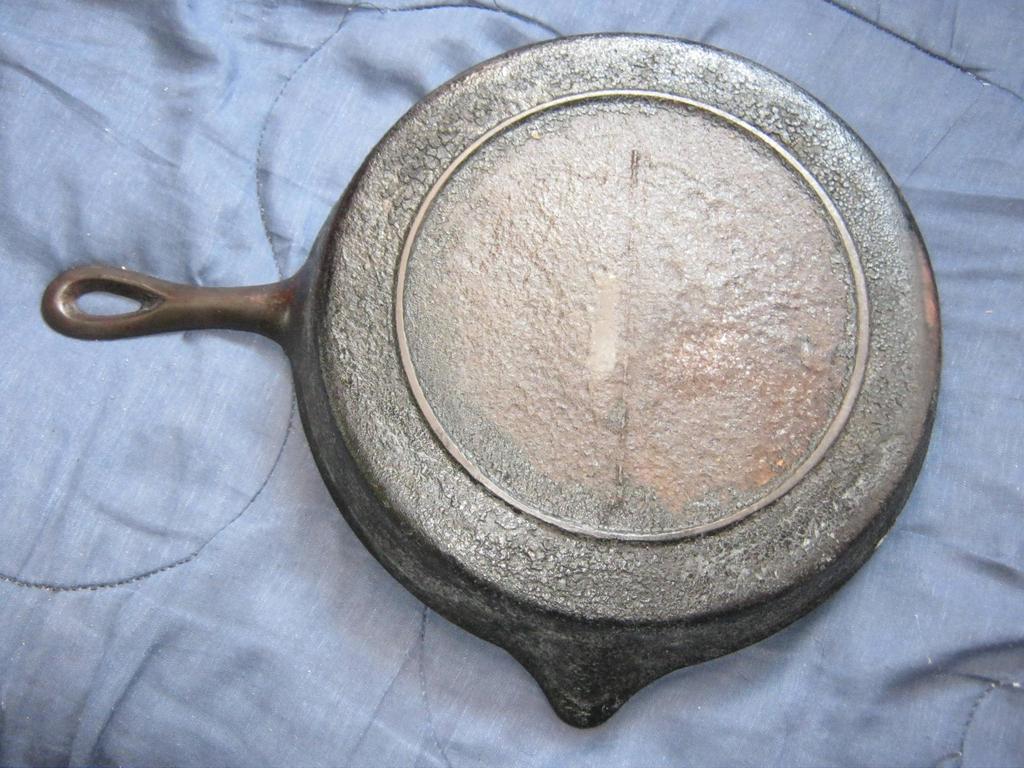
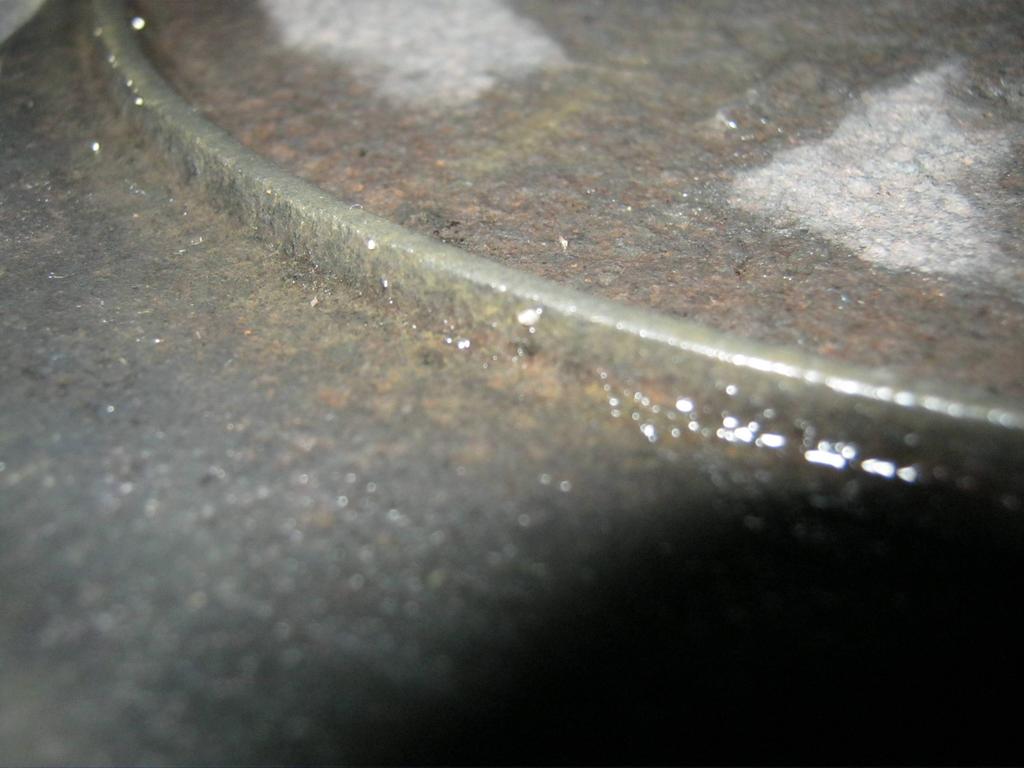
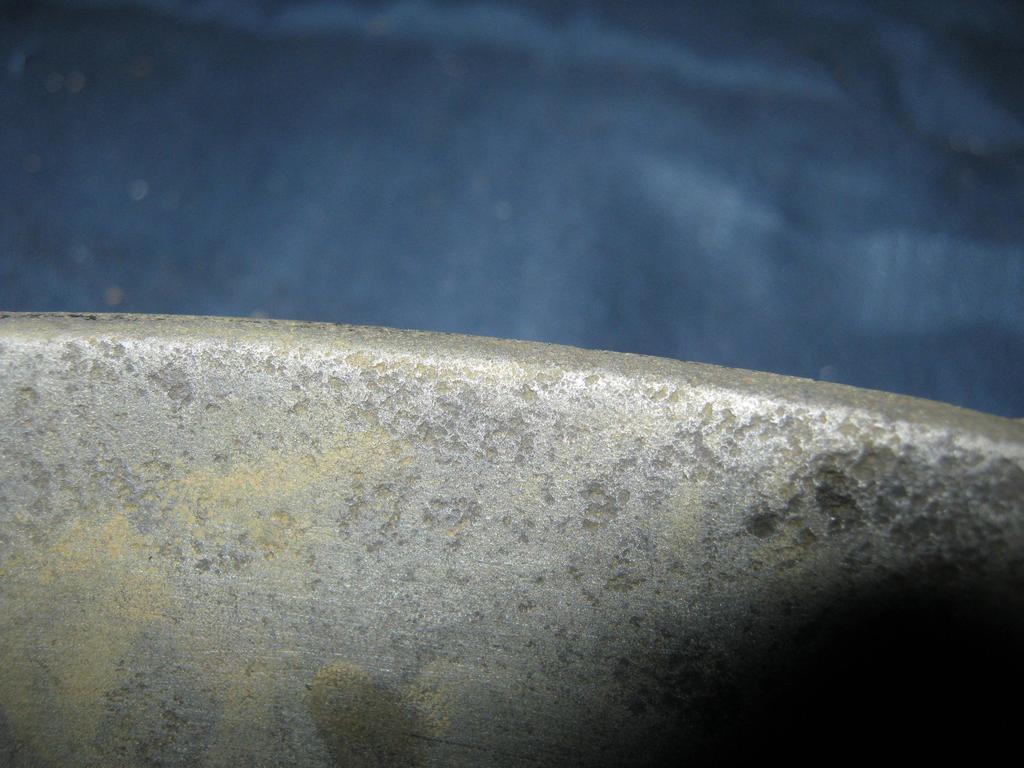
The first thing to note is the "gatemark", Next is the level of buildup from the seasoning, and the "deep" fire-ring.
8muO9.jpg


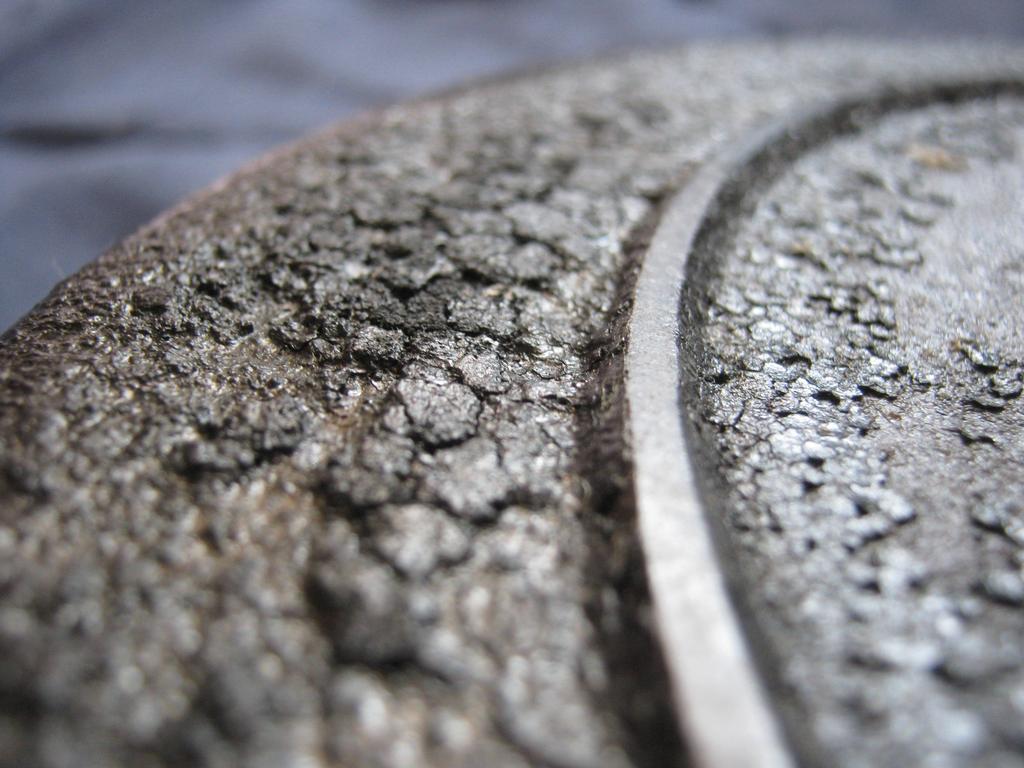
The other major factor you can not see in the pictures. This pan is very light, and thin compared to most cast. It's a #10, yet it is about half the weight of my lightest #8.

Here's what all these markings mean.
The "gatemark" which is the line down the middle of the bottom of the pan. Is found on skillets made from about 1700 to the late 1800's. The deep fire-ring also backs this up.The remaining seasoning build up also looks to be better then 80 years worth. Although Other factors can skew that. However how thin, and light it is; is what really helps narrow it down. Cast iron pans this thin and light were pretty much made between 1875 and 1940. Now consider the gatemark again, which had pretty much disappeared by 1890. Meaning this $10 skillet was "likely" made between 1875 and 1890. Most probably in some small local foundry.

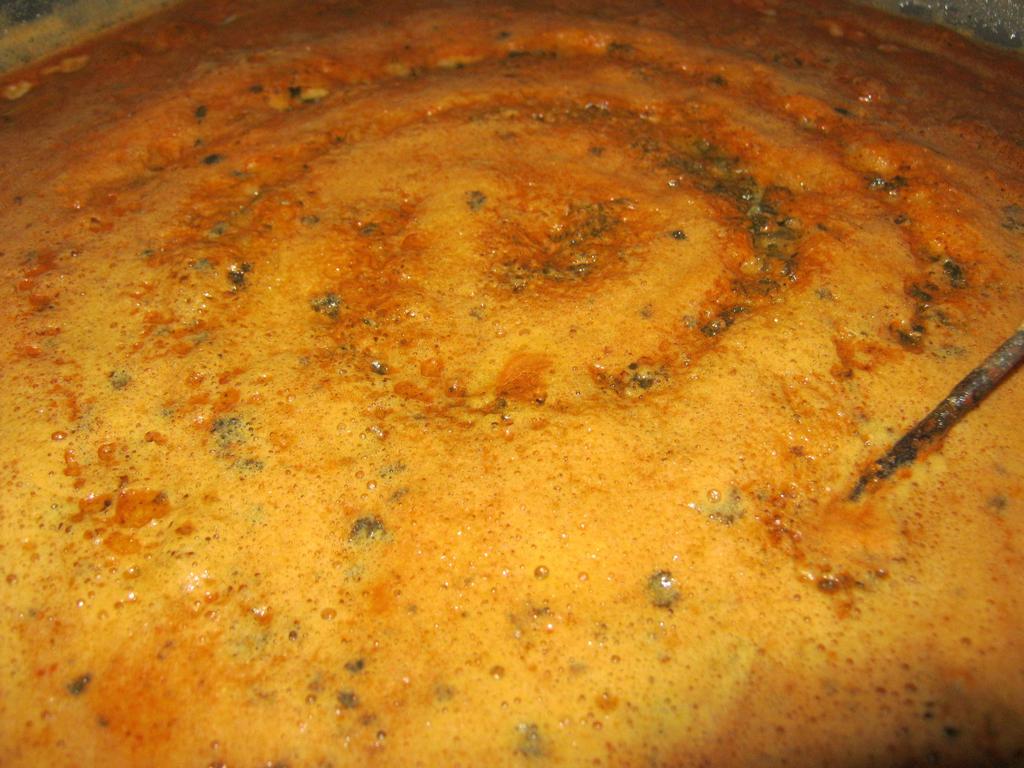
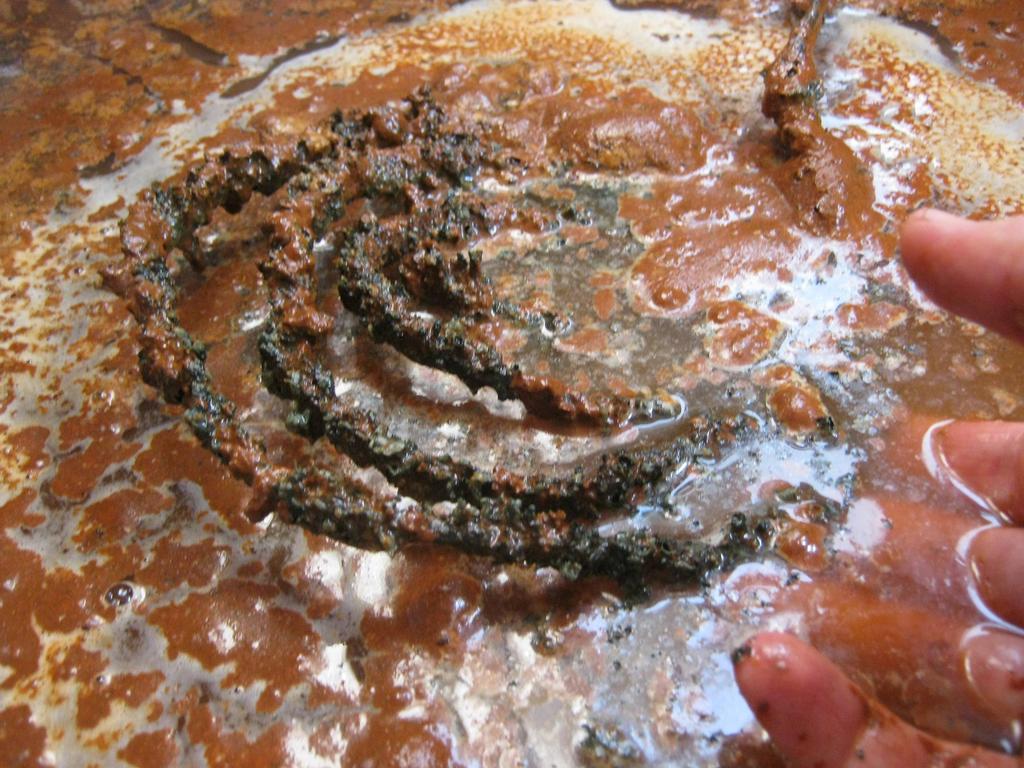
I currently have the item in my electrolysis tank. I will give more updates at each step.
 
Nice find, DaQ! And nice that you have an electrolysis tank..... I've got a CI with a bit o' rust, but I'm not going to build an electrolysis tank for several reasons. What's the next-best option? I hear I can use the drill with a wire attachment - but is that the best?

See... I'm assuming you're an expert on EVERYTHING. ;)
 
I would say next best is boiling it in lye, or use vinegar for the rust. You just have to be careful with how long you leave it in. Though make an electrolysis tank is pretty easy.

You need:
A tank plastic is preferred. What I'm using is like one of these http://www.walmart.c...-of-10/15442447 Mind that is a set of 10. The one I got was like $8.

A DC power supply. I used a power supply from a defunct laptop. It's 19v at 3.42 Amps. Which is pretty low for what I'm doing. It works, it just takes longer. If you can get one at around 20 amps it would be much better.

A piece of "sacrificial" iron. This can be just about any piece of iron that you do not care about. The more surface area the better.

An electrolyte. I use sodium carbonate. It's one of the safest to use. Since you only get Hydrogen, and oxygen as by-product. You could also use salt, but you'll get chlorine gas. Sodium bicarbonate, but you get a large host of toxic gases. Or any number of chemicals that reduce the resistance in the water. Though I do suggest to just use Sodium Carbonate. It's shelf names are "Washing soda" ,"Soda Ash" or "Oxiclean" I suggest getting it under the name "Washing Soda" from the laundry section since it's the cheapest way, and tends to not have any other additives.

Fill the tank with water, add a handful of sodium carbonate. Attach the item you want to clean to the cathode(negative) and the sacrificial iron to the anode(positive). Make sure the two items are not touching. Then turn on the power. The water should start bubbling at this point. The amount of time the item needs in the tank will depend on your power supply, and how much build up is on the pan. If it's just rust, it will not take long at all.

A few useful notes:
If your anode has bare copper wire, do not let immerse in the tank. It will dissolve very quickly.
Do not run the tank near open fire or anything that sparks etc... hydrogen and fire are a bad mix.
Rotating the item your are cleaning now and then helps.
Cleaning the corrosion off your Cathode also helps.
 
After a few hours in the tank. We can now see some of the old seasoning coming loose and flaking off.

Obh2f.jpg


5xi4l.jpg


And a short video of it bubbling.

 
I bought a wagnerware 11 inch griddle skillet. It's either from the 60's or 70's. It's pretty
clean, but since I bought it from a yard sale, I want to clean it. I'm going to put some
hot water on it and them use some salt to clean it. Then I will dry it really well and put
some oil on it. Anything else I should do?
 
Roper2008 If it's good and clean that's all it should need. And that sounds like proper maintenance to me. Really there is not much to basic cast iron care.
 
Thanks, I want to make fajita's on it. I'm going to start checking out cast iron at thrift stores.
See if I can find anything old.
 
Morning 1 update.
It's been in the vat overnight so I will give update pictures.

Hydrogen & oxygen raft.
It's color is do too the corrosion of the sacrificial iron.
Would be "interesting" to take a match to it. Though it would NOT be a bright idea ;) .
pJswV.jpg


Power turn off for a few minutes, and the raft most dissipates. Just a few bubbles left .
Ti8La.jpg


The corrosion on my anode from overnight. Looks like there is some aluminium in it.
Amtqh.jpg


Some shots of the seasoning.
X5ouu.jpg

bDdqX.jpg

Q2yYt.jpg


I then rinsed the pan off to get a better look at how much seasoning was actually removed.
cAOxW.jpg

H2MUX.jpg

erqh9.jpg


A lot for an overnight with the low end power supply I am using =).
 
Morning 3: It's out of the vat.

Top/Bottom pics
pNaAK.jpg

GiXV3.jpg


Compare to my first posts pic of the fire ring.
9KtTy.jpg


Mild pitting on the lip of the pan.
kyxn1.jpg

R8Mfb.jpg


The texture of the bottom of the pan. Fairly smooth.
6THM6.jpg


The handle.
S7sfX.jpg


The "rust" you see is not the pan rusting. It's because the pan has only been wiped off after coming out of the vat. The water in the vat has a lot of rust from the anode.

I have already washed the pan of well and greased it up. Will post more pics when it's bit more seasoned.
 
Sorry for the long pause. I'm out of town for the week. So while the pan is well greased to prevent rust. I am not near it to finish seasoning it.

PepperWoman, If it's just a little rust. I would just soak it in 50/50 white vinegar/water for a day, and scrub it. Also re-season it of course.
 
Wow that's a nice job of getting that baby back into shape! I am a non believer in seasoning cast irons and always do the unthinkable and wash them with soapy water! :shh: :shh: :shh:
 
looking good - I checked mine out after reading your 1st topic - your photos were spectacularly helpful for me to identify the condition of my skillet in the 1st place. As it turns out it's in much better condition than I thought. it was just a bit dry - I cleaned it with the salt-treatment, then poured some olive oil on a paper towel and really rubbed it into the pan for about 10 mins and let it set.

It's been great ever since - when I use it I scrub it afterwards with a little saltwater, then rub with the olive oil and it's holding up great.

Really appreciate your posting these topics - the cast iron pan is a utensil I've used more and more this year and knowing better care and maintenance for mine has really helped me to appreciate and care for it more. I use it all the time now - on the BBQ it's awesome, and it's perfect for doing things under the broiler - my new favorite is skillet fajitas. I throw in my thin sliced steak or chicken, bell peppers, jalapenos, thin-sliced carrot, sliced onion, and sometimes tomato slices (if I want to make it like a Mexicano) and then pour in some whiskey and pepper powder (usually Sicman's) and put it under the broiler (another kitchen utensil I'm using more and more). then, using a metal spatula I stir every 5 mins or so until the whiskey is cooked off and the meat gets seared uniformly. It's one of my best dishes now, and it's so easy to do if you have a skillet!

I'd love to see what it would look like with a treatment like this though. Maybe I'll ship it to you with enough LDHS to cover your costs to do it? hehe
 
Nice work. Next time take one to a place where they make grave stones and get their guy to blast it with the media they use to "engrave' them. Then work it over inside with a disk sander down to 320 grit. Back when Lodge offered a polished version, that was their process.
 
I might consider something like that with a new pan. But this little guy has pretty smooth bottom, and is very thin for cast iron. On flaws in the bottom are "mold bubbles". Inside of the fire ring is pretty rough from pitting though. I don't want to risk smoothing that part though. Yet again because of how thin and light this piece is.

Thanks for the info on Lodges old method though. I've been looking up ways of refinishing the new stuff. That method sounds good.
 
Back
Top