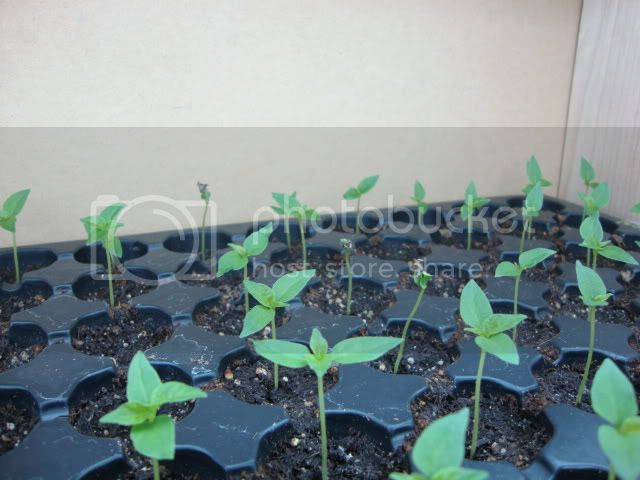
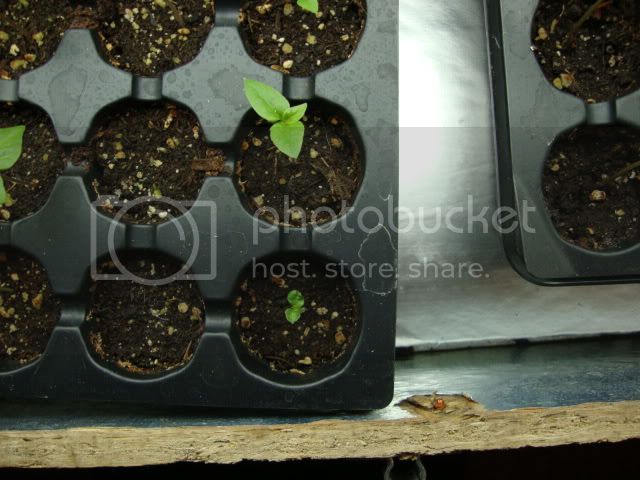
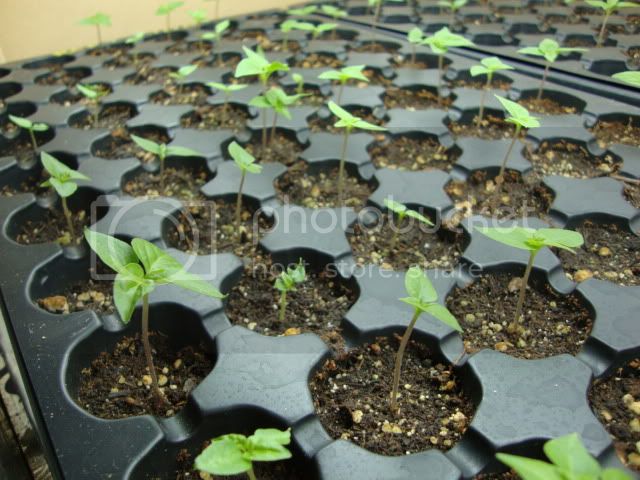
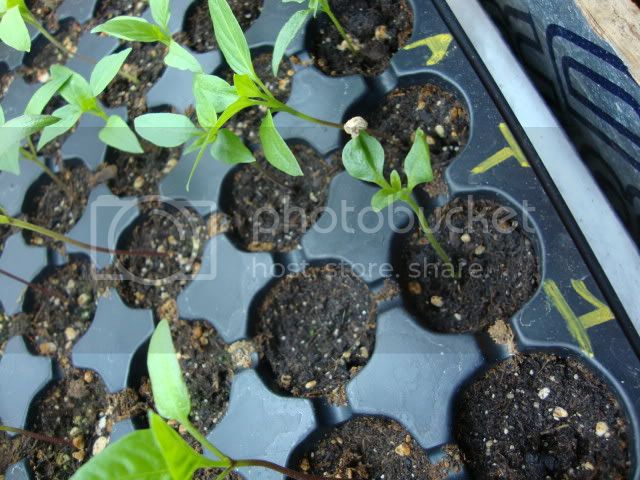
I decided to do a quick “How I Remove a Stuck Seed Cap” post. I have read about several methods and the following is what I came up with. I don’t know if my method is good, bad, right or wrong. Depending on how stuck it is you may just want to mist it and see if it grows off by itself. I had a bunch of extra seedlings so I decided to take a more direct approach and opt for surgery. Hopefully there will be a lot of feed back and this posting can get refined into a much better guide. I have removed a bunch of stuck caps over the last 3 days. Out of about 35…. 6 ended in partial or complete decapitation. The other 29 went well and seem to be doing fine. I did get impatient towards the end and forced a few. If you go slowly you should have very few mishaps. I kept a log of which seedlings got rescued (I put a R-, R, or R+ next to the plug depending on how well the removal went) and will update if any of the ones that I thought came off perfect end up dying. So anyway, on to the show. Here are the tools that I used. Somebody suggested a nail clipper which I intended to use but could not find so I raided my wife’s manicure kit and found:
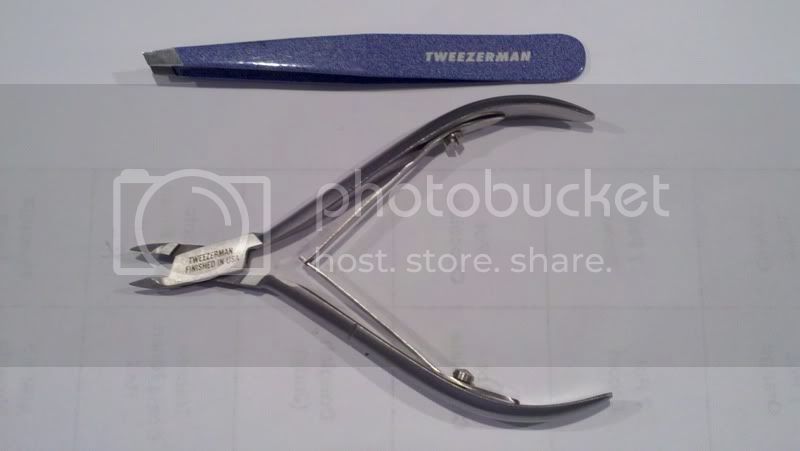
In retrospect these detail clippers seem to be a lot more precise than what I could have done with nail clippers. For one thing you can see a lot better with these and being able to see how much of the seed cap you’re actually cutting is extremely important. A good pair of tweezers is also important and their shape is key to my method. Make sure you use one with a wide tip. Here is why:

Surface Tension! As you can see above, you can hold a large drop of water between the ends. With practice you can slide this drop over a stuck seed cap and hold it suspended in the drop for 1 or 2 minutes or longer if you have a steady hand. With practice you can also get the drop to cling to the seed cap. If the drop is too big it will just run down the stem but if it is the right size it will just cling to the dry cap and get absorbed into it as long a gravity does not get a hold of it. I was able to get big drops to cling for 20 minutes or more with practice. The above is for seed caps that are vertical, if you’re lucky and happen to have a horizontal seed cap putting a large drop of water is easy. Here are the two before and after examples:
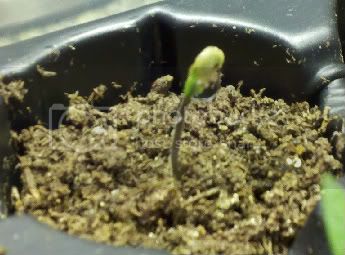
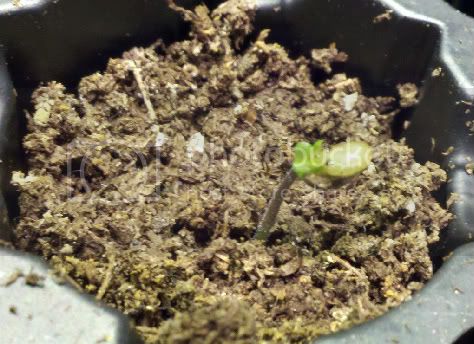
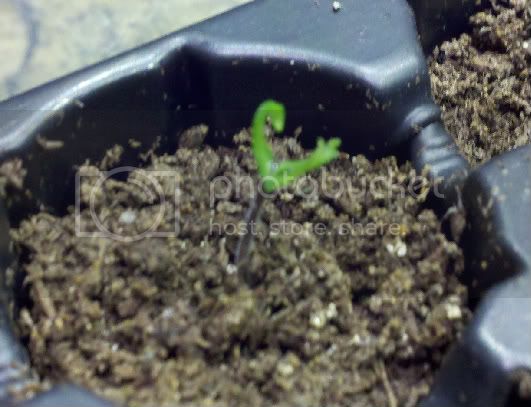
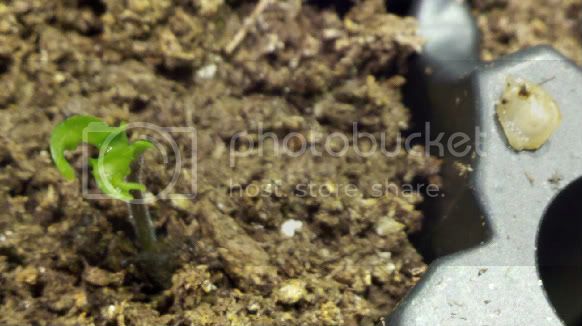
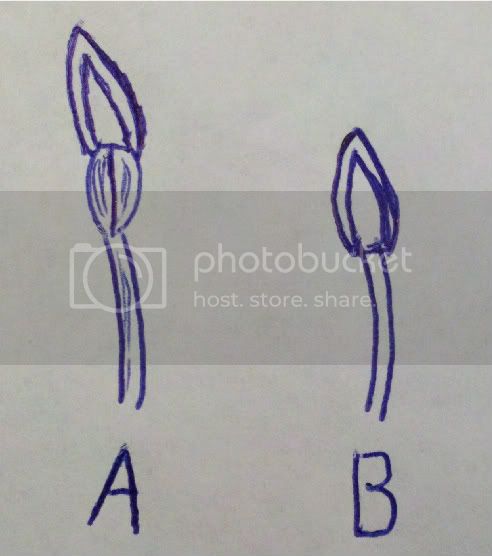
Now of course you could just mist your seedlings a couple of times and skip the above step but I found it relaxing to sit with the seedlings and do it by hand. (Be careful though or you may start talking to your seedlings like AJ LOL) After 10 minutes or so the seed cap will usually get pretty translucent and allow you to clearly see the green cotyledons inside. At this point you have to decide how stuck is the cap? If just the top tips of the cotyledons are stuck in the cap (figure A below) you can now try to gently but firmly pull the cap off. The first couple of times I got really frustrated because I was not holding the cap tight enough and it seemed like the seedling was going to snap. Then, I noticed that a few of the times I was really squeezing the seed cap with the cutters to snip of an edge and the cap would just slide off. I remember someone saying when you squeeze it you release some of the tension in the cap. Now I know what they meant. I also like to pull the cap and hold it taunt. Then let the plant slide out on its own. If it does not slide out you might need some trimming or more water. If you stuck cap looks like Figure B below you may have to do some trimming or leave it and hope it grows out of it.
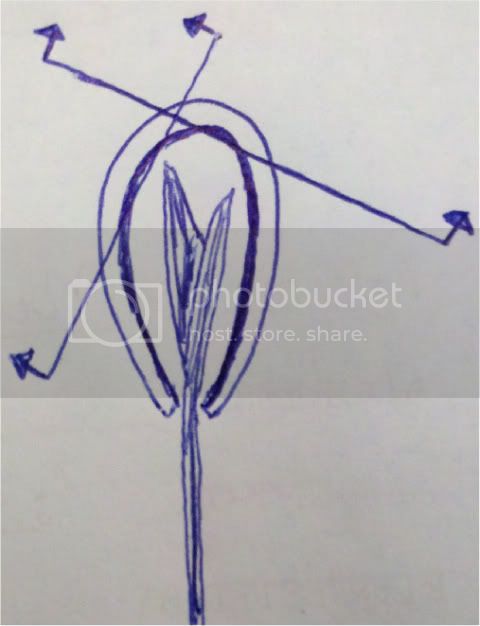
So if you decide to take it to the next level you need a steady hand and good nerves. After doing so many, I found the seedling to be a lot tougher than I thought they would be. In my case, the root systems were strong enough to actually pull the plug out of the tray before the seedling broke. My plugs were pretty dry when I did this so don’t expect the same result if the plugs are very moist. I could see the root pulling out of the plug if it was moist. So the object of trimming for me was to release some of the tension the seed hat has on the cotyledons. I also found that once the seed hull was breached capillary action would draw water into the inside of the seed cap further softening the cap and lubricating the cotyledons for easier removal. Here is a drawing of what your are trying to achieve when you make your cuts. You're trying to just trim the ridge around the casing leaving the green in the center area unharmed.
After trimming, suspend another drop of water around it and let it sit for a few minutes then try giving it another pull to see if it comes off. I have a lot more to add but need to get back to work. Will try and finish this up tonight.
I’m sure there is a faster or easier way (Which I would love to hear about… Squeezing the dry seed till it cracks like AJ suggested in another thread works well I understand) but I feel like I learned so much about my seedlings doing it this way first. Next time around I may try the cracking the dry seed method. However, for a rare seedling or one I just have a few of, I think I would stick to my above method.

In retrospect these detail clippers seem to be a lot more precise than what I could have done with nail clippers. For one thing you can see a lot better with these and being able to see how much of the seed cap you’re actually cutting is extremely important. A good pair of tweezers is also important and their shape is key to my method. Make sure you use one with a wide tip. Here is why:

Surface Tension! As you can see above, you can hold a large drop of water between the ends. With practice you can slide this drop over a stuck seed cap and hold it suspended in the drop for 1 or 2 minutes or longer if you have a steady hand. With practice you can also get the drop to cling to the seed cap. If the drop is too big it will just run down the stem but if it is the right size it will just cling to the dry cap and get absorbed into it as long a gravity does not get a hold of it. I was able to get big drops to cling for 20 minutes or more with practice. The above is for seed caps that are vertical, if you’re lucky and happen to have a horizontal seed cap putting a large drop of water is easy. Here are the two before and after examples:


Now of course you could just mist your seedlings a couple of times and skip the above step but I found it relaxing to sit with the seedlings and do it by hand. (Be careful though or you may start talking to your seedlings like AJ LOL) After 10 minutes or so the seed cap will usually get pretty translucent and allow you to clearly see the green cotyledons inside. At this point you have to decide how stuck is the cap? If just the top tips of the cotyledons are stuck in the cap (figure A below) you can now try to gently but firmly pull the cap off. The first couple of times I got really frustrated because I was not holding the cap tight enough and it seemed like the seedling was going to snap. Then, I noticed that a few of the times I was really squeezing the seed cap with the cutters to snip of an edge and the cap would just slide off. I remember someone saying when you squeeze it you release some of the tension in the cap. Now I know what they meant. I also like to pull the cap and hold it taunt. Then let the plant slide out on its own. If it does not slide out you might need some trimming or more water. If you stuck cap looks like Figure B below you may have to do some trimming or leave it and hope it grows out of it.

So if you decide to take it to the next level you need a steady hand and good nerves. After doing so many, I found the seedling to be a lot tougher than I thought they would be. In my case, the root systems were strong enough to actually pull the plug out of the tray before the seedling broke. My plugs were pretty dry when I did this so don’t expect the same result if the plugs are very moist. I could see the root pulling out of the plug if it was moist. So the object of trimming for me was to release some of the tension the seed hat has on the cotyledons. I also found that once the seed hull was breached capillary action would draw water into the inside of the seed cap further softening the cap and lubricating the cotyledons for easier removal. Here is a drawing of what your are trying to achieve when you make your cuts. You're trying to just trim the ridge around the casing leaving the green in the center area unharmed.

After trimming, suspend another drop of water around it and let it sit for a few minutes then try giving it another pull to see if it comes off. I have a lot more to add but need to get back to work. Will try and finish this up tonight.
I’m sure there is a faster or easier way (Which I would love to hear about… Squeezing the dry seed till it cracks like AJ suggested in another thread works well I understand) but I feel like I learned so much about my seedlings doing it this way first. Next time around I may try the cracking the dry seed method. However, for a rare seedling or one I just have a few of, I think I would stick to my above method.

 hope that helps.