• Do you need help identifying a 🌶?
    Is your plant suffering from an unknown issue? 🤧
    Then ask in Identification and Diagnosis.

hydroponic DIY Flood and Drain Hydroponics system with Root Pouch fabric aeration pots

You can build a suitable flood and drain hydroponics system (Flood Table) with just a few parts.

FLOOD+TABLE+036.jpg


Materials:
Rubbermaid style table (cart w/wheels) approximately 2ft x 3ft, 4 inches deep (used $50)
Rubbermaid style tote with lid $10
Small submersible pump $12
Flood and drain fittings $10
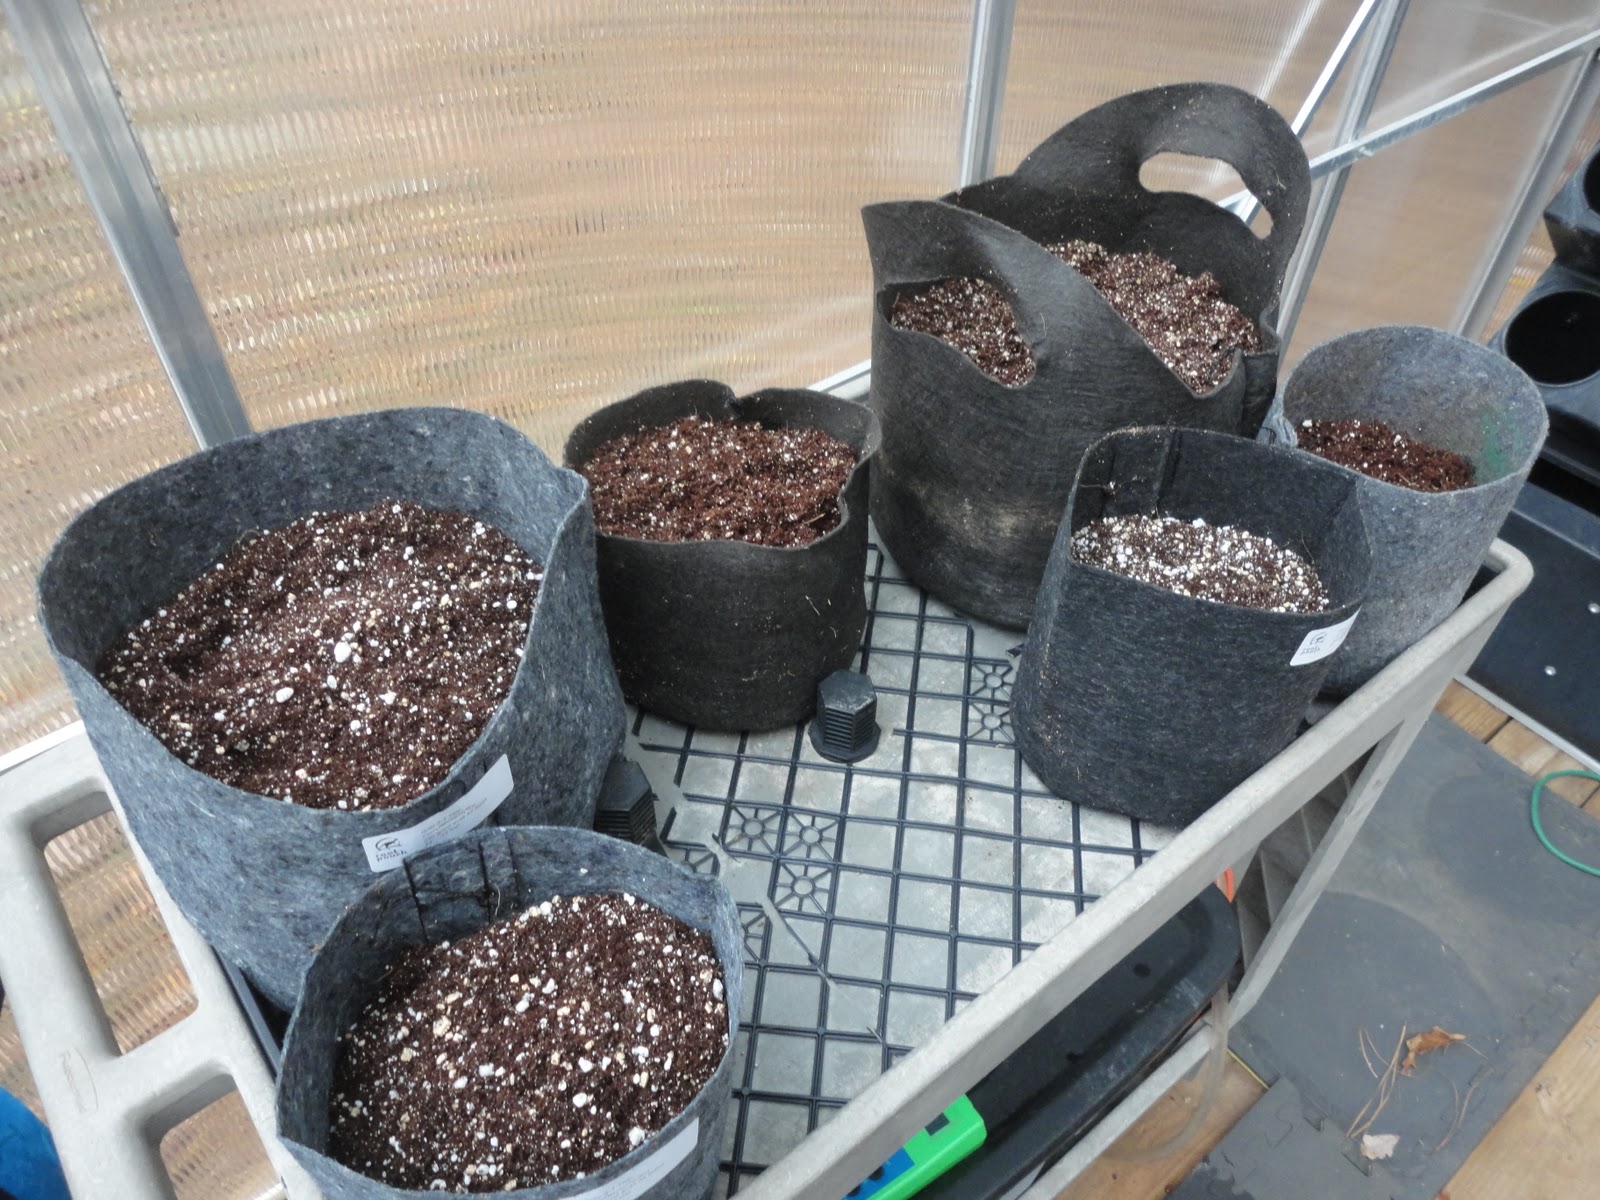
Fabric aeration pots $10
FLOOD+TABLE+011.jpg


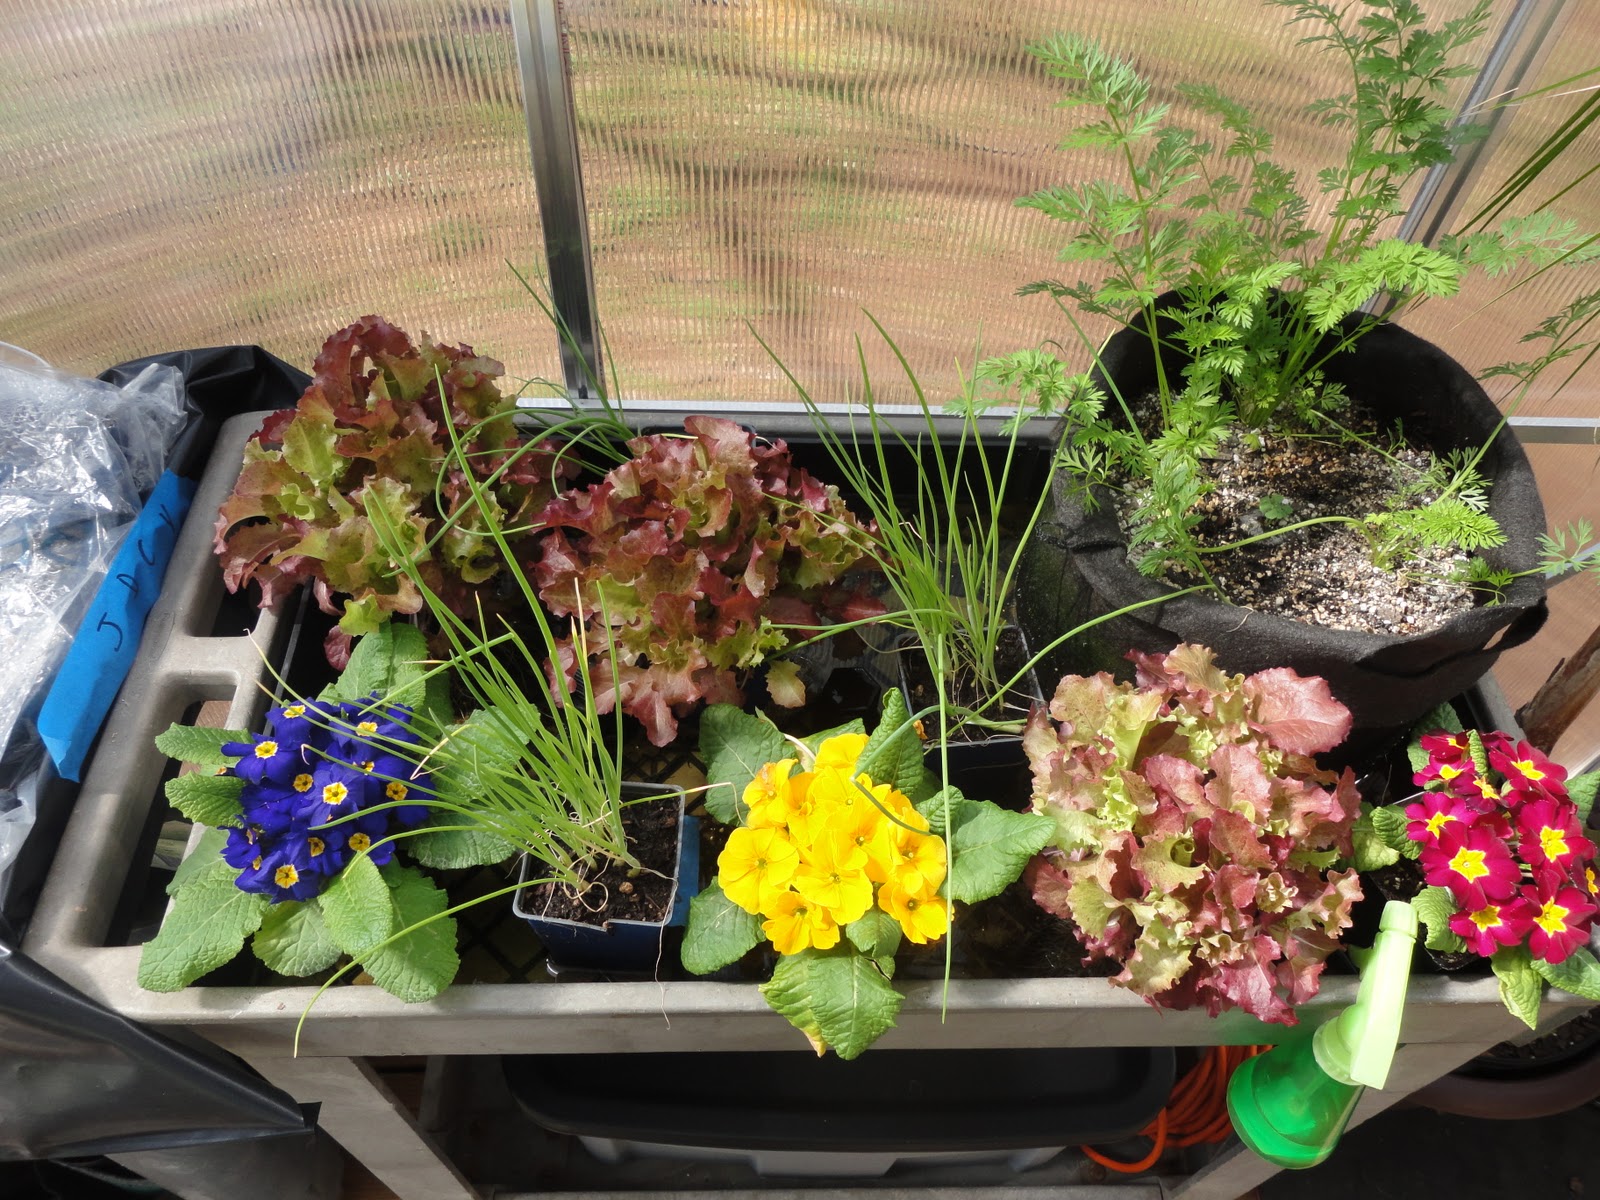
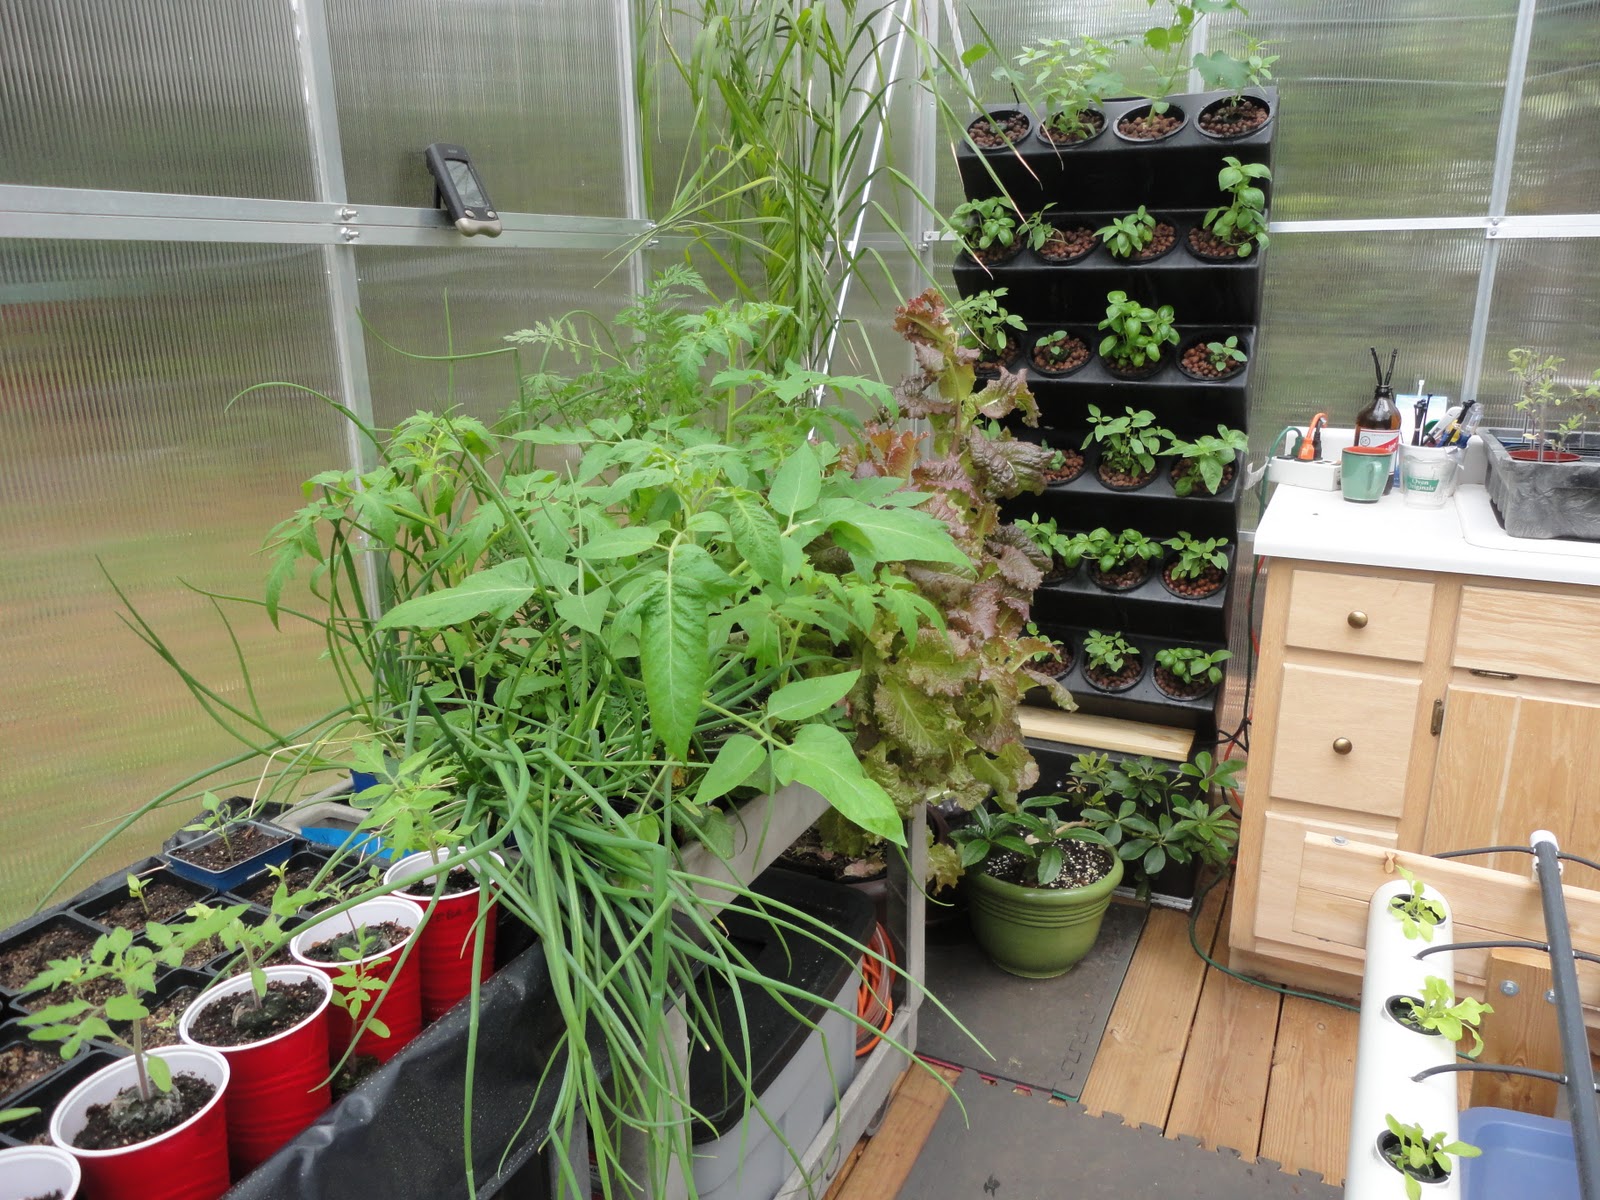
You can Grow a variety of plants using this method.

FLOOD+TABLE+012.jpg


FLOOD+TABLE+002.jpg


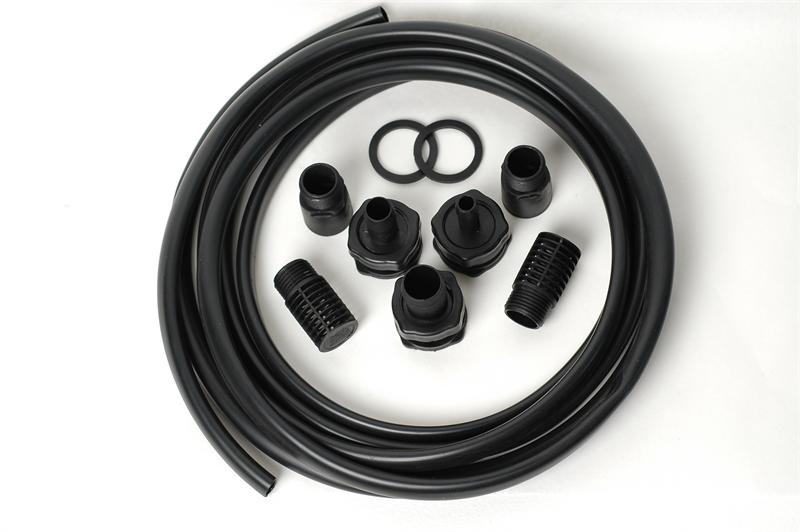
Flood and drain fittings consist of:
2 1/2" fill and drain fitting
1 1/2" extension fitting
2 1/2" screen fitting
2 1/2" fitting washer
4 zip ties
12 feet of black 1/2" tubing

DSC_1210.jpg


Center the 1/2 inch fill fitting with screen, drill and install with washer. Add the 1/2 inch drain fitting (off center) with washer,extension fitting and screen fitting. We added a grid (made from trimmed flats) to the surface of the table to catch any sediment and slightly raise the fabric pots.
FLOOD+TABLE+017.jpg


FLOOD+TABLE+030.jpg


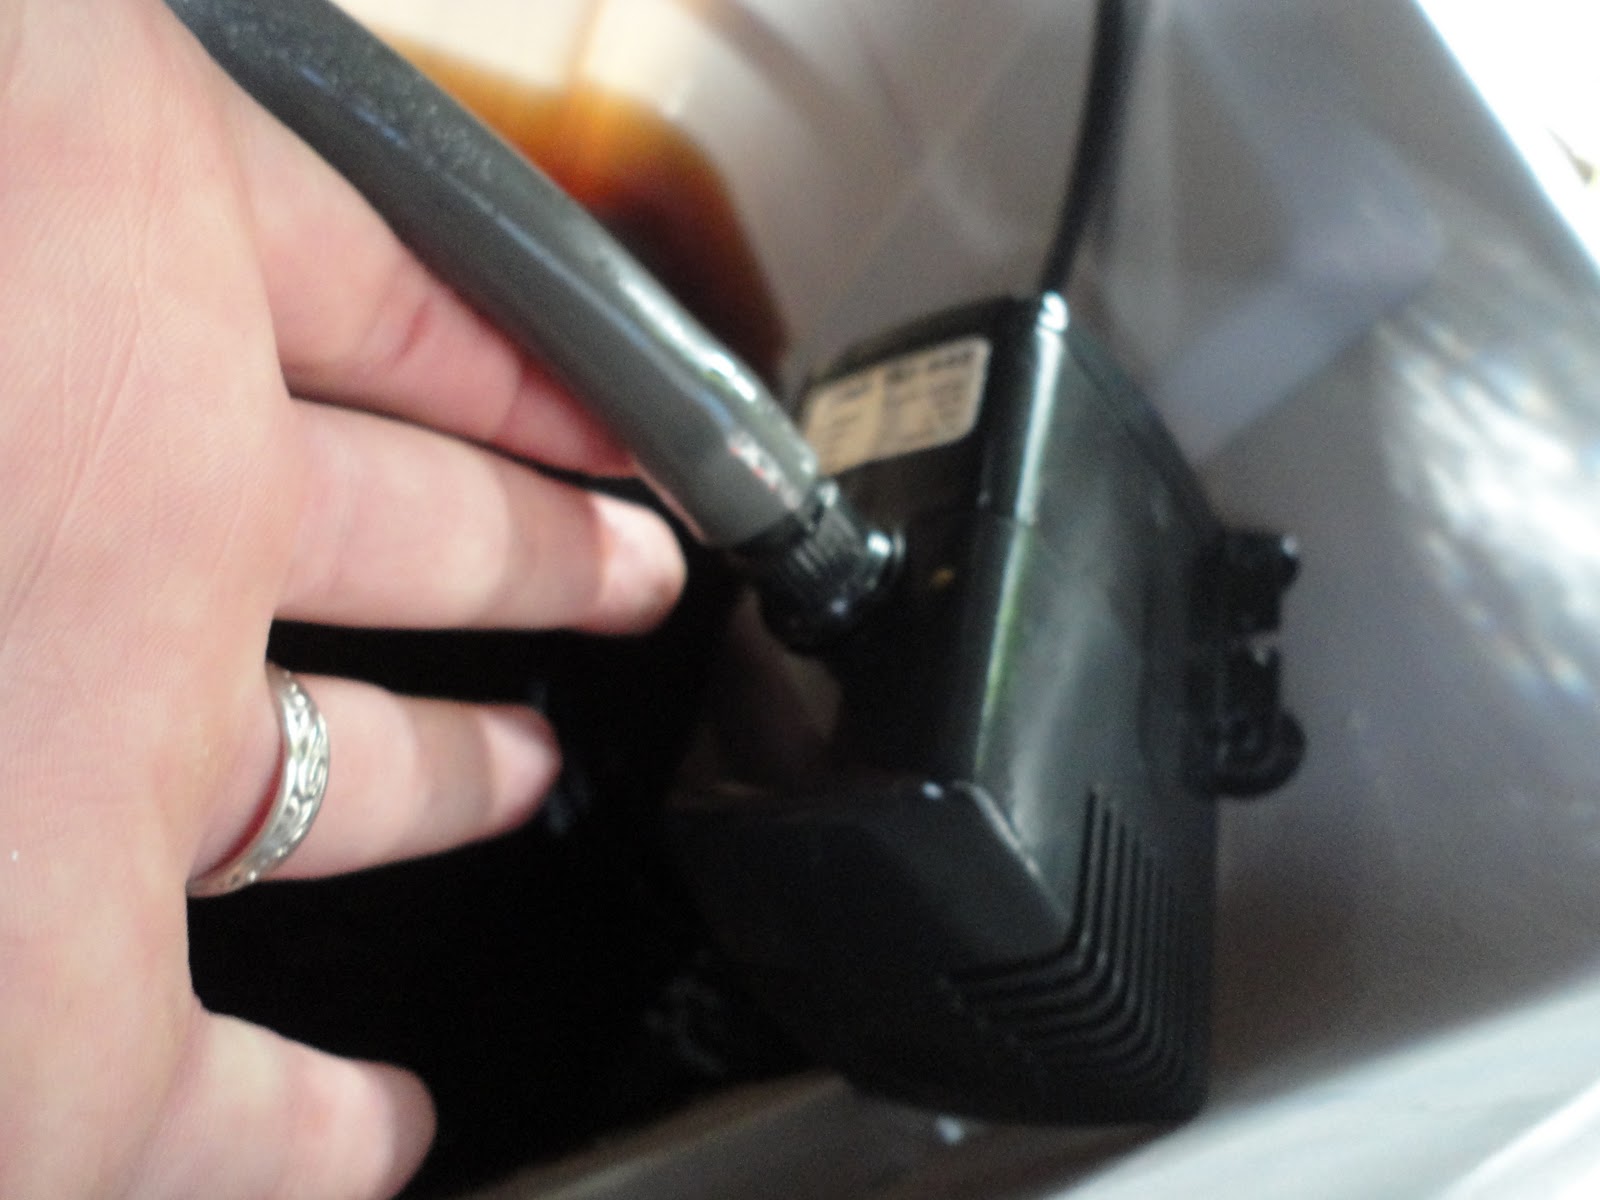
Cut access points in reservoir top for fill and drain tubing as well as power cord for pump. A small door cut in the lid allows for quick access. Attach fill tubing to pump and fill fitting. Drain tubing will attach to drain fitting and return nutrient solution to reservoir.
FLOOD+TABLE+031.jpg


Fill the reservoir about 1/2-2/3rds full of nutrient solution. Set pump on timer according to the requirements of the plants and climate conditions. You can use a variety of grow media and fabric pot sizes with this system. One huge advantage to this system is it is all on wheels. Moving the entire system is effortless.
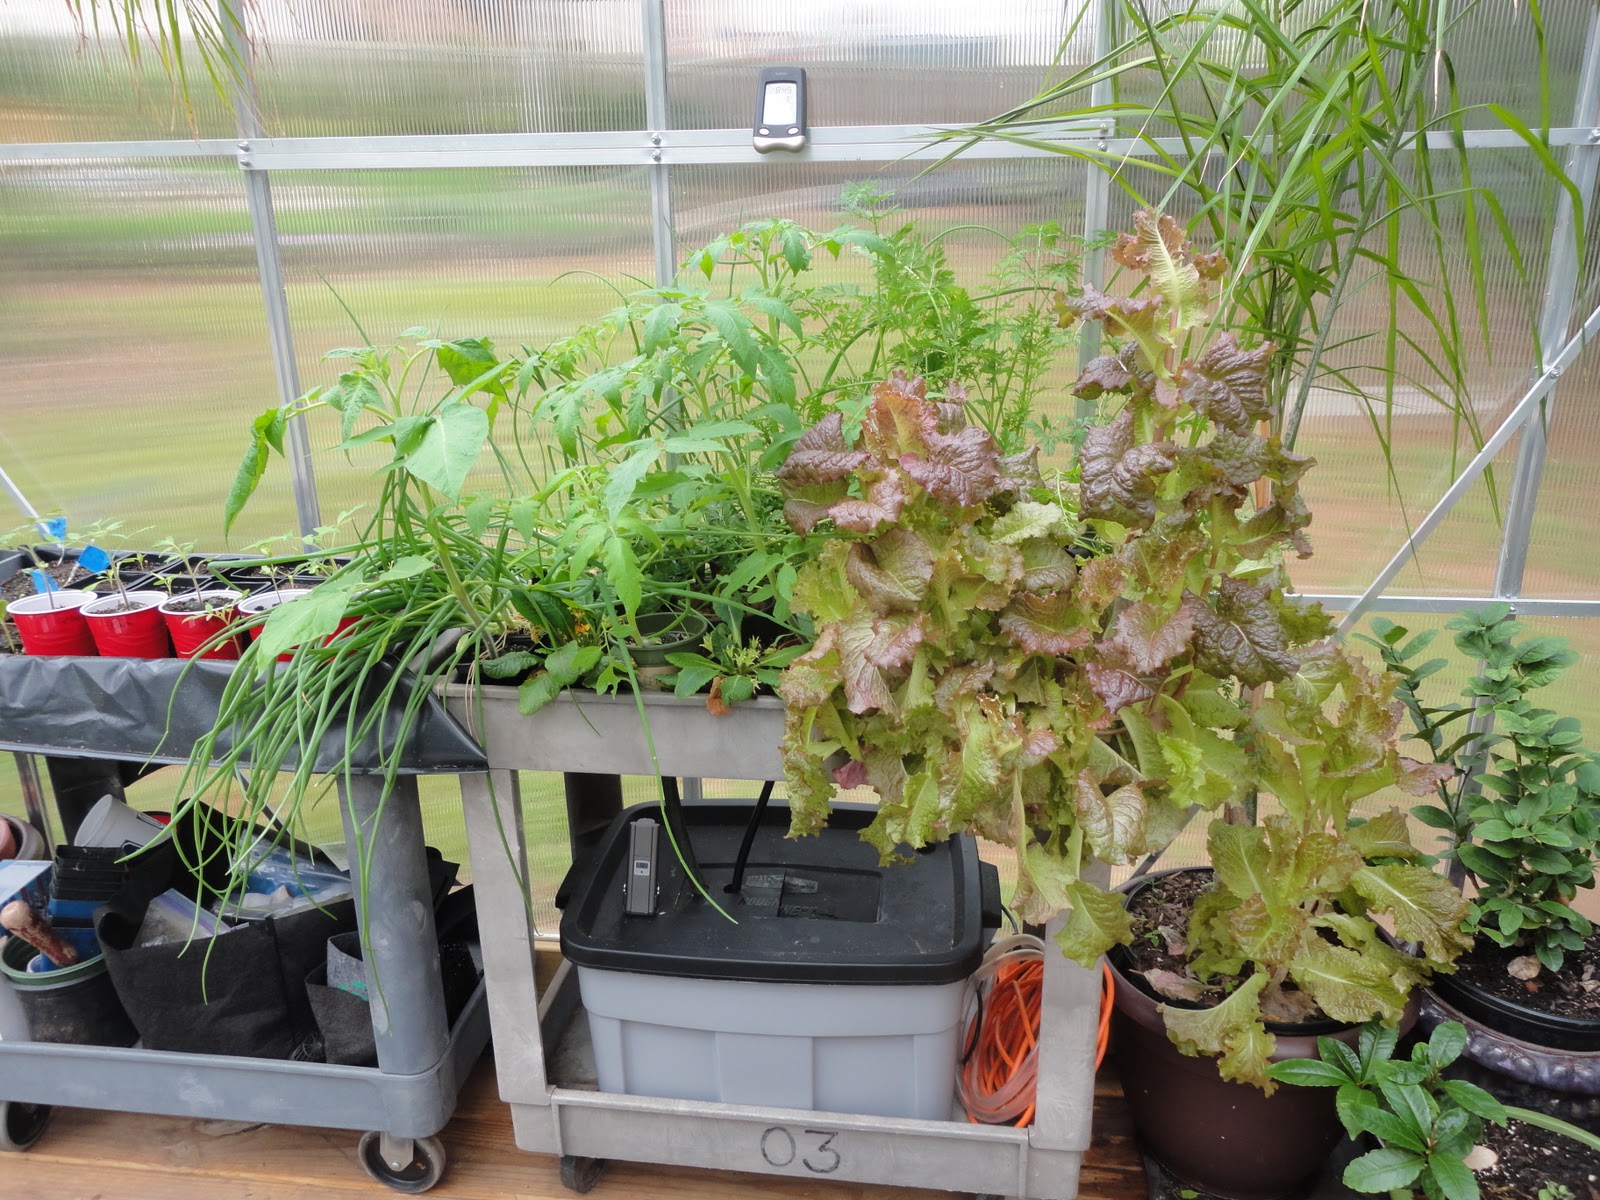
FLOOD+TABLE+008.jpg
 
Great job! I have a similar cart that I'm not using. I think I just found the perfect use for it. Thanks!
 
Really nice way of doing it. I will make my own flood and drain system also but fittings are not possible to buy in Norway so have to be creative and make them myself.
 
Great post, I have ordered everything I need to build a diy eb and flow system. Hopefully by the weekend I will be able to assemble it and post the results.
 
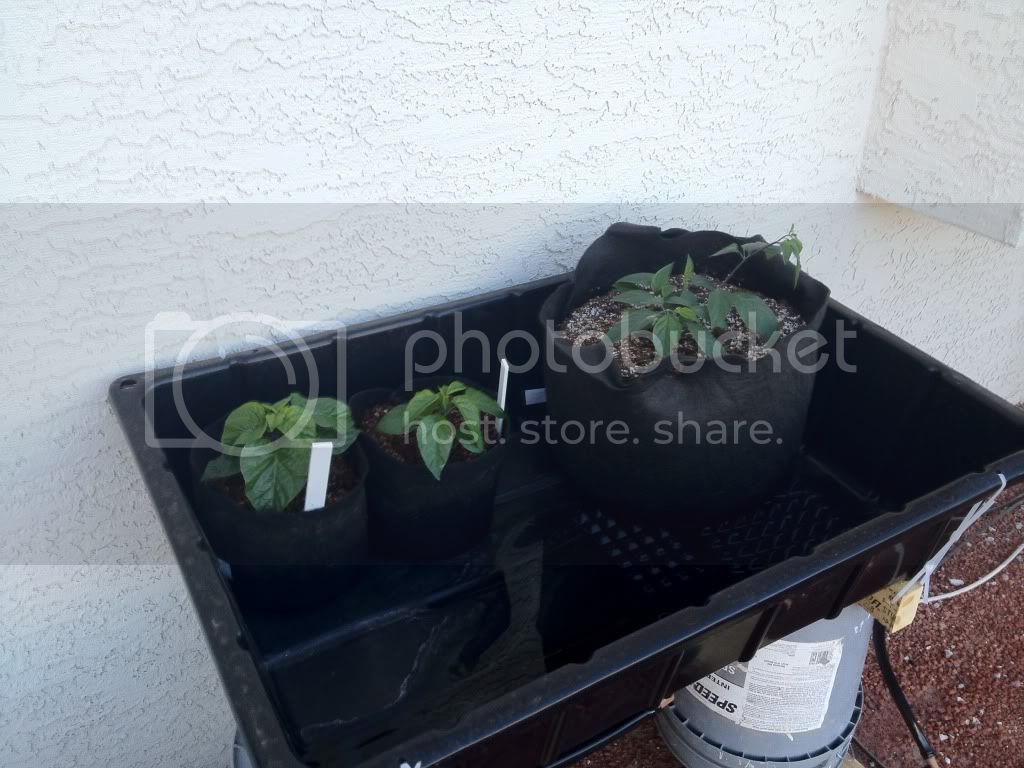
~march 20th
IMG_0853.jpg
c
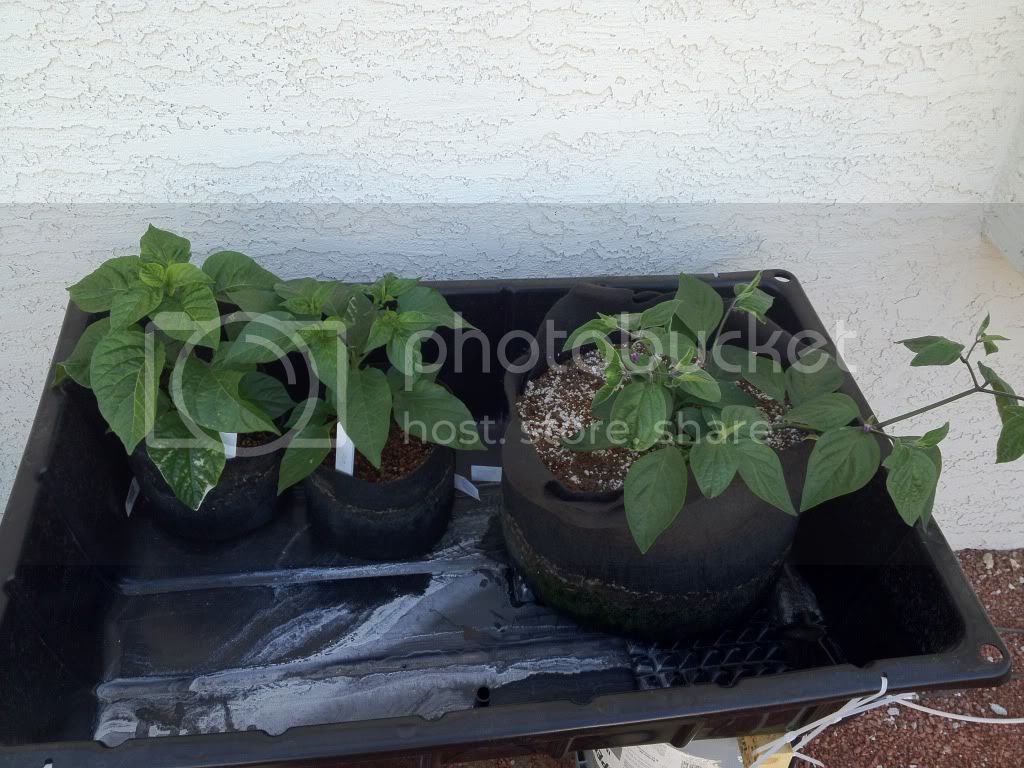
~april 6th
IMG_0900.jpg


I am probably over watering. I am using the overflow to raise the level of my DWC. Once those get established I'll reduce the cycle.
Any way thanks for the example. These plants have the best growth out of anything.
 
I hope it is kosher to bump this post. I see a bunch of new people asking what the easiest way to do hydro. I have tried DWC, drip, and flood and drain with hydroton and this is my favorite method. This way you are not constantly filling up the water level like with non-circulating DWC. It works with the cheapest pump and timer. The roots are contained and pruned to get the biggest impact in the smallest space. The plants transfer to soil easier than any other system. Also, it worked outdoors in 115 degree weather without a chiller. I had to quit because it was too much work going through 5 gallons of water a day.

It is simple, low maintanence, works outside, cheap, and plants go in the ground well.
Here is how I have tweaked the system. 1st I start my seeds in rapid rooters. Then when they sprout I move them to styrofoam cups with 20/80 perlite/coco and flood the table for 1 minute everyday with very dilute nutrient. Then when the plants get a little bigger I go to 1/4 strength nutrients and flood 1 minute a day. Finally, I decide which plants I am going to put outside and which I am goint to keep inside. The ones that stay inside go in smartpots with 50/50 coco and perlite and and every 5 hours I flood until the water goes to the over-flow tube.
I no longer have to worry about whether my seedlings dry out. I don't have to adjust the height. I automatically bottom water and then when things are big enough I just change the timer and am good to go.


Thanks Alpha
 
How does the water flow back into the res? Through the inlet once the pump is off?


Generally in a flood and drain setup there is a overflow for excess water to drain back to the reservoir during the flood cycle.

On the drain cycle the water reverts back down the flood fitting through the pump.
 
theliveculture said:
Generally in a flood and drain setup there is a overflow for excess water to drain back to the reservoir during the flood cycle.

On the drain cycle the water reverts back down the flood fitting through the pump.
 
Great thanks. So it isnt flowing down through an additional drainage hole? Is this a feature of all pumps (water flowing back down inlet?)?
 
 
Great thanks. So it isnt flowing down through an additional drainage hole? Is this a feature of all pumps (water flowing back down inlet?)?


Your standard impeller driven water pump will allow water to drain back through the internal passageway just fine!

Cheers!
 
theliveculture said:
Your standard impeller driven water pump will allow water to drain back through the internal passageway just fine!

Cheers!
 
Thank you kindly! Love the setup!
 
Glad this thread got bumped.
 
The method the OP is using is essentially the same one that I will be using this winter.
 
I'll be mixing perlite and peat moss for my soil-less mix. My first test plant is in the pic below. It is temporarily in a pot, but will be put in a 3 gal grow bag when I bring the plants in for the winter at the end of the month. Right now I am testing the percent of perlite in the mix. Right now it is 50/50 and I haven't added any nutrient solutionin 3 days. Clearly too much peat moss and I'm retaining too much water. I'll do some more testing with 75/25 perlite/peat and see if I can't find the right mixture. What I am looking for is being able to either flood or use a drip line once or twice a day. and then be able to bring them outside on a drip system in the spring and only feed them every 6-8 hours.
 
 
This pic is about a week ago and is a soon to be brought inside ghost pepper.
20130922_125349.jpg
 
Back
Top