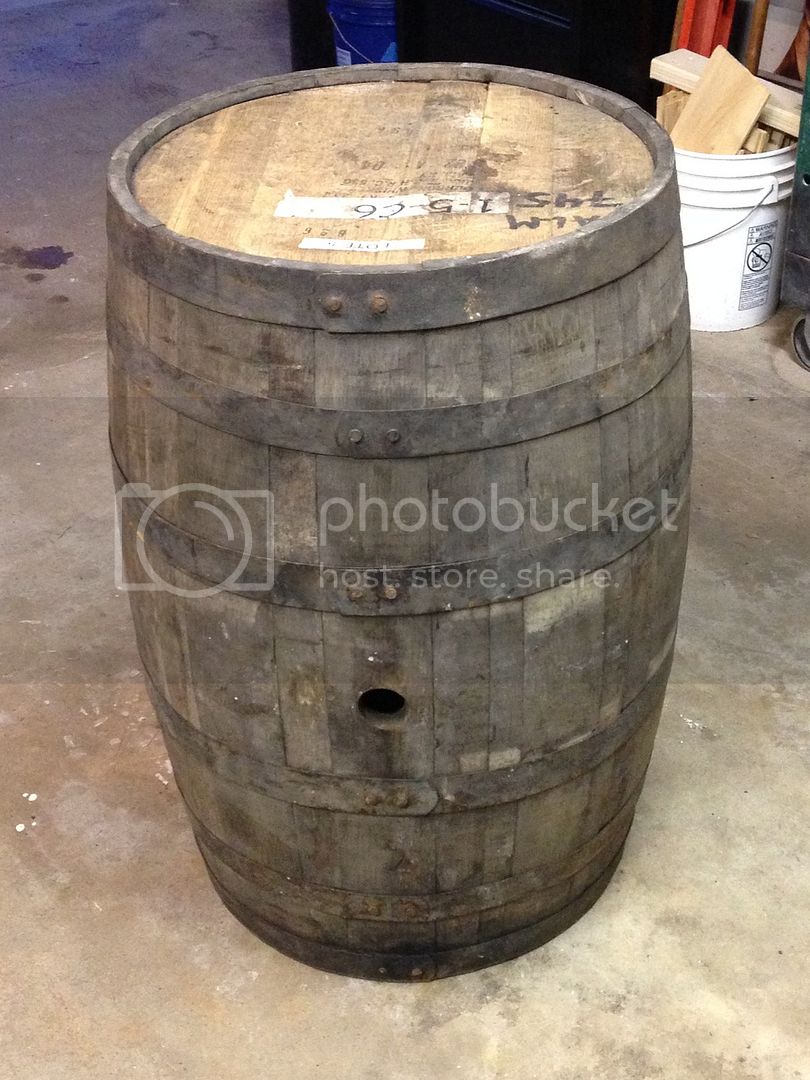
Ok, I started with a Jim Beam barrel on Craigslist for $100
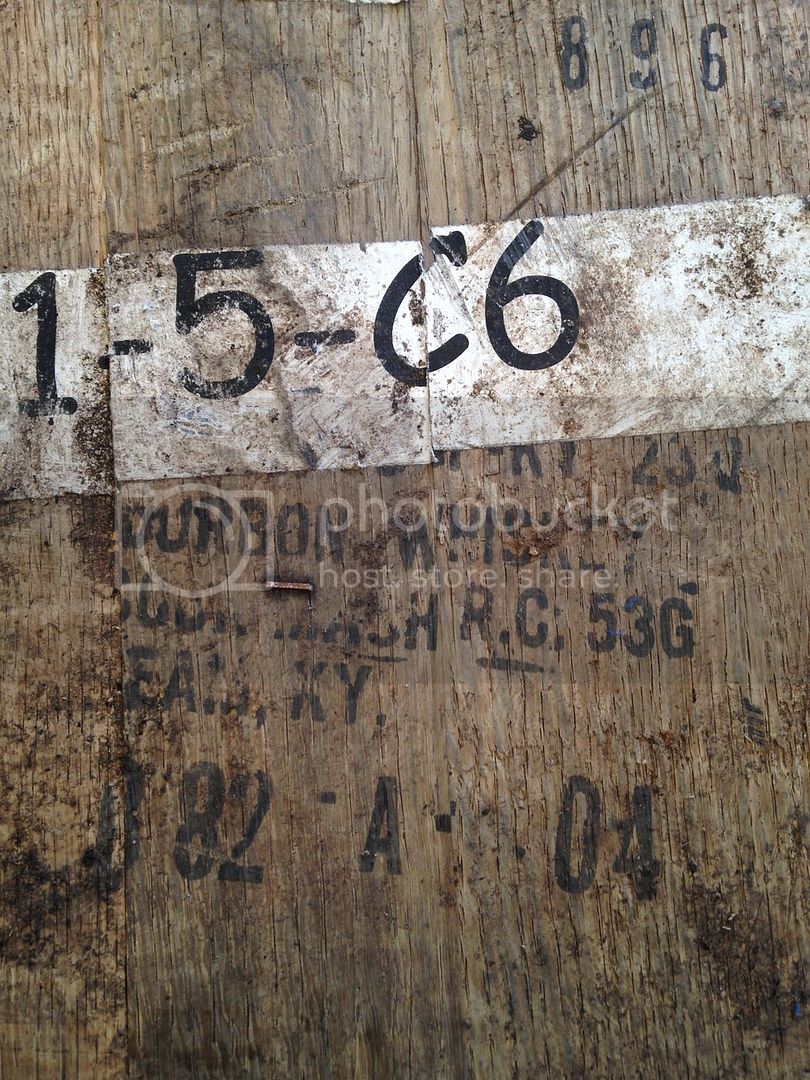
Sanded it down with a wire wheel on an angle grinder on the bands.
80 grit, then 120 grit, then 150 grit sandpaper "flapper" wheel on the oak
Cleaned it up nice
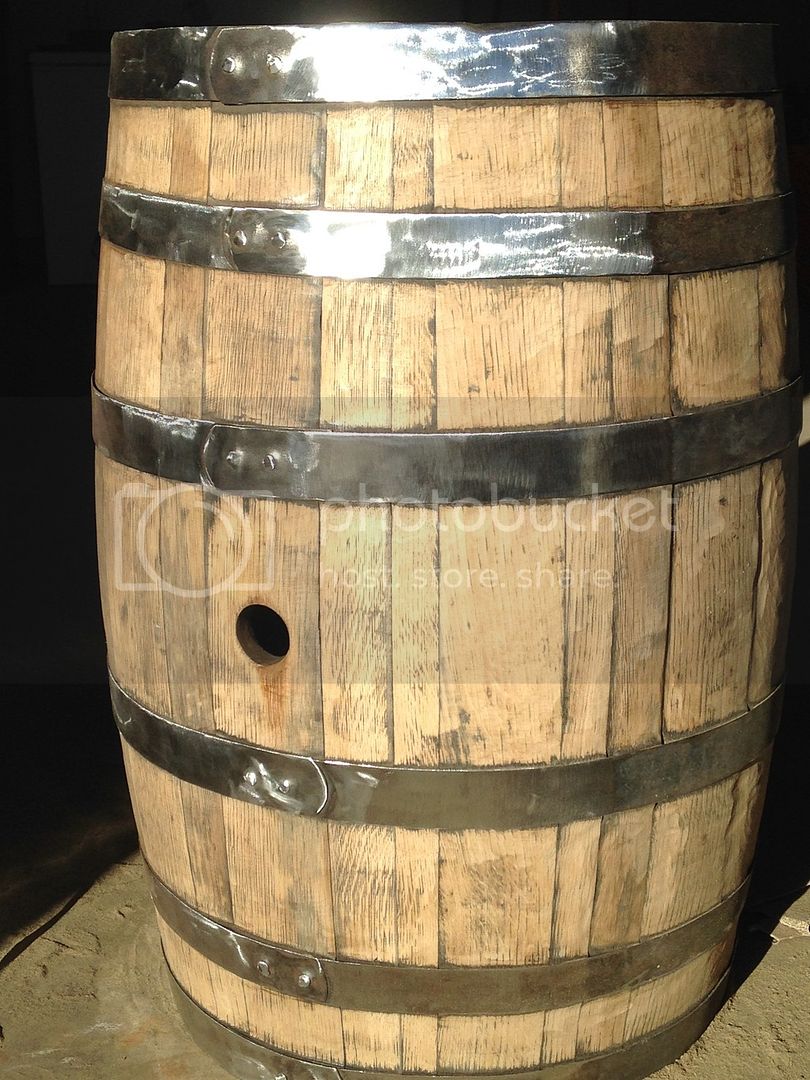
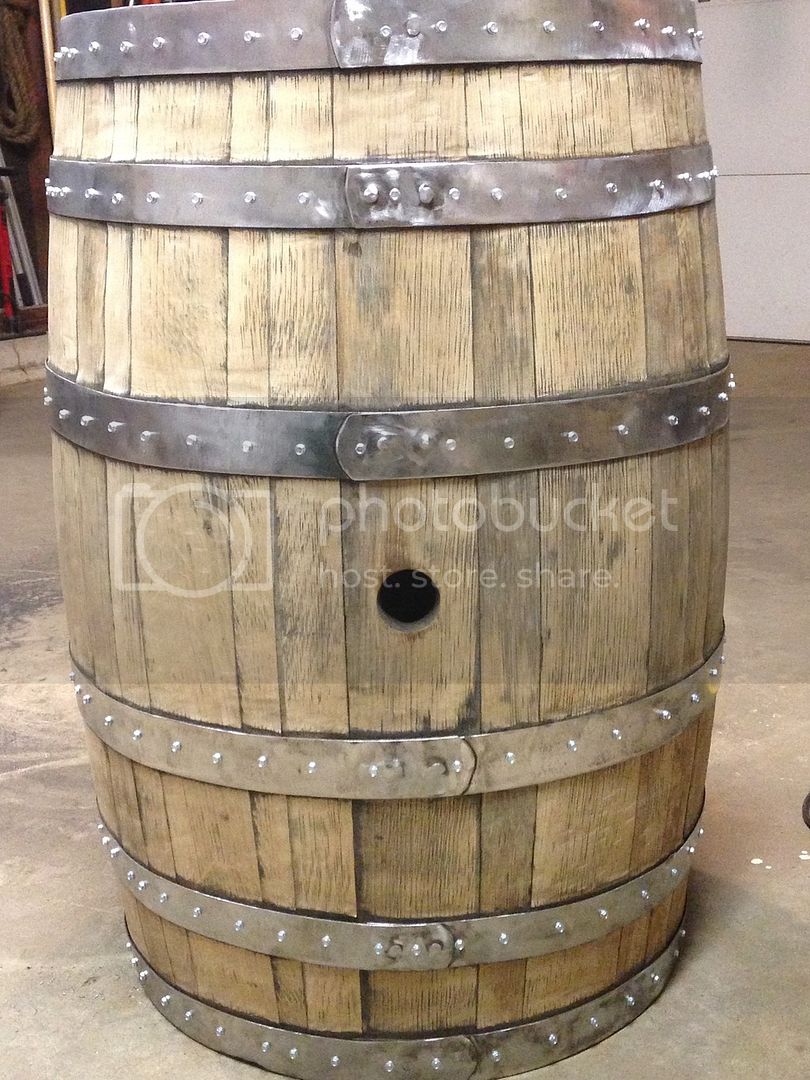
5/8" self tapping stainless screws (predrilled pilot holes) in every stave to hold the bands up, and to stop the barrel from falling apart when I cut the top off. This took FOREVER
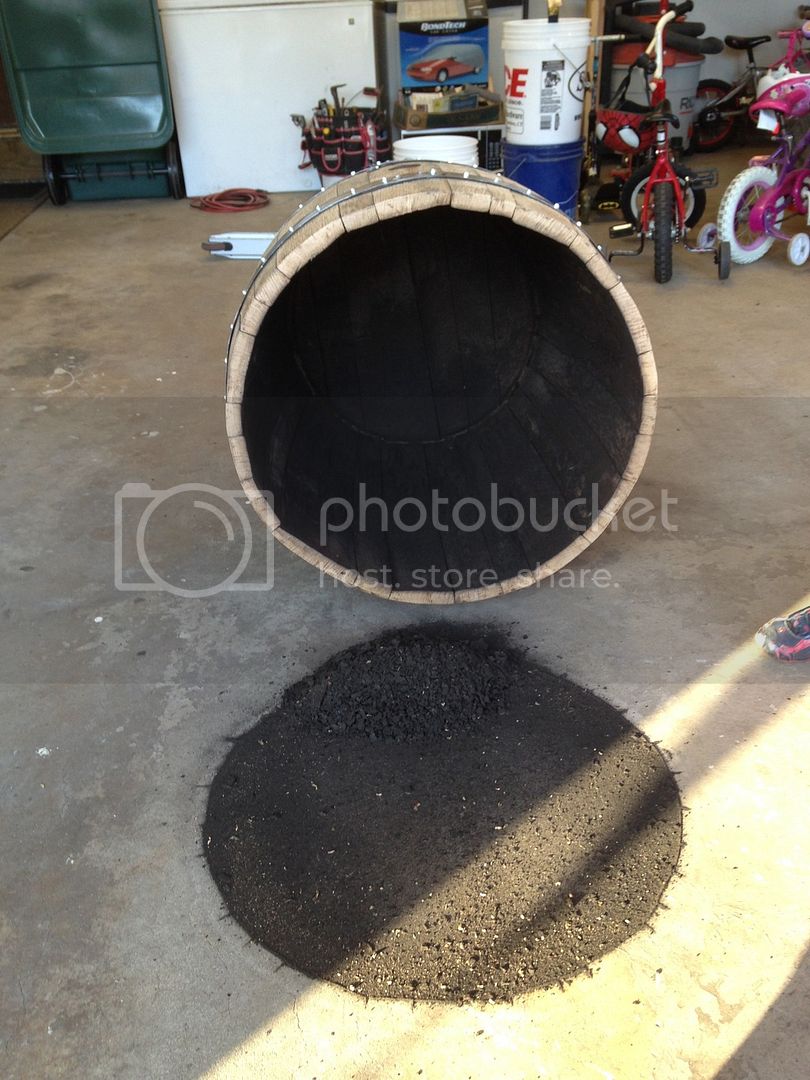
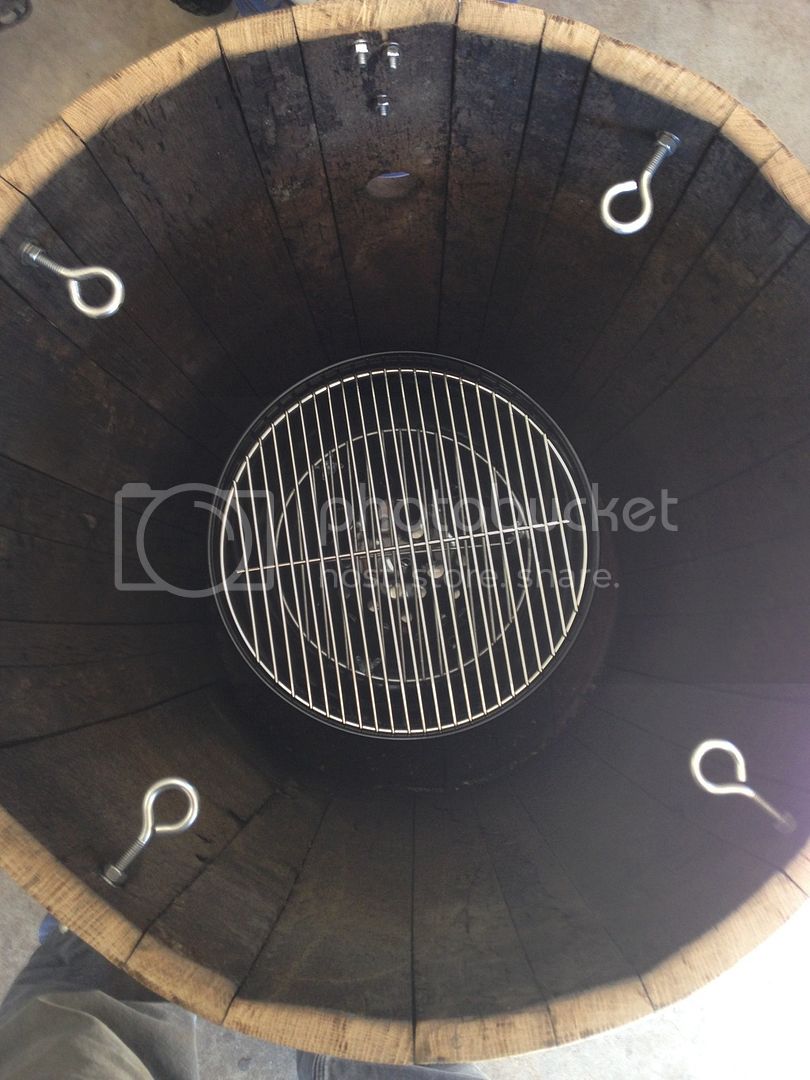
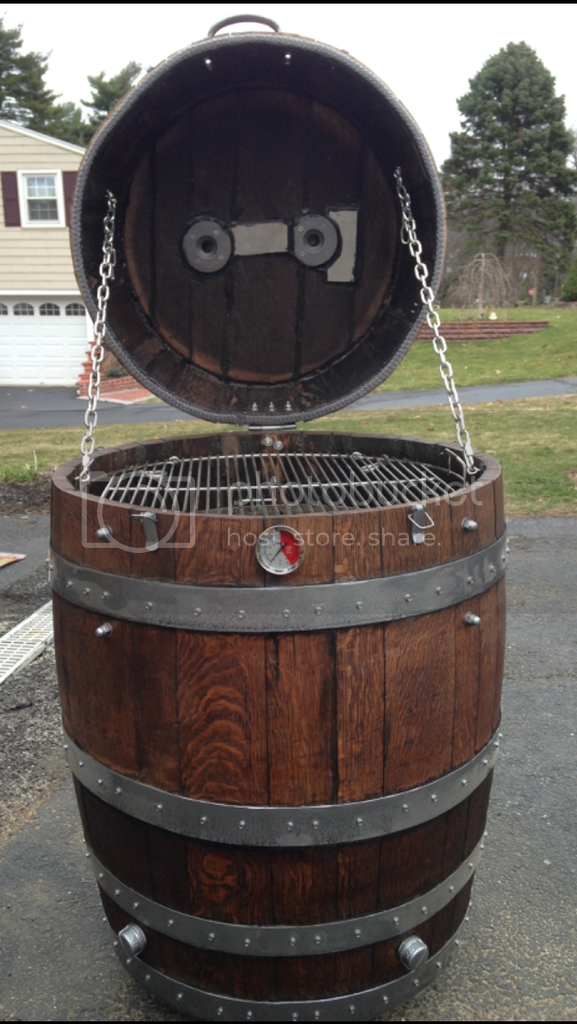
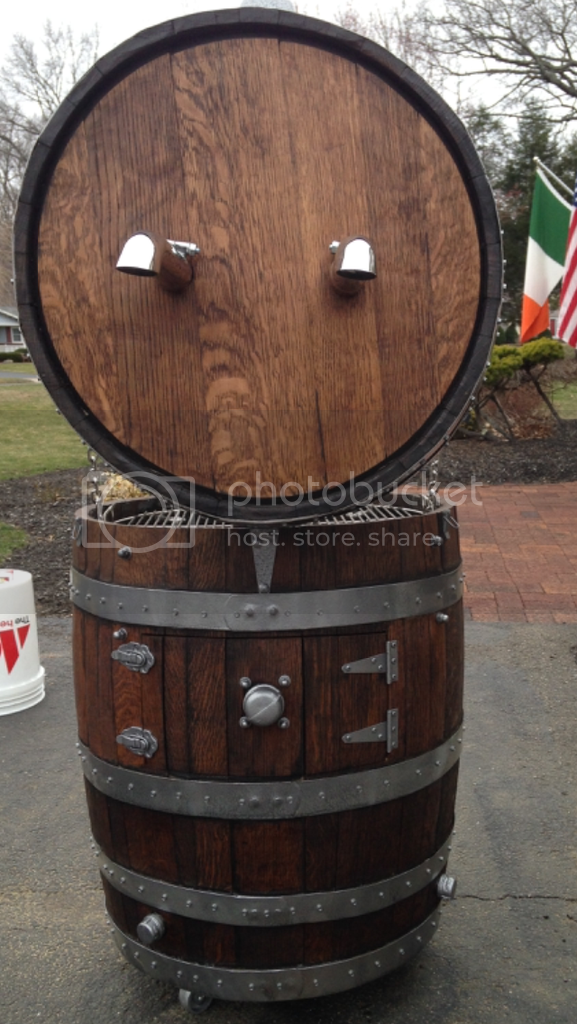
Off comes the top, out comes the loose char. Smelled like smoky bourbony awesomeness
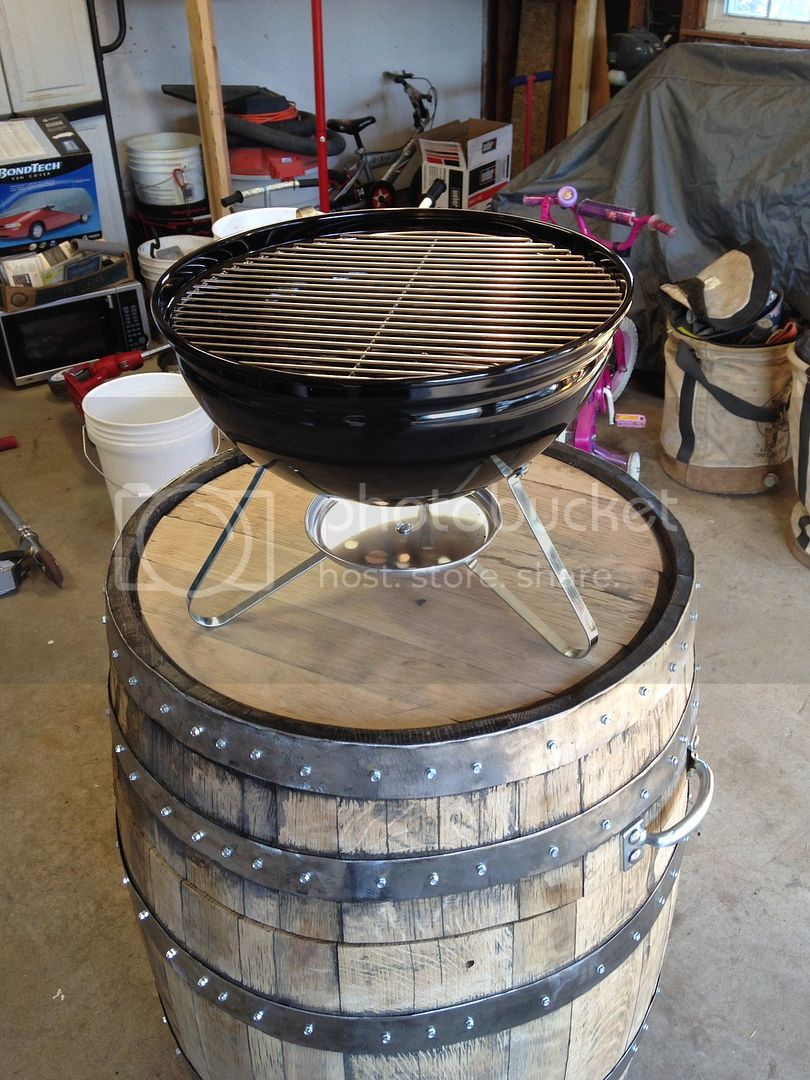
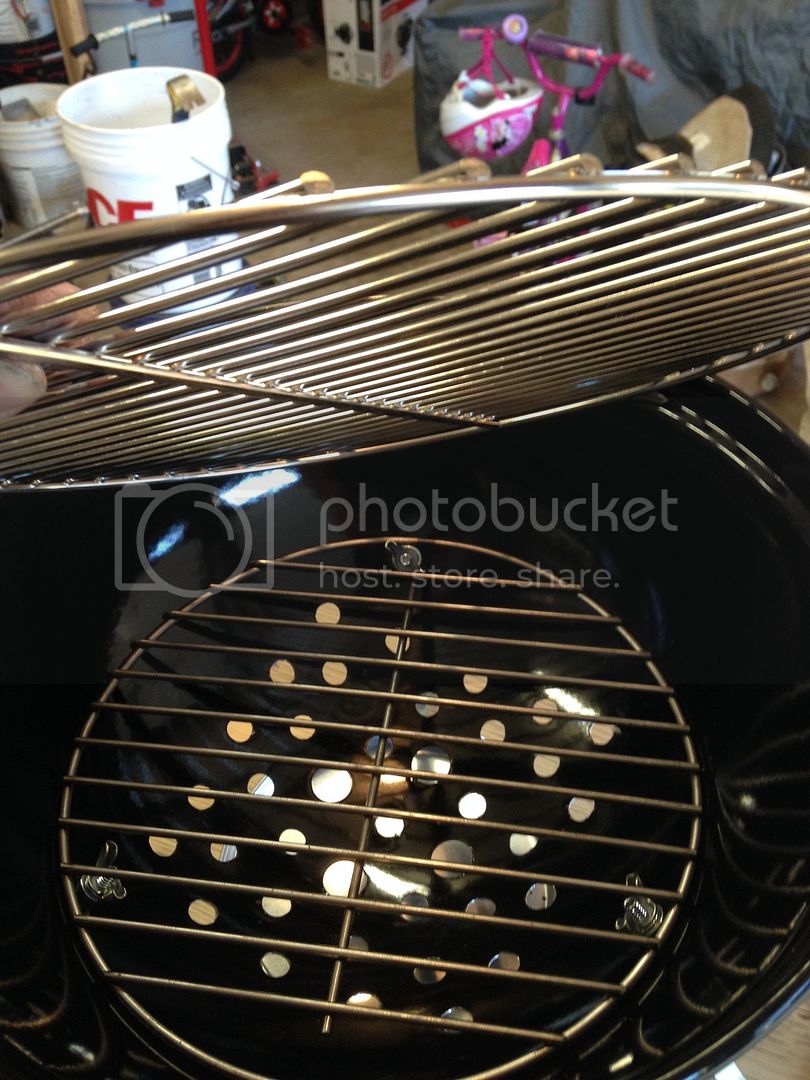
Little 14" Weber "Smokey Joe" for the bottom. I drilled a ton more holes in this for better airflow, and altered the legs a little so it would sit lower
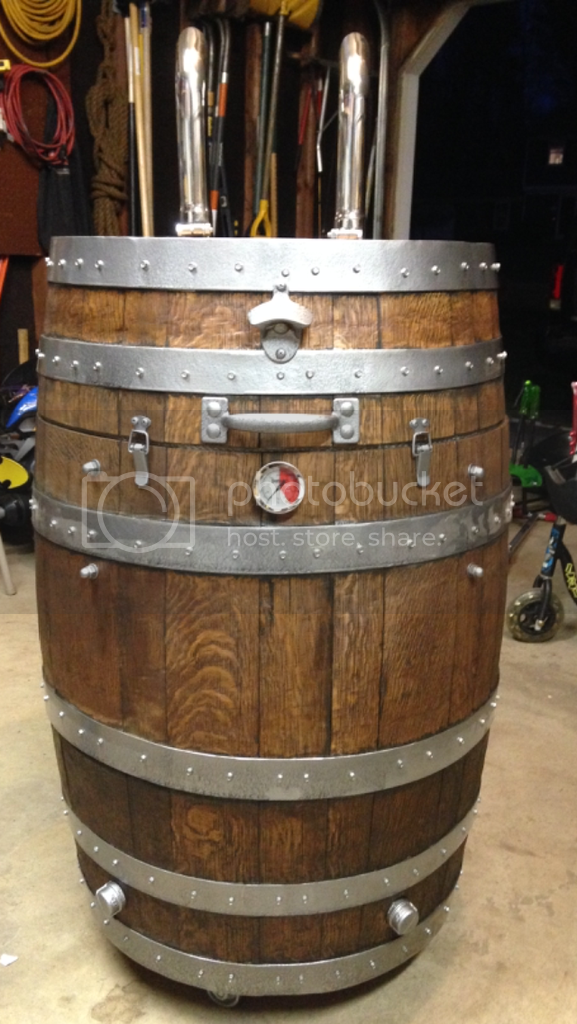
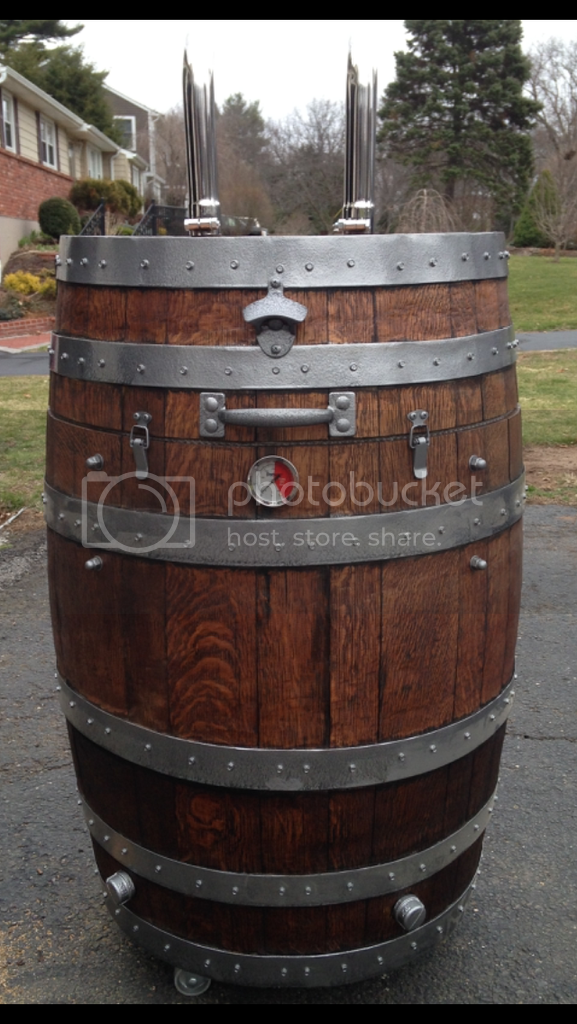
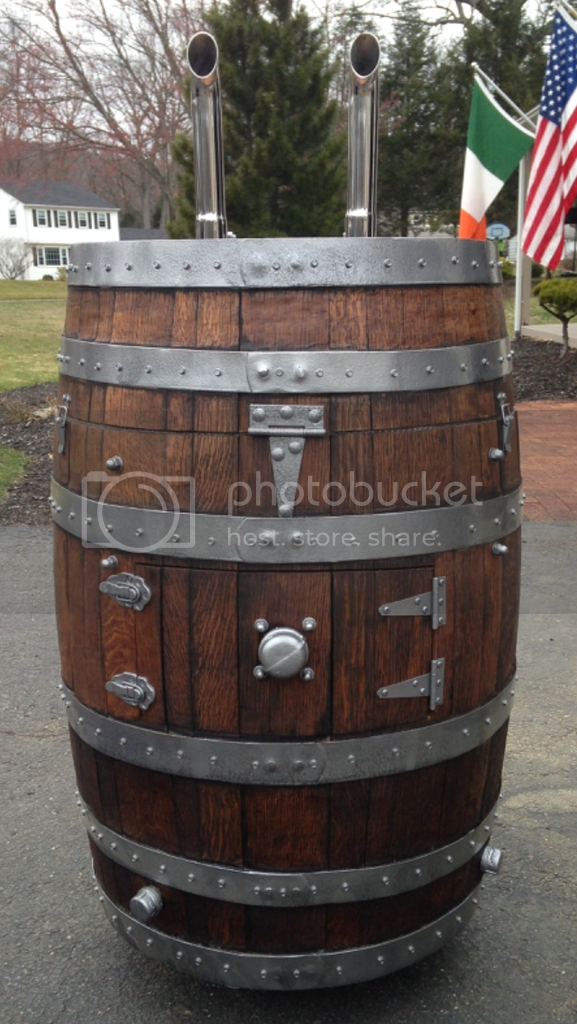
Access door to refill water pan/charcoal
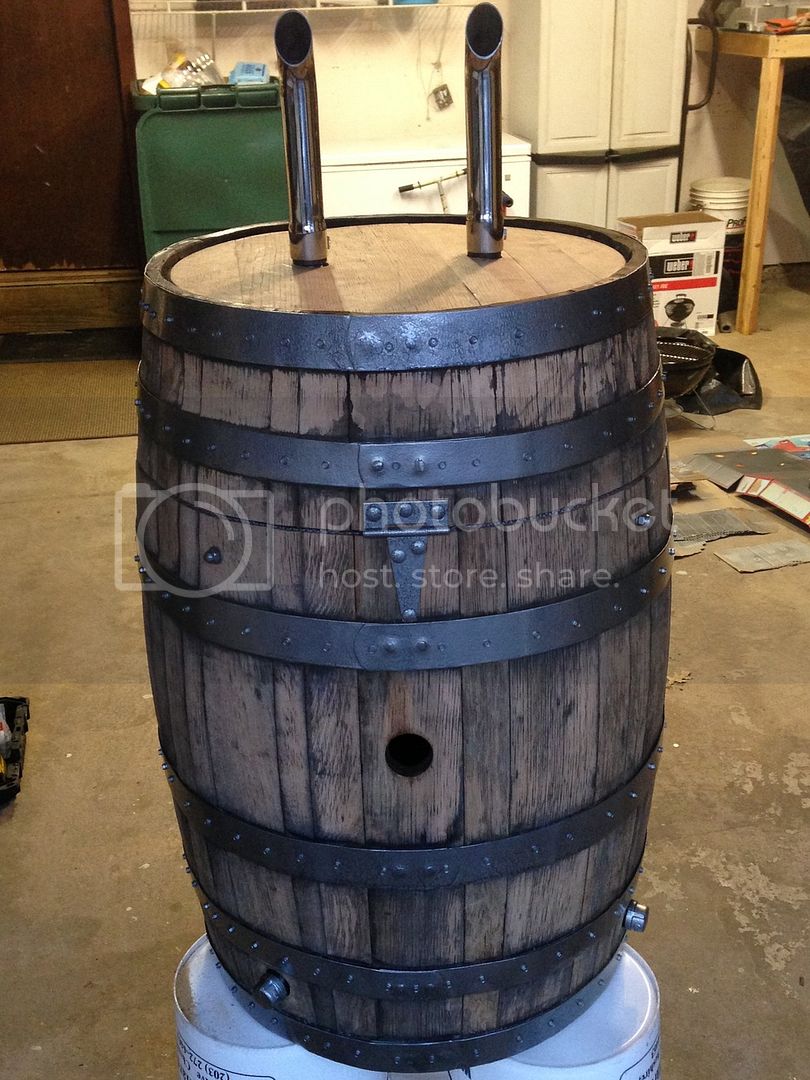
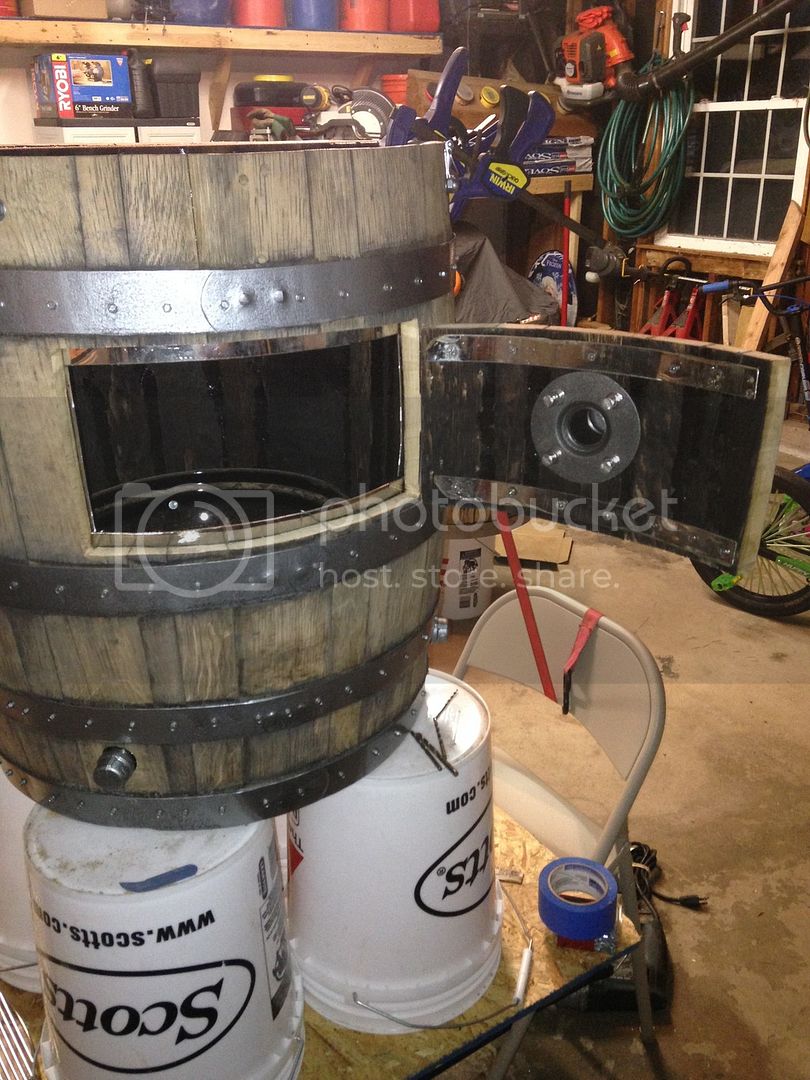
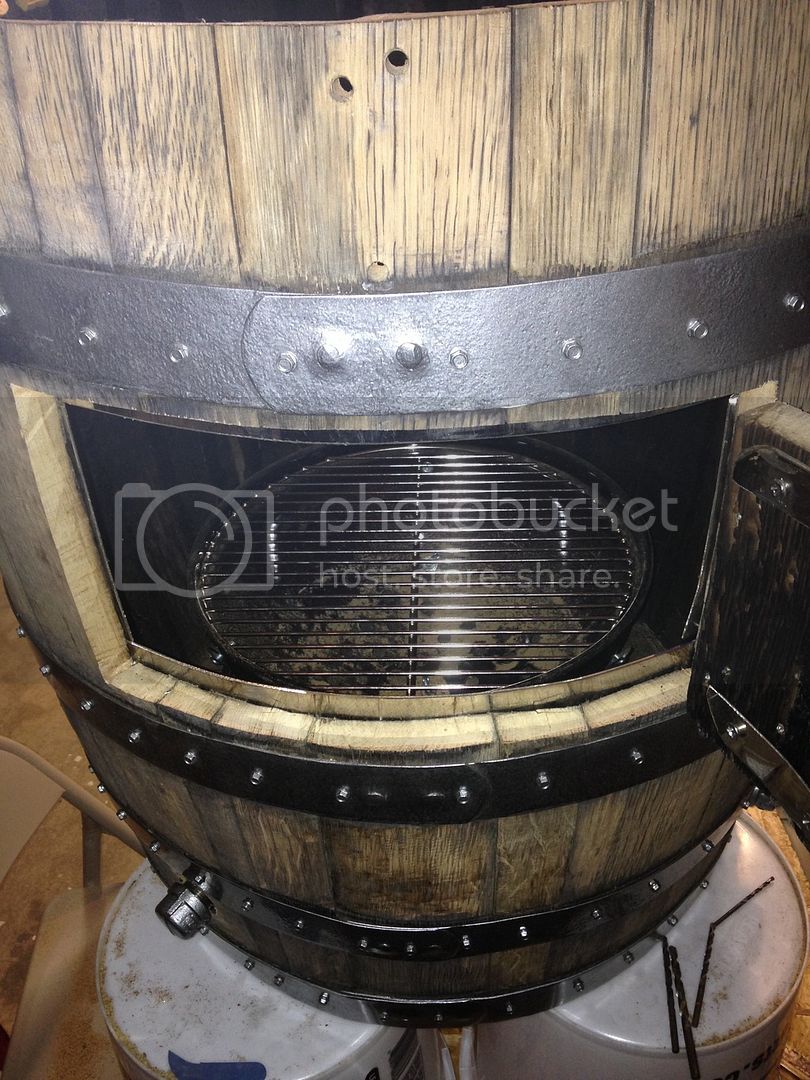
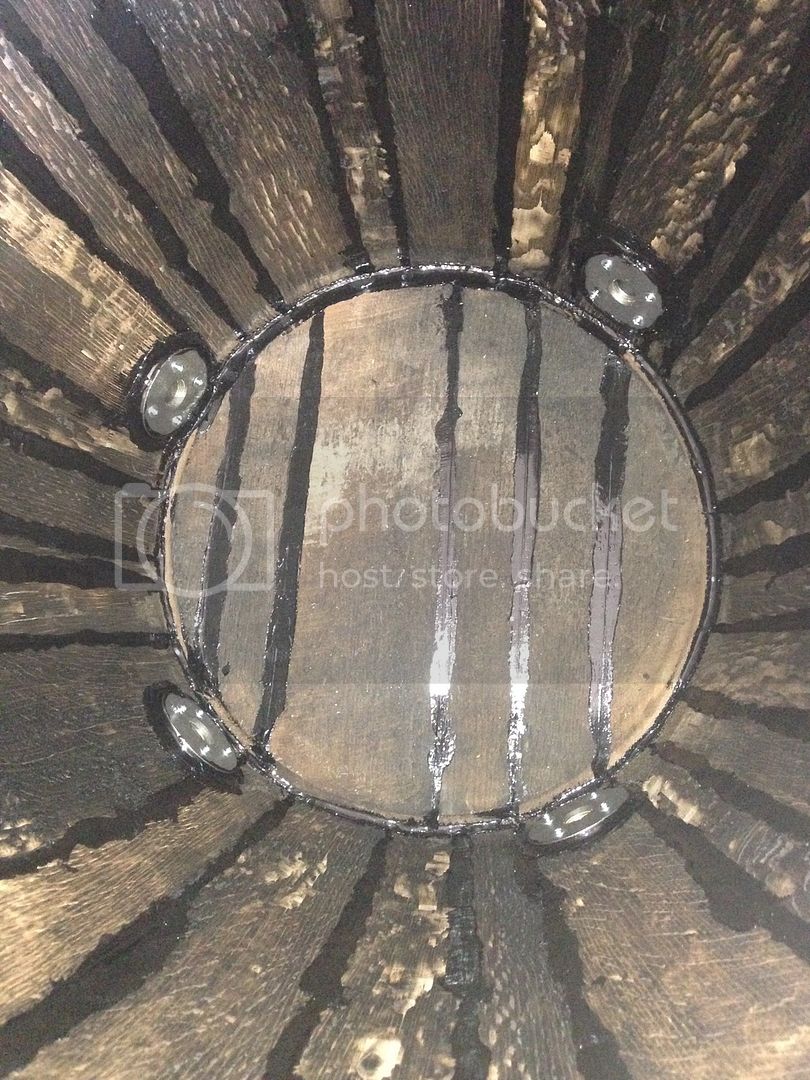
Four 3/4" threaded pipe air vents w/ caps to control the airflow. High-temp, food grade caulk in each stave joint

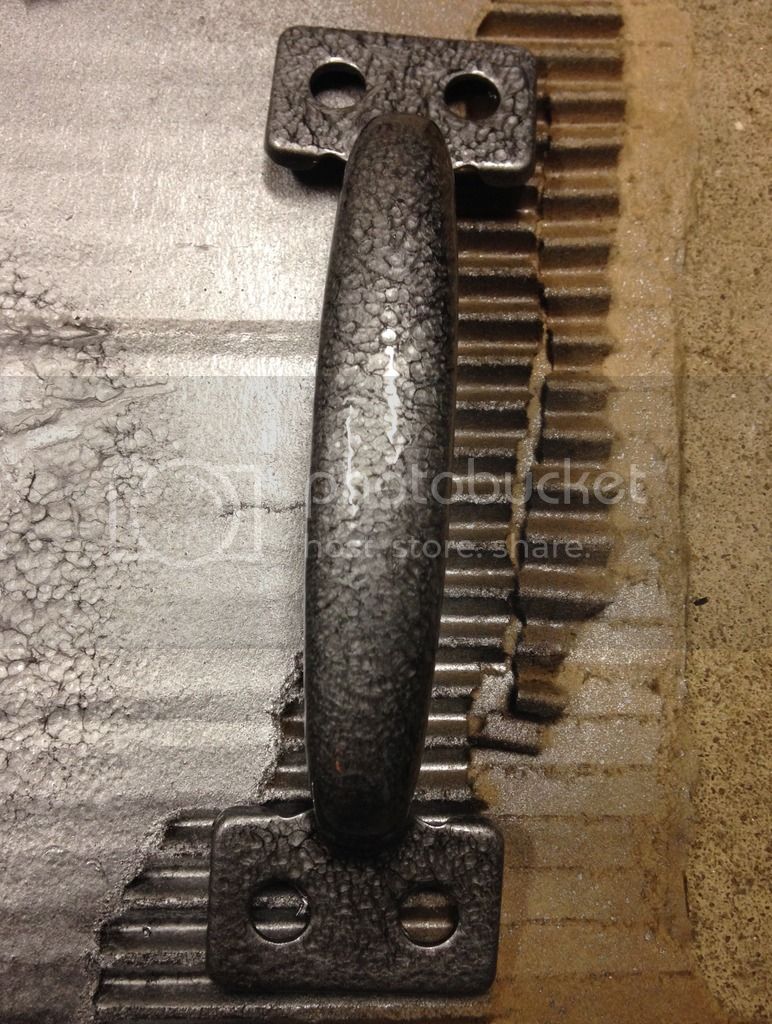
Somewhere along the way, after all the hardware was on (holes drilled), I was ready for paint. I love the textured look of this stuff. (Spray paint) "Forged Hammered Antique Pewter"
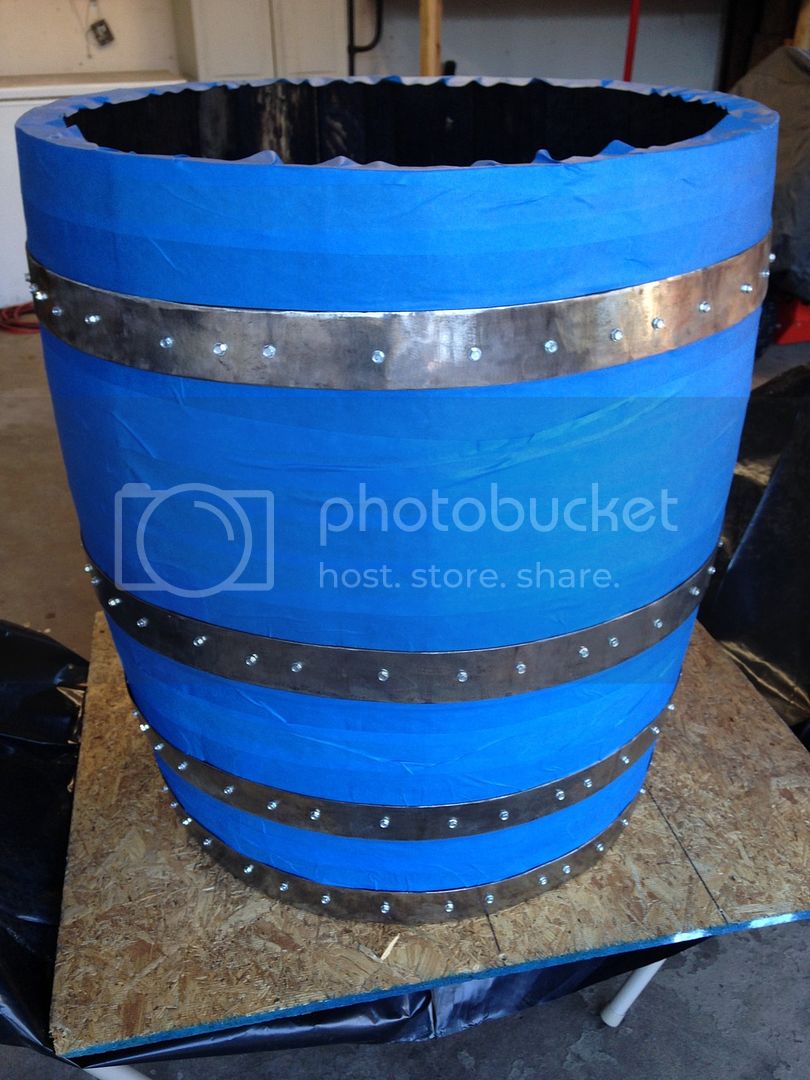
A coat of stain, and BOOM!
'MERICA.
Boss, let me know if you want me to delete any of the double posted pics. I'm not looking to get in trouble here


Sanded it down with a wire wheel on an angle grinder on the bands.
80 grit, then 120 grit, then 150 grit sandpaper "flapper" wheel on the oak
Cleaned it up nice

5/8" self tapping stainless screws (predrilled pilot holes) in every stave to hold the bands up, and to stop the barrel from falling apart when I cut the top off. This took FOREVER

Off comes the top, out comes the loose char. Smelled like smoky bourbony awesomeness

Little 14" Weber "Smokey Joe" for the bottom. I drilled a ton more holes in this for better airflow, and altered the legs a little so it would sit lower


Access door to refill water pan/charcoal


Four 3/4" threaded pipe air vents w/ caps to control the airflow. High-temp, food grade caulk in each stave joint


Somewhere along the way, after all the hardware was on (holes drilled), I was ready for paint. I love the textured look of this stuff. (Spray paint) "Forged Hammered Antique Pewter"


A coat of stain, and BOOM!
'MERICA.


Boss, let me know if you want me to delete any of the double posted pics. I'm not looking to get in trouble here


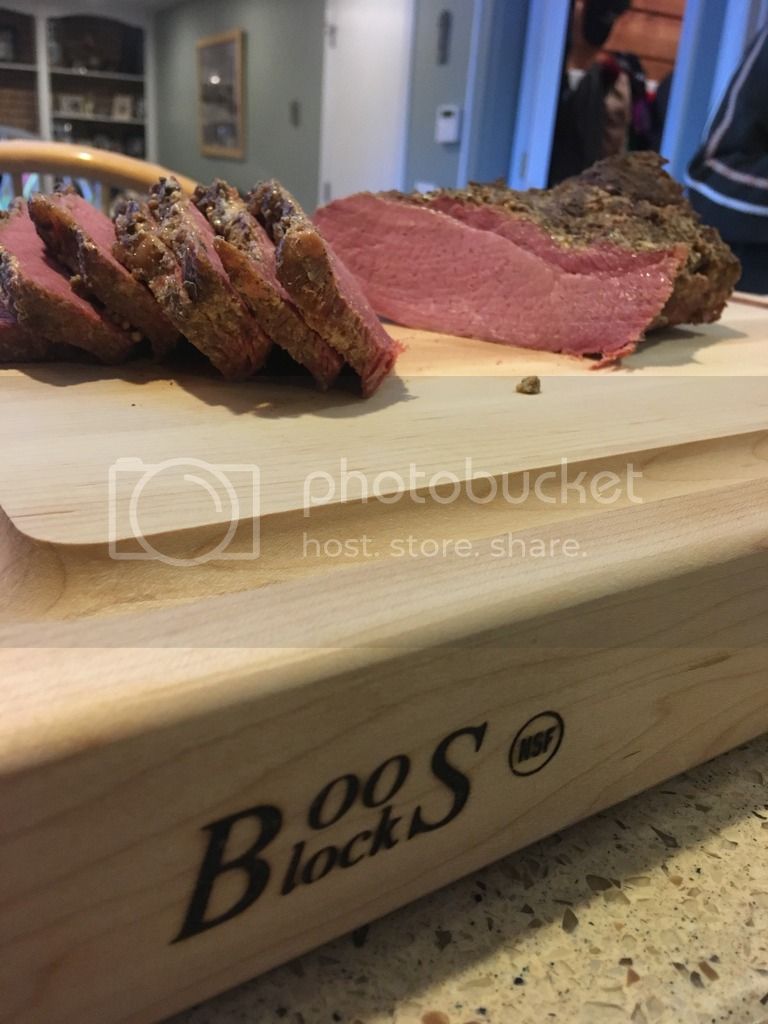
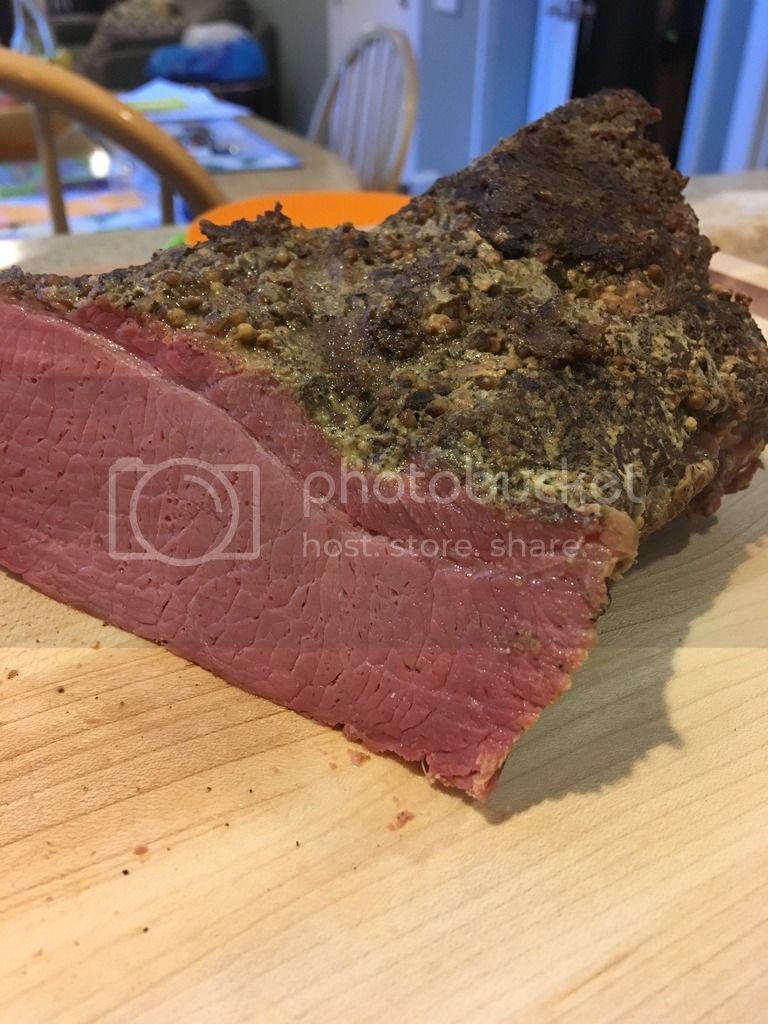
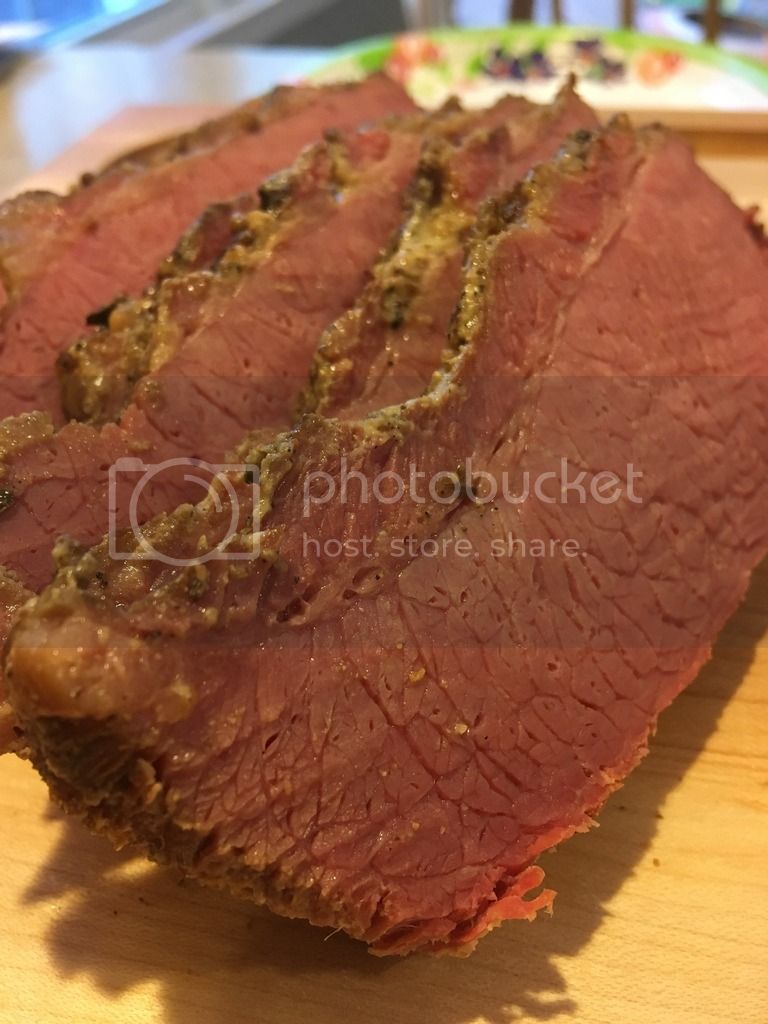
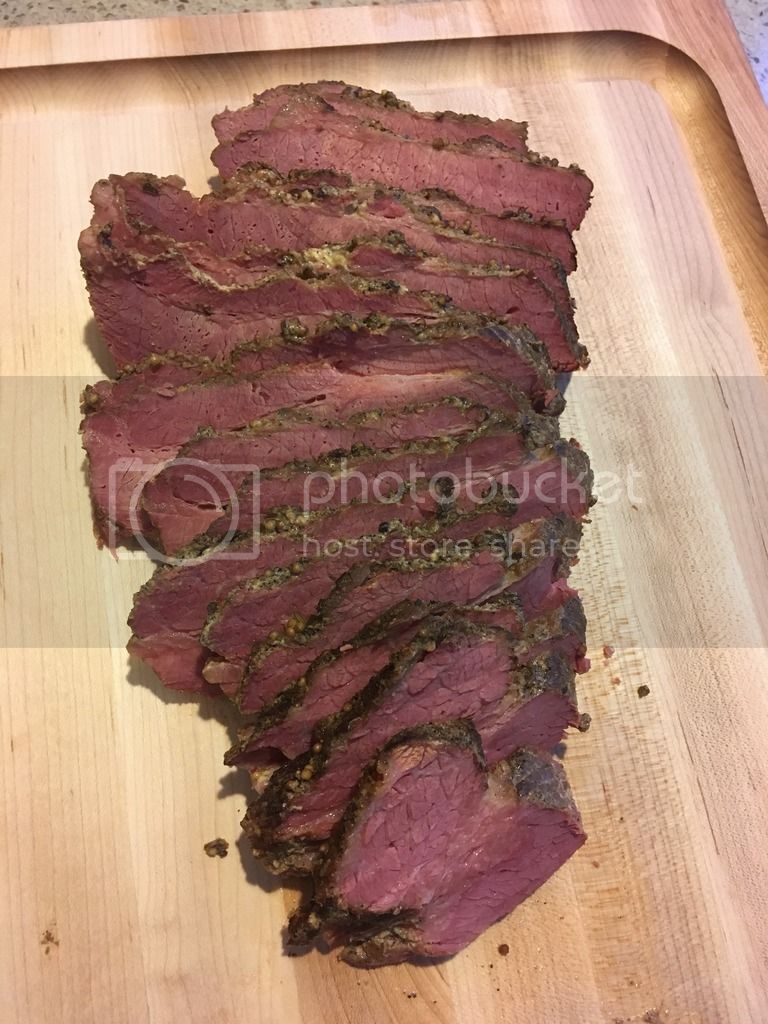
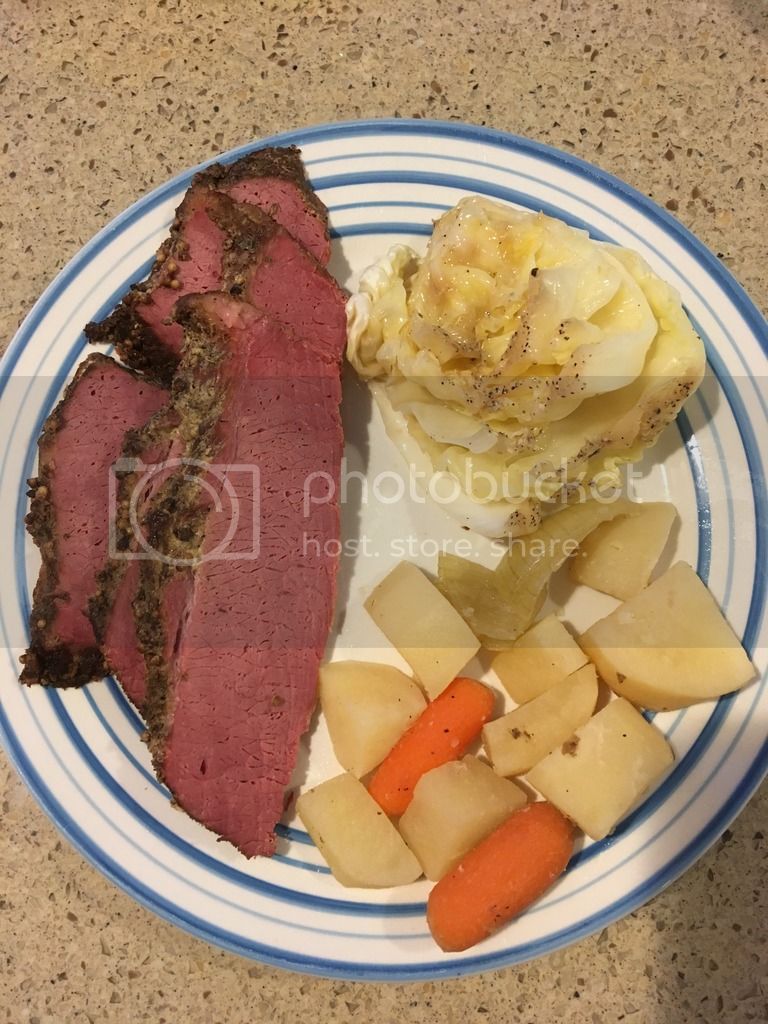
 lets see some of the goods
