-
We welcome content that is not political, divisive, or offensive. If we feel your content leans this way or has the potential to, it may be removed at any time. A hot pepper forum is not the place for such content. Thank you for respecting the community!
-
✅ Expert and friendly hot pepper grow advice.
✅ The latest information on hot pepper varieties.
✅ Reliable seed trading.
✅ Hot sauce recipes and food safety guidance.
✅ Hot sauce business tips for startups.
🌶️ And more!
It's all here, at The Hot Pepper! The Internet's original hot pepper community! Est. 2004.
You are using an out of date browser. It may not display this or other websites correctly.
You should upgrade or use an alternative browser.
You should upgrade or use an alternative browser.
food-bev MikeUSMC: "Bury Me in Smoke"
- Thread starter MikeUSMC
- Start date
Wow! Thanks Old Salty! That means a lot, coming from you, man! Thanks for the kind wordsoldsalty said:Wow Mike fantastic looking cook for someone who is new to smoking i give you and A. And your smoker build is outstanding Marine
I'd love to hear what mods you'd do. Like I said, I'm still very new to the whole smoking game. I can honestly say, I haven't had any real "failures" yet through any of my cooks. Would I change a few things I've done along the way? Absolutely. There's always room to learnoldsalty said:Have a few mods i'll add but just amazing. Thanks for posting the how to.")
A couple things I'd definitely change about this build are:
-I'd lose the little grill in the bottom, and build a new (bigger) charcoal basket. It works fine for now, but even fully loaded up, it'll only last about 5-6 hours. If I were to do a 15lb brisket, I'd hate to have to reload (dismantle everything) the charcoal basket 2, 3, or even 4 times
-The eye bolts holding up the two cooking grates; I'd use 3 NOT 4. I can't take the lower grate out without removing 2 of the eye bolts that hold up the top grate. It sucks, and it wastes a LOT of time taking those out, if I need to load up more charcoal or whatever. Obviously, the longer the lid is open, the more heat you lose. I think there'd be a little more wiggle room if there were only 3 eye bolts
-I might have even skipped cutting the door in the back. I put it there in case I had to access the charcoal or water pan. 9 times out of 10, I just put the water pan directly on top of the charcoal grill grate. If I'm not using both of the top cooking grates, I'll just put the water pan on the lower one to catch the drippings. Having the door an the back is just another place for leaks to show up. I put stainless sheet metal around the inside of the door opening, but I really need to incorporate some rope gasket in there too
I'd love to hear what you'd do differently, if you don't mind letting me know
I also wanna build a steel UDS this Summer, but that's pretty low on my list of stuff to get done around the house, haha


Nice smoker!
Nice looking rig Mike. How well does it hold temp with the lid on? Does it take much babysitting?
Thanks Jay! No, doesn't take too much babysitting. Holds temps pretty well. I just have to be careful I don't let it start running too hot because it's really hard to get it back down once it starts climbing unintentionally. All in all, it "works." I do tend to babysit it a little though. Truth be told, I'd probably do the same if I had one with an automatic thermostat though. I mean, what the hell else am I gonna do, sitting there with a cooler of beer? ") My thinking is: if you don't have the time to sit by your smoker all day because you've got other shit to do, you probably shouldn't be smoking that day. I won't even fire it up if I have other stuff to do, or I'll cancel all of my other plans, haha
My thinking is: if you don't have the time to sit by your smoker all day because you've got other shit to do, you probably shouldn't be smoking that day. I won't even fire it up if I have other stuff to do, or I'll cancel all of my other plans, haha
I've been having a few little problems with small leaks showing up here and there, between the stave joints, but I should be able to easily fix that with some more caulk. Those leaks (I think) are letting a little too much air in, causing it to run a little hot. I ran it last week, smoking the pods (above ^). I wanted to stay around 180-185*, but it climbed to about 201*. Wasn't much I could do about it, even after I tried choking off the air intakes.
Everything I've read online about these types of smokers says that you're supposed to fill them up with water (every other cook) so that the oak absorbs the water and swells, essentially sealing it tight. I've probably done 15 or so smokes with it, but I'm afraid to try to fill it with water, for fear of ruining the stain on the outside. I really don't feel like sanding it down and restaining it again.
Yeah I get what you mean about babysitting. For me it's an all-day thing but as I get older, I prefer a little less stress (but that's what the beers for right?). I learned my trade smoking on an old 22inch kettle grill so temp control is in my blood . I do have a DIY PID controlled Alton brown pot smoker that just kills large butts and just about anything that will fit the grill but you just can't beat building and maintaining a lumpwood fire.MikeUSMC said:Thanks Jay! No, doesn't take too much babysitting. Holds temps pretty well. I just have to be careful I don't let it start running too hot because it's really hard to get it back down once it starts climbing unintentionally. All in all, it "works." I do tend to babysit it a little though. Truth be told, I'd probably do the same if I had one with an automatic thermostat though. I mean, what the hell else am I gonna do, sitting there with a cooler of beer?
I've been having a few little problems with small leaks showing up here and there, between the stave joints, but I should be able to easily fix that with some more caulk. Those leaks (I think) are letting a little too much air in, causing it to run a little hot. I ran it last week, smoking the pods (above ^). I wanted to stay around 180-185*, but it climbed to about 201*. Wasn't much I could do about it, even after I tried choking off the air intakes.
Everything I've read online about these types of smokers says that you're supposed to fill them up with water (every other cook) so that the oak absorbs the water and swells, essentially sealing it tight. I've probably done 15 or so smokes with it, but I'm afraid to try to fill it with water, for fear of ruining the stain on the outside. I really don't feel like sanding it down and restaining it again.
I toyed with the thought of doing a barrel smoker but horizontally, not like your uds-type idea. Managed to get hold of a water expansion tank though that I'm welding up when I get the time. Going to run it as a reverse flow electric/stick hybrid with a 3kw element supplementing a traditional firebox for my long smokes. Sounds bonkers but hey, what the heck?
I share your feelings on the whole filling the barrel and ruining your finish belief. Get that caulk out - the odd leak adds 'character' to the build anyway
If I ever get around to building a steel UDS, I'll probably end up doing the sameChilli_Jay said:I toyed with the thought of doing a barrel smoker but horizontally, not like your uds-type idea.
PICS!!!Chilli_Jay said:Managed to get hold of a water expansion tank though that I'm welding up when I get the time. Going to run it as a reverse flow electric/stick hybrid with a 3kw element supplementing a traditional firebox for my long smokes. Sounds bonkers but hey, what the heck?
Post 'em here: http://thehotpepper.com/topic/21961-post-pics-of-your-smoker-or-grill/
Awesome Smoker, looks fantastic, nice steampunkish
I had to google that, but thanks!dragonsfire said:steampunkish


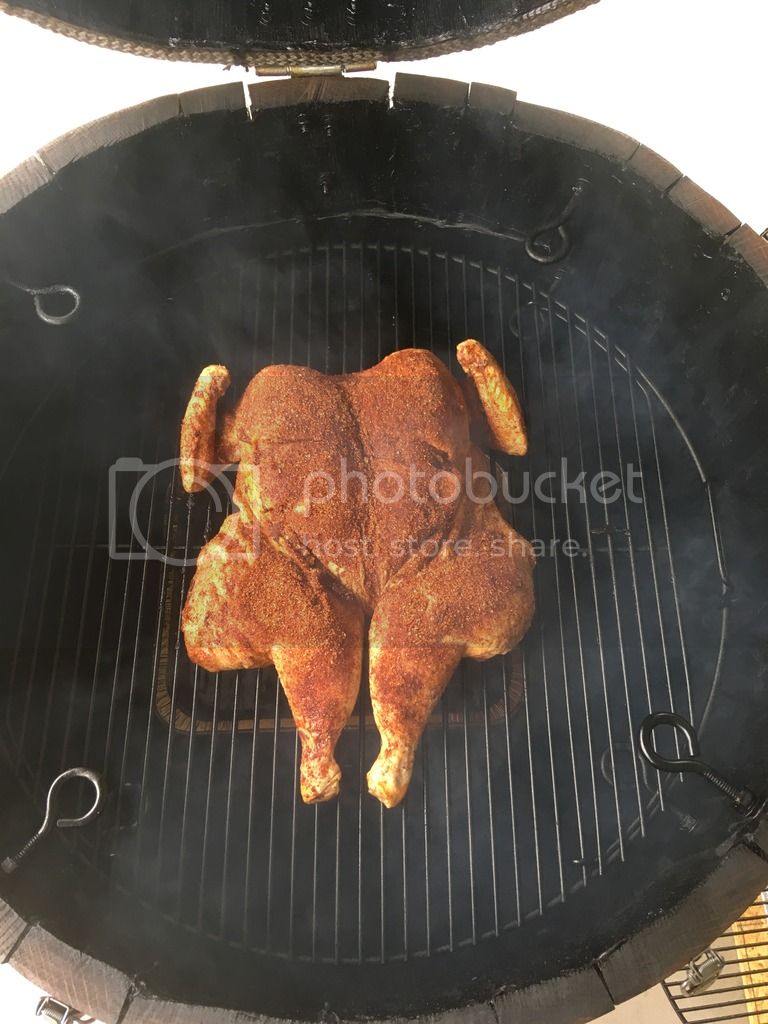
Just put the bird on
Boston Butt (9lbs)
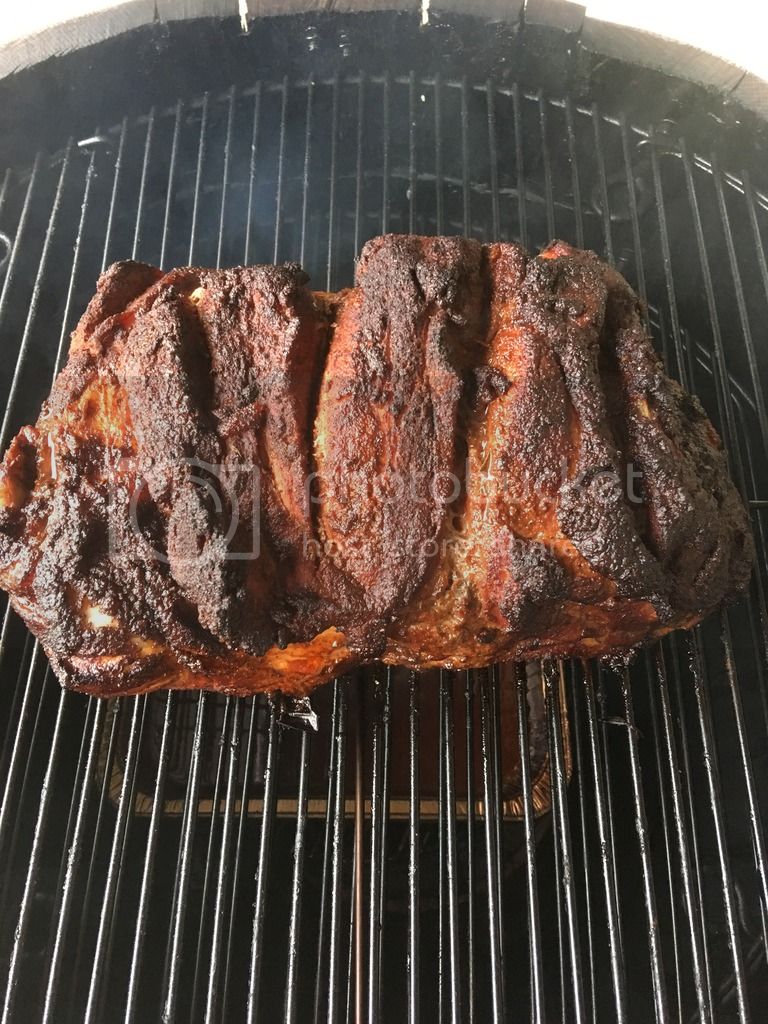
Into a pan with the OJ/tomato juice braising liquid, along with some onions, garlic, limes, and dried anchos. Temp probe in, covered with foil, back into the barrel (I'll do the same with the chicken in a little while)

I'm just speculating here, but my gut tells me that even Trump would approve of this
All pics are from yesterday (where I left off in my last post)
Finishing the Chicken

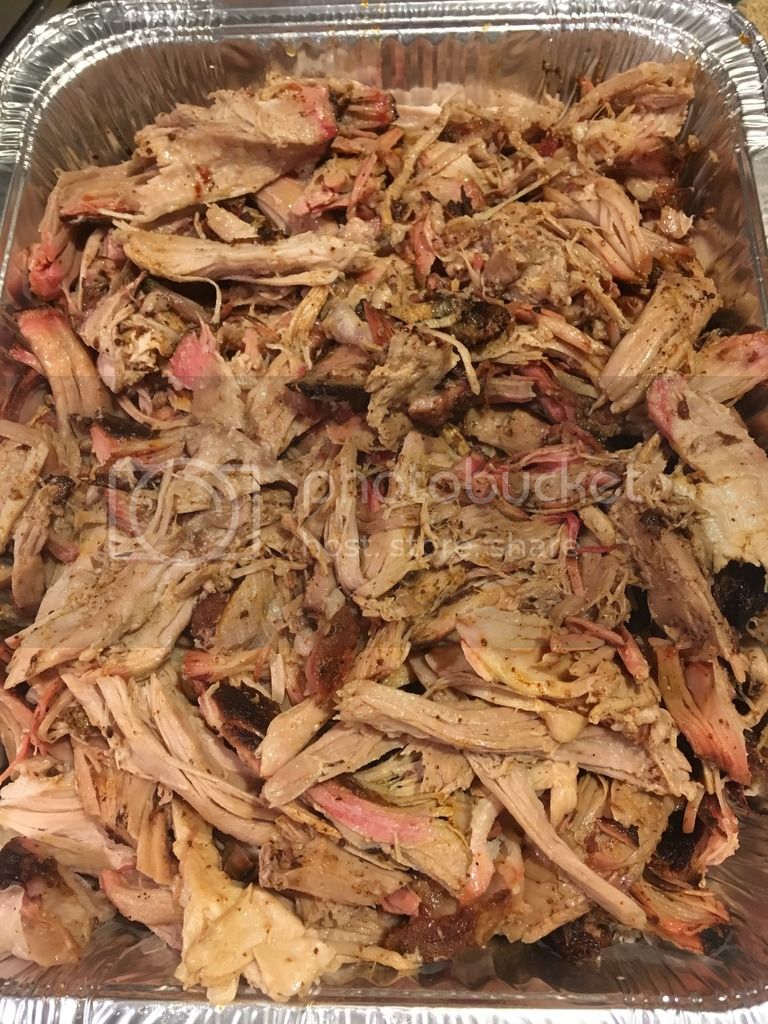
Pork got pulled. Mmmmmmmm........
Gratuitous fridge shot

Now, I don't get as intricate with my "plating" shots as some of you guys/gals, but here ya go. Plus, I was (more than) half in the bag. Between yesterday and today, all those beers are looooooong gone, and already restocked, haha
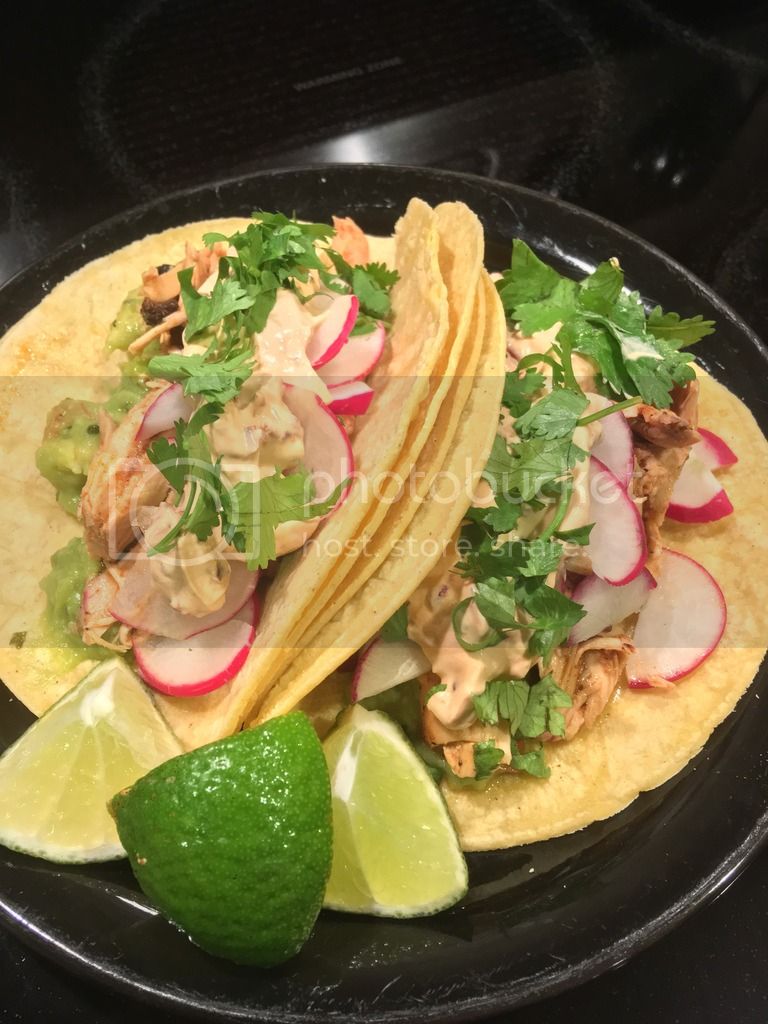
Smoked pulled pork (and chicken) carñitas street tacos on (doubled up) corn tortillas with thin sliced radish, chipotle sour cream dressing, homemade guacamole, topped with fresh cilantro, and garnished with lime:

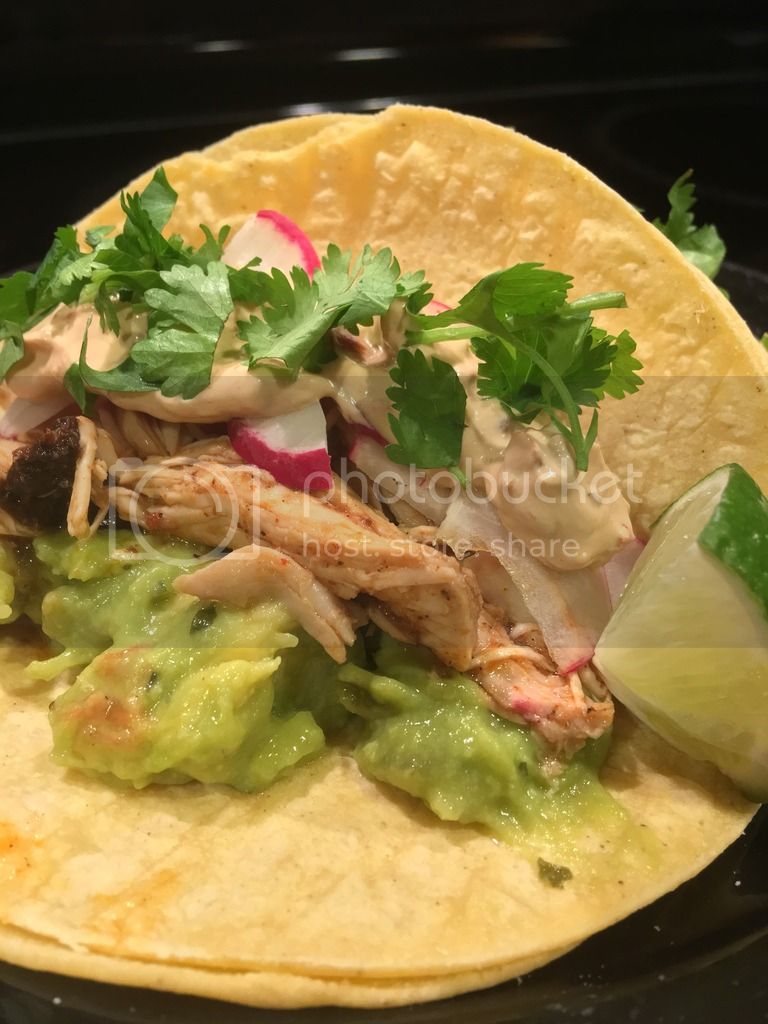

Comin' at ya!

Bite shot

8 seconds later...

The chicken tacos went really well with the chipotle sour cream and a fresh pineapple salsa I made too, but I was too buzzed to remember to take any pics.
Happy (belated) Cinco de Mayo, everybody!

Finishing the Chicken

Pork got pulled. Mmmmmmmm........

Gratuitous fridge shot

Now, I don't get as intricate with my "plating" shots as some of you guys/gals, but here ya go. Plus, I was (more than) half in the bag. Between yesterday and today, all those beers are looooooong gone, and already restocked, haha
Smoked pulled pork (and chicken) carñitas street tacos on (doubled up) corn tortillas with thin sliced radish, chipotle sour cream dressing, homemade guacamole, topped with fresh cilantro, and garnished with lime:


Comin' at ya!

Bite shot

8 seconds later...

The chicken tacos went really well with the chipotle sour cream and a fresh pineapple salsa I made too, but I was too buzzed to remember to take any pics.
Happy (belated) Cinco de Mayo, everybody!
One of these days, I'll figure out how to embed a video from my phone. Anyway, here's the recipe I used by Malcom Reed from "Killer Hogs BBQ." That was like the 4th time I made this recipe, and I highly recommend that you guys give it a shot
https://m.youtube.com/watch?v=LqH2P2V1gpE
https://m.youtube.com/watch?v=LqH2P2V1gpE
Starting this thread over from scratch, I guess.....
A lot of you guys have already seen these pics. I'm just going back and replacing all the ones that were deleted after the P.B. debacle.
The description (text) of the build can be found in the very first post of this thread. Thanks for looking (again )


Food pics to follow (eventually)
A lot of you guys have already seen these pics. I'm just going back and replacing all the ones that were deleted after the P.B. debacle.
The description (text) of the build can be found in the very first post of this thread. Thanks for looking (again
Food pics to follow (eventually)
dude you crazy it thanksgiving?
that sonny crockett meme from when they blew up his ferrari spider lol
that sonny crockett meme from when they blew up his ferrari spider lol