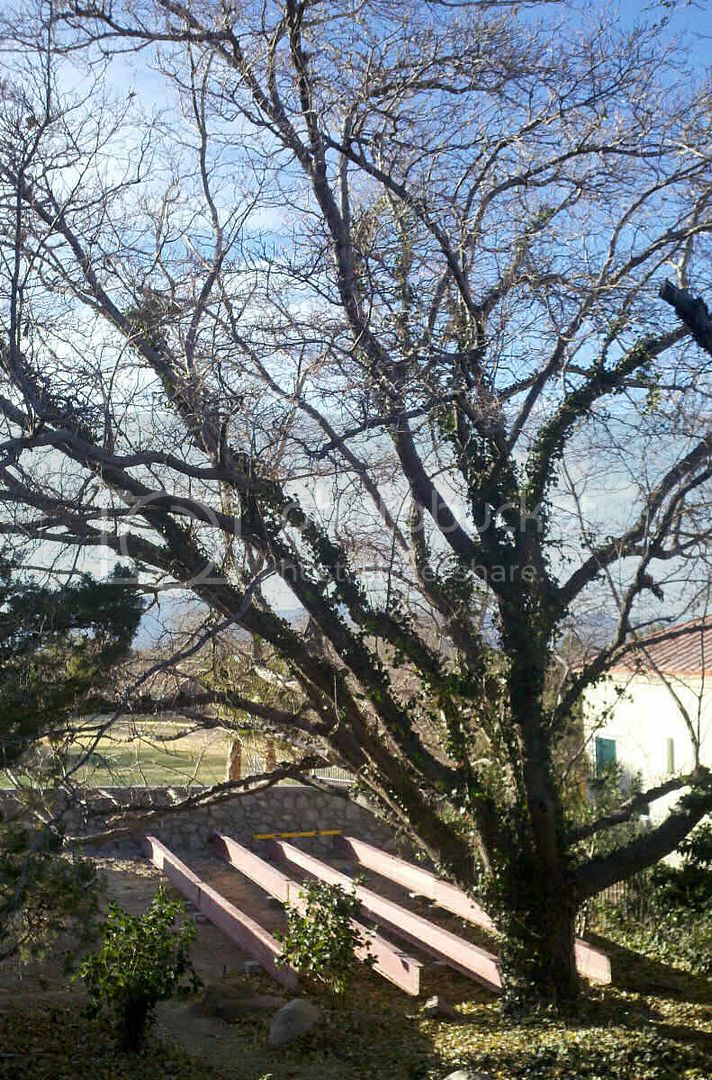
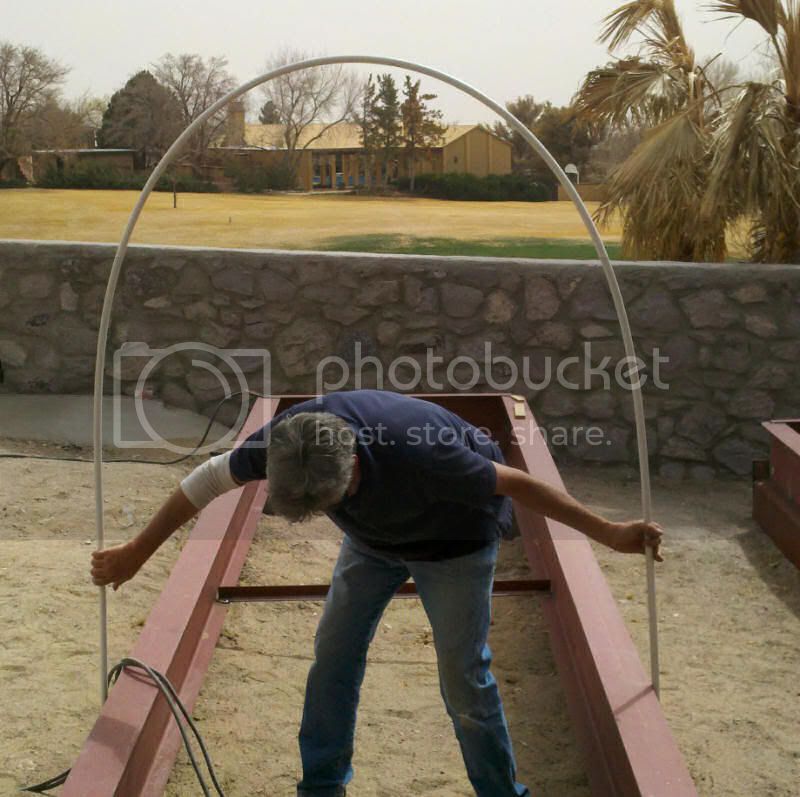
Sorry no updated photos yet.. will snap some this weekend. Have a question about filling the planters. They ended up 18" to 24" inches deep depending on which end your at. Now I am ready to fill them with soil next week.
1. Do I have to cover the bottom of the planters with Filter Fabric (weed barrier fabric) if they are 24" deep?
2. I am using mostly a red desert topsoil to fill these planters. I was thinking a 3" or 4" layer of sand at the bottom of each planter would help with drainage (or maybe pea gravel?). Is that necessary? Then, I am going to amend the soil with some compost and some special soil from Soilsecrets.com that my local shop will be getting next week.
3. Do you all recommend a wood mulch or fabric to cover the soil on top. I have even seen a red fabric that is supposed to reflect red light to help with fruiting for tomatoes and thinking it might work on chiles.
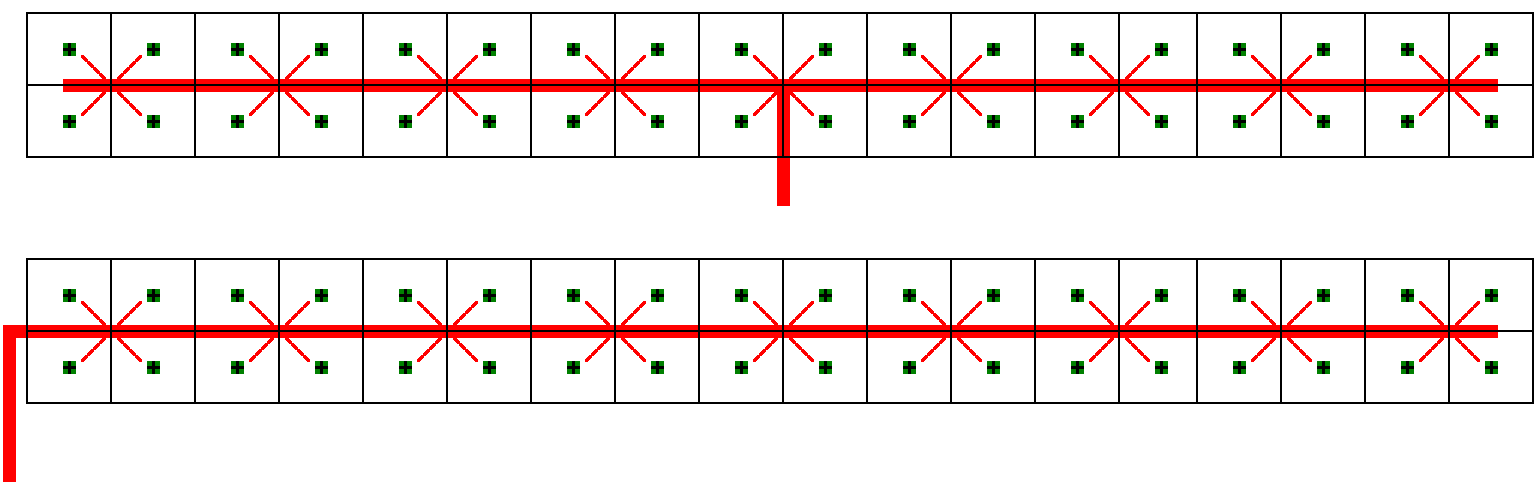
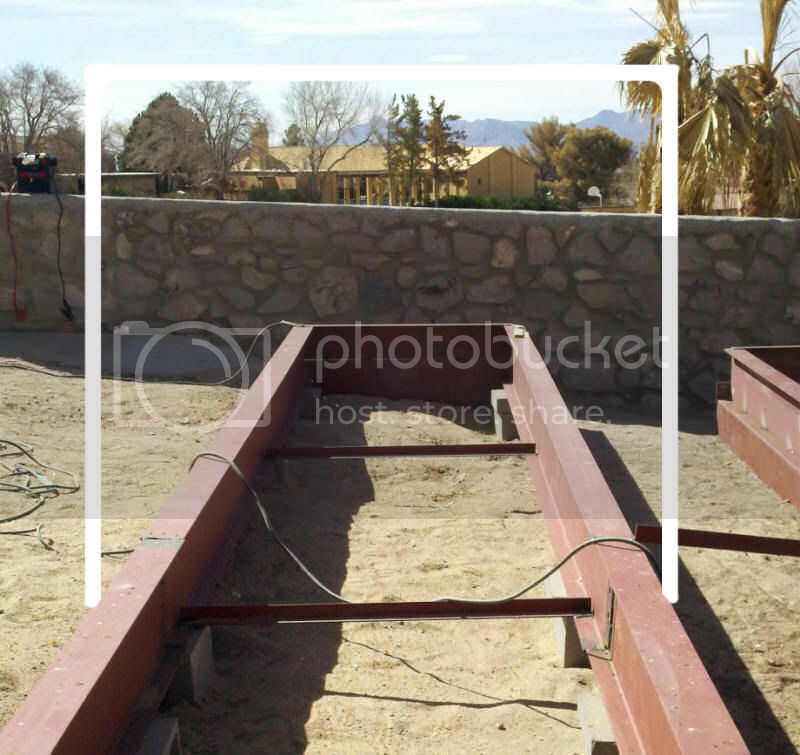
4. Irrigation… I am going to be running PVC down the middle I am just having a hard time deciding if I should use bubbles, sprinklers, or what? Also would it helpwith the pressure to have the line come in at the center and then split each way or just have one long run from one end. (see Pic) The planters are 36’ long.
Here is a pic: