juanitos said:
just be careful mixing the Calcium with the other ferts at superconcentrate. it can cause precipitation.
see U of arizona video here
Thanks for that tip. I've actually got an injector board designed (using that particular video) that will ultimately employ a 4-injector system like the the one in used by U of A. one for grow, one for blooom, one for Calcium, and one to lower PH (Acidifier).
I wanted to test with a single injector first though, as I'll be mixing around 90% water to 10% fertilizer by volume, and injecting at around 1%. I could dillute the solution even further and inject at 2%. The relative amount of calcium *Shouldn't* be enough to precipitate, but that's why I'm doing a test run first.
Without Further Ado, here is my super-high tech engineering drawing. Hopefullly you can translate my scribbles, but basically, it's every part in order and how it will be assembled.

For scale, this thing will probably be around 6' x 6' or thereabouts. All parts and plumbing are 3/4" and the system will be able to flow about 600GPH (3x what I need right now). Everything will be mounted slightly off the board on small squares of wood 2x4. Conduit straps will be used to hold everything to the backboard. I'll build a small hut out of 2x4's and greenhouse siding to cover it all and protect from moisture.
Water input starts at the far right bottom, and connects to a brass garden hose connector (GHC), then flows vertically in a pipe until it goes perpendicular. At which point, it will connect to a valve, backflow preventer, pressure gauge, pressure regulator, and preliminary filter on that top row.
Next, the water flows down and around to form a middle row, which will be the injector row. I'll build in enough room to (ultimately) put up to 4 injectors (1 high N, 1 High P/K, 1 Cal/Mg, 1 Acidifier), but for now, I just plan to use a single injector, so that middle row will look pretty empty.
Finally, it will flow down and around to the bottom row, at which point it will hit a secondary filter (to mix and filter the newly formed solution from the injector), a Tee Filter (with pressure gauge to measure final pressure output), a valve for shutoff, and then turn downward and connect to a tubing connector which will head out to the drippers and sprinklers.
In the future I'd like to add real-time PPM/EC/TDS metering, some powered solenoid valves and a controller to zone things out (to other plants other than my peppers) and an efficient (and accurate) automated water timer.
On to what I'm up to right now...
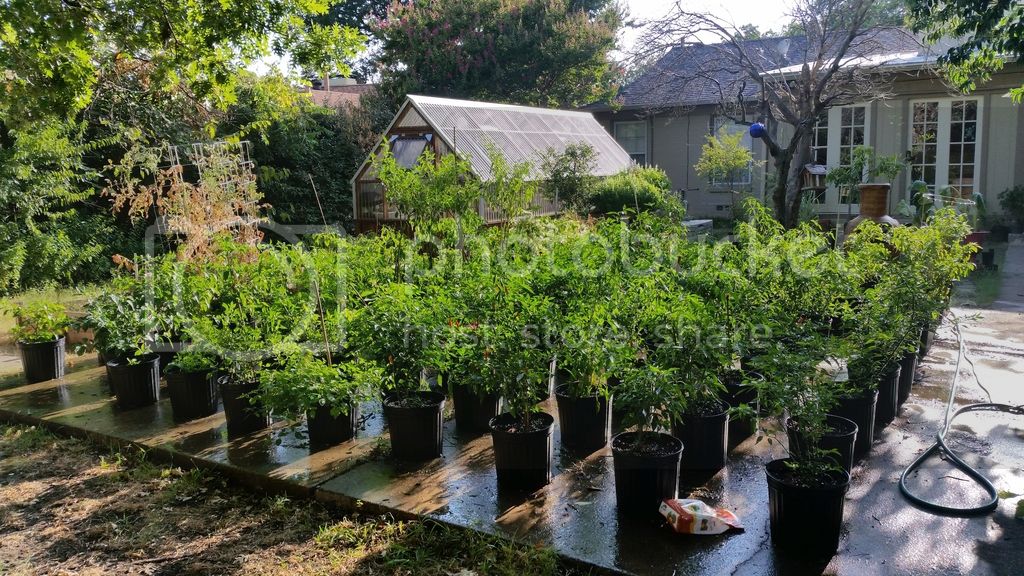
It just rained, so I've got a day or two to get all of the drippers and tubing set up, and connect it to my temporary head for testing. At the end of the week, I'll be ordering all of the parts mentioned above that I need to complete the build (minus what I already have and the 3 extra injectors)
Planning and building all of this is getting me back in to the groove, and making growing seem like much less of a daunting task. I'm even more excited about what next year will bring, hopefully bigger, better plants, at a lower time and money expense, and with more "Fun" rather than work.
As stated in my profile, I'm a big fan of automation and making technology work for you, so this is right down my alley. I've got even more big ides, but there is enough verbage in this post already.
We've still got a good chunk of the growing season to go here in Texas, so I can probably get 2 or so more good harvests out of these guys, and finally be prepared for next year.
It's kind of sad to start thinking about who I'm going to Overwinter, and which ones I'm going to let die off to cold weather.
Anyways, more updates will follow over the next few days about irrigation upgrades!

 [/SIZE]
 [/SIZE]


 I ended up going with a really good injector, because it is the only way to make it work the way I want. A large tank won't really work when you're dispensing 75 gallons every day or so, even if it is 300 gallons, it will be dry in a couple of days. A greenhouse style injector allows me quite a bit more versatility, without needing more than a small tank to hold concentrated fertilizer solution.


