I've been composting since last year which I'm sure is the reason the worms are there happy and thriving. I bought a big 80 gallon plastic barrel drum that rotates on rollers so its easy to turn it over and mix it up. My neighbors love me for collecting some of there grass and leaves.Spicy Mushroom said:I started with a dedicated red wiggler farm in a separate unit. Later on I found they were surviving fine in the beds and had enough organic snacks to munch on, so I just moved all the worms in! haha. The beds basically have two levels; bottom layer is where the earthworms break up and aerate the soil, and the top layer is where the red wigglers turn the organic material into pepper fertilizer. They naturally stay in their respective areas.
-
Do you need help identifying a 🌶?
Is your plant suffering from an unknown issue? 🤧
Then ask in Identification and Diagnosis.
You are using an out of date browser. It may not display this or other websites correctly.
You should upgrade or use an alternative browser.
You should upgrade or use an alternative browser.
soil Soil for raised bed
- Thread starter Helldozer
- Start date
I think I'll have to look into composting in the future. I was talking a friend of mine, who uses nothing but ramial wood chips in his dirt, and his plants are huge and healthy. So, my plan, based on all of your feedback and his is to cut down those crape myrtle trees, lay them at the bottom of my bed.....add some really good natural mix from the local nursery, and then add some ramial wood chips to the top at the end of the season to keep the bed healthy.
Question about the worms. I'm not sure I'm ready to start a worm farm, but I would like to increase their presence in the beds. Can I just use worms from surrounding soil to throw in there?
Thanks all!
Question about the worms. I'm not sure I'm ready to start a worm farm, but I would like to increase their presence in the beds. Can I just use worms from surrounding soil to throw in there?
Thanks all!
no needs to look for worms, they will find the place. But with the ramial wood chips it's the fungi that is important they will give your plants all nutrient they need.
try to google for J. André Fortin, specialist of the mycorrhizae, founded the Plant Biology Research Institute (attached to the Montreal Botanical Garden).
sorry french link but take a look for new study on ramial wood chips and myco
http://ici.radio-canada.ca/tele/la-semaine-verte/2015-2016/complements/extra/1227/mycorhizes-revolution-verte-champignons-supplement-web
http://ici.radio-canada.ca/tele/la-semaine-verte/2015-2016/segments/reportage/4861/mycorhizes-foret-champignons-pierres
second link show At the foot of the Manic-5 dam there were only stones in 1973.
at 5m 16 on first video pine with rwc planted in poor sandy soil
at 5m 34 same plantation without rwc
it's not only from the rwc that tree found the nutriment but the myco also "eat the rock" to get minerals from it
floricole said:no needs to look for worms, they will find the place. But with the ramial wood chips it's the fungi that is important they will give your plants all nutrient they need.
try to google for J. André Fortin, specialist of the mycorrhizae, founded the Plant Biology Research Institute (attached to the Montreal Botanical Garden).
sorry french link but take a look for new study on ramial wood chips and myco
http://ici.radio-canada.ca/tele/la-semaine-verte/2015-2016/complements/extra/1227/mycorhizes-revolution-verte-champignons-supplement-web
http://ici.radio-canada.ca/tele/la-semaine-verte/2015-2016/segments/reportage/4861/mycorhizes-foret-champignons-pierres
second link show At the foot of the Manic-5 dam there were only stones in 1973.
at 5m 16 on first video pine with rwc planted in poor sandy soil
at 5m 34 same plantation without rwc
it's not only from the rwc that tree found the nutriment but the myco also "eat the rock" to get minerals from it
Wow. That's a pretty big difference.
floricole said:no needs to look for worms, they will find the place.
Yes, and no. If you want red wigglers, like I did, then you may need to order them online if they are not native to your area. They are ideal for the purpose worm composting / top layer food webs. You're right though in that worms will show up naturally if its got the right conditions. In my case those were a specific type of earthworm.
One gentleman I saw who wanted to fill his beds for cheap used a mixture of sand, cow manure, and peat moss to create a nice aerated bed. He got the manure from a local farmer who raised livestock, the sand from somewhere else in town (I'm not sure where), and the peat moss from the store (the most expensive part). His goal was to fill all three of his beds for ~$10-20 per bed, so it might be of some help.
Here's his video:
[media]https://www.youtube.com/watch?v=oafExjLBmVk[/media]
Here's his video:
[media]https://www.youtube.com/watch?v=oafExjLBmVk[/media]
Helldozer said:Hi all,
Question. I'm building two raised beds, which will equate to approximately 19 cubic yards of soil. To have that much GOOD soil delivered, is a little over $1k. That's crazy. Does anyone have any suggestions to make this way less expensive?
By the way, the above cost is for a really good "veggie mix," at $41.20 a cubic yard.
Thank you.
Helldozer
How big are your beds? Even a 4'x8'x1' is only slightly over 1 cuyd. You may not realize how much 19 cuyds are. I ordered 7 last year, and it took a good size dump truck.
Helldozer said:
Yeah. My two beds are 20'x5'x2.5'. Each come to about 9.26 cu. yds. each. The soil company rounds that up to 9.5, so that's 19 cu. yds. total. I don't know how people do it. That's a ton of money for some raised beds.
Sorry, didn't read this. Yeah, I'm a skimmer. LOL
Your raised beds are extremely huge and deep. I'd suggest ordering half of the good stuff, and blend it with half of the local stuff. You can always find a company trying to get rid of the topsoil they have from digging a pool or garage foundation.
so, my bed I made was almost the exact same size.. but I had only one.
I also ordered 9 cubic yards for the bed but ended up only using half of it. I put a rock layer on the bottom for drainage. used a bunch of the sod I pulled up to fill in about a foot of the bottom layer and then used the "garden mix" I had delivered. The garden mix that was delivered was terrible and I had to end up pulling most out and rehabbing it.. but that is another story.
Anyhow, my peppers do fantastic in it.
May I suggest doing something before adding soil.... I put a PVC framework inside of mine before adding the soil and I am so thankful that I did..
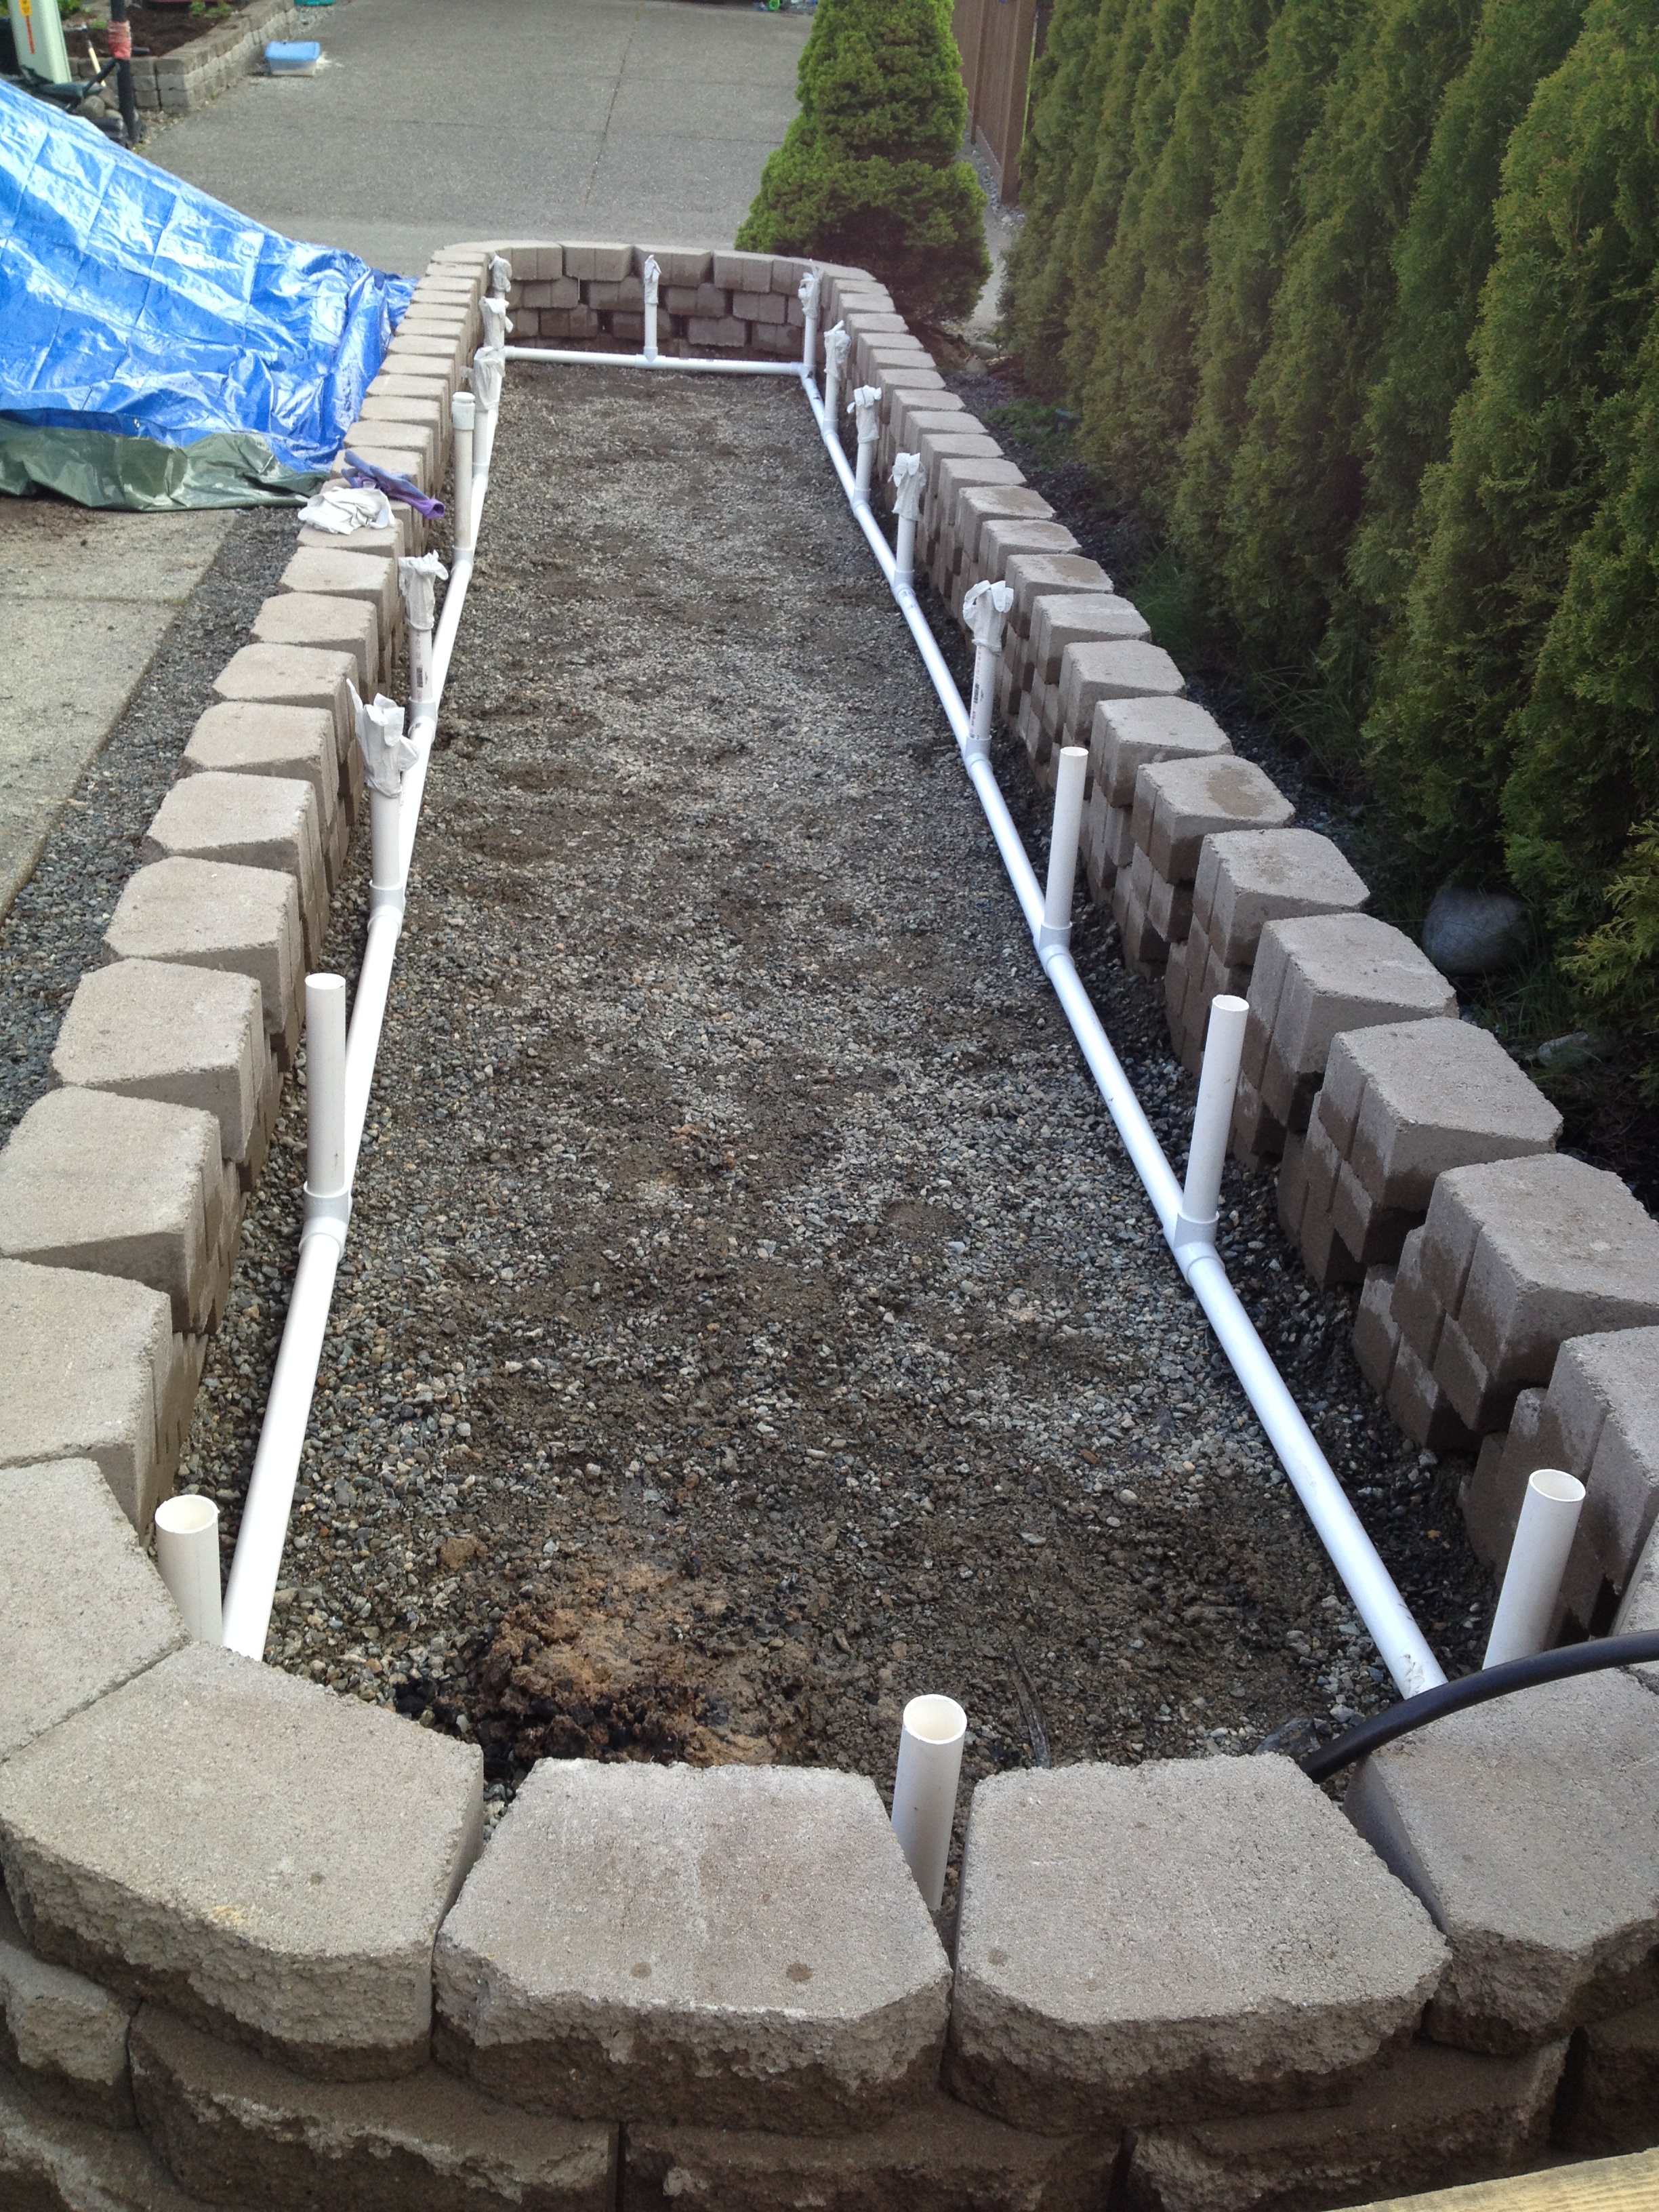
The photo below is the framework as it was being assembled. on the top of the uprights I added a slip/threaded fitting and then a threaded cap. I can take the cap off and screw in a tall upright (I use the uprights to add netting around the whole planter, or just take the cap off and slide in a smaller more flexible pipe that can become a hoop system (add plastic over it for a greenhouse). The reason it is interconnected on the bottom is for stability and so I cannot accidently pull it all up during assembly and re-assembly.
Like my huge dirt pile next to it.. yeah that is 9 cubic yards an the truck driver dumped it out in the alley where all my neighbors drive... thanks asshat. I had to spend a morning shoveling it out of the way.
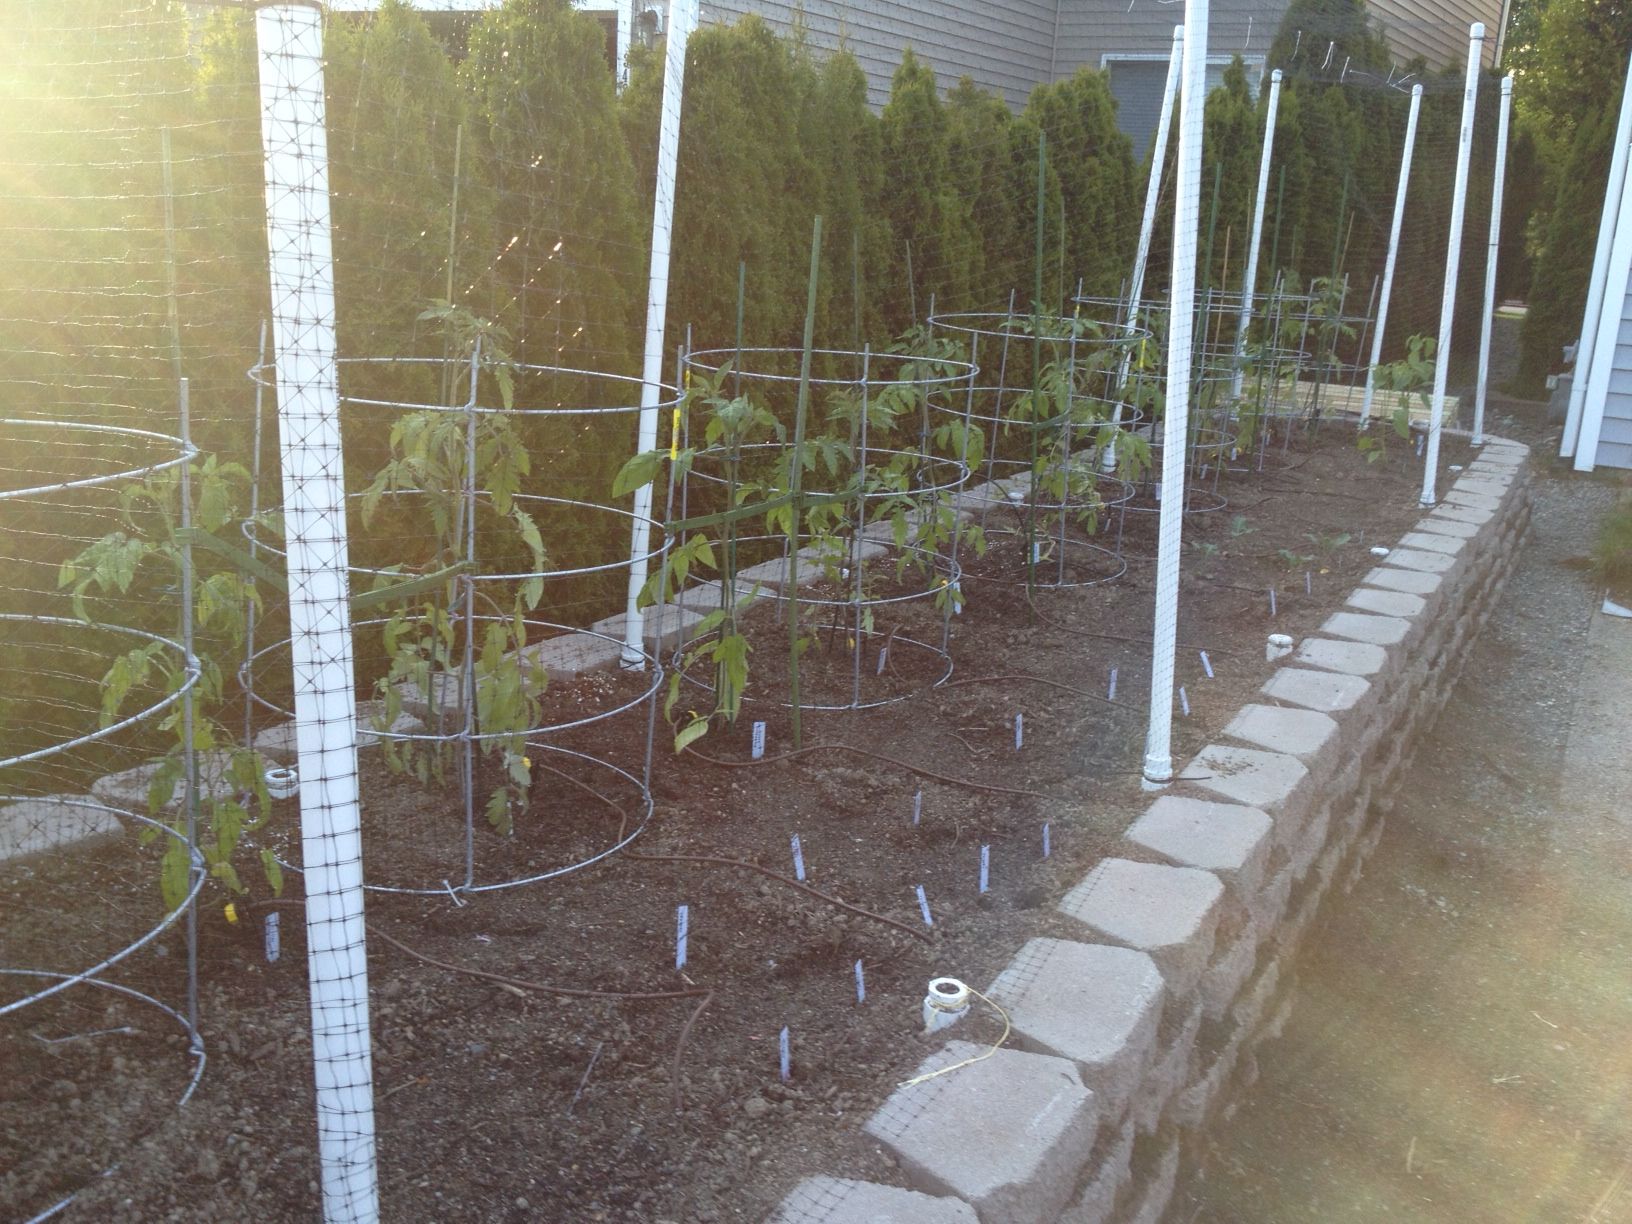
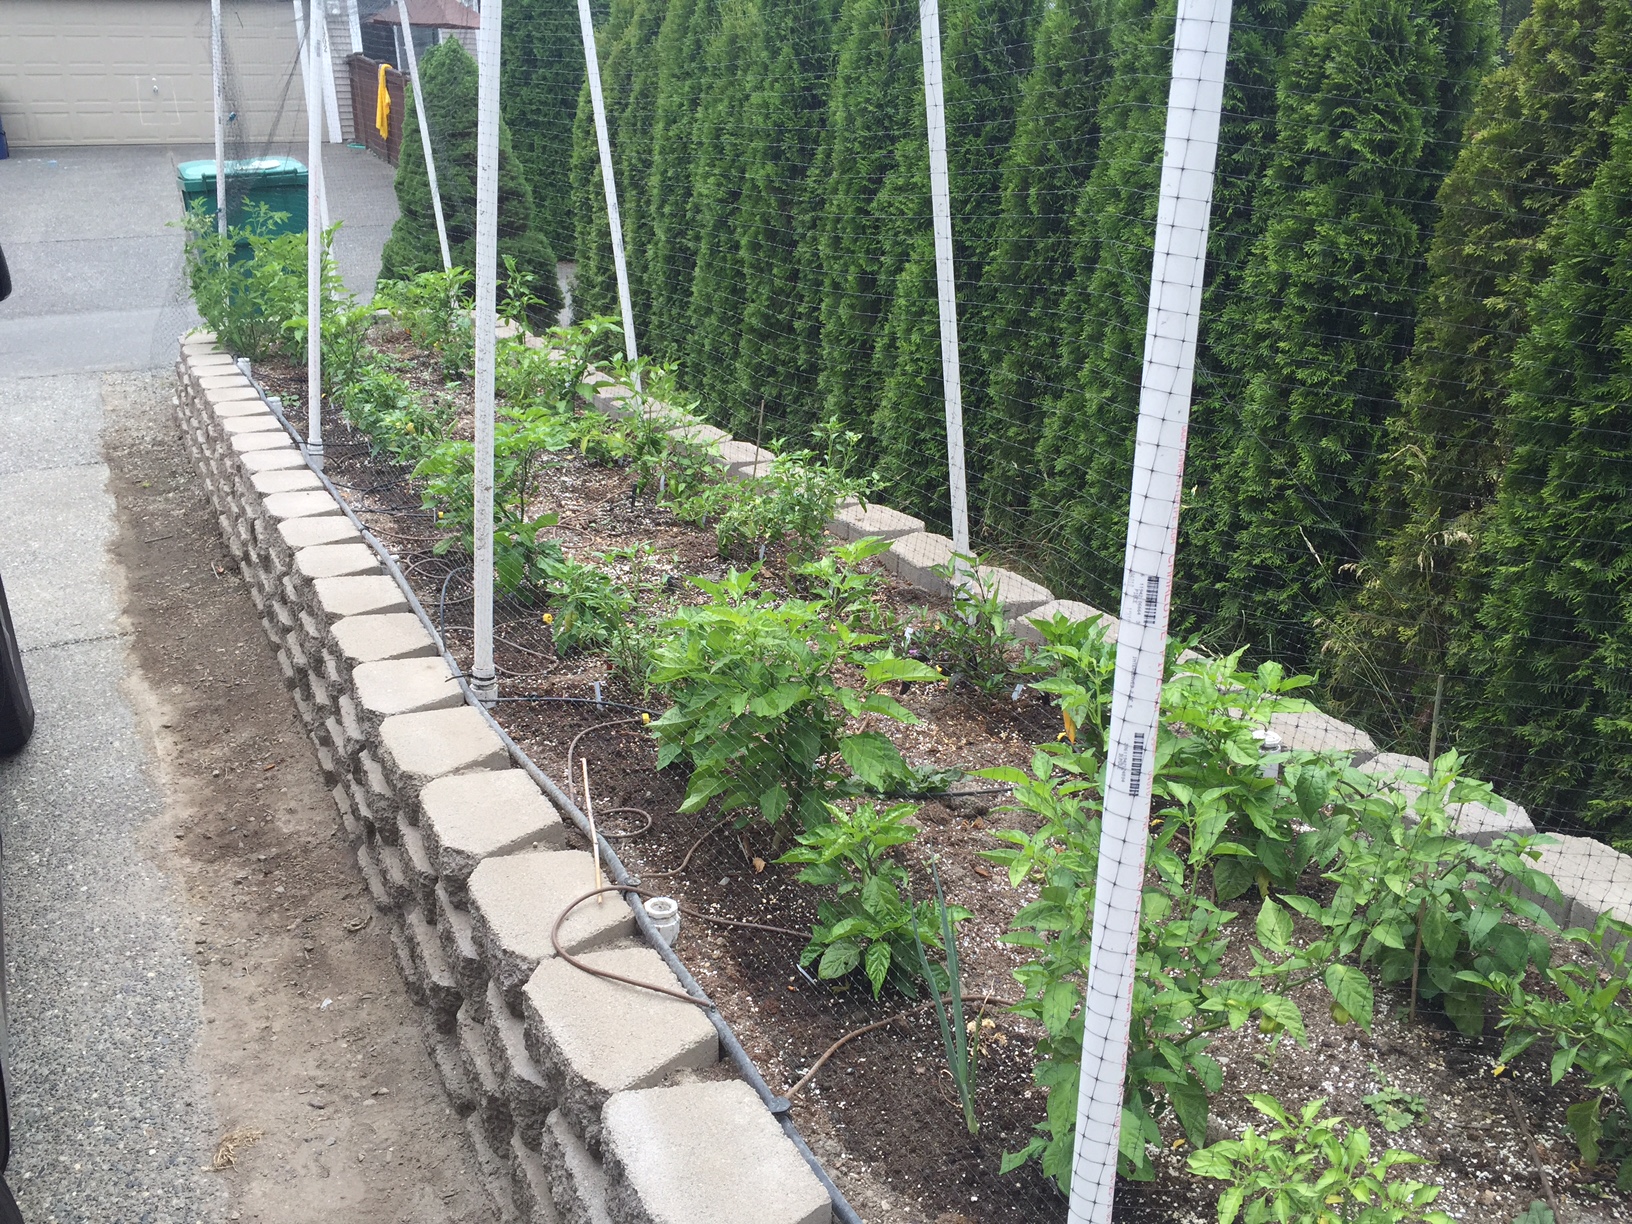
The photo below is the planter the first year with the tomato transplants. You can see the uprights that I screwed in to every other location. Kept that caps on the ones I didn't use so they would not get water or dirt inside (though it wouldn't hurt if they did). If you look close you can see the netting. Oh! and I also added a drip system that is showing in the photo. It can partially be removed in the winter.
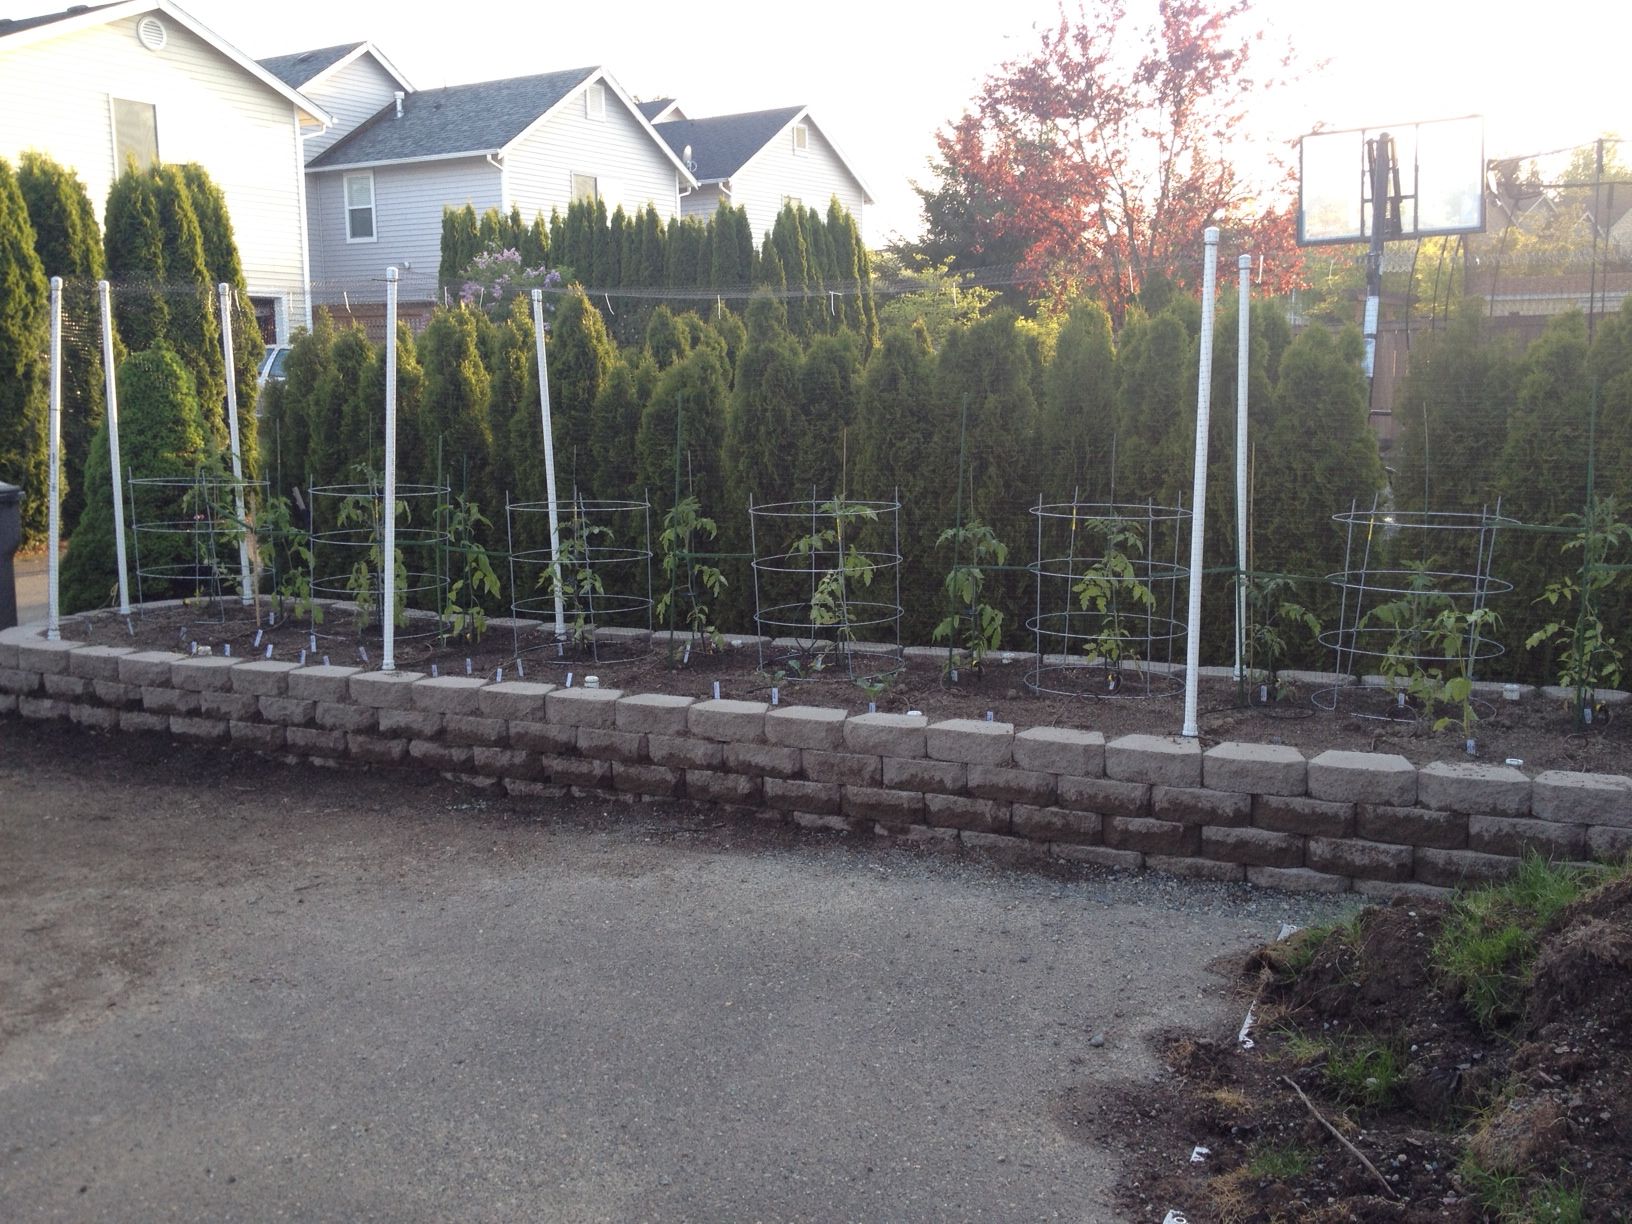
Another view from further away.
And with peppers last year (early-ish in season)
I also ordered 9 cubic yards for the bed but ended up only using half of it. I put a rock layer on the bottom for drainage. used a bunch of the sod I pulled up to fill in about a foot of the bottom layer and then used the "garden mix" I had delivered. The garden mix that was delivered was terrible and I had to end up pulling most out and rehabbing it.. but that is another story.
Anyhow, my peppers do fantastic in it.
May I suggest doing something before adding soil.... I put a PVC framework inside of mine before adding the soil and I am so thankful that I did..
The photo below is the framework as it was being assembled. on the top of the uprights I added a slip/threaded fitting and then a threaded cap. I can take the cap off and screw in a tall upright (I use the uprights to add netting around the whole planter, or just take the cap off and slide in a smaller more flexible pipe that can become a hoop system (add plastic over it for a greenhouse). The reason it is interconnected on the bottom is for stability and so I cannot accidently pull it all up during assembly and re-assembly.
Like my huge dirt pile next to it.. yeah that is 9 cubic yards an the truck driver dumped it out in the alley where all my neighbors drive... thanks asshat. I had to spend a morning shoveling it out of the way.

The photo below is the planter the first year with the tomato transplants. You can see the uprights that I screwed in to every other location. Kept that caps on the ones I didn't use so they would not get water or dirt inside (though it wouldn't hurt if they did). If you look close you can see the netting. Oh! and I also added a drip system that is showing in the photo. It can partially be removed in the winter.

Another view from further away.

And with peppers last year (early-ish in season)

I very much like that PVC idea and would have thought you were going to make it a watering option, now I see it can serve two purposes. 
JoynersHotPeppers said:I very much like that PVC idea and would have thought you were going to make it a watering option, now I see it can serve two purposes.
here are some pieces that are very convenient for mini greenhouse and other projects
Snap Clamps
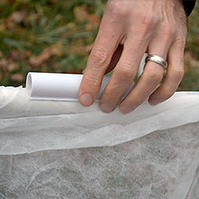
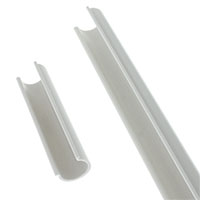
image from http://www.greenhousemegastore.com/product/snap-clamps/pvc-fittings_1
( FORMUFIT ) Schedule 40 Furniture Grade PVC
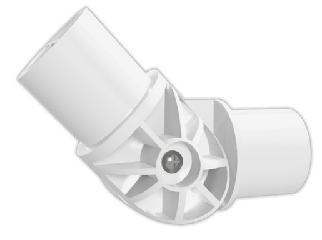
Saddle Clamp - Snap in Place Slip Tee........................................... Rotate PVC Pipe
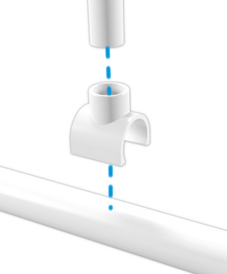
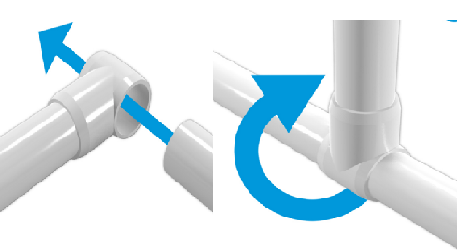
Adjustable Elbow And many more
