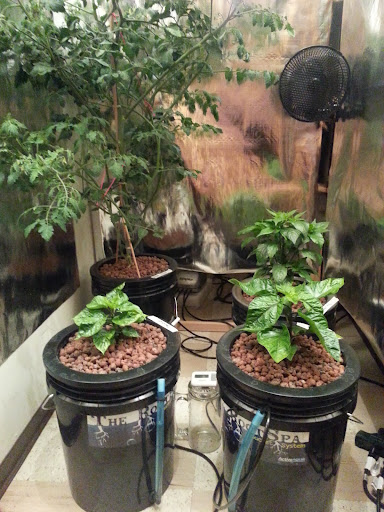
*Information about added varieties on page 3*
Hey everyone! Long time lurker here... been using this site as an incredible resource for my everlasting search for face-melting heat. Decided to finally put all the knowledge I've gained to use, and grow my first super-hots!
This year was my first ever outdoor garden (and things went great!) along with many typical garden veggies, I grew some Thai chili's and orange habanero's. It's so awesome seeing all your hard work end up at the kitchen table. That being said... I've got growing fever now! Our outdoor season here in Idaho ends in Sept. - Oct. if you're lucky, and doesn't start back up until April-May'ish. That leaves me all winter with nothing to grow. So I decided to move things indoors to hold me over. I've always been fascinated with hydroponics and figured this would be the perfect time to dabble.
Enough with the boring background... and onto the juicy part: details and photos!
My grow includes:
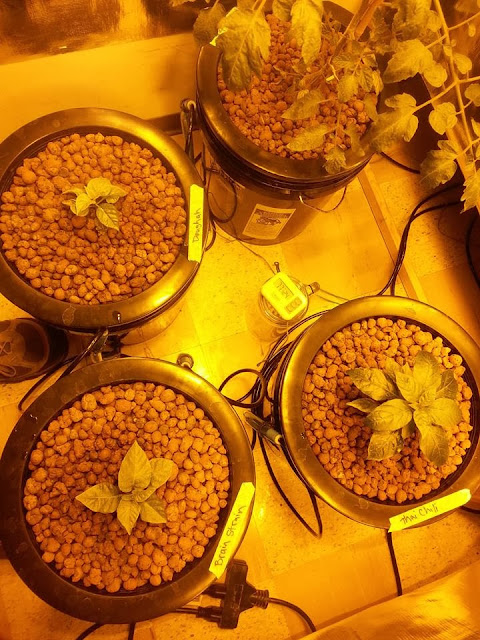
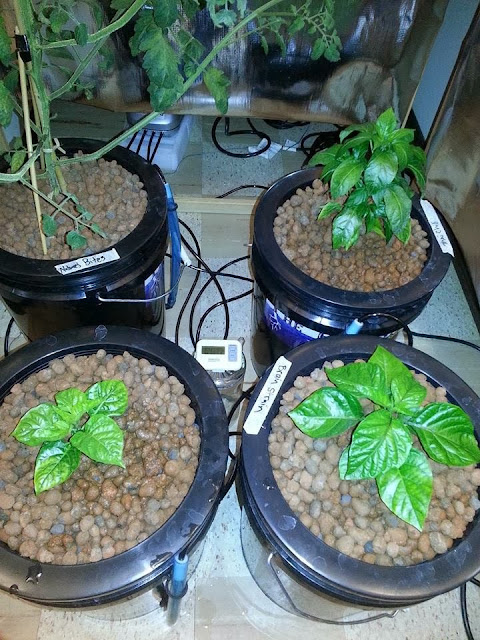
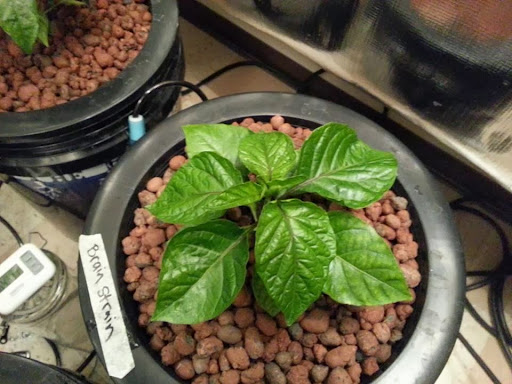
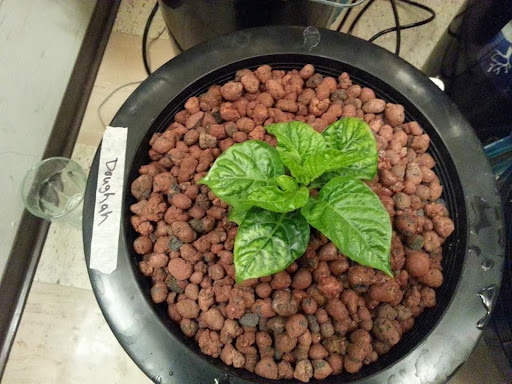
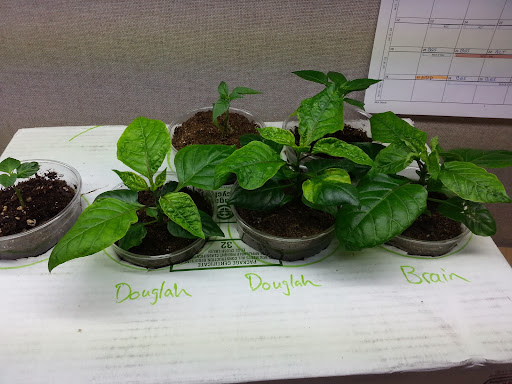
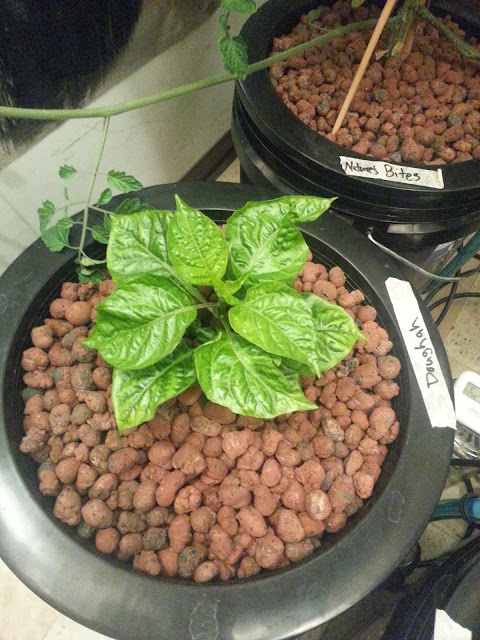
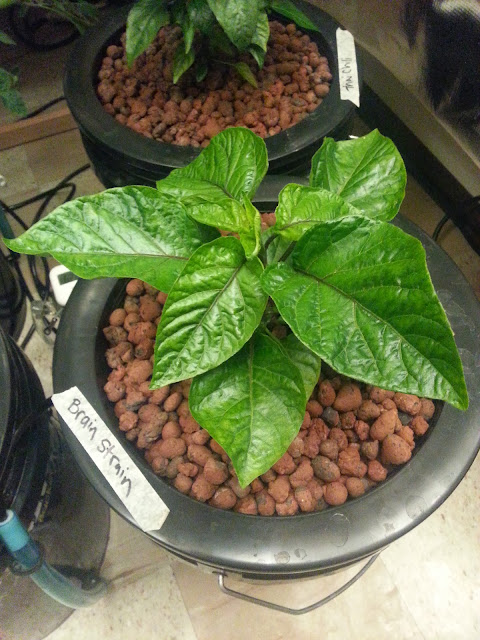
Two 7 pots: Brain Strain and Douglah
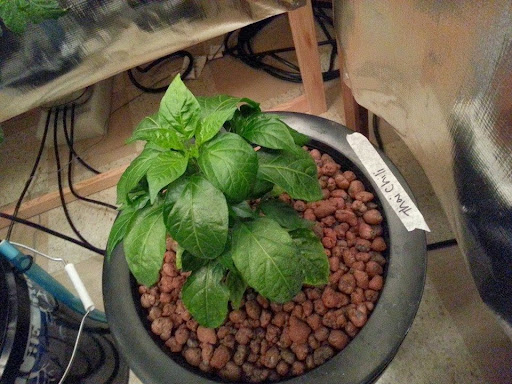
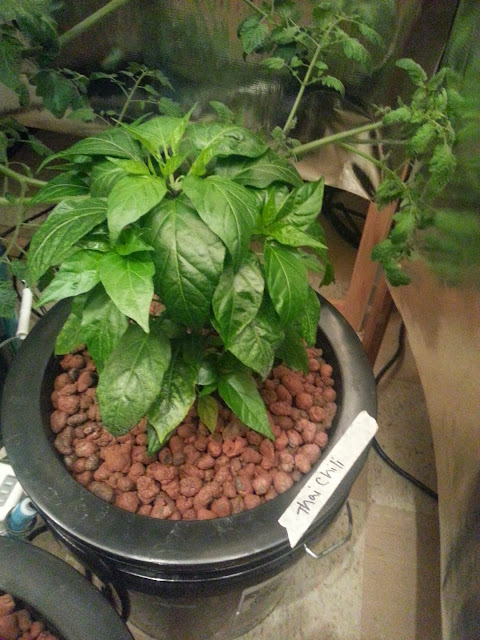
Thai Chili (saved seed from summer plant)
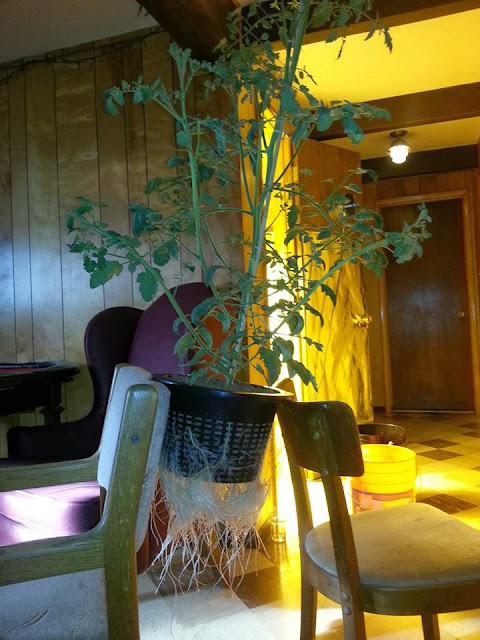
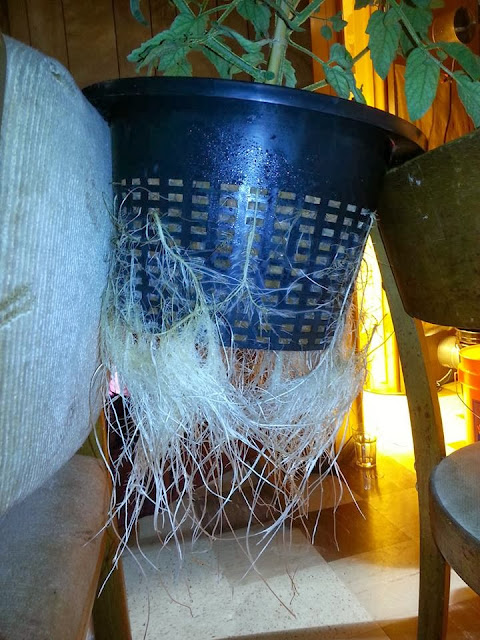
Nature's Bites: a cherry tomato (had some new seeds I wanted to try)
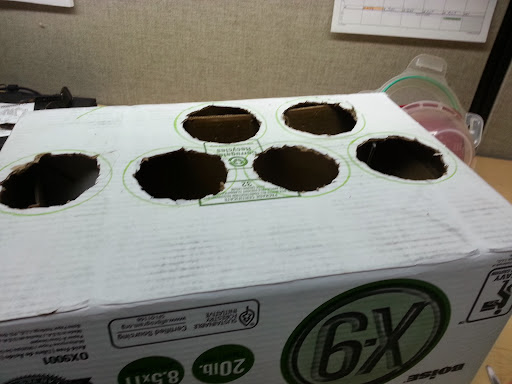
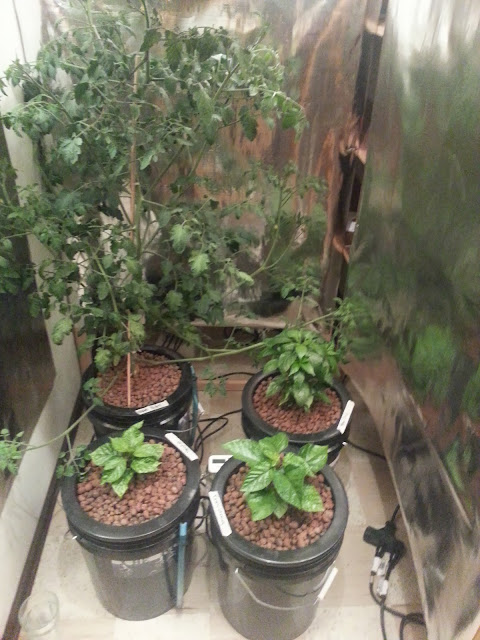
I had some storage under my stairs that I was able to convert into a makeshift grow room. I am using a 600w HPS bulb, and General Hydroponics Flora 3 part nutes.
In addition to my grow, I decided to conduct a mini experiment on seed starting... I read tons of stuff online about soaking seeds to speed up germination. Especially when soaked in a mild Hydrogen Peroxide solution. There was much debate whether soaking made any improvements so I though the best way would be to answer the question myself. I planted 12 seeds of each variety, 6 natural and six soaked for 24hours in a H2O2 solution. The "Natural" (un-soaked) seeds went in 11/13/13, and the soaked went in 11/14/13.
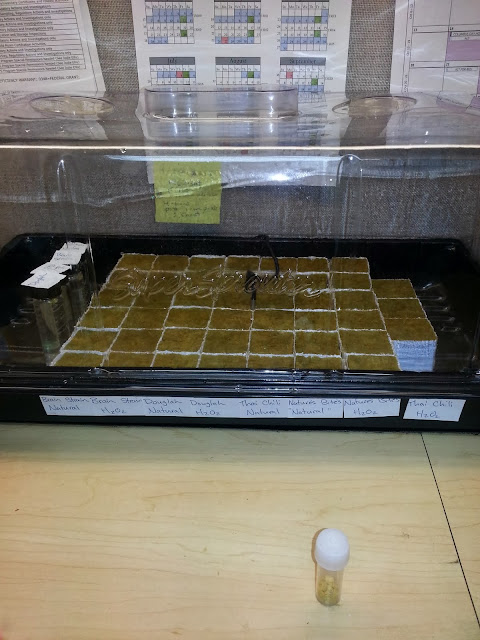
11/18/13: my tomatoes popped (no difference between soaked/natural)
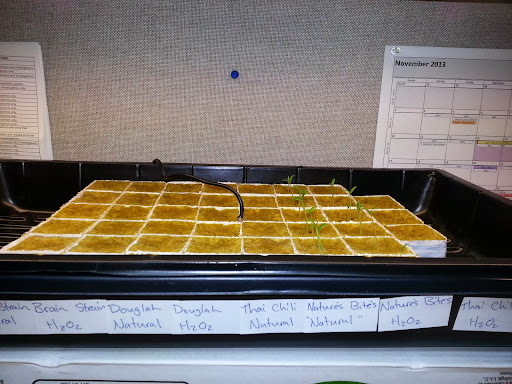
11/20/13: my first Thai chili's popped (natural first)
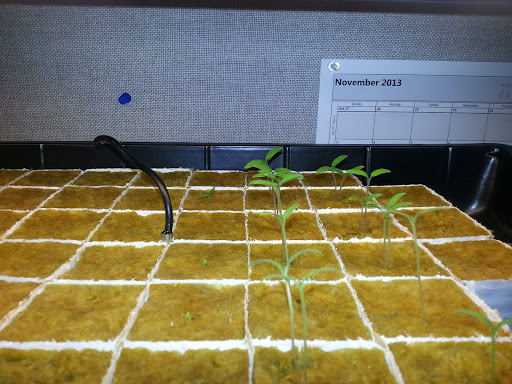
11/25/13: several Brain Strain's and Douglah's are up (mixed between soaked/natural)
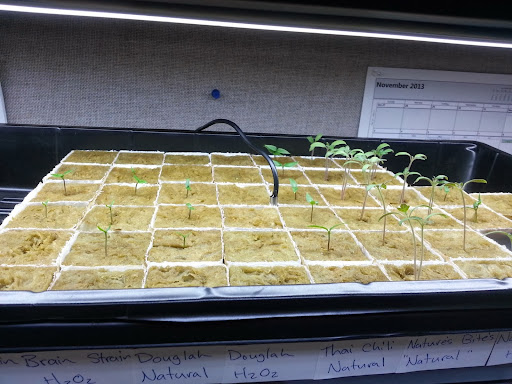
12/02/13: starting to see some real progress in the seedlings!
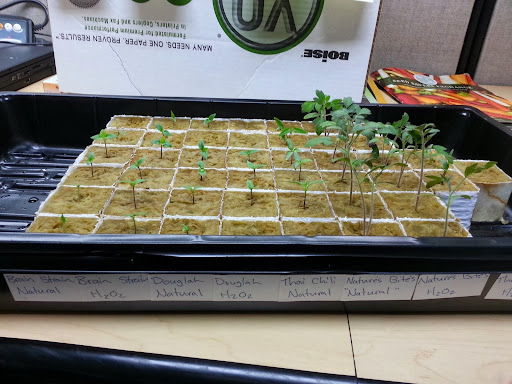
12/07/13: even more growth all around
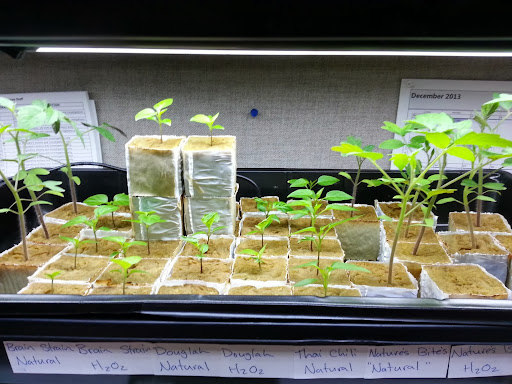
12/07/13: first look at my grow area
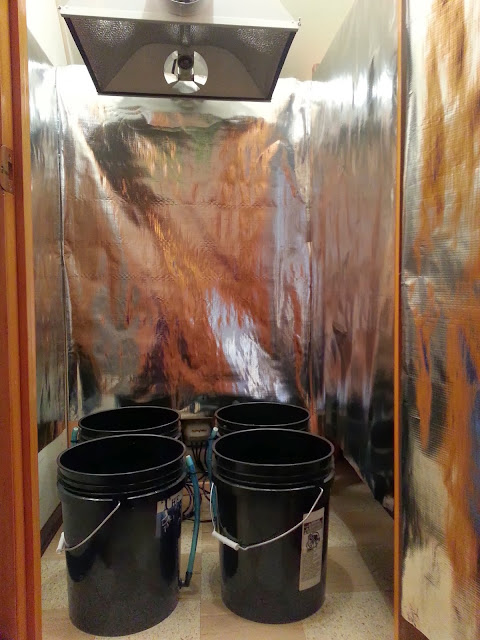
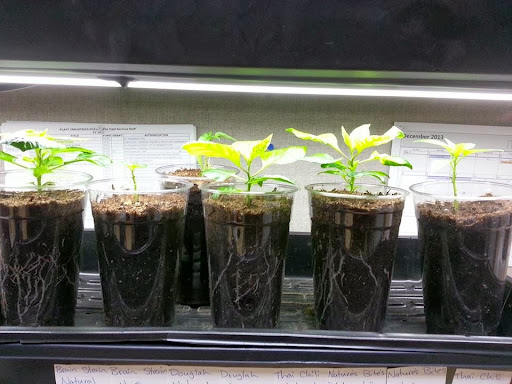
12/09/13: first transplant! (Needless to say I nuked those poor plants with a blast furnace right above them) Its a learning experiment, right!? Good thing I started way more than I needed for backups.
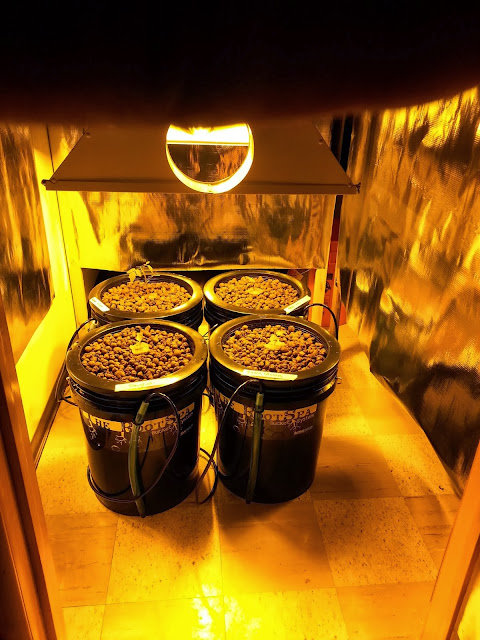
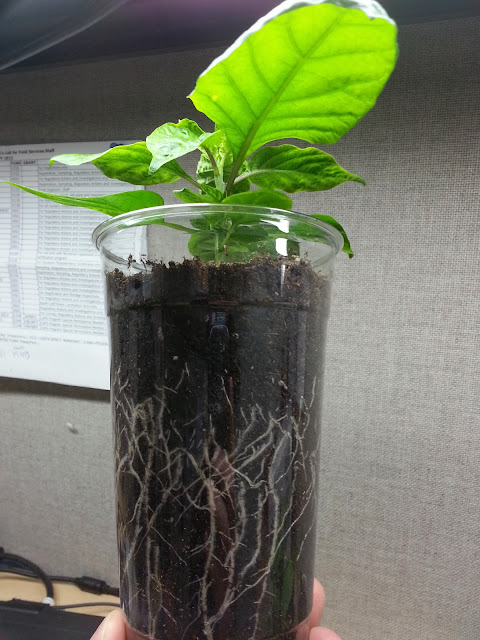
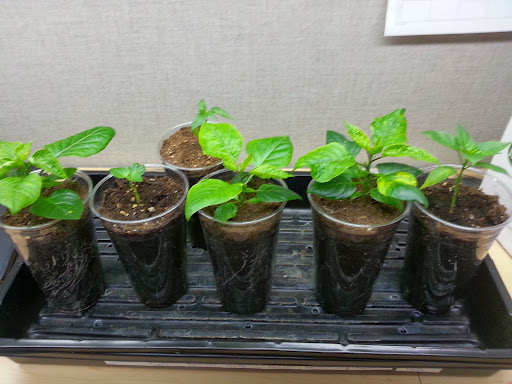
12/27/13: after several rounds of trial and error I was able to get my plants to take in my new grow room
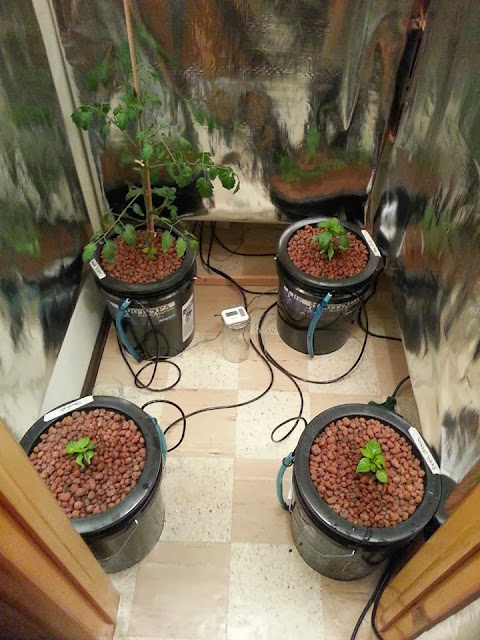
NOTES:
Brain Strain-
11/22/13: 1st sprout up (Natural)
11/25/13: 4 H202 sprouts up, 2nd Natural
12/2/13: 5/6 Natural + 6/6 H202, first set true leaves on couple plants
12/3/13 First fertilizer soak (diluted)
12/6/13 Second fertilizer soak (diluted)
Douglah:
11/25/13: 3 Natural sprouts, and first tip of H202 sprout up
12/2/13: 5/6 Natural + 3/6 H202, first set true leaves on couple plants
12/3/13 First fertilizer soak (diluted)
12/6/13 Second fertilizer soak (diluted)
Nature's Bites (tomato):
11/18/13: 6/6 Natural + 5/6 H202 (over weekend)
11/22/13: Most plants have first true leaves (still small)
11/25/13: First fertilizer soak (diluted)
12/2/13: Multiple sets true leaves
12/3/13 Second fertilizer soak (diluted)
12/6/13 Third fertilizer soak (diluted)
Thai Chili (Hybrid? saved seed from summer garden):
11/19/13: First glimpse of sprout (Natural)
11/22/13: 5/6 Natural + 2/3 H202
12/2/13: Most plants have established true leaves
Fertilizing (nutes): General Hyroponics Flora Series 3pt (Grow/Bloom/Micro):
Waited to add any nutrition until first true leaves had formed, but added fertilized water immediately after since rockwool is sterile and inert, I figured the little plants would get hungry fast.
While plants were still in the propagation tray I would flood the bottom with nutrient solution and allow the rockwool to soak up as much as it could, and drain out whatever water was left. I would do this as often as the rockwool felt dry: initially about once a week, moving to multiple times per week as the plants grew larger. At this point I was using 1ml grow + 1ml bloom + 2ml micro / gallon water. ~300ppm
When plants were first moved into their grow buckets, I used 2tbsp grow, 1.5 tbsp micro, and .5tbsp bloom / ~4 gallons water. ~7-800ppm
-May be a little high for some varieties, Thai and tomato loved it, 7pots got some serious nute burn. Maybe try 500ppm
First signs of blooms/blossom drop on tomato nutes were changed to 3tbsp bloom + 1.5tbsp micro + .5tbsp grow / ~3 gallons water. ~880ppm
Tap water here is about pH8+ so I was being lazy at first, and not testing or adjusting my pH. Once I noticed some iron/magnesium deficiency symptoms in my peppers, I realized I needed to be checking my pH as some nutes were getting locked out. After testing, and realized I needed to add about 1/2 cap full of pH Down to each nute refresh and check to make sure pH was starting around 5.5 and climbing over the time it was used. This cleared the symptoms pretty quickly.
Transplanting:
12/9/13 first transplant: WAAAAYYYY too early, absolutely fried those things. Need to wait much longer 3+ true leaf sets, and keep the light high until they plants are used to it.

