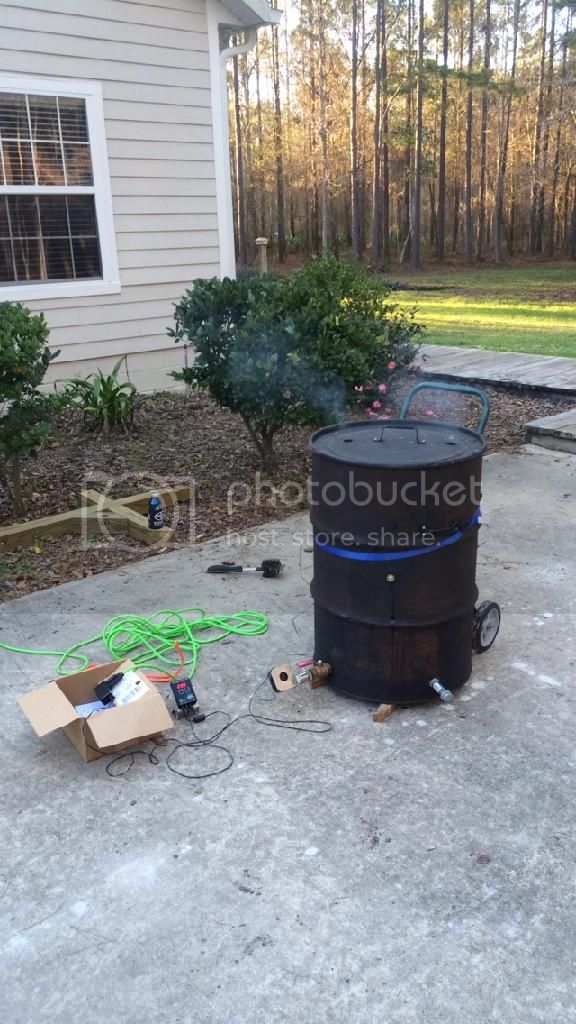
A week or so ago I started building a new 55 gallon drum smoker build (UDS). This is my second one I have made and decided to do a few things different this time around. There are tons of ways to do these, this is my version.
First, acquire a barrel. This one was a sealed top oil barrel that was empty. I rinsed it out very well and had a little water in the bottom before cutting out the lid. Now, side note here...It was my plan all along to use a Weber dome lid on this smoker that is why I cut out the lid instead of grinding down the lip to take it off.


Now, this one wasn't lined however many are and that is a pain. It will need to burned out very good since this held oil but it is a good idea to burn them out either way just to make sure there aren't any contaminants that get on your food. Pallets usually do the trick for me.


Wah Lah

So now it is time to get down to business. I am going with 2 1" ball valve intakes with risers. Here they are mocked up.

And here is the lid I am using. At this point the fit isn't great but that is coming.

Painted the intake pipes with high temp exhaust paint in flat black.

I also did a support on each pipe with a u-bolt.

They are held on with lock washers on the outside and a piece of threaded pipe on the inside.

After this, I started working the lid. The inside diameter of the Weber lid is about 22.5 inches and the barrel lip is 23 inches. I started with some channel locks and just grabbed and bent it in working my way around the lip getting it close. After I had the lid where it would at least fit over the barrel I lit a few charcoals to make some smoke to see how leaky it would be. It was close but not perfect. I ended up enlisting the help of my dad and he took a 3lb mini sledge and a regular hammer and went to work rounding it out and bringing it in. Now the lid fits and seals great.

Now it was time for racks. In my other UDS I had 2 grates and I will do the same with this one. While you can cook on the bottom I never do but I keep a pizza pan on there as a heat diffuser so that I have even temps across the top grate. On my other smoker I simply drilled 4 holes around the barrel at each level and used stainless hardware to hold the shelves. This worked but I was locked in on my rack height. With this go around, I used some closet racks so that it is adjustable.


After it was pretty much done I sanded down the inside really well, wiped it out and then sprayed it down with pam cooking spray. Then I did a seasoning burn to prevent rust and get some flavor going in there.


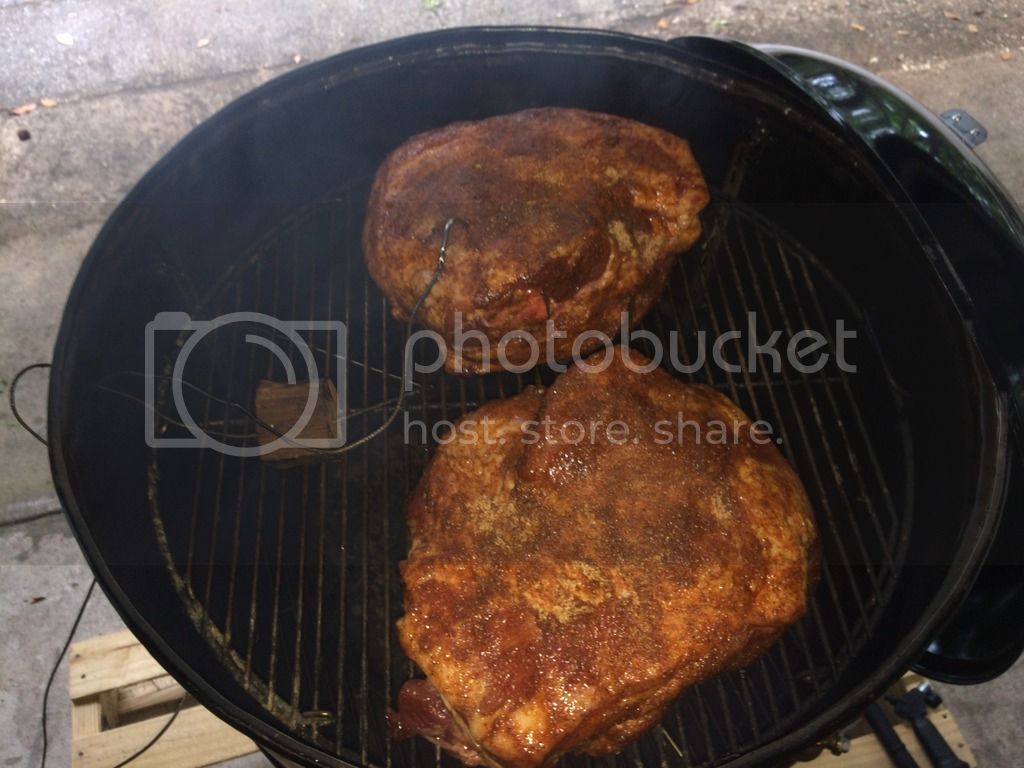
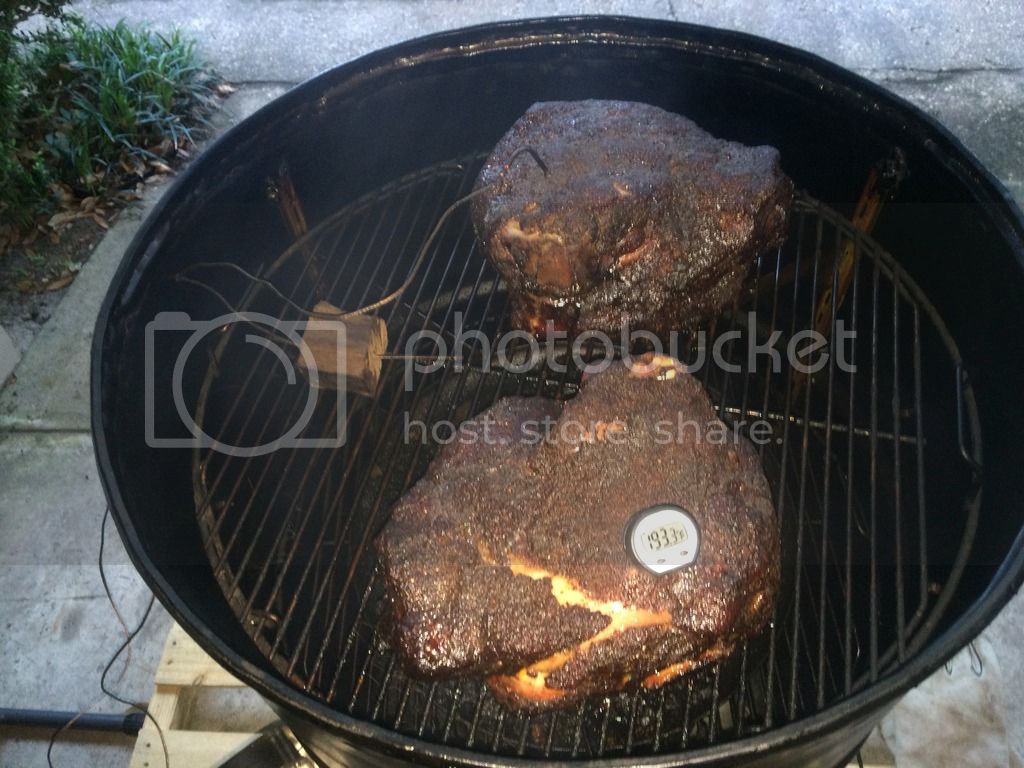
So that is pretty much where I am at now. I am still trying to decide a color/paint theme to do on it. I will probably end up going all flat black like my other one but who knows. I'll toss up a picture when it is all done but for now I am ready to do a cook on it. First one will be a couple pork butts for Easter this weekend.
First, acquire a barrel. This one was a sealed top oil barrel that was empty. I rinsed it out very well and had a little water in the bottom before cutting out the lid. Now, side note here...It was my plan all along to use a Weber dome lid on this smoker that is why I cut out the lid instead of grinding down the lip to take it off.


Now, this one wasn't lined however many are and that is a pain. It will need to burned out very good since this held oil but it is a good idea to burn them out either way just to make sure there aren't any contaminants that get on your food. Pallets usually do the trick for me.


Wah Lah

So now it is time to get down to business. I am going with 2 1" ball valve intakes with risers. Here they are mocked up.

And here is the lid I am using. At this point the fit isn't great but that is coming.

Painted the intake pipes with high temp exhaust paint in flat black.

I also did a support on each pipe with a u-bolt.

They are held on with lock washers on the outside and a piece of threaded pipe on the inside.

After this, I started working the lid. The inside diameter of the Weber lid is about 22.5 inches and the barrel lip is 23 inches. I started with some channel locks and just grabbed and bent it in working my way around the lip getting it close. After I had the lid where it would at least fit over the barrel I lit a few charcoals to make some smoke to see how leaky it would be. It was close but not perfect. I ended up enlisting the help of my dad and he took a 3lb mini sledge and a regular hammer and went to work rounding it out and bringing it in. Now the lid fits and seals great.

Now it was time for racks. In my other UDS I had 2 grates and I will do the same with this one. While you can cook on the bottom I never do but I keep a pizza pan on there as a heat diffuser so that I have even temps across the top grate. On my other smoker I simply drilled 4 holes around the barrel at each level and used stainless hardware to hold the shelves. This worked but I was locked in on my rack height. With this go around, I used some closet racks so that it is adjustable.


After it was pretty much done I sanded down the inside really well, wiped it out and then sprayed it down with pam cooking spray. Then I did a seasoning burn to prevent rust and get some flavor going in there.


So that is pretty much where I am at now. I am still trying to decide a color/paint theme to do on it. I will probably end up going all flat black like my other one but who knows. I'll toss up a picture when it is all done but for now I am ready to do a cook on it. First one will be a couple pork butts for Easter this weekend.


