-
We welcome content that is not political, divisive, or offensive. If we feel your content leans this way or has the potential to, it may be removed at any time. A hot pepper forum is not the place for such content. Thank you for respecting the community!
-
✅ Expert and friendly hot pepper grow advice.
✅ The latest information on hot pepper varieties.
✅ Reliable seed trading.
✅ Hot sauce recipes and food safety guidance.
✅ Hot sauce business tips for startups.
🌶️ And more!
It's all here, at The Hot Pepper! The Internet's original hot pepper community! Est. 2004.
You are using an out of date browser. It may not display this or other websites correctly.
You should upgrade or use an alternative browser.
You should upgrade or use an alternative browser.
photography Pepper Photography
- Thread starter bierz
- Start date
Thanks all for sharing your photos. I try to do a few things when taking pictures:
I do something called focus stacking when I want to get very up close macro shots. our depth of field is just a sliver of the image, so you change focus with each image and merge all of them in Photoshop to obtain a level of focus you couldn't otherwise achieve. The first up close pepper shots I posted here use that technique.
I shoot .RAW and process in Adobe Lightroom. This allows you do adjust several aspects of the image. You want your white balance to be set so that your whites appear white and not blue or yellow. You can increase the amount of light in the shadow areas to bring out detail, and decrease the amount of light in your highlights for the same reason. There are some great youtube tutorials for this.
I'm not a pro, and I just hope to always be learning. Feel free to ask any questions you may have and hopefully we can all help each other improve. I post my pictures to my personal website that exists purely to share pictures. Hopefully it's OK for me to link it here. There are pepper shots in "Food and Drink".
http://www.bierzychudek.com
<edited to address Grant's correctly caught aperture/f-stop comment>
- Perspective: Does the angle look correct? I never want to have to turn my head to see what's going on in a picture. If there's something that is level with the horizon in real life, I usually try to keep that level
- Focal Point: What are you trying to show to the viewer? Make sure it's in focus. A good way to accentuate the focal point is to blur some other elements of the photo, or use part of your image to draw the viewer to your focal point
- Rule of Thirds: You can break this one (and every rule), but I bet you'll notice that your preffered pictures don't have the focal point in the center of the image. Try to let the cool stuff take up 2/3 of the image - either side/side or top/bottom
- Lighting is key. Look at the shadows. If they look good to you, odds are your lighting is good. Shoot by a window as natural light usually produces better results than flourescent fixtures. Shooting outdoors is great but cloudy days are best so your sunlight is being filtered by coulds. Same goes for a window - a sheer curtain can really help
- If you want to get adventurous, take a white posterboard and prop it behind or on the side of your subject - this will bounce some light back and serve as a dirt cheap fill light
- If you're shooting with a DSLR, or really any camera that can use a timer, sometimes this is best for low light situations. Prop the camera on something and let the timer do its thing. This prevents your shaky hand from ruining the shot if the exposure is more than say 1/60 of a second.
- If you shoot with an iphone I really like the free app Snapseed. You can really improve an image using this. The new IOS also has enhanced editing abilities if you click the three little dots.
I do something called focus stacking when I want to get very up close macro shots. our depth of field is just a sliver of the image, so you change focus with each image and merge all of them in Photoshop to obtain a level of focus you couldn't otherwise achieve. The first up close pepper shots I posted here use that technique.
I shoot .RAW and process in Adobe Lightroom. This allows you do adjust several aspects of the image. You want your white balance to be set so that your whites appear white and not blue or yellow. You can increase the amount of light in the shadow areas to bring out detail, and decrease the amount of light in your highlights for the same reason. There are some great youtube tutorials for this.
I'm not a pro, and I just hope to always be learning. Feel free to ask any questions you may have and hopefully we can all help each other improve. I post my pictures to my personal website that exists purely to share pictures. Hopefully it's OK for me to link it here. There are pepper shots in "Food and Drink".
http://www.bierzychudek.com
<edited to address Grant's correctly caught aperture/f-stop comment>
just one minor quibble - it's a smaller f-stop, but wider aperture for low-light/thinner DOF/creamier bokeh ...
what's this one (please say one I'm growing that I think could be this. Can't find pics.)??Pr0digal_son said:
coachspencerxc said:what's this one (please say one I'm growing that I think could be this. Can't find pics.)??
I'm not sure what you are growing. This link has the plant you are curious about. I think the first or second post on page 2 has the exact history. The plant at full maturity is also on the second page. Sorry for the huge files in the first post.
I'm confused. No link. I am growing Dilley Street Tamwork and have only see one picture of them. Picture was all red but Chris Phillips' description said the pods go through several colors. Was hoping that's what this one you posted was. Any chance?Pr0digal_son said:
I'm not sure what you are growing. This link has the plant you are curious about. I think the first or second post on page 2 has the exact history. The plant at full maturity is also on the second page. Sorry for the huge files in the first post.
coachspencerxc said:I'm confused. No link. I am growing Dilley Street Tamwork and have only see one picture of them. Picture was all red but Chris Phillips' description said the pods go through several colors. Was hoping that's what this one you posted was. Any chance?
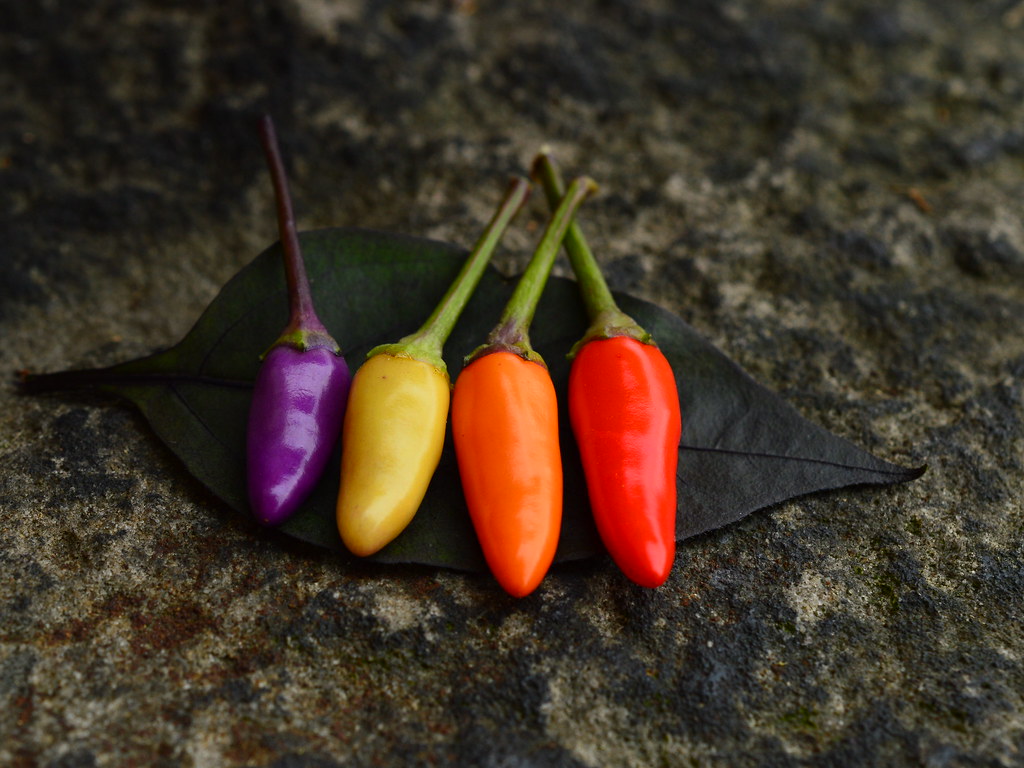
http://thehotpepper.com/topic/47439-sbs-purple-ornamental/?hl=%2Bsbs+%2Bpurple+%2Bornamental
Sorry sir,was trying to do too many things at one time. It is not the variety you mentioned.
Got it... and remember seeing that thread. Incredibly beautiful plant & pods.Pr0digal_son said:
http://thehotpepper.com/topic/47439-sbs-purple-ornamental/?hl=%2Bsbs+%2Bpurple+%2Bornamental
Sorry sir,was trying to do too many things at one time. It is not the variety you mentioned.
Didn't mean to hijack. Great pictures, all.
No last yearGuatemalan Insanity Pepper said:Is this @ your new place ?
Congrats by the way
We move Saturday
I shot a lot of Kodak Kodachrome back in the day.Rymerpt said:
No last year
We move Saturday


