• Blog your pepper progress. The first image in your first post will be used to represent your Glog.

2018 - The Farm

Well, I've been gone a few years from the board, and away from growing peppers, but looks like life is pushing me back that way again. 
 
I recently (last month) closed on a 25 acre farm in Central Illinois with some primo soil, and I'm going to give a commercial grow a test run. 
 
NzpDT8g.jpg

 
TrugNBb.jpg

 
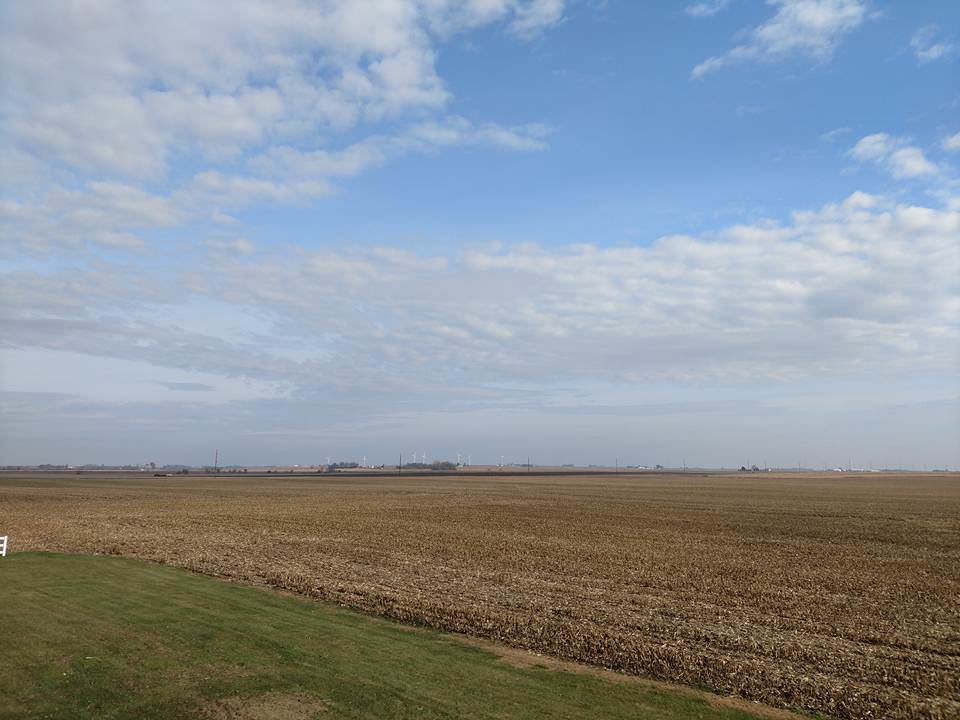
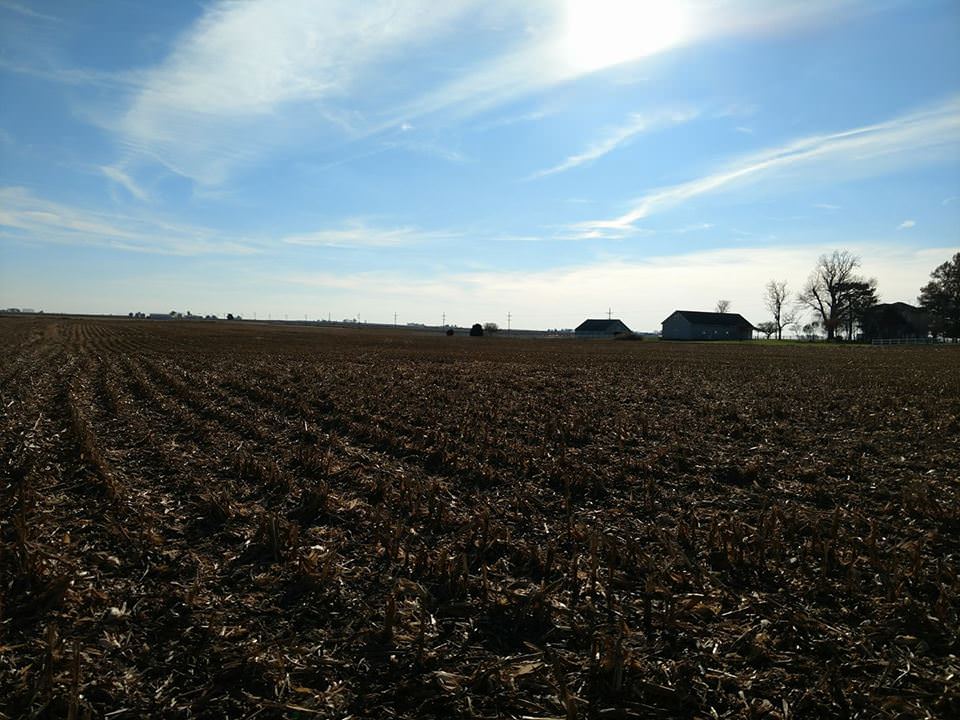
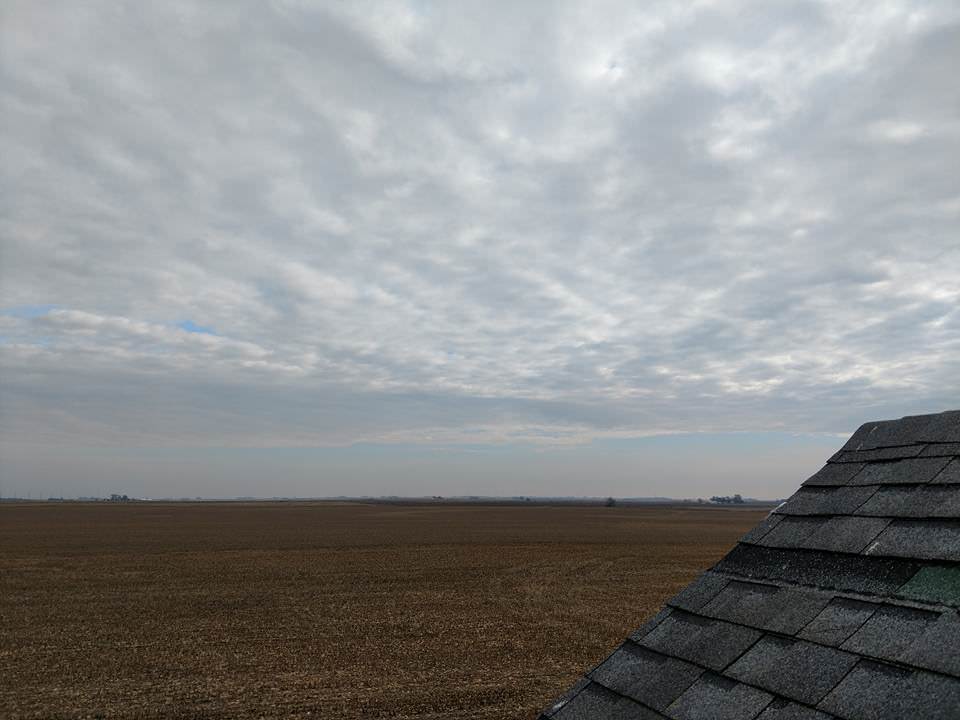
From up on the roof, when I was doing some roof repairs on the outbuildings. Not much as far as the eye can see, but cornfields...
 
BZXHqMp.jpg


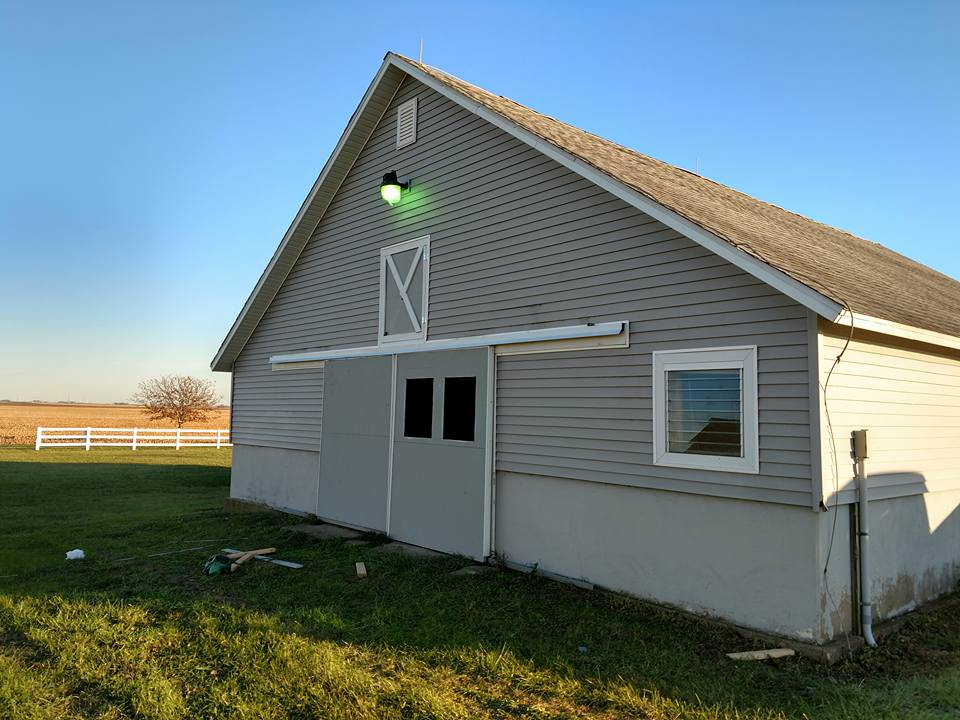
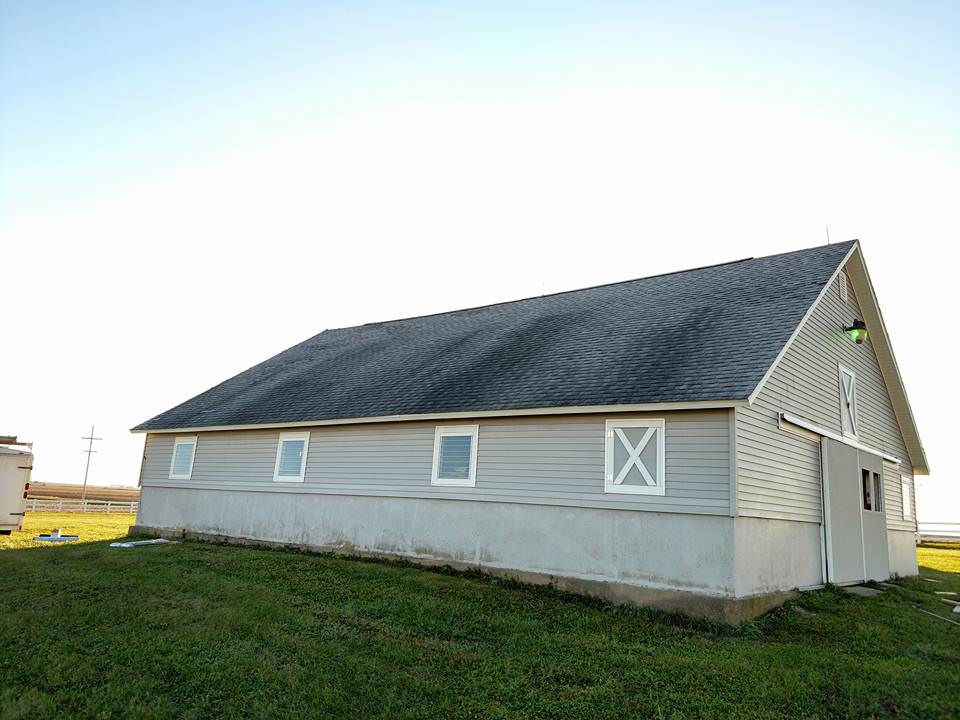
Has a 4 stall garage and a horse stable on the property
 
dHjylEo.jpg

 
GCjcX18.jpg

 
2N9v0Yf.jpg

 
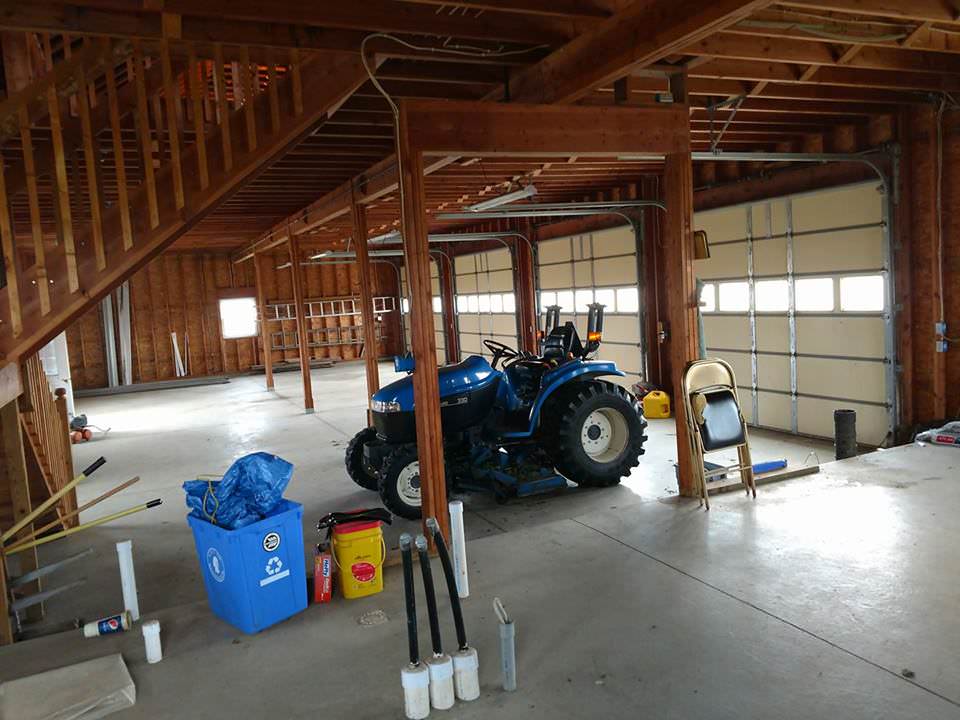
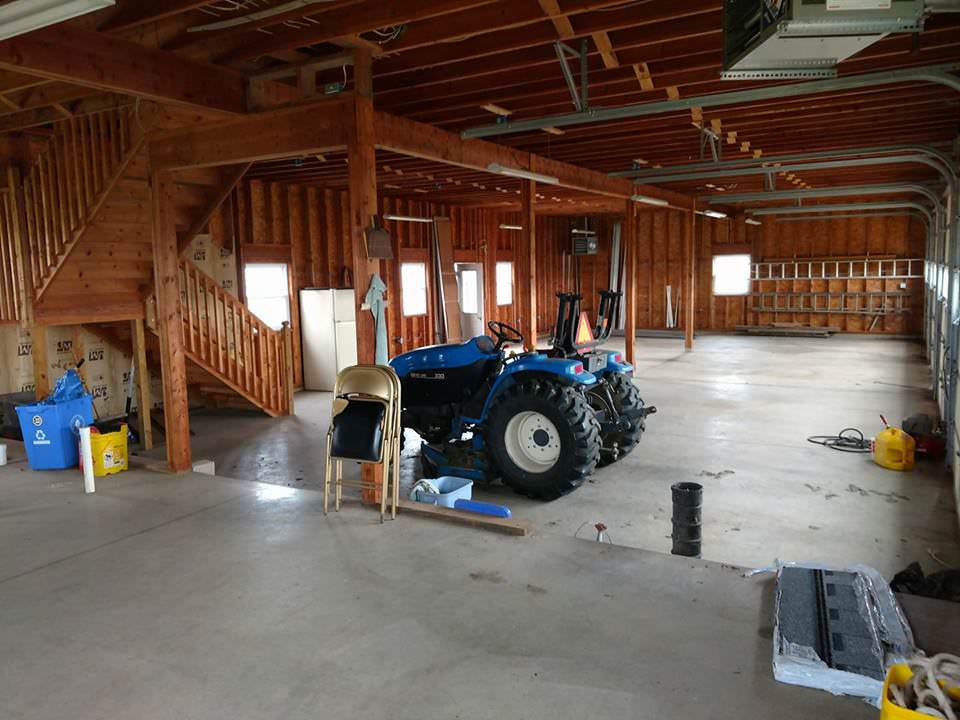
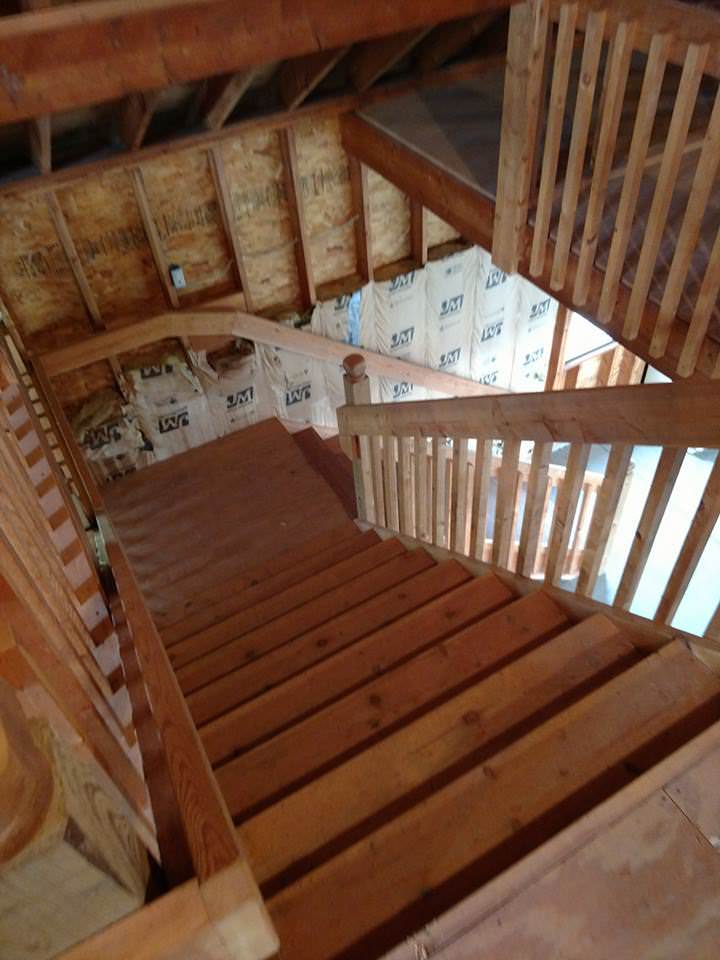
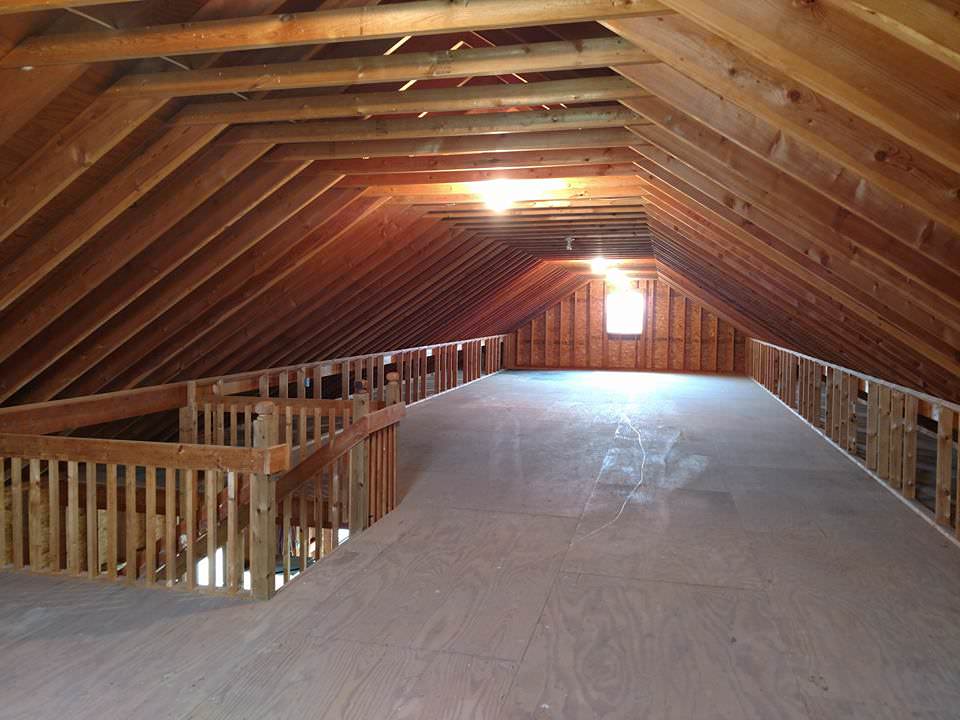
Probably do my grow room upstairs here after I insulate it
 
HYVOyF0.jpg

 
Built some doors for the horse barn and patched the roof last month
 
NNO9Tcg.jpg

 
zfOwha1.jpg


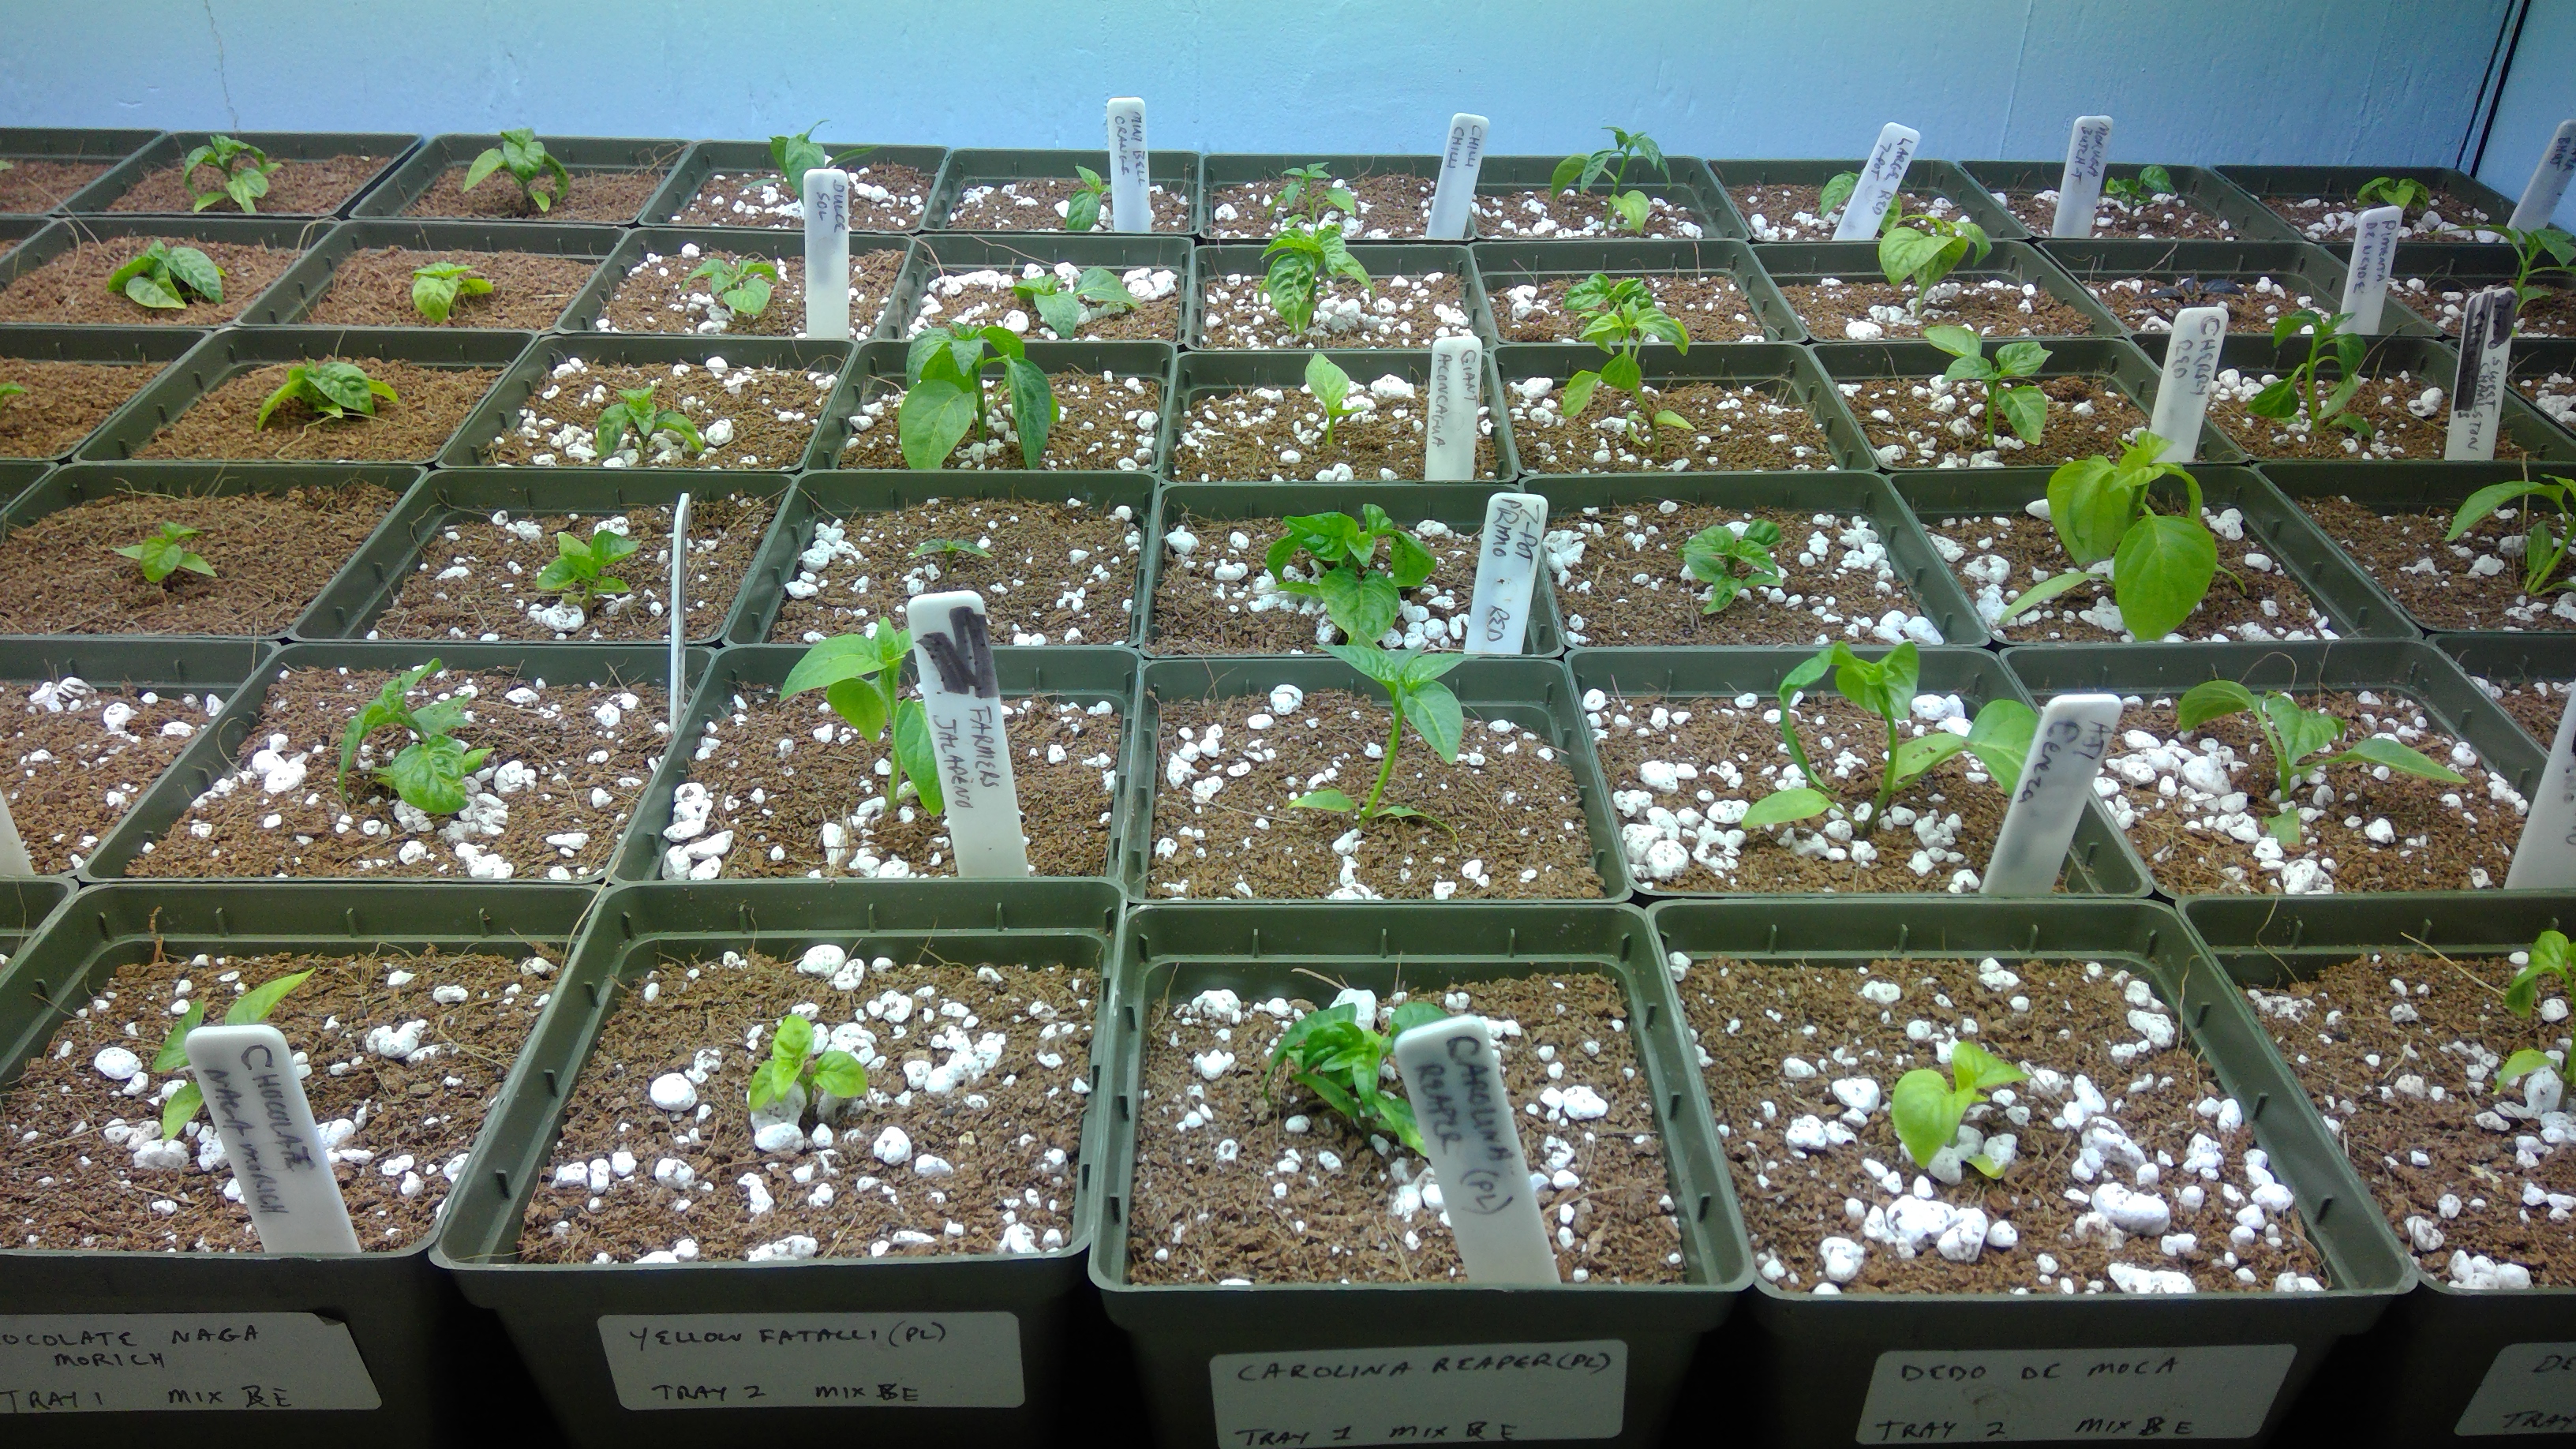
Anyway just dropped a cold grand on seeds from pepperlover and buckeye, going to hit a greenhouse supplier up for other materials next week.
 
Have plans to build a 30x72' greenhouse in the spring, and a ~1200 sq foot dedicated grow room. Too late really to help with this year's grow, but next year it'll save me a lot of hassle on hardening off. 
 
The greenhouse, I am going to do a piped infloor heat slab, with a horizontal loop geothermal system (I own a mini excavator) that is solar powered. So heating should be nice, uniform, not create heat / cold bubbles, and not dry out plants like forced air would. I build circuit boards in my day job, so I will also build a microcontroller to handle the automated watering system with soil moisture monitors and actuated plumbing valves on the water supply.
 
Also plan on building a "deep winter" greenhouse for year round production. Got blueprints I made from a couple of years back, those are walled on three sides with heavy duty insulation, with the glass wall side angled to face winter solstice, so you can grow in the deep freeze months of the north. In the summer, those get hot enough to use as a natural dehydrator, replace the tables with racks for bulk drying.
 
Only doing a half acre or so of peppers to start with this year, the balance will be put in corn. I can't manage more than that with the labor I have available. (When you start talking thousands of plants, simple tasks like up-potting grow in to hundreds or thousands of man hours...)
 
Going to hire some local kids to help, school has a good ag co-op program for high schoolers, they can get school credit working on local farms. Since the plant out and harvest doesn't conflict too badly with corn, shouldn't have a problem finding labor around here.
 
Anyway, that's the plans.
 
We'll see how it goes.. er.. grows.
 
 
chocolatescotchbonnet said:
I noticed you got some tomators in there.
 
Yeah I haven't really been talking about them much. :)
 
There's a few Ace 55's in Mix C as a test to see if the tomatoes will do well. I've lost one to a saturated pot. I bottom soaked the pots when I transplanted; 8 days later it damped off. When I dumped the soil mix, it was very warm to the touch. I think some of the organic fertilizers started composting or something.... bad news.
 
I have 5 more plants from mix C looking rather unhappy right now. I think 3 or 4 will be terminal. I don't think it's the mix, so much, but how long I let them bottom soak. (Don't go off and eat dinner while pots are bottom soaking, is the lesson there...)
 
To avoid a repeat of that, until the plants are stronger, I'm going to top water with measured tablespoons. Tonight all of the 4" transplants got two tablespoons. 
 
Next wednesday there'll be a couple trays of Amish Paste starting. (Lights at the farm should be in Tuesday or Wednesday finally)
 
Devv said:
 
I like my seed starting medium damp, not wet. Wet (saturated wet ) is after a rain storm out there in nature. Damp is how the soil is for several, or many days after. I also cut out the middle man the last 2 seasons. I now seed start in 3.5" pots. The top 3/4 to 1" are in my own starter mix, primarily coir, on top of potting soil.  I add the goodies and set them in a tray of water and let it get nice and wet. Seed sow and let them go. Very few need a misting after that to keep things damp enough, not wet, to germ. Once they pop they don't need to be watered until they get "light". Nutes come at 1/4 strength once the 3rd set of true leaves just starts. And then the rest is just rocking on ;)
 
 
One problem I'm having now, is on the long duration sprouting, getting mold. It's just too damn humid in that room.  I've got 3 fans going but it isn't enough. Three of the unsprouted trays were showing quite a bit of mold. I hit them with a pretty good dose of H2O2. Hoping it doesn't hurt them. 
 
I've spot treated with H2O2 without issues on other trays. Worst problem I've had is a yellow spot on a leaf here or there if I accidentally get a drop on a sprout. But it hasn't seemed to hurt the sprouts one bit, even if I mist the entire tray full of them.
 
I'm a bit concerned on the damping off that is happening. Although I think today was from cooked plants with shallow roots. One of the fans got out of alignment today and wasn't getting the back corner of the room, and I had 5 plants fall over back there under the T5's. Temp was in the 110-115 range when I hit it with the gauge. Top 1" of soil was bone dry, and these were tiny plants that keeled over. Bottom 2.5" of the pot was still saturated. I think the combination of no moisture up high, along with the heat from the lights, did them in.
 
I was hoping bottom watering would work out because I set up the entire farm for it. But it is looking like bottom watering is going to be a bad idea on these. They just hold WAY too much damn water down low, in a 5:1:1 coir/vermiculite/perlite mix.
 
Maybe when the plants are established and sucking down water as fast as I can give it to them, it'll work. But I have to carefully meter out top waterings for a while.
 
This is what the damping off ones look like. I gave them a sip of water to see if they'll come around but I don't have high hopes; this is exactly how the last one went down and it died.
 
kA761yP.jpg

 
This is it's twin; they were right about the same size.
 
IAkTtIo.jpg

 
Some of the others in various stages of death;
 
kXV7pEQ.jpg

 
g2sjXpj.jpg

 
37uuXnG.jpg

 
I bet if I de-potted them, the bottom 2/3 of the soil would be soaked; and hot to the touch. I think it the mix held too much water and got conditions just right for a bacterial bloom. Only thing that'd explain the warm-to-the-touch soil. 
 
Hopefully it won't take out any more. I'm going to give them sips of water to keep the top layer a little better. 
 
Coir doesn't wick as well as I'd expect; with the bottom 2/3 being sopping wet and the top 1" being bone dry... you'd think it'd even itself out at least a LITTLE. But it seems to not want to do that.


Crap this started last night and I didn't catch it.
 
From last nights reference pic;
 
9yVHL1m.png

 
I bet a tablespoon of water last night would have saved the damn thing.
 
I put mine into clear cups so I can see how dry the soil is, the ones with curled leaves still have curled leaves, but they aren't dead yet.
 
You are doing it all wrong with the coco coir, you should never let it go bone dry. Letting it go semi dry is ok, but big NO for bone dry. Best thing for coco coir would be to keep it semi moist all the time for best uptake of nutrients and water.
 
Start investing to the capillary matting for watering your seedlings, you will see much better results soon enough by using that one to water the coco coir from the bottom of the pots. Investing in the cappillary matting will save a lot of time and money in the long run.
 
It is not going to do you any good, if you are constantly worried about the watering issues when the solution is very simple.
 
It's not getting too dry, it's staying too wet. The top 3/4" or so dries out, but the bottom of the pots are COMPLETELY saturated. It is not wicking moisture up at all.
 
I don't see what good a capillary system would do if it isn't wicking up moisture above the 2.5" mark. It sucked up and held WAY too much water. 
 
I de-potted one of the plants tonight and it smells like mildew. The soil was actually hot to the touch when I pulled it out. The damn things are composting because it is staying too wet in the lower 2/3 of the pot. 
 
I flushed another one with H2O2. There was so much bubbling from it interacting with fungus, it volcanoed soil out the top of the pot.  It flushed some really nasty brown crap out of the bottom of the pot. 
 
I bottom soaked soil mix B in 3/8" of water for 15 minutes, *9* days ago, and have not watered since. It has had T5 HO's burning down on it 18 hours a day and a fan on it continuously since then. 
 
This is what the tear down looks like:
 
2nVgVc1.jpg

 
The totally dry soil on top dumped out, not wicking ANY moisture up.
 
p92d24D.jpg

 
You can clearly see the "dry line" I was talking about. It is just not moving moisture up.
 
Ljiahkl.jpg

 
Cracked it in half (smells like fungus) and you can see roots are dead. The soil is littered with tiny dead brown roots.
 
vxyf6Sy.jpg

 
The main tap root is brown and hard, ancillary roots are brittle - touching them causes them to snap off. There's no hairs anywhere; it's root dead.
 
i9nl4tC.jpg

 
Not quite sure what I'm going to do about this. Bottom watering clearly isn't working; ONE short bottom watering on 3/8" of water (10 plants per 10/20 tray, 3/8" deep), has killed them off. 
 
Not sure which organic component brought in the fungus, probably the worm poop, but could just as easily be the kelp meal or blood meal. 


Now compare that to my coco coir+perlite mixture:

The coco is moist all the way up to the top and look how happy the chilis look now when you look at the new leaves and not the old leaves. My coco coir+perlite have no fungal problems or any funny smells....actually it smells nice to me.
 
  I checked the roots under the pot holes and the new roots are nice and white now after i solved my watering with the coco coir from too wet to constant moisture all the time.
 
It is pretty clear to me at this point, that your problem now is the growing medium mixture(maybe the vercumilite in there) and not how you water them. :woohoo:
 
I dont want to ruin your party at this point, but maybe you should redo your growing medium mixture to save the seedlings and use that current stuff  for outside growing for the more mature chilis.
 
See those nice white new roots growing from the buried stem:

Those looks very happy roots to me. :party:
 
Coco coir is not soil and should be treated like you would with the plants growing in passive hydroponics. Coco coir wants a constant supply of moisture and fertilizers to make it work at it's best.
 
When I started re-transplanting in to new mixes last night, an accidental discovery happened.
 
Mix A was the same soil I used in a batch of 4 starter trays. I had some leftover and figured I might as well transplant a few; had enough for 4 plants.

Mix B and C were variations of a theme.
 
Well, B and C's roots were destroyed and the pots smelled like mildew.
 
But when I got to one of those Mix A plants, the soil was fine... the roots were super healthy. Plants showed massive nutrient deficiency on the leaves but that's because the soil had basically no fertilizers in it. It had kelp meal, azomite, and a very small dose of worm castings. But no heavy duty nitrogen or phosphorous (leaves turned yellow and purple from lack of phosphorous). Worm casings were at a 1:20 ratio in the overall mix. When I did the other batches, worm castings were at a 1:7 ratio; nearly 3x as much in the mix.
 
All were bottom watered. 
 
But the worm poop in those quantities decided I was starting a compost pile.... damn pots reeked of fungus and bacteria. 
 
Just about killed off all of the roots on B & C.
 
Mix D was fine, but it had only been transplanted two days ago so it hadn't started going petri on me yet. I saved that soil, will let it dry out and re-use it. The mix B and C crap got tossed out in the woods.
 
It took all night but hopefully I got it in time. All transplants were re-transplanted in to mixes E, F, G, and H. 
 
8hygqHV.jpg

 
Took reference shots so I can compare them in a couple of days.
 
eW3BJGh.jpg

 
YBOF9LL.jpg

 
ylDhCv9.jpg

 
gDCK764.jpg

 
dg2YoXg.jpg

 
2MYmvYM.jpg

 
3sa4yTN.jpg


Chilidude said:
See those nice white new roots growing from the buried stem:
 
 
Those looks very happy roots to me. :party:
 
Coco coir is not soil and should be treated like you would with the plants growing in passive hydroponics. Coco coir wants a constant supply of moisture and fertilizers to make it work at it's best.
 
If you're growing like it's passive hydroponics why bother with coir at all, and just go straight mineral wool?
 
That's not an option for what I'm doing. There's plenty of commercial grows (marijuana, tomatoes, peppers, etc) all doing coir in traditional pots with organic dry ferts, without resorting to chemical fertilizers. Just need to figure out what is going to work well. 
 
What I'm trying for is a dry soil mix that'll get me from sprouting tray to field without having to prop them up on anything else in the interim, except maybe a dose of fish emulsion. (I have a 5 gallon bucket of that, sitting here for when that day comes.. it's enough to mix 640 gallons of fishy fertilzer, which should get me through 3x nitrogen grow prop-up runs). The blood meal and bone meal should last quite a while, once the mycorrhizae fungus I add on the first watering starts working on to break down the nutrients, and binds with the roots.. Hoping that'll be enough to get me through week 8, then a prop up at week 8, 12, and 14, then they hit the field on week 15 (for the chinense). Or for the annuums, week 7, 9, and 11.
 
Basically that will set my cost at the entire fertilizer run of what's in the potting soil, plus $110 (shipped cost) for the fish fert, per 4000 plants.
 
One bag of bone meal and blood meal is enough to make 700 gallons of potting soil mix (or way more than I need), as that's enough to pot up 6,000 plants, that's $150 cost shipped. Azomite is cheap, and one bag is enough to cover 12,000 plants. Kelp meal, about the same, 12k plants per bag.
 
Anyway the cost of coir, and the organic ferts, including the fish emulsion and cal mag (if it's needed), should be under $600 for the entire half acre grow. 
 
Which is a pretty good deal for potting soil cost, considering I paid more than that for the damn pots that the soil is going in, in pallet quantities. :)
 
It's all about scale, I have to do this inexpensive to have a hope of making any money on it. If I spend big $$ on fertilizers that cuts way in to the margin I can hope to get.
 
Not trying to be rude, just saying, the way I'm approaching this doesn't fit with the advice you're offering. You could probably grow a pepper in a wet sock if you fed it the right liquid fertilizers. But that doesn't help me farm. :)
 
TrentL said:
 
If you're growing like it's passive hydroponics why bother with coir at all, and just go straight mineral wool?
 
I have no real experience with rockwool hydroponics, so i am not going start using that right now either as the coco coir growing works amazing. That passive hydro feeding thing is only for the indoor seedling growing to make sure they grow nice roots and also as a nice test how the capillary matting thing works with coco coir, once the chilis are much bigger they will be put to a 10 litre airpots and i will start top watering them like i am used to in the past.
 
And you do not sound rude at all to me, as we all want to make the best use for our money and time. I like how you do things in your own way and i do things in my way to see how they work for my particular growing.
 
And i say shared knowledge is the best kind of thing in plant growing.
 
Chilidude said:
 
I have no real experience with rockwool hydroponics, so i am not going start using that right now either as the coco coir growing works amazing. That passive hydro feeding thing is only for the indoor seedling growing to make sure they grow nice roots and also as a nice test how the capillary matting thing works with coco coir, once the chilis are much bigger they will be put to a 10 litre airpots and i will start top watering them like i am used to in the past.
 
That makes sense. On a small scale I could see it working great, but continually pumping them up with fertilizers has to be expensive. Plus the transition to the field would be traumatic. When you're going pot to pot, not as big of a deal, but when plants hit the dirt the closer you can get soil density and composition to what they're landing in is critical to avoid shock.  If you transition them from a passive hydro grow to dirt, I just don't see them taking too well to it. 
 
The first year I put plants in the dirt I went from straight peat starting trays that I'd been propping up with fertilizers, to dirt, and most of them died within the first week. The next year I did coco coir cups, which were supposed to be biodegradeable (yeah, just not in the first year), and they were stunted. When I dug them up at the end of the year to overwinter them I found that the root ball had stayed almost exclusively inside that "biodegradable" cup. I also had severe transplant shock on them, probably because of the difference in soil to media they had grown in. That will create a barrier that prevents water and nutrient uptake, and leads to weak roots. Plants blow over in the wind easy, they don't produce well, etc. 
 
I am trying to get some organics moving in the coir prior to them going out in the field. That mycorrhizae is critical to the outdoor grow, each plant will serve as a little fungal hub to propagate it in to the soil (which is undoubtedly barren, as it has been used for corn production and abused for decades with harsh chemical fertilizers, pesticides, herbicides, and god knows what else). 
 
The end goal is to get a potting soil that gets me through transplant to the 8 week mark, then some cheap fish emulsion to prop it up every two weeks with nitrogen so they grow out and get ready for the field. The soil needs to have *some* components which get the micro-organism ball rolling. And it needs to have a consistency close to the silt loam in the field so I don't get a hydro barrier between the soil and the root plug that goes in the hole.
 
It might not even be possible to get everything that I want, but I've got to try. :)
 
TrentL said:
 
That makes sense. On a small scale I could see it working great, but continually pumping them up with fertilizers has to be expensive. Plus the transition to the field would be traumatic. When you're going pot to pot, not as big of a deal, but when plants hit the dirt the closer you can get soil density and composition to what they're landing in is critical to avoid shock.  If you transition them from a passive hydro grow to dirt, I just don't see them taking too well to it. 
 
 
Planting a plant growing in a coco coir to a soil mixture is not really that huge of a shock to the plant as you might think it is, if the soil mixture is anywhere close to the coco coir composition.
 
When i go to a bigger pot from the smaller pot and notice the roots have gotten kind of root bound in the smaller one, i just gently buff up the rootball all around with my hands to make them nice and loose, then i put the loosened up rootball to the bigger pot and now the roots are free to grow everywhere without much issues.
 
The similar thing will work in the field growing too, when you gently buff up the moist rootballs before transplanting them to the field and that will make the roots free to grow in the surrounding area.
 
Interesting thread. Very cool. Full automation is difficult to achieve. I think your on the right track.
Alot of the information your gathering and using is usually only done in a commercial setting using thousands of plants. You may want to look into that for inspiration or possibly new information or shortcuts to help lighten your work load or prevent repetition of things that have already been figured out.

In my experience "soil shock" from transplanting should not be so traumatic. The peat cups are always a bad idea. I never liked them for the same reason you mentioned.
I suspect the reason your plants died after transplant has more to do with hardening off and adjusting to the environmental conditions than it did with adjusting to the soil. I know I have been told and read that you gotta keep the soils as similar as possible to avoid shock. In my experience this is kinda blown outta proportion. While it may be true for certain plants. It definitely does not hold true for most plants. I think it has more to do with soil quality.
Even moving from soil to hydro and vice versa a healthy plant with a good growing environment will have a minimum lag phase of adjustment where they will look a bit wilty or sad. Then continue on growing like it ain't no thing.
You mentioned mycorrhizal fungi, this is an excellent transplant buffer. Adding the Endo and Ectomycorrhizal fungi to your potting soil and at transplant is great. They bond with the plant on the surface and actually get inside the plants roots. They act as an extension of the plants roots system in a symbiosis with the plants. This will help to mitigate any transplant shock. Just be sure the plants have fully adjusted to the growing environment, light, temp/humidity, wind, then transplant. Good luck bud keep up the good work.
 
Actually coco coir have natural trichodermas already included in it, you just wake it up by giving it moisture and it will start to grow in the coco coir medium giving plants various growing benefits.
 
The coco fertilizer i am using at the moment will not kill the trichodermas in the coco coir so it can benefit the plant grow alongside with the fertilizer.
 
Dane said:
Interesting thread. Very cool. Full automation is difficult to achieve. I think your on the right track.
Alot of the information your gathering and using is usually only done in a commercial setting using thousands of plants. You may want to look into that for inspiration or possibly new information or shortcuts to help lighten your work load or prevent repetition of things that have already been figured out.

In my experience "soil shock" from transplanting should not be so traumatic. The peat cups are always a bad idea. I never liked them for the same reason you mentioned.
I suspect the reason your plants died after transplant has more to do with hardening off and adjusting to the environmental conditions than it did with adjusting to the soil. I know I have been told and read that you gotta keep the soils as similar as possible to avoid shock. In my experience this is kinda blown outta proportion. While it may be true for certain plants. It definitely does not hold true for most plants. I think it has more to do with soil quality.
Even moving from soil to hydro and vice versa a healthy plant with a good growing environment will have a minimum lag phase of adjustment where they will look a bit wilty or sad. Then continue on growing like it ain't no thing.
You mentioned mycorrhizal fungi, this is an excellent transplant buffer. Adding the Endo and Ectomycorrhizal fungi to your potting soil and at transplant is great. They bond with the plant on the surface and actually get inside the plants roots. They act as an extension of the plants roots system in a symbiosis with the plants. This will help to mitigate any transplant shock. Just be sure the plants have fully adjusted to the growing environment, light, temp/humidity, wind, then transplant. Good luck bud keep up the good work.
 
Thanks for the feedback. I've been reading pretty much continuously since December trying to learn. Digested a lot of published university studies and tried to get some insight in to how commercial grows go. Unfortunately there's not a great deal of information on commercial grows readily available, people tend to keep things that make them profitable close to their hat. Try finding information on successfully growing Wasabi in North America, the folks that have figured it out just aren't talking. :)
 
When you're on a forum like this one with recreational gardeners, there is a lot more free exchange of information. But as soon as money gets involved it seems folks clamp up and quit talking to each other, because.. why help the competition? (or if you are making a big mistake, why give them a marketing point against you?) lol.
 
So mostly I've relied on university studies and biology journals to help me learn on a bigger scale. Some of the glogs on here and threads are incredibly helpful, but I trust nothing as gospel, until I've seen similar results with my own eyes. And to know what is happening on a larger scale, I've been focusing on what is happening on the smaller scale.
 
I'm glad I did this the way I did it. If I'd moved forward without doing experiments and testing I would have lost 4,000 plants to this issue instead of a handful. That's the other reason I'm doing things in "lots" - if something goes sideways (like it did), it only affects a smaller subset of plants, and I can deferentially diagnose what went wrong based on the differences between groups. Or at least get a head start with an educated guess. In this case, my 4 plant control group with nice healthy roots and no bacteria/fungal bloom told me everything I needed to know.
 
I started 5 more trays to determine the negative effects of my earlier mistake; not testing my water. It will be interesting to see if germination rates with 6.5 pH are different than 8.4. Or time to first leaf, etc. I know there'll be differences, but I also suspect it's very species specific. Some plants managed to not only pop up but seemed to thrive under those conditions for a while. Others never germinated at all, or had low %.

I'm also isolating out the warming mats I was using. It was an oversight of mine not to have some non-warming-mat control groups. In my efforts to keep "everything the same" on conditions for the test trays,I forgot that sometimes not having everything the same is important too. I believe the warming mats made things too hot for specific varieties. Where as some would sprout 100% (or close to it) others failed to sprout whatsoever. Specifically, fast growing annuums. 

Still, the resiliency of these plants are somewhat amazing.
 
I had a tray that had hit 115F for an extended period of time. It was fed 8.4 pH water for 3 weeks straight. It had lousy germination rates. 
 
But then, something very interesting happened. After I started watering the tray with 6.5 pH, I had a cayenne and bell pepper both pop up after TWENTY THREE days. That is so far outside the normal germination window it's not even funny. All it took was resetting soil conditions to what it could handle, and they finally came up.  I hadn't killed the seeds, amazingly enough. They just went dormant.
 
Now I'm sure others were killed shortly after germination from the high pH, and never sprouted. I saw that when I dug a few up; little dead brown roots poking out of the seeds. Or plants that'd pop up yellow and die after a couple days. But the fact that *some* made it was just shocking to me. I wasn't expecting it at all!
 
I want to do a bigger study on sprouting temperature by variety because it's clearly not uniform among all peppers varieties.
 
Neither is much of anything for that matter. I've observed a lot of different responses per variety to different things. They react to different soil compositions differently. They reacted to pH changes differently. They react to lighting differently (everyone knew that much, that some peppers like shade; but it seems to also matter when they're little sprouts, too). 
 
This is a big problem because a LOT (the vast majority) of published data for commercial pepper grows is for sweet bell peppers or jalapenos. There's really not much of anything out there for anything else. It's clear that different varieties have some fairly widely swinging "likes" and "dislikes" regarding conditions. I guess the one thing I can contribute over time, that isn't out there, is a comparison between species or varieties - because peppers are proving to be very diverse in that regards, even within their own species.
 
So many questions have came out of this. I have got some experience, and answers, but every answer seems to lead to 5 more questions. :)
 
Chilidude said:
Actually coco coir have natural trichodermas already included in it, you just wake it up by giving it moisture and it will start to grow in the coco coir medium giving plants various growing benefits.
 
The coco fertilizer i am using at the moment will not kill the trichodermas in the coco coir so it can benefit the plant grow alongside with the fertilizer.
 
I need to get a microscope so I can see what's going on "in there." I was kicking myself in the ass last night for not having one. I desperately wanted to get a closer look at the roots of plants that were being killed by that soil, vs. healthy ones.
 
I mean it didn't change what needed to be done (get rid of damp mildewed soil) but my curiosity meter got pegged. I hate not being able to SEE what is actually going on. Guess that's from a long technical career, hunting down root cause is what I've done for the last couple decades.  I'm not at all used to treating things symptomatically, without a definitive, "there is the exact problem" moment. :)
 
Back
Top