DIY Projects
1. Stir Plate Click Here
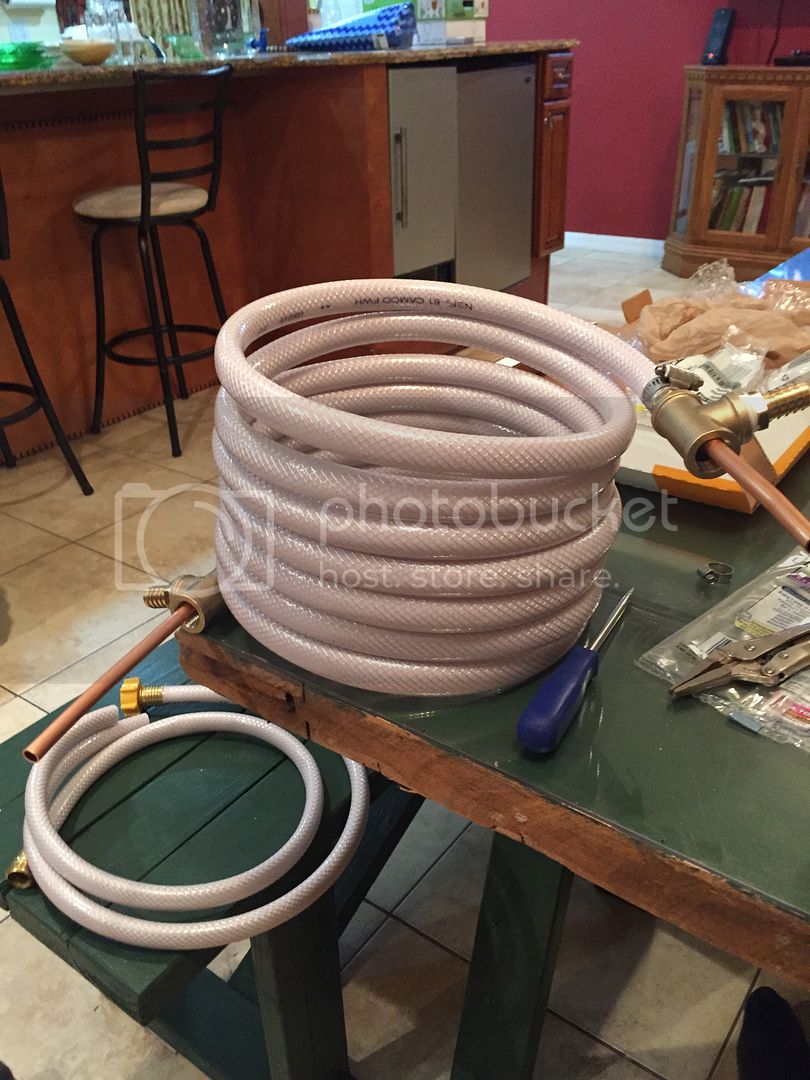
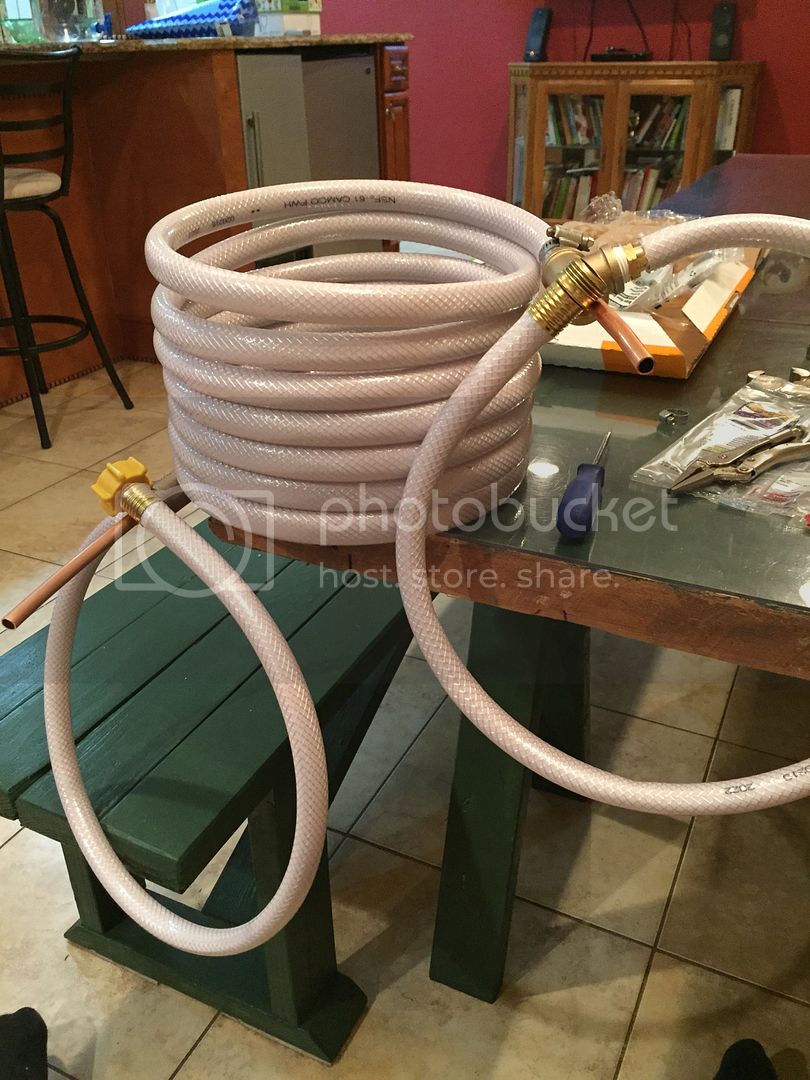
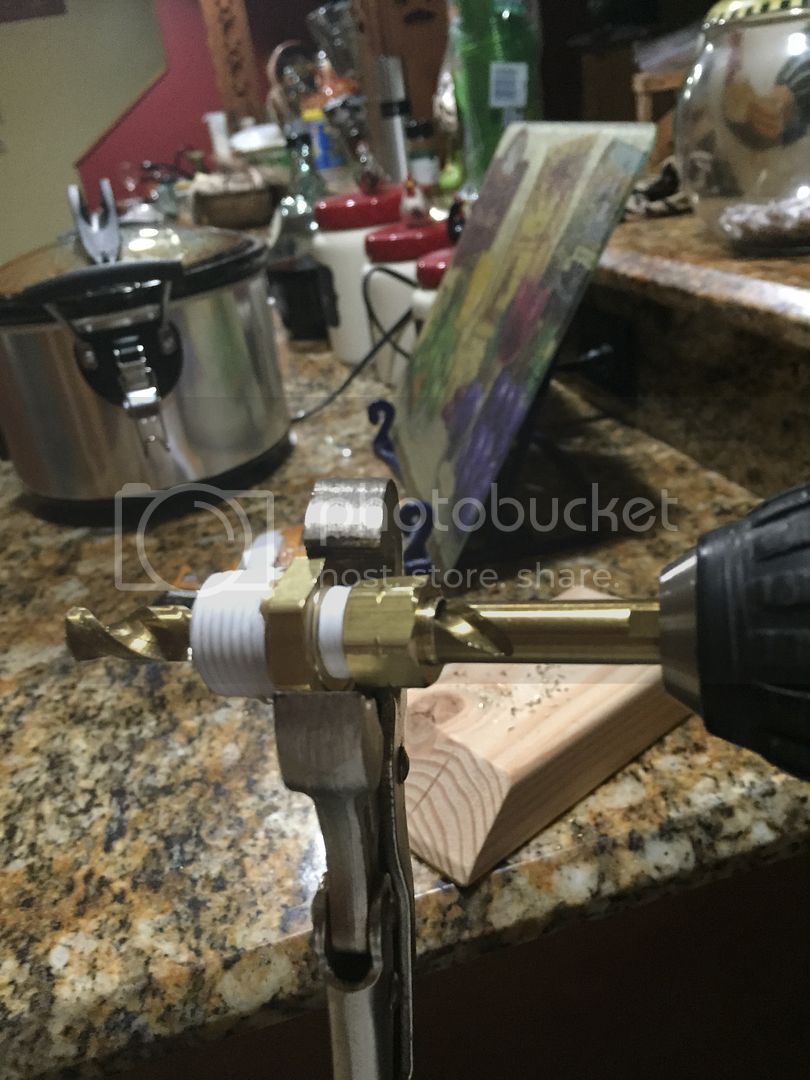
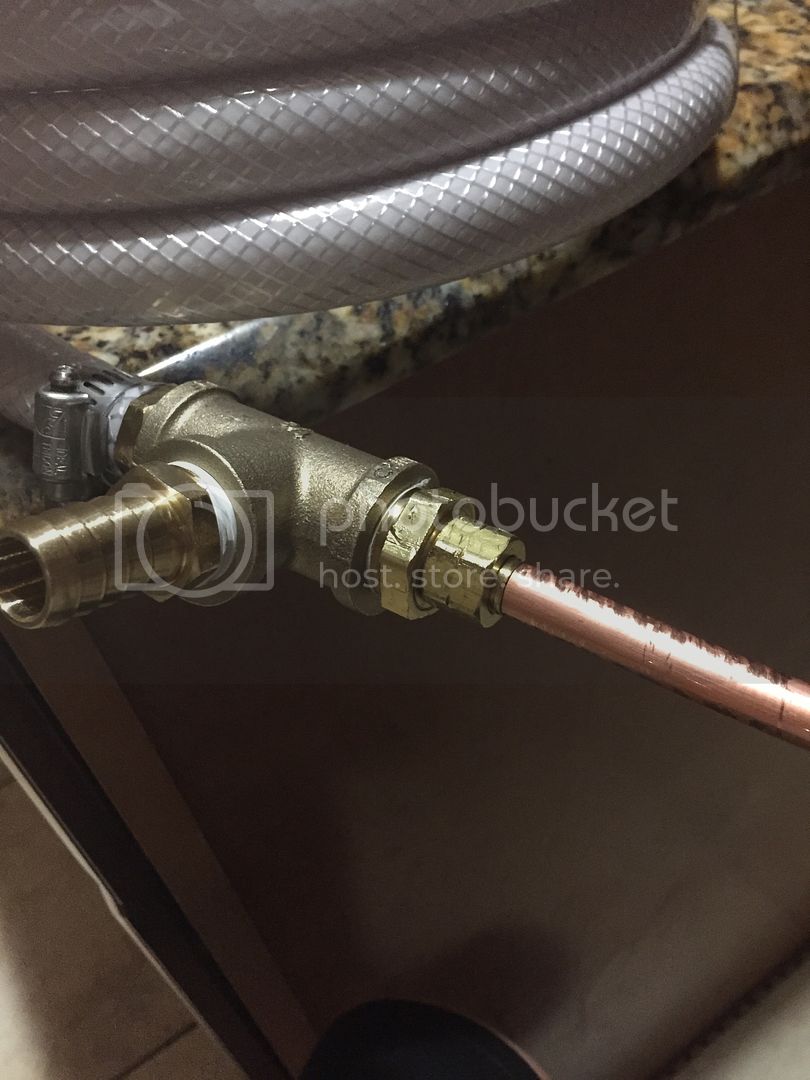
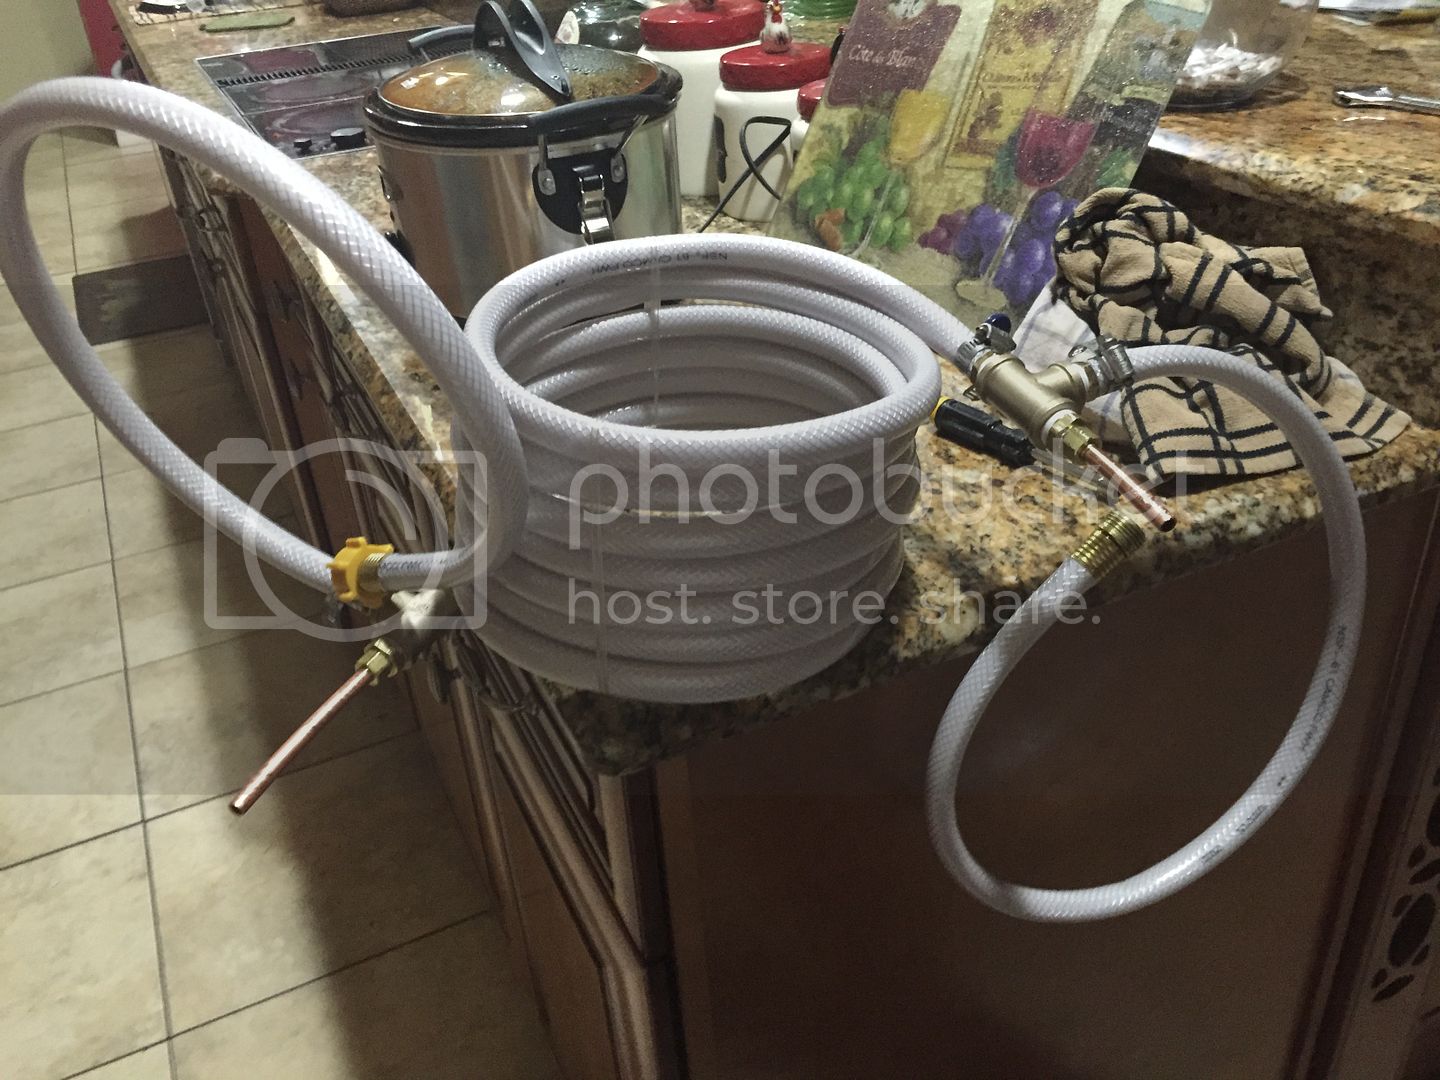
2. Counterflow Wort Chiller Click Here
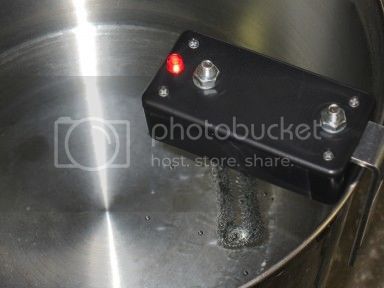
3. Fermentation Controller Click Here
4. Corney keg Clean up Click Here
Some would say that I'm a hard core DIY'er. Me, I just like building things. There's nothing more satisfying than getting a bunch of raw materials and turning them into something useful. Whether it's some wire and old electronic parts or some grain, hops and yeast. So, this thread is to show exactly, "How'd you do that?" I have several that I'm going to contribute and to start things off here's one that a lot of home brewers have done. I'm going to show how to turn some old computer parts into a stir plate. Since I always have aol computer parts lying around my total investment is under $20.00 U.S.
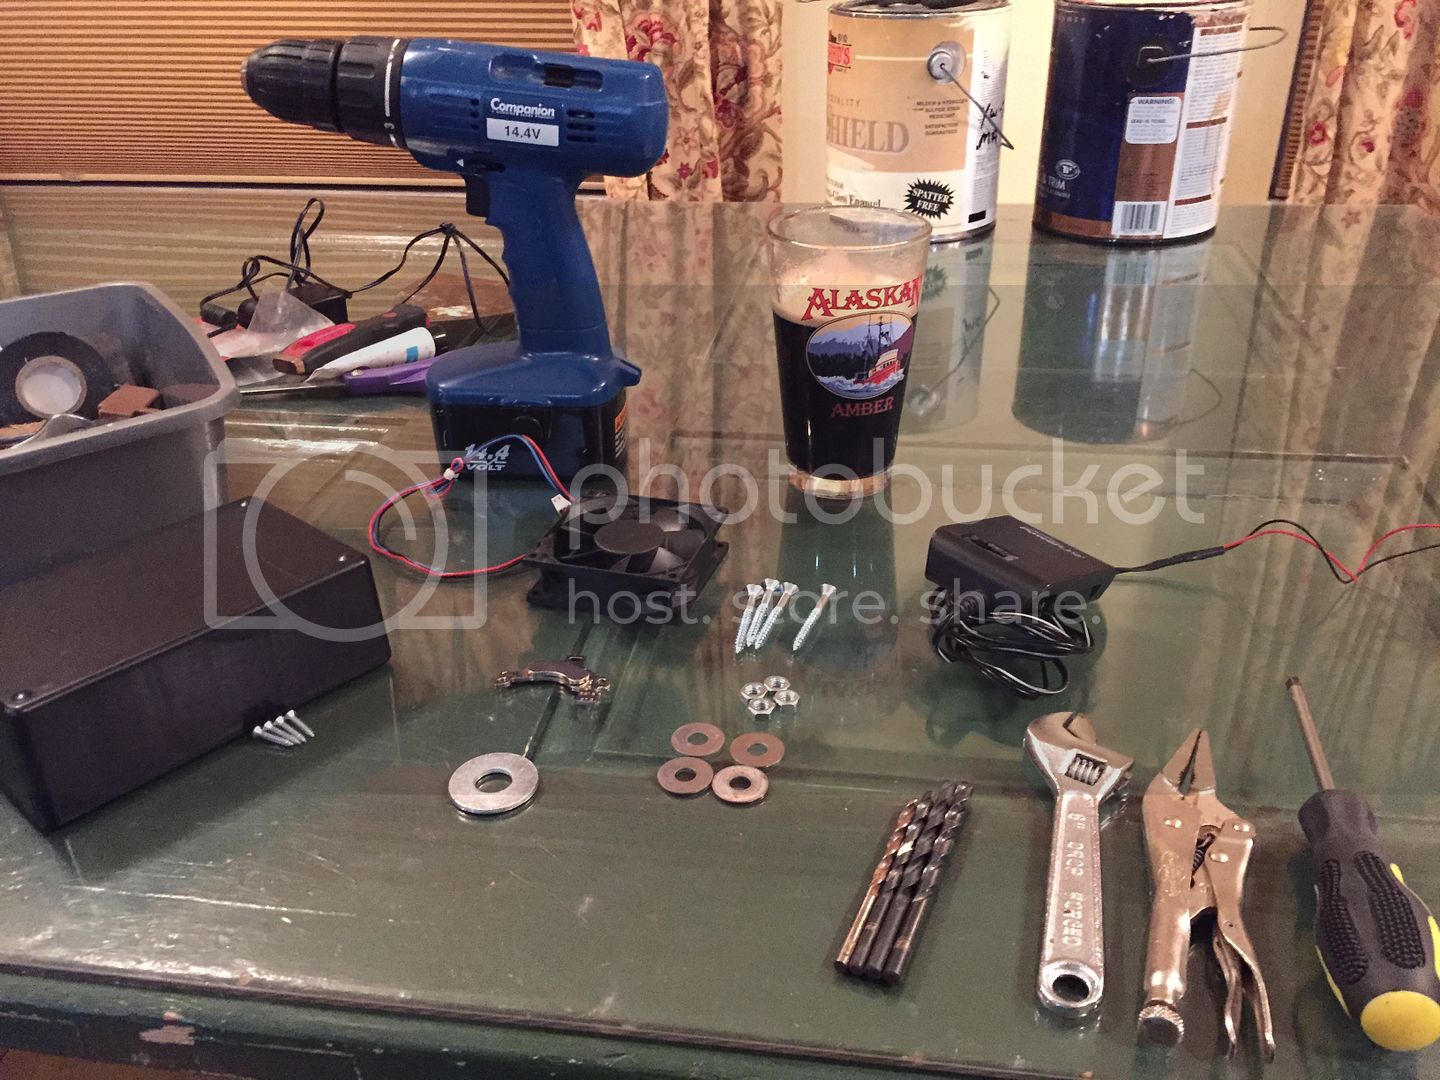
Bill Of Materials:
Radio Shack
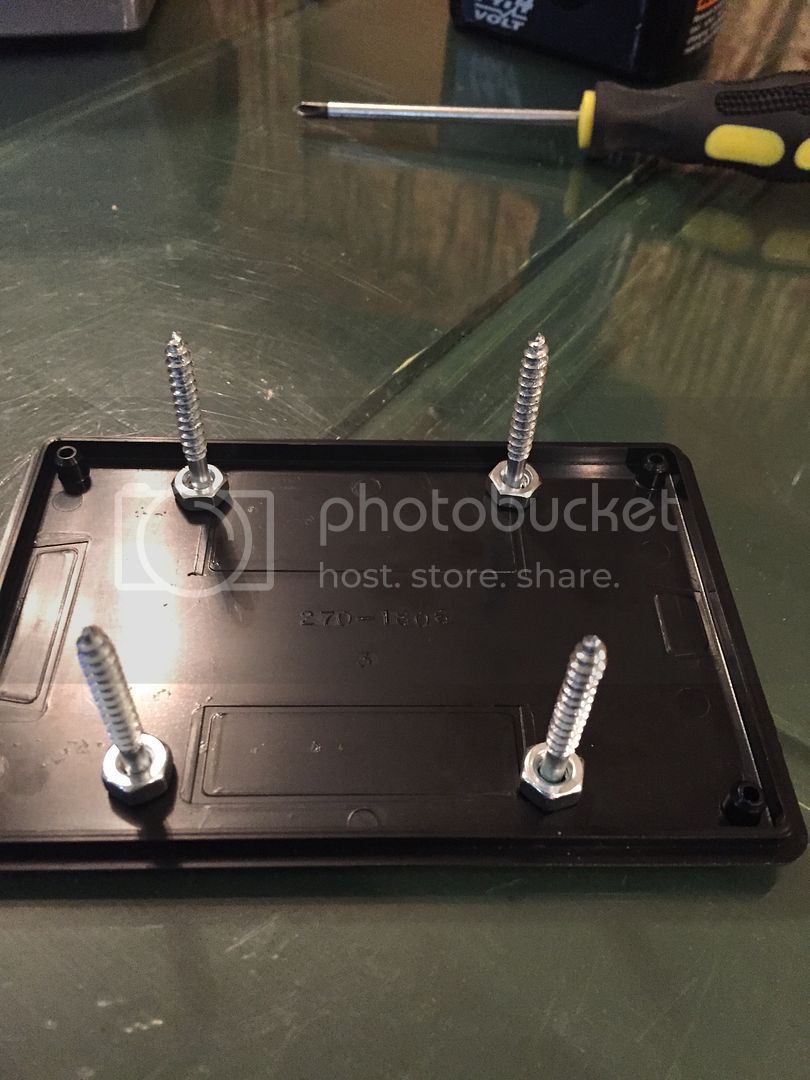
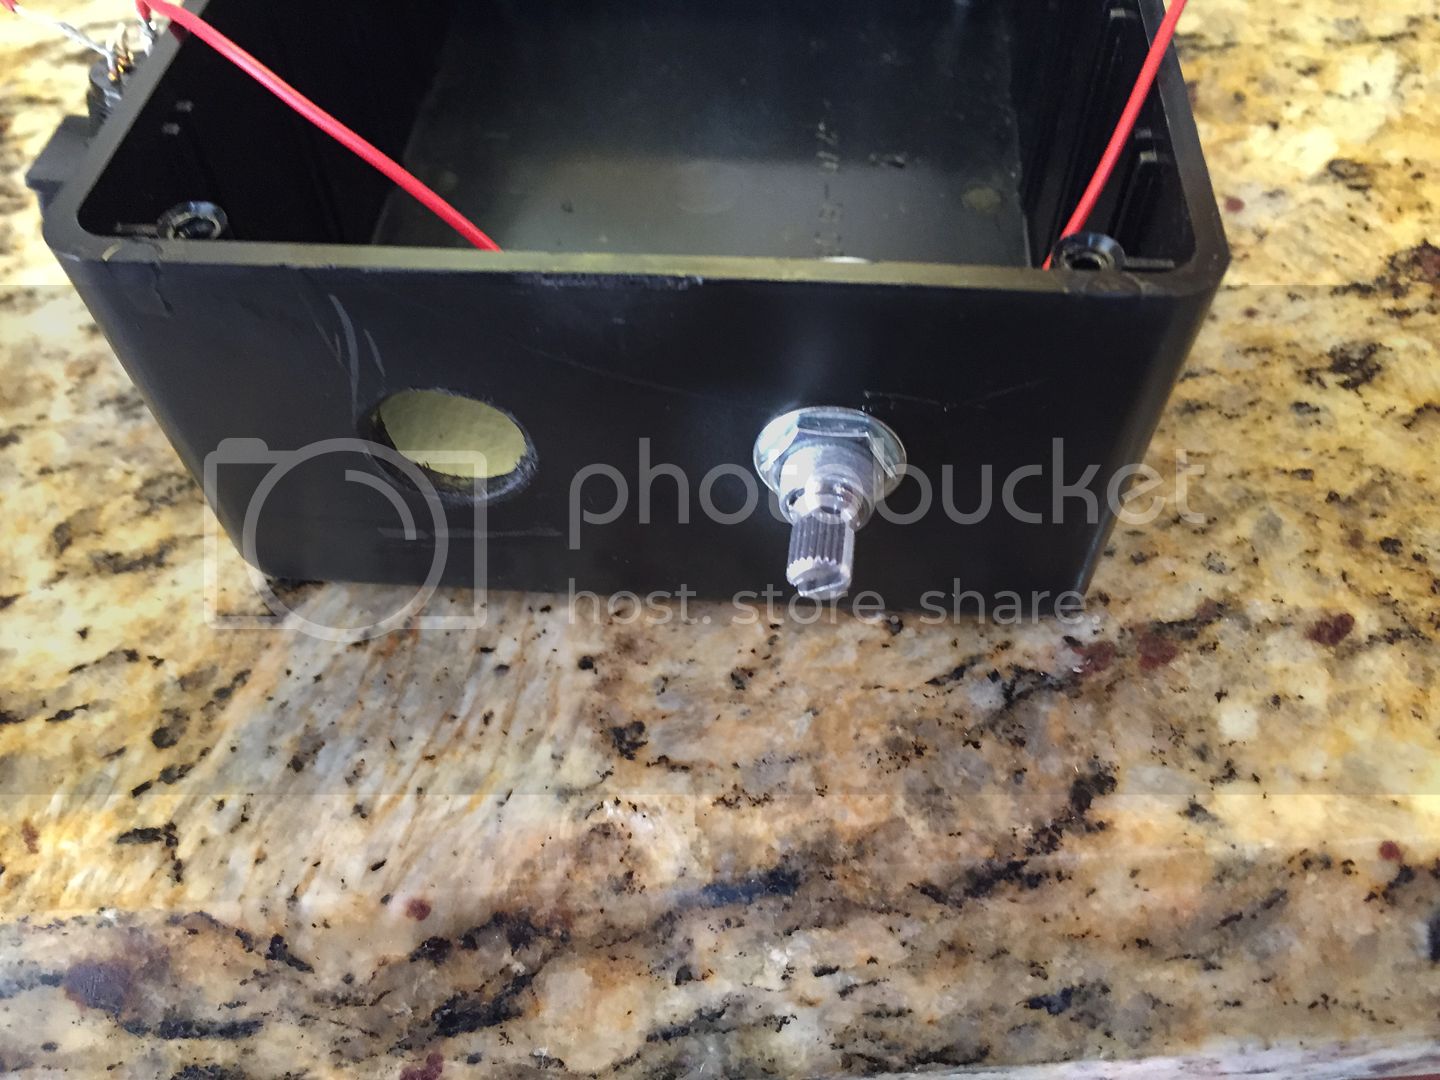
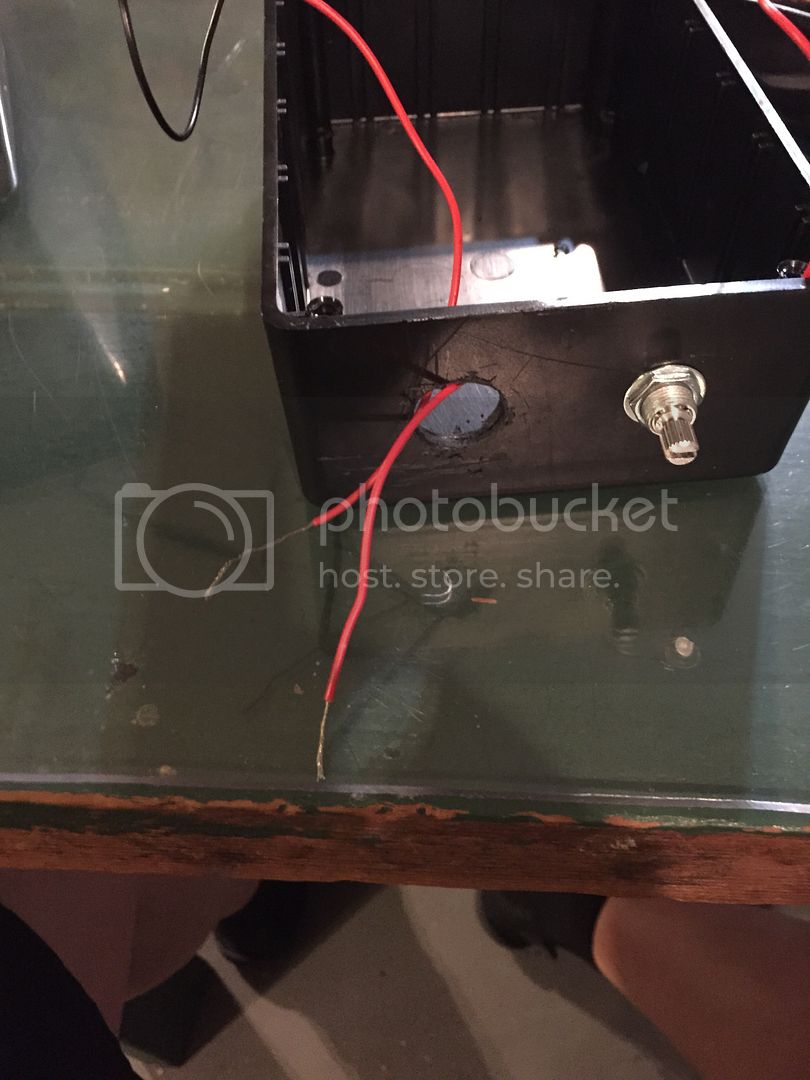
Project Box 6"x4"x2" 6.49
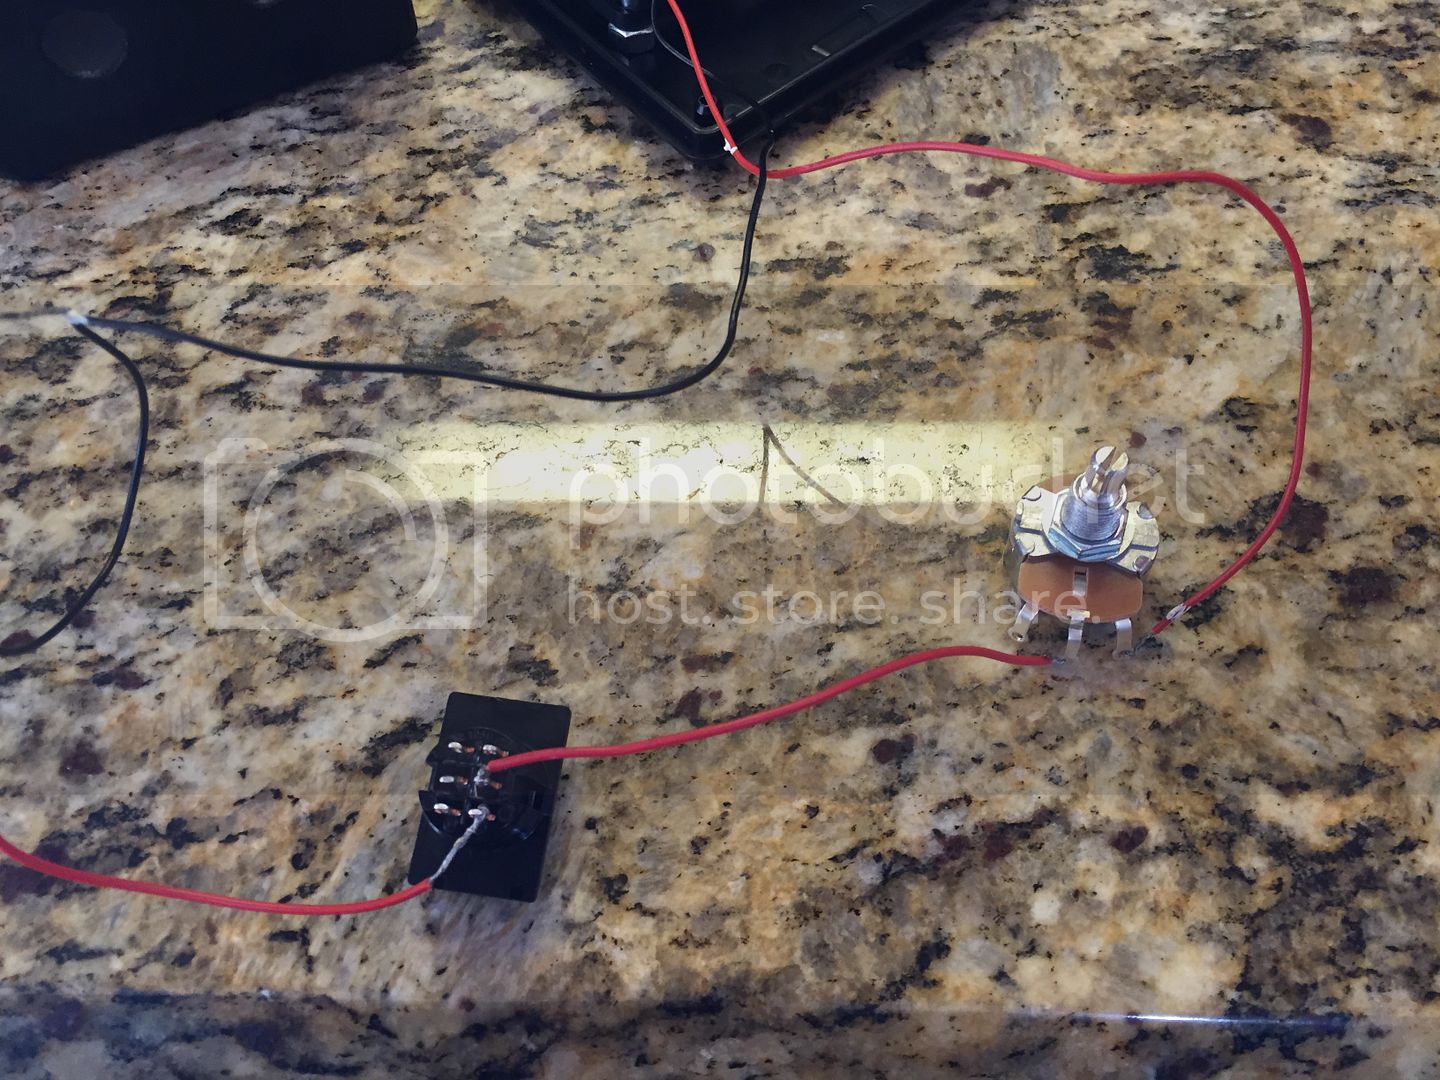
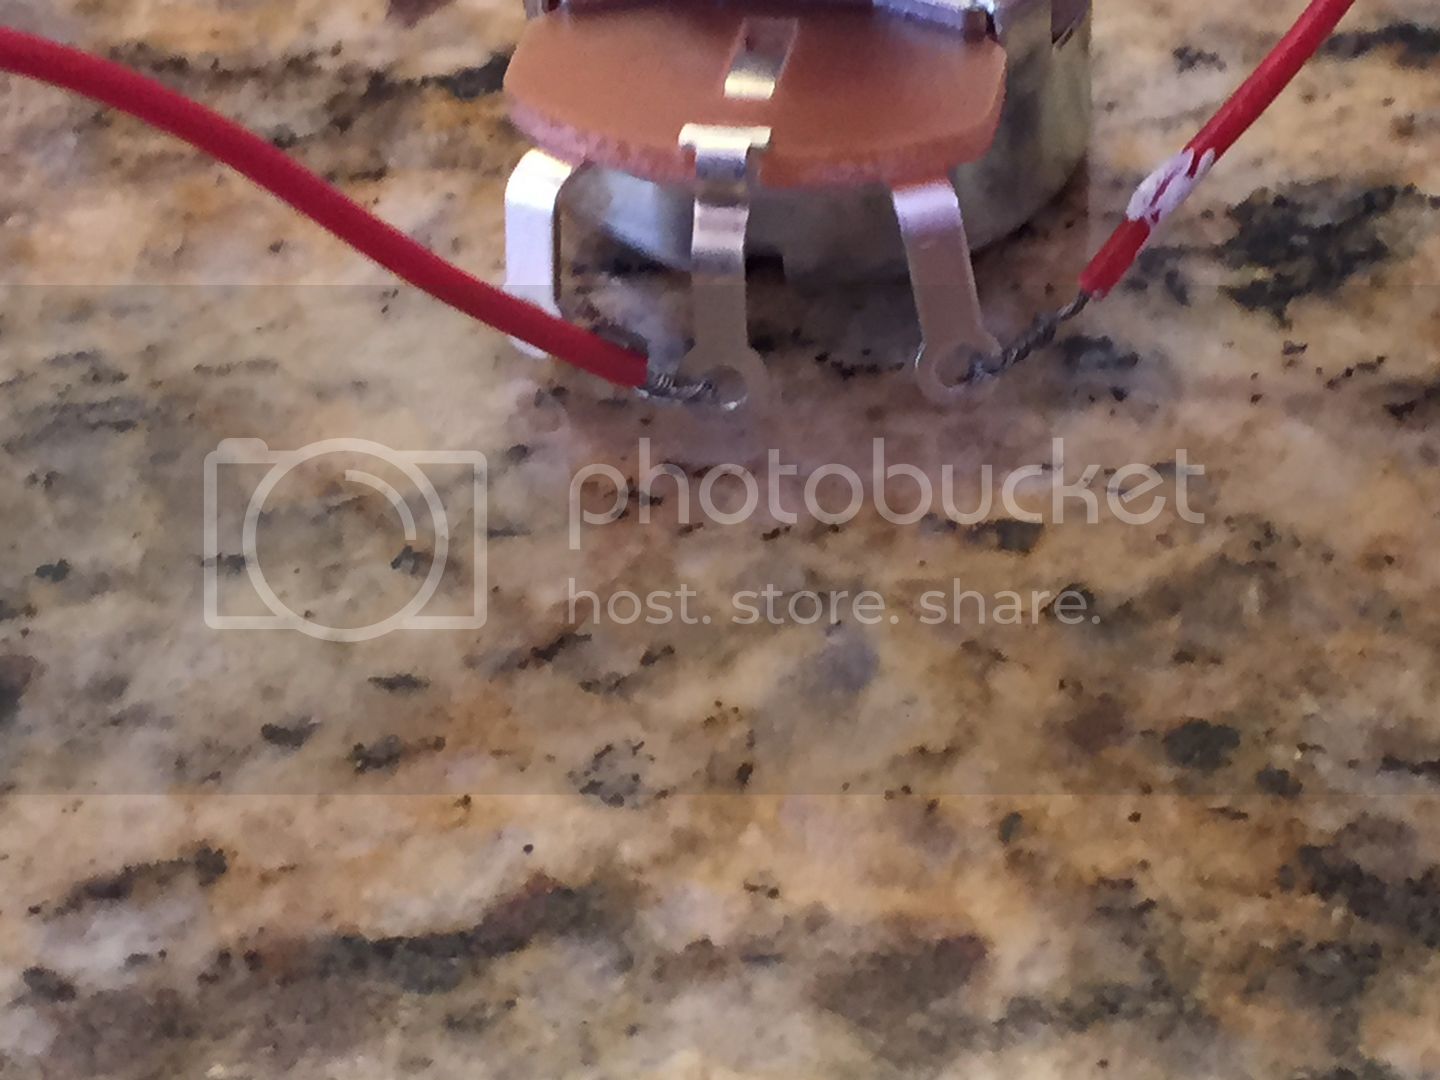
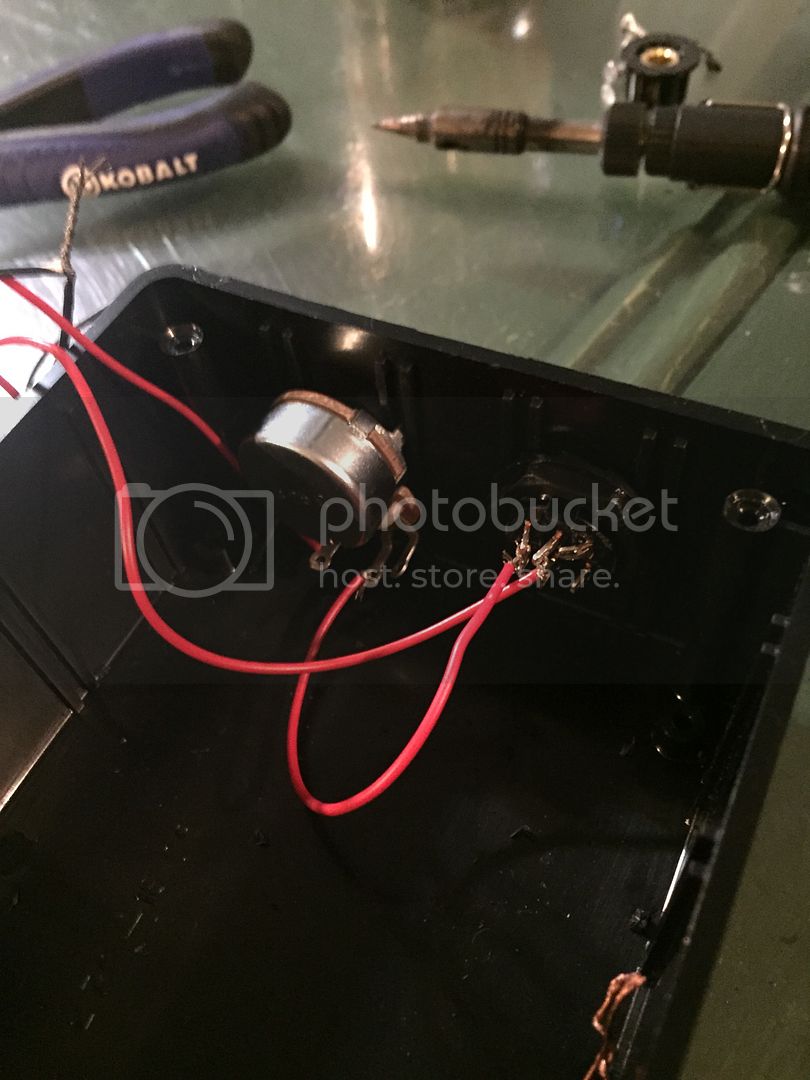
25-ohm 3 Watt Rheostat 1.99
SPST Heavy Duty Rocker Switch .99
Knob .99
Lowes
4 Wood Screws #12 11/2" 1.24
4 Washers 1" 1.24
1 Stainless Steel Washer 11/4" .79
ebay
Computer Fan 1.79 and up
Hard Drive Magnet 1.00 and up
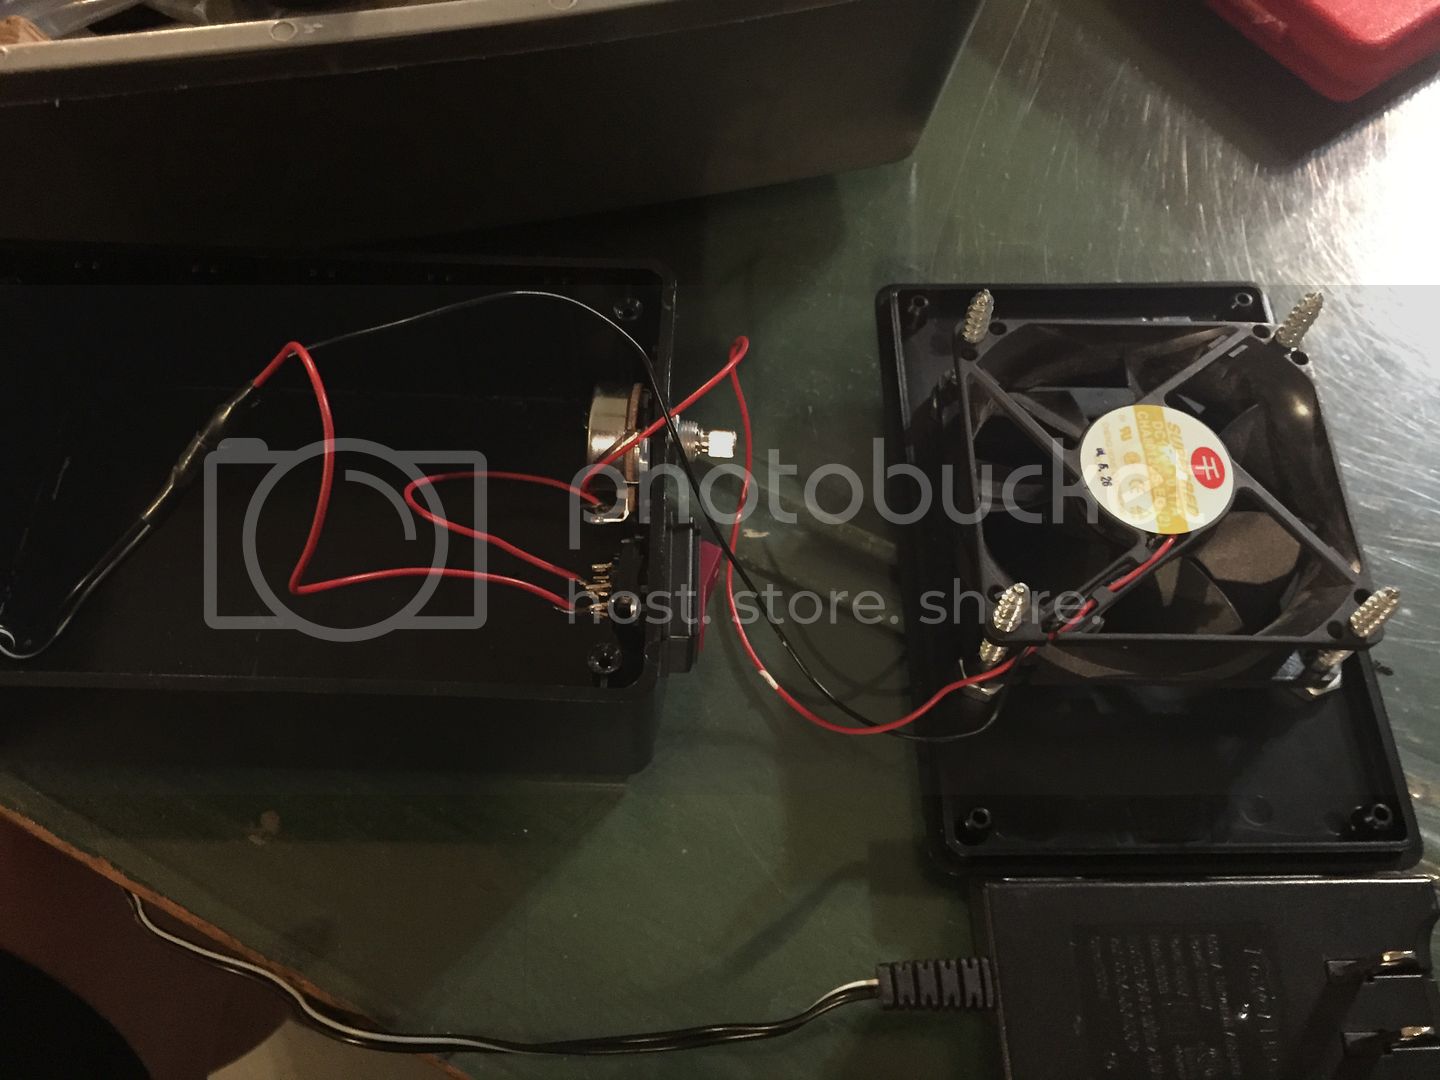
9v Power Supply Used an old cell phone charger
Total 17.31
The items from Lowes were from Bulk supplied. The steel washer needs to be big enough to cover the center portion of the fan. A lot of these items I already had on hand. The prices that I listed for those items I had on hand are from an internet search at the sources listed.
I still need to pick up a switch and a rheostat but the computer parts you'll need are a fan and an old hard drive. Otherwise here's what you'll need.
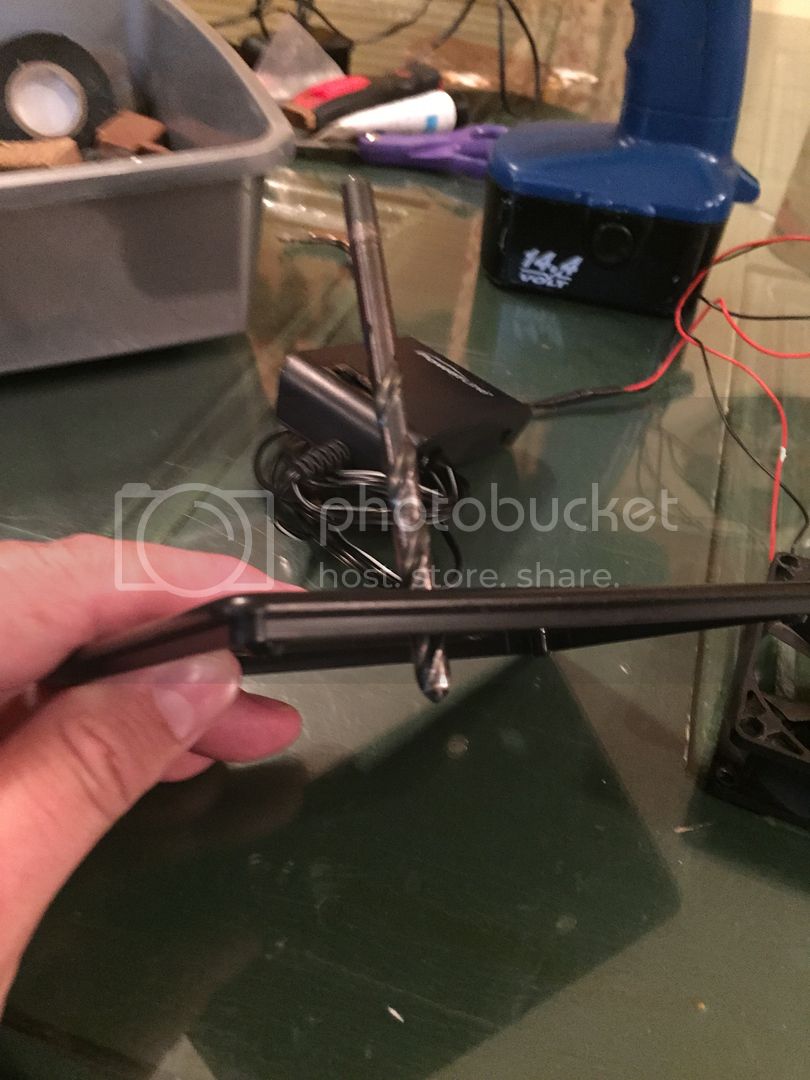
Ok, the first thing to do is tear down the hard drive. Your going to need a small star point driver for this so if you don't have a set, here's a chance to get one. Breaking it down is pretty straight forward, just remove all the screws, don't forget the one hidden under the label. The tricky part is freeing the magnets from their brackets with out breaking them.
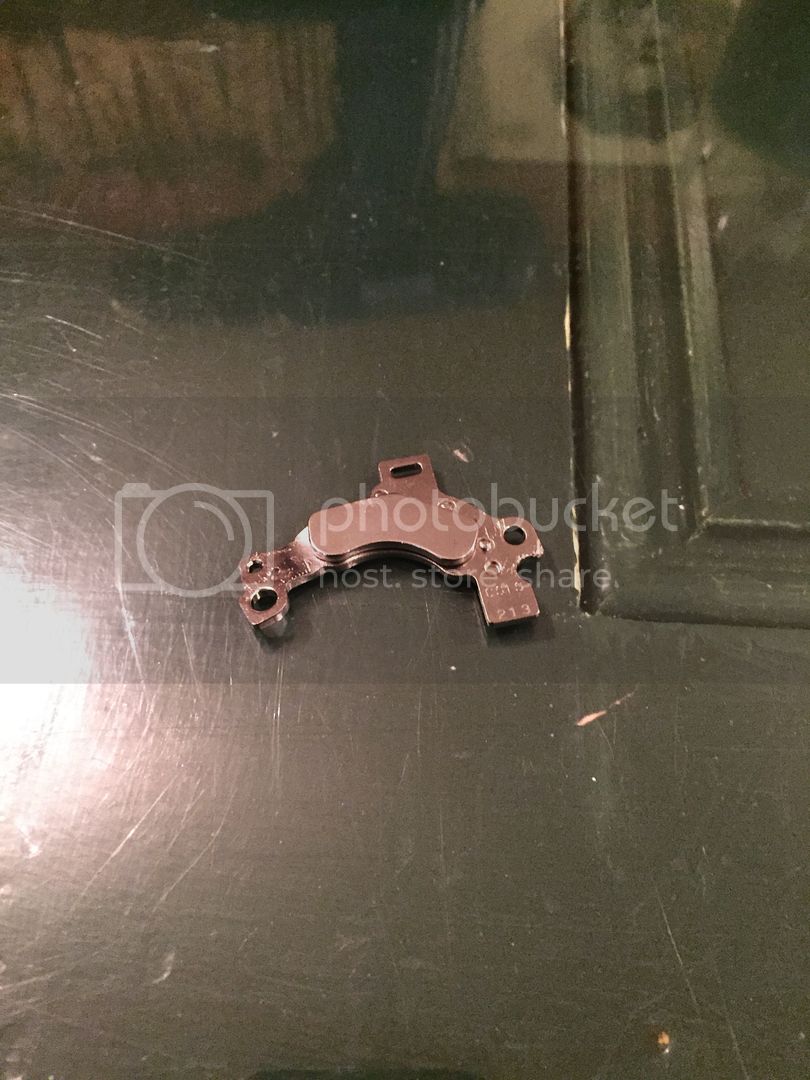
For this you'll need vise grips and a crescent wrench. Connect them to the bracket like this.
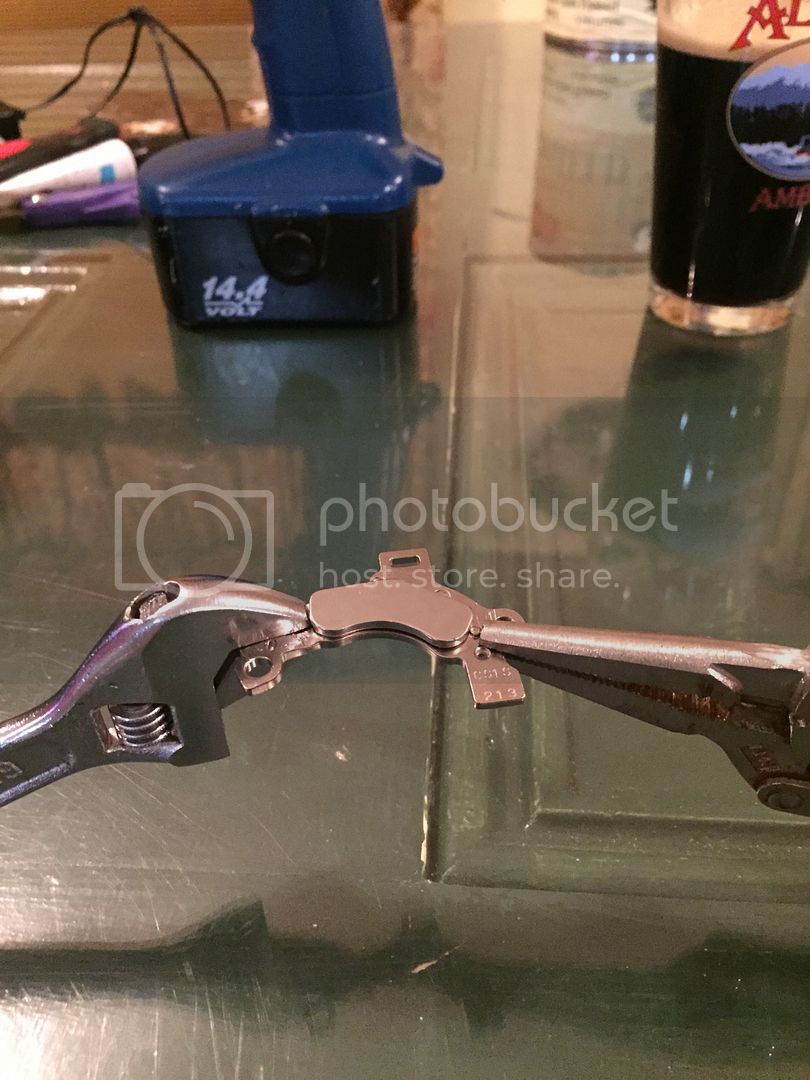
And bend down to break the epoxy they're attached with.
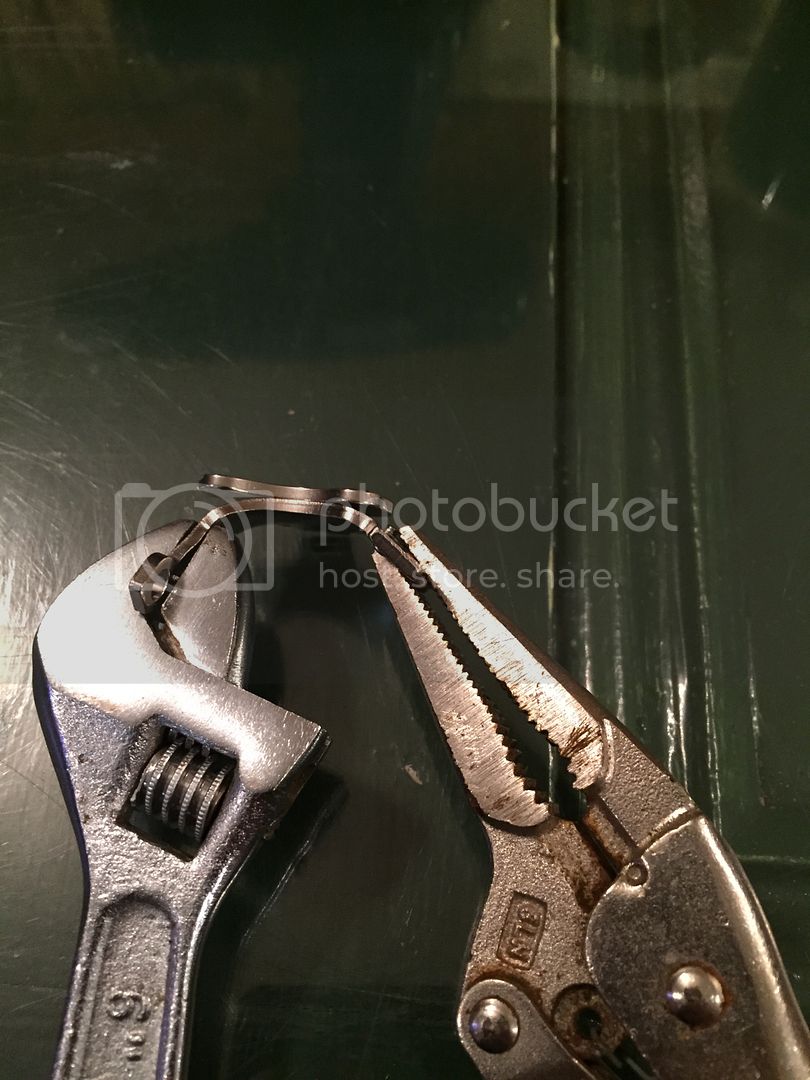
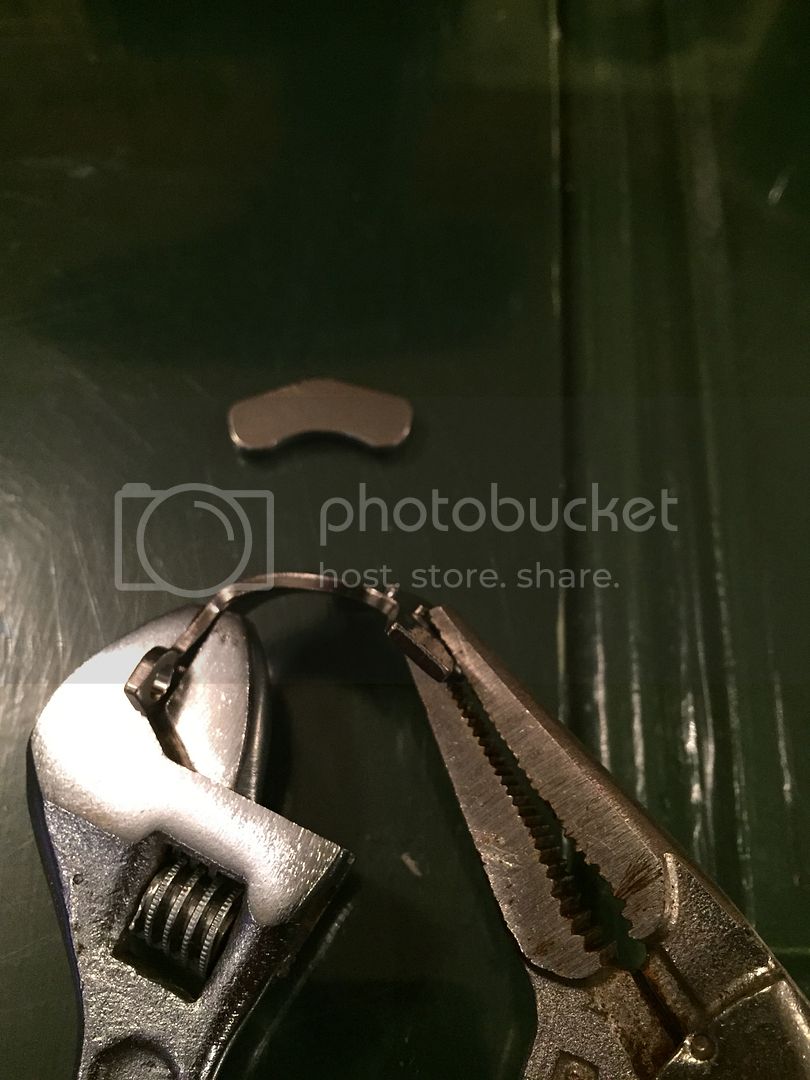
Then just lift it off
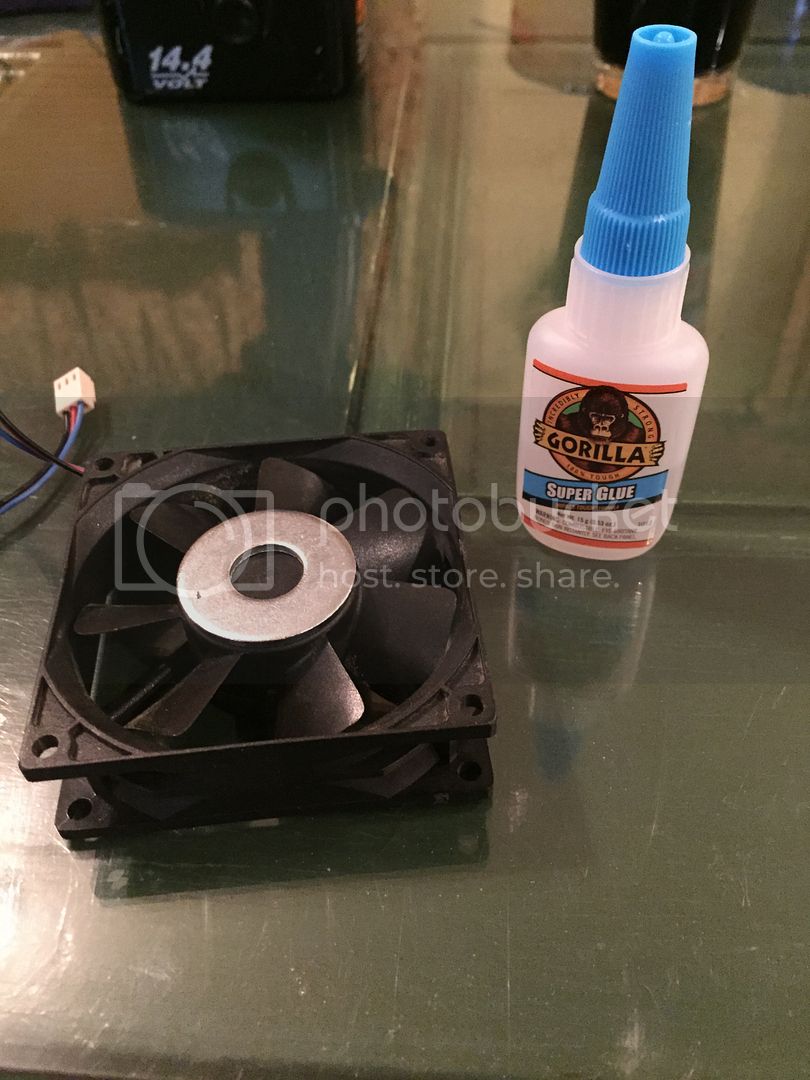
Next take the fan and the large washer. Make sure that the magnet will stick to the washer. Now using some super glue attach the washer to the center of the fan and allow to dry. I gave it overnight.
Next I had to drill out the fans holes for the mounting screws to tighten with out breaking the edges off. I drilled the holes on the side where the fan moves out so that the screws would pass through and the other side just enough for the screws to tighten up with out breaking.
Moving side, see the washer.
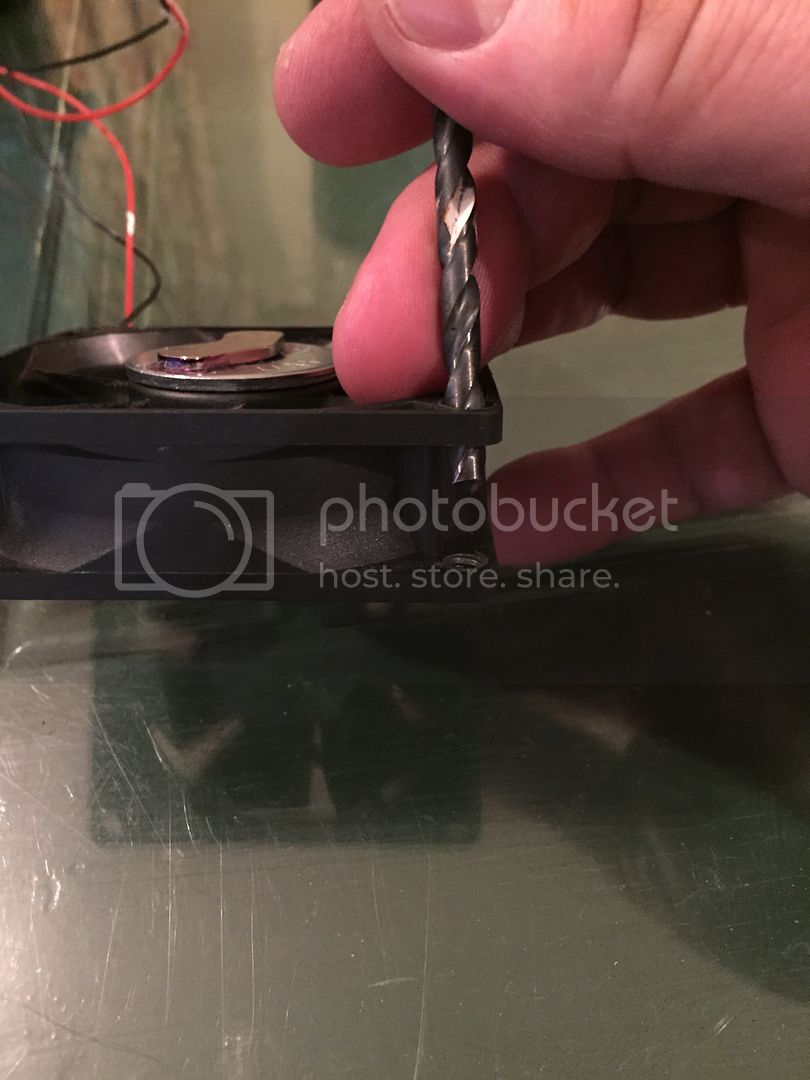
And non moving side
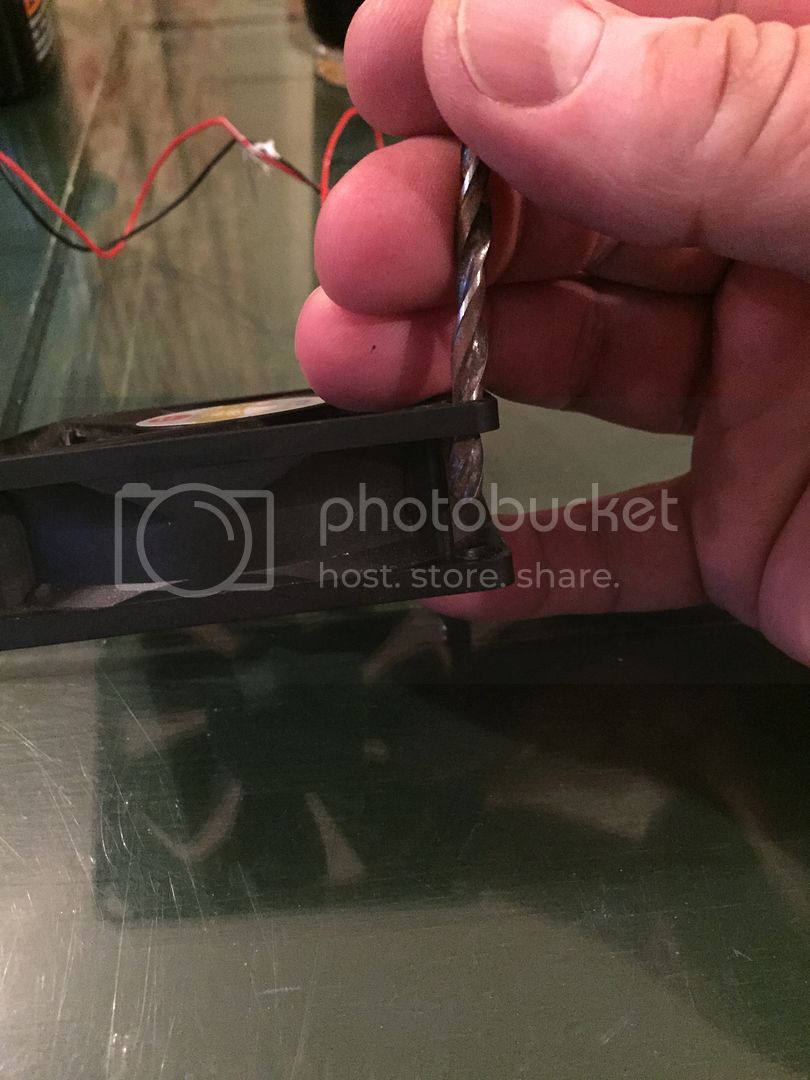
I used a nut, under the washer, to give me about. 1/4 inch space so the fan could turn unimpeded. Attach the mounting screws and the magnet.

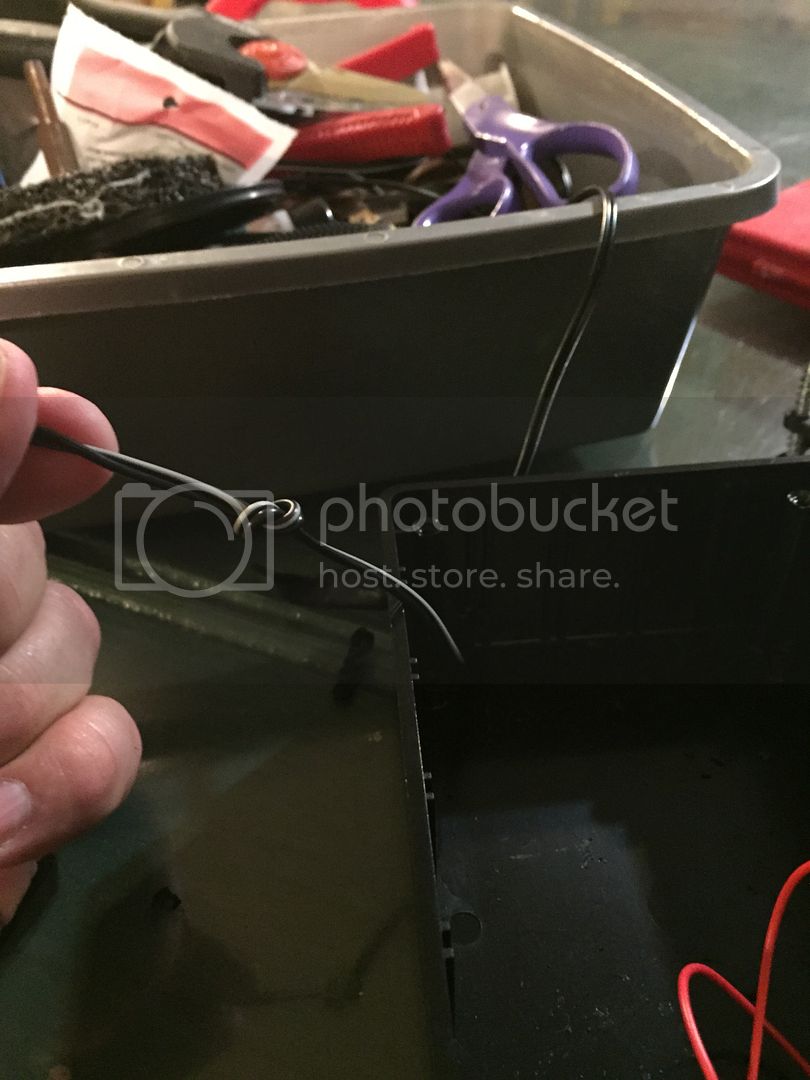
Hook up your power temporarily to help in centering the magnet. If it isn't centered it will constantly throw the paddle in the beaker off and the stir plate won't work. You also need to make sure your beaker is centered on the fan magnet.
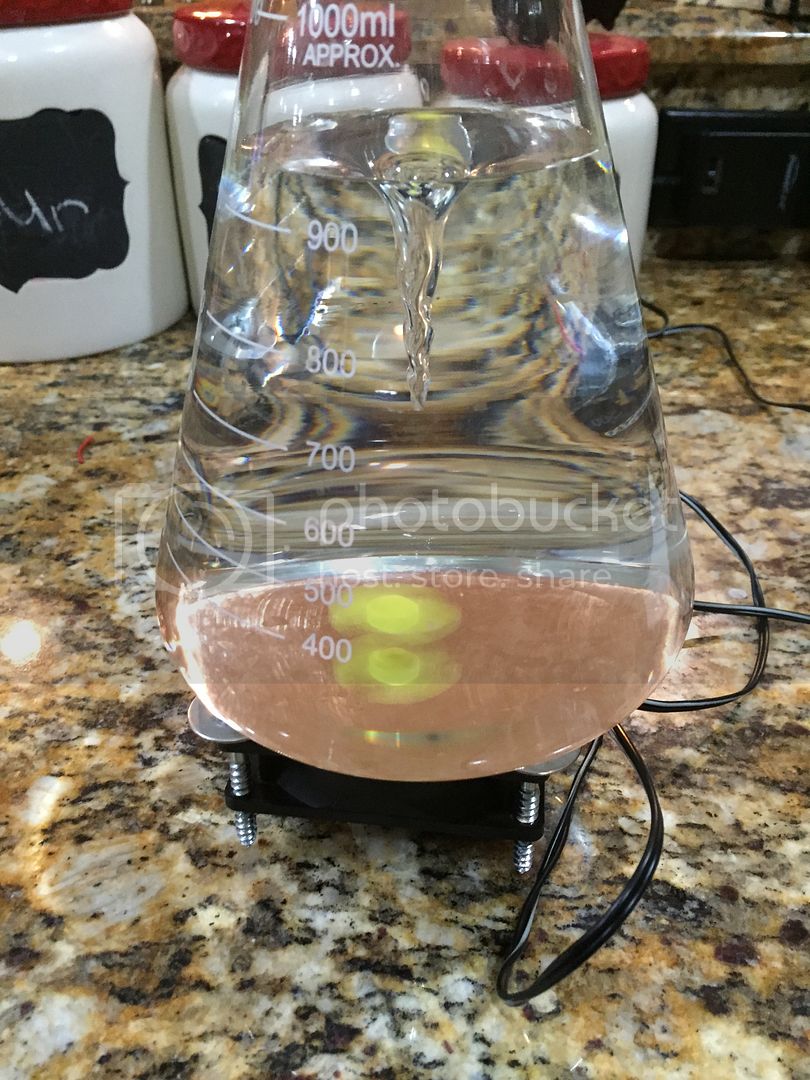
Once you have your magnet centered use a sharpie to draw around it. Remove the magnet and place a drop of super glue on each side the carefully put it back in place and allow it to dry overnight.
More to come so stay tuned but that's 10 pics
1. Stir Plate Click Here
2. Counterflow Wort Chiller Click Here
3. Fermentation Controller Click Here
4. Corney keg Clean up Click Here
Some would say that I'm a hard core DIY'er. Me, I just like building things. There's nothing more satisfying than getting a bunch of raw materials and turning them into something useful. Whether it's some wire and old electronic parts or some grain, hops and yeast. So, this thread is to show exactly, "How'd you do that?" I have several that I'm going to contribute and to start things off here's one that a lot of home brewers have done. I'm going to show how to turn some old computer parts into a stir plate. Since I always have aol computer parts lying around my total investment is under $20.00 U.S.
Bill Of Materials:
Radio Shack
Project Box 6"x4"x2" 6.49
25-ohm 3 Watt Rheostat 1.99
SPST Heavy Duty Rocker Switch .99
Knob .99
Lowes
4 Wood Screws #12 11/2" 1.24
4 Washers 1" 1.24
1 Stainless Steel Washer 11/4" .79
ebay
Computer Fan 1.79 and up
Hard Drive Magnet 1.00 and up
9v Power Supply Used an old cell phone charger
Total 17.31
The items from Lowes were from Bulk supplied. The steel washer needs to be big enough to cover the center portion of the fan. A lot of these items I already had on hand. The prices that I listed for those items I had on hand are from an internet search at the sources listed.
I still need to pick up a switch and a rheostat but the computer parts you'll need are a fan and an old hard drive. Otherwise here's what you'll need.
Ok, the first thing to do is tear down the hard drive. Your going to need a small star point driver for this so if you don't have a set, here's a chance to get one. Breaking it down is pretty straight forward, just remove all the screws, don't forget the one hidden under the label. The tricky part is freeing the magnets from their brackets with out breaking them.
For this you'll need vise grips and a crescent wrench. Connect them to the bracket like this.
And bend down to break the epoxy they're attached with.
Then just lift it off
Next take the fan and the large washer. Make sure that the magnet will stick to the washer. Now using some super glue attach the washer to the center of the fan and allow to dry. I gave it overnight.
Next I had to drill out the fans holes for the mounting screws to tighten with out breaking the edges off. I drilled the holes on the side where the fan moves out so that the screws would pass through and the other side just enough for the screws to tighten up with out breaking.
Moving side, see the washer.
And non moving side
I used a nut, under the washer, to give me about. 1/4 inch space so the fan could turn unimpeded. Attach the mounting screws and the magnet.
Hook up your power temporarily to help in centering the magnet. If it isn't centered it will constantly throw the paddle in the beaker off and the stir plate won't work. You also need to make sure your beaker is centered on the fan magnet.
Once you have your magnet centered use a sharpie to draw around it. Remove the magnet and place a drop of super glue on each side the carefully put it back in place and allow it to dry overnight.
More to come so stay tuned but that's 10 pics