Well, here I am.
Stumbled across your wonderful site by accident and signed up despite being the opposite side of the Atlantic to most of you. I have to say, I am really impressed. I've seen many recipes I'm tempted by, soem of the home brew forums I might be able to add to (I dabble in traditional Scrumpy Cider recipes, including a rather punchy Ghost Cider as well as developing my own ales) but my main reason for being here is growing exceedingly hot chillies.
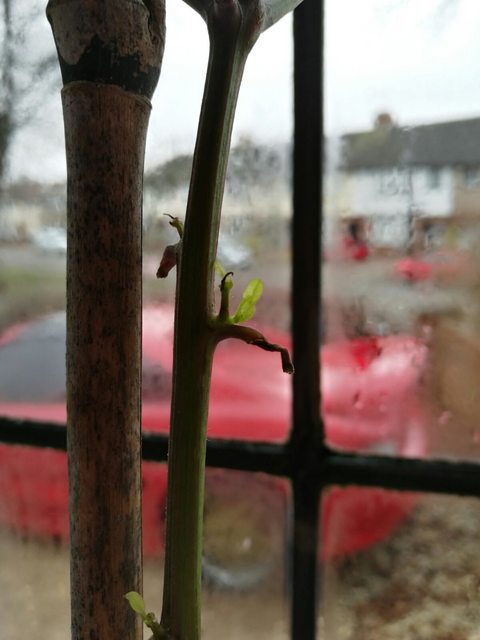
I've had very limited success in the past, occasionally by luck getting a great crop from the odd plant but this year I intend to go full on and try and get a good harvest of all the varieties I'm growing over here.
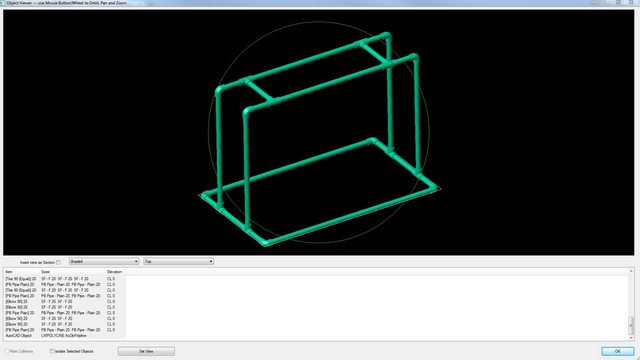
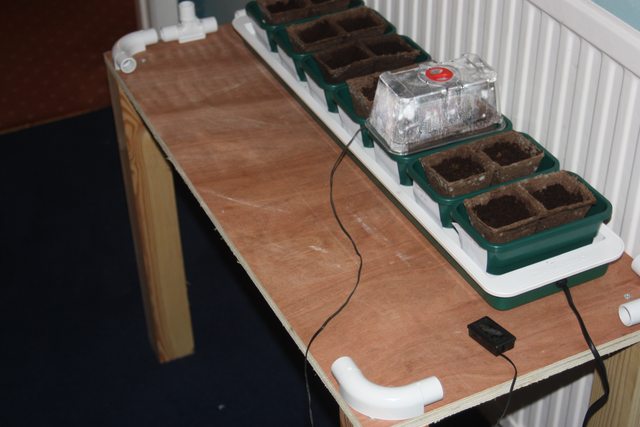
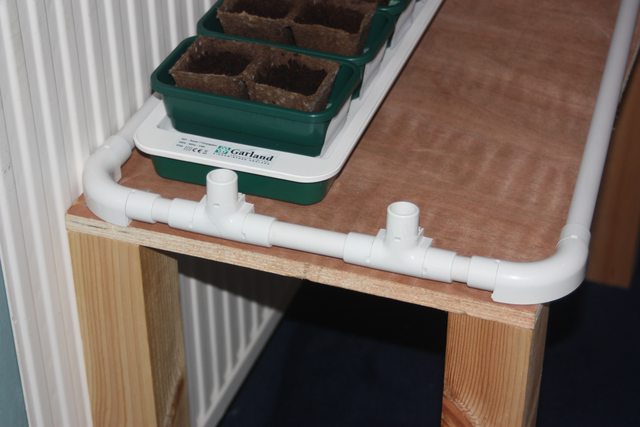
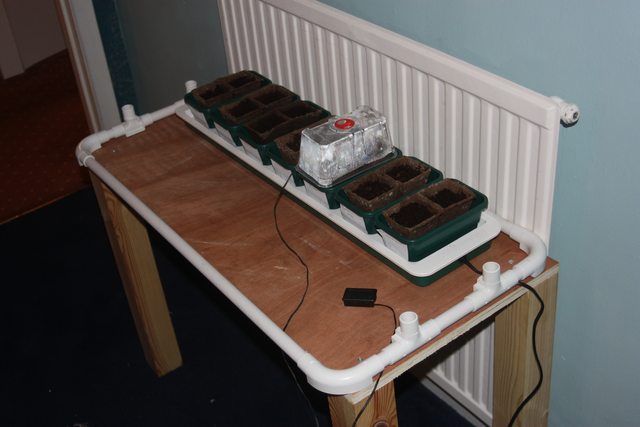
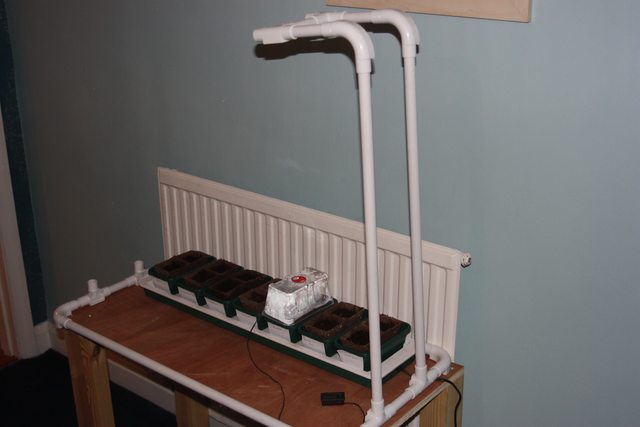
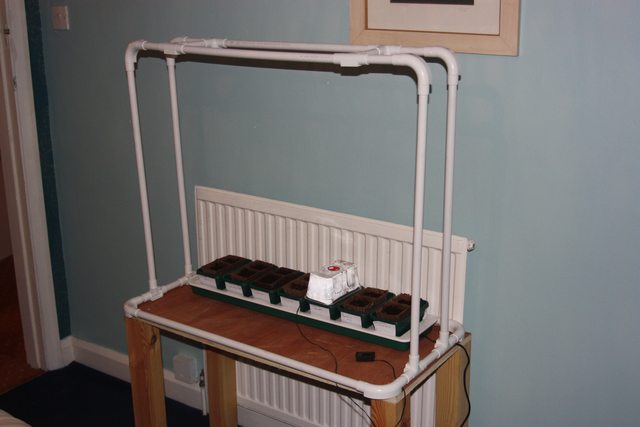
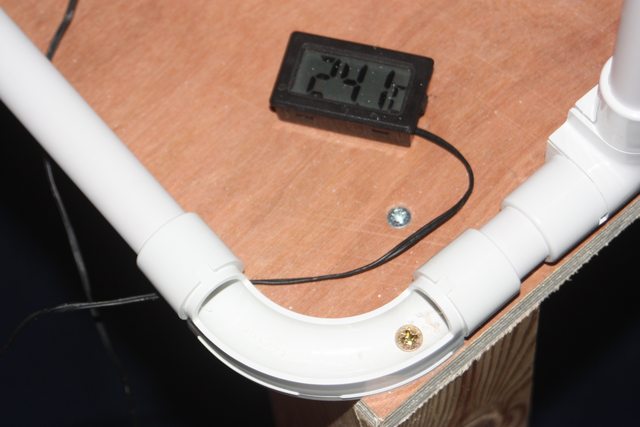
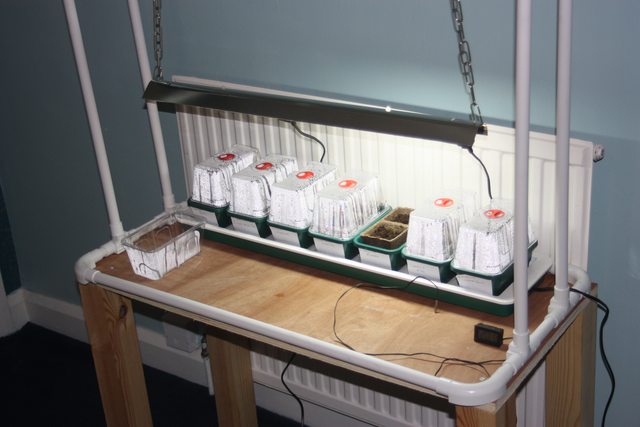
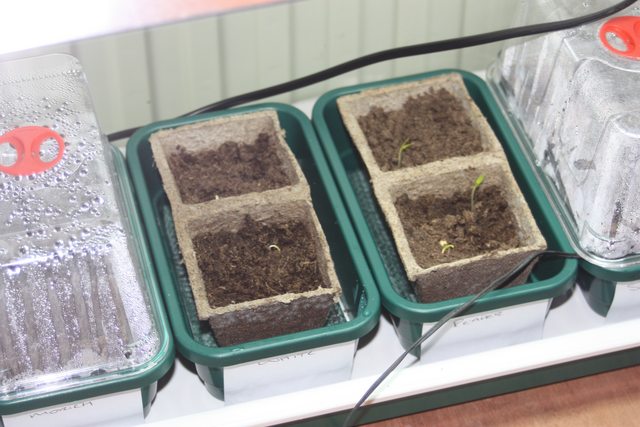
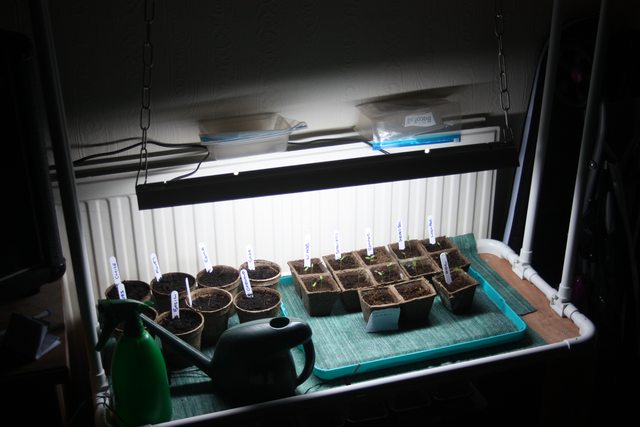
First thing I have done is invested in a heated propagator. This is not something I have ever used before, relying on the heat of the house to bring these on. But, as I am trying to start early this year to get really strong plants ready for late April, I have to artificially control the temperature of the soil.
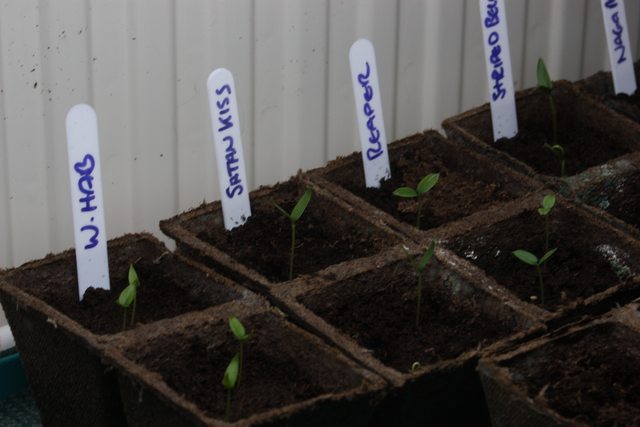
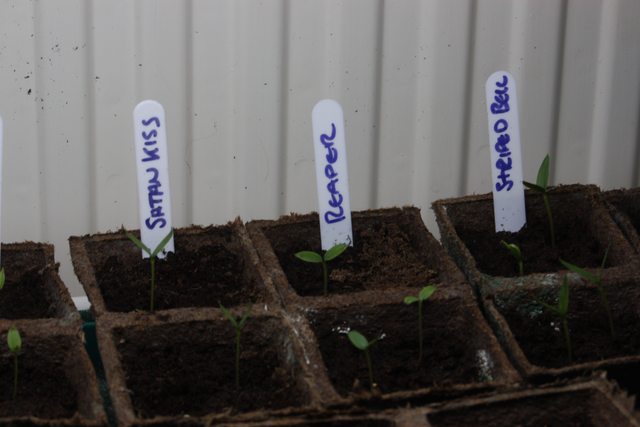
My selection for this year are
1. Satan's Kiss
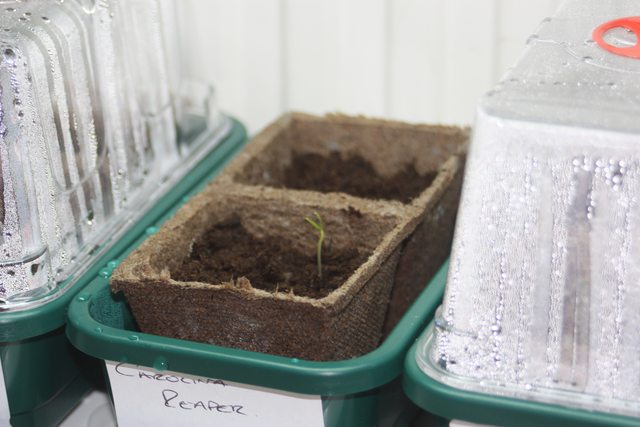
2. Carolina Reaper
3. Habanero White
4. Naga Morich
5. Cayenne Long Slim
Not only should this give me a good flavour spectrum for cooking but it should also give a good display")
So, right now I am waiting for my seeds and the propagator to arrive so I can begin to get this show on the road for 2017") I'll try and keep you all up to date with my progress and I am more than open to any suggestions anybody would like to throw in if they can see any improvement in what I am doing.....
I'll try and keep you all up to date with my progress and I am more than open to any suggestions anybody would like to throw in if they can see any improvement in what I am doing.....
Looking forward to this journey this year, I actually want to get it right for a change
Stumbled across your wonderful site by accident and signed up despite being the opposite side of the Atlantic to most of you. I have to say, I am really impressed. I've seen many recipes I'm tempted by, soem of the home brew forums I might be able to add to (I dabble in traditional Scrumpy Cider recipes, including a rather punchy Ghost Cider as well as developing my own ales) but my main reason for being here is growing exceedingly hot chillies.
I've had very limited success in the past, occasionally by luck getting a great crop from the odd plant but this year I intend to go full on and try and get a good harvest of all the varieties I'm growing over here.
First thing I have done is invested in a heated propagator. This is not something I have ever used before, relying on the heat of the house to bring these on. But, as I am trying to start early this year to get really strong plants ready for late April, I have to artificially control the temperature of the soil.
My selection for this year are
1. Satan's Kiss
2. Carolina Reaper
3. Habanero White
4. Naga Morich
5. Cayenne Long Slim
Not only should this give me a good flavour spectrum for cooking but it should also give a good display
So, right now I am waiting for my seeds and the propagator to arrive so I can begin to get this show on the road for 2017
Looking forward to this journey this year, I actually want to get it right for a change