man you are serious about peppers!! good luck ! you will busy everyday
-
Do you need help identifying a 🌶️?
Is your plant suffering from an unknown issue? 🤧
Then ask in Identification and Diagnosis.
You are using an out of date browser. It may not display this or other websites correctly.
You should upgrade or use an alternative browser.
You should upgrade or use an alternative browser.
show-off Indoor Grow Area (Build & Grow) PICS
- Thread starter BakersPeppers
- Start date
BakersPeppers
Banned
man you are serious about peppers!! good luck ! you will busy everyday
Thanks and yes i am VERY serious about growing peppers! I have to be if i want to grow this business!


looks like you got a little bit going well as stated above
please allow you have the light sets way too far from the growth tips
get them lots closer
please be aware your "gene pool" will have variations
even taking the isolation to indoors you best get a filter on your
air inlet or you could bring pollen in along with the fresh air
all those acres of peppers will certainly give pollen laden atmosphere
understand the hidden traits will show given a significant population
even with self pollination there is a bit of diversity
the clone thing will produce exact genetic copies, oh yes it will
including all the "weaknesses" of the mother plant

please pay attention to the germination rates from your "acquired" seeds
and even if they probably did tell you, remember that they were (all) likely OPEN POLLINATED
BakersPeppers
Banned
Continued.....
I forgot to update you guys when i added the 6 mil plastic liner on the upper floor
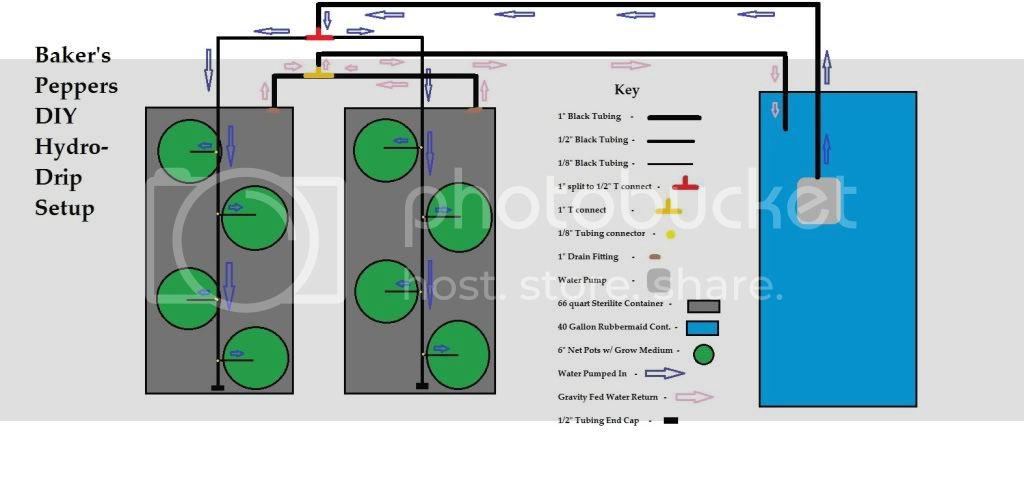
Ok...So I have started to work on the Hydroponics setup for the top chamber that I will use to grow to full maturity. Upon further review I have decided to only grow 8 plants of one type at a time in this upper chamber. I have decided that will give me MORE than enough "Isolated" seed to get rid of for each variety When i came to this conclusion it dawned upon me that I had to TOTALLY re-think the hydro setup. I came up with my own DIY Drip System (Based on the system I previously used for my hobby growing)...Heres the Blueprint of the new system I designed...
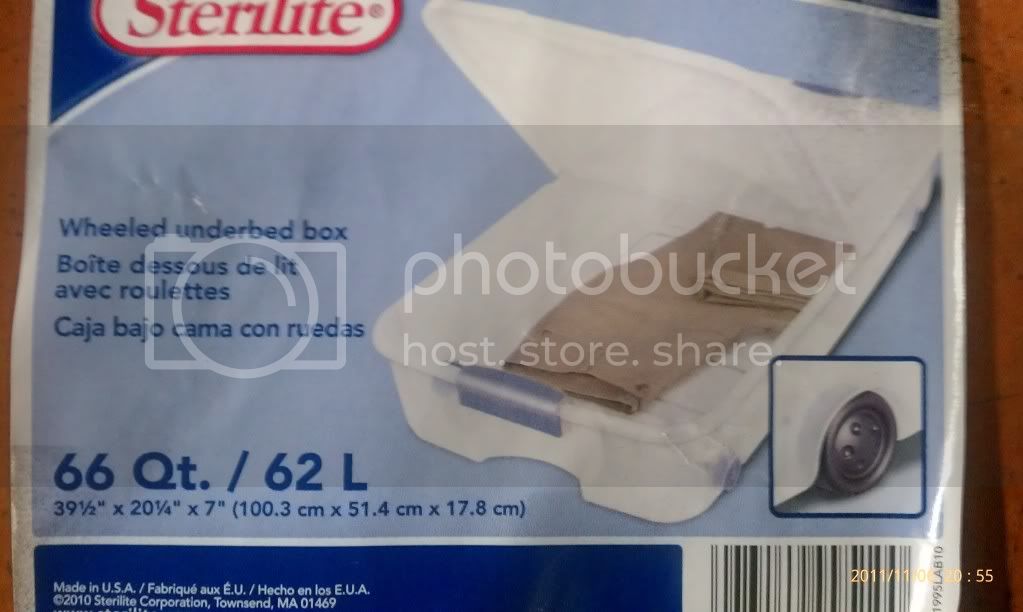
Heres the containers I decided to use for the trays w/lids that hold the net pots. 66 quart Sterilite
The lids to them I already spray painted black before I remembered to take a pic...they were originally clear, which is horrible for hydro, so they all must be painted black, to keep the light out! The best paint for this is Krylon Fusion for Plastics. Heres the lids black...
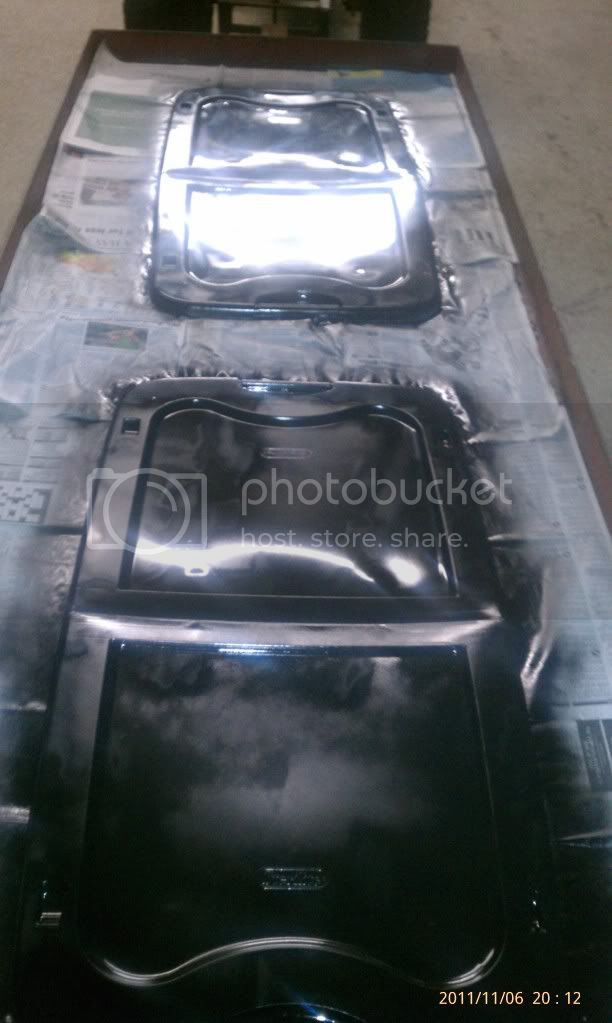
I also painted the containers themselves black but have to take a picture tonight when I go back to the nursery..I will update with those pics when I get home... to be continued....
I forgot to update you guys when i added the 6 mil plastic liner on the upper floor

Ok...So I have started to work on the Hydroponics setup for the top chamber that I will use to grow to full maturity. Upon further review I have decided to only grow 8 plants of one type at a time in this upper chamber. I have decided that will give me MORE than enough "Isolated" seed to get rid of for each variety

Heres the containers I decided to use for the trays w/lids that hold the net pots. 66 quart Sterilite


The lids to them I already spray painted black before I remembered to take a pic...they were originally clear, which is horrible for hydro, so they all must be painted black, to keep the light out! The best paint for this is Krylon Fusion for Plastics. Heres the lids black...

I also painted the containers themselves black but have to take a picture tonight when I go back to the nursery..I will update with those pics when I get home... to be continued....
BakersPeppers
Banned
continued...
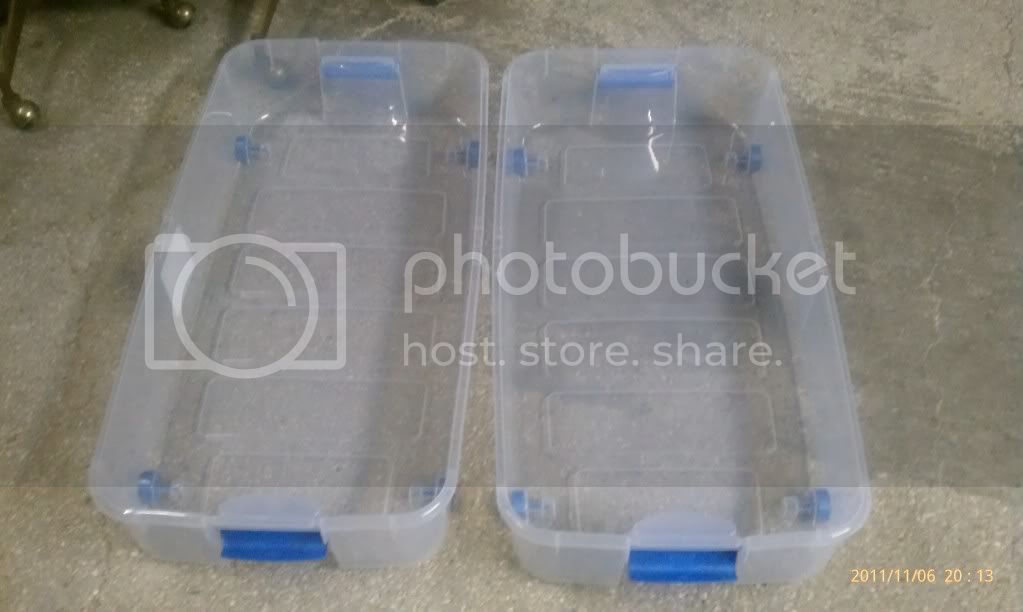
Heres the 2 66 quart Containers that hold the net pots painted black instead of the original clear...Krylon Fusion For Plastic paint AWESOME STUFF!!
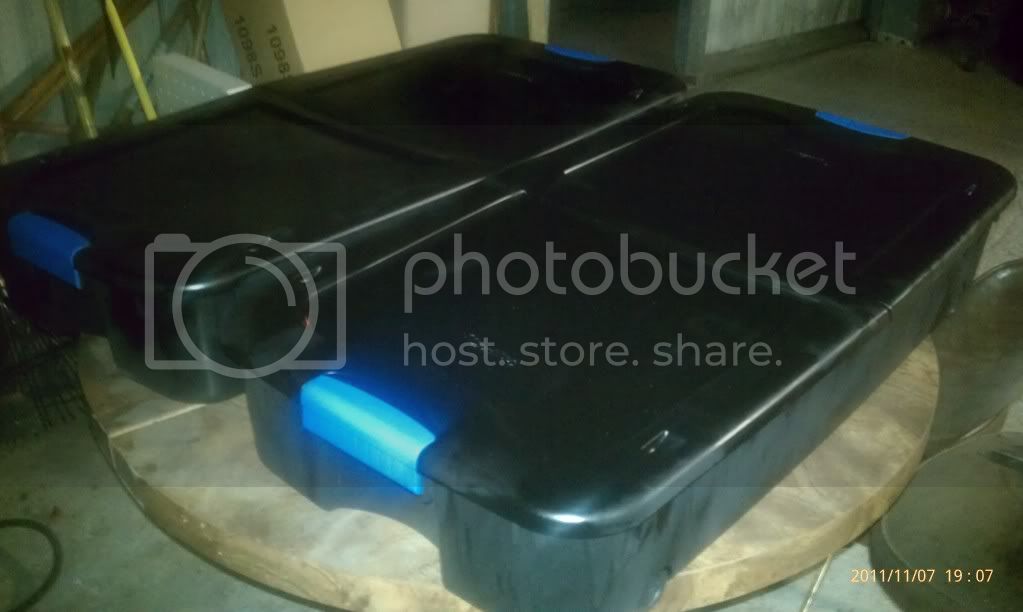
In the next few days i will cut the holes for the net pots and the return fittings for the return flow to the reservoir....
to be continued....
Heres the 2 66 quart Containers that hold the net pots painted black instead of the original clear...Krylon Fusion For Plastic paint

In the next few days i will cut the holes for the net pots and the return fittings for the return flow to the reservoir....
to be continued....
Lookin good, ya might need to make a spacer for under the lid... when they get bigger, it might buckle under the weight...
Looks way better for your plan of growing them out as with a little pruning they will not be as crowded and allow for air circulation. One minor thing you might consider is moving the one return drain to the right side away from the last grow spot. Leaving it where it is you will have it blocked up with roots right away. This has been the case at least with many others I have seen on youtube. Since in this style of hydro you will have minimum need to remove the top for maintenance you may want to add a small door just above each of the return points for cleaning it out without having to completely removing the tops loaded down with full size plants.
BakersPeppers
Banned
+1 buddy! Good lookin out!  Your absolutely right and I cant believe I didnt see that right away myself!..gonna draw it again and change the pic up there...thanks
BakersPeppers
Banned
Continued....
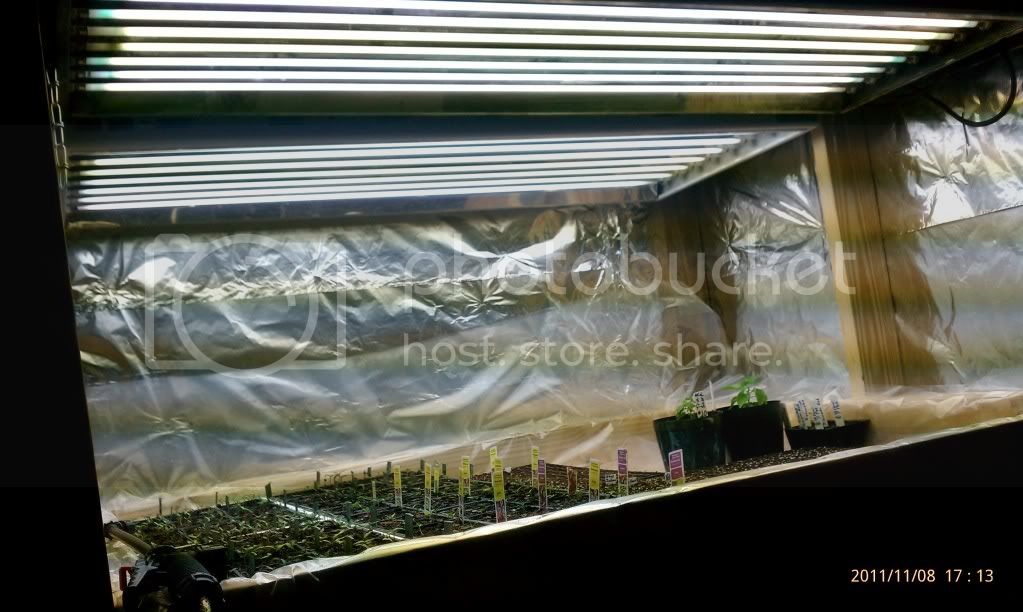
So I got the second light in the upper chamber installed..Now its 2 T5 8 bulb fixtures....16 T5's for a total of 864W!! 80,000+ Lumens and each bulb is 6500K!! MORE than enough light to grow to full size in this upper area! Cant wait to get seedlings in lower area so I can install the hydro up here
Ok so thats that part....I also got to work on these seeds I have been getting in the mail from all you GREAT members here!!. So heres a rundown of how I do 288 cell trays with seeds...
First I lay out all my things that will be used in doing this....For this segment I will be using the Trinidad Scorpion seeds I got from Chad S..Thanks Buddy!
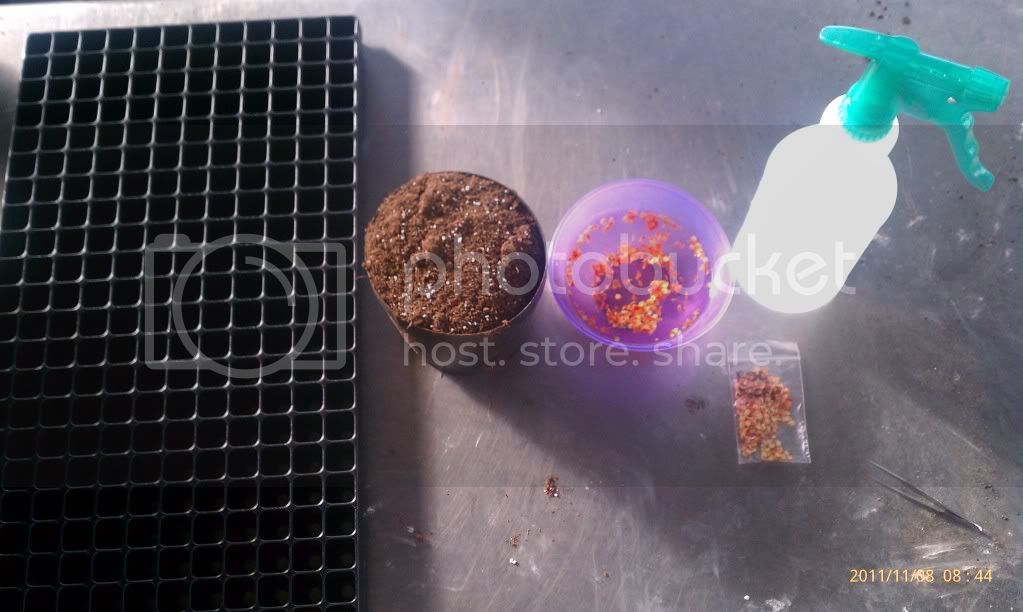
Then we fill the 288 cell tray with a very fine potting medium..its a secret kind im using now...from Canada Just fill with loose mix til its flush with the top of the tray...
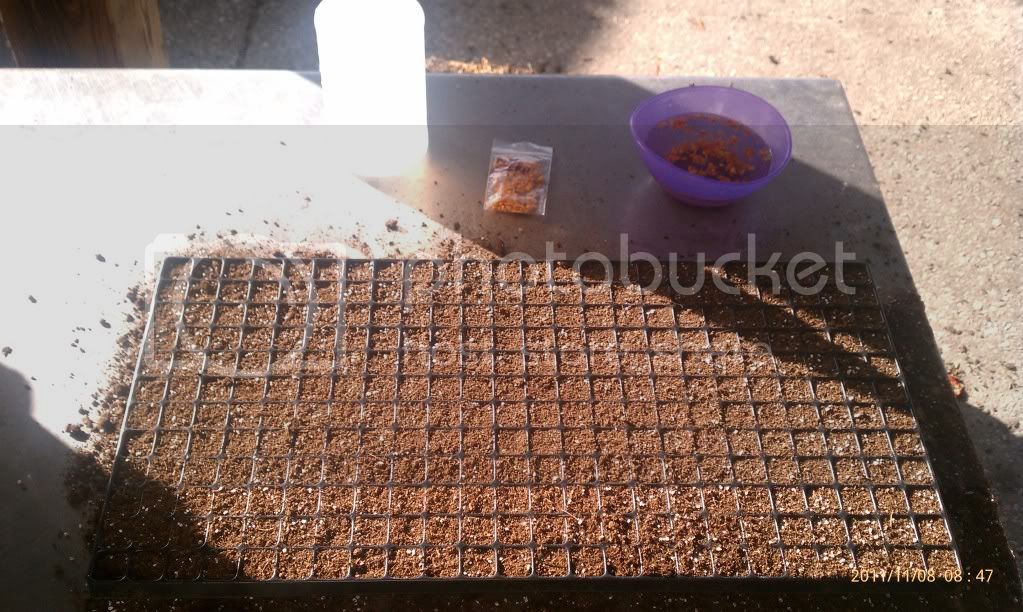
Now press the soil down somewhat firmly with your finger to the desired depth you want to place your seeds...
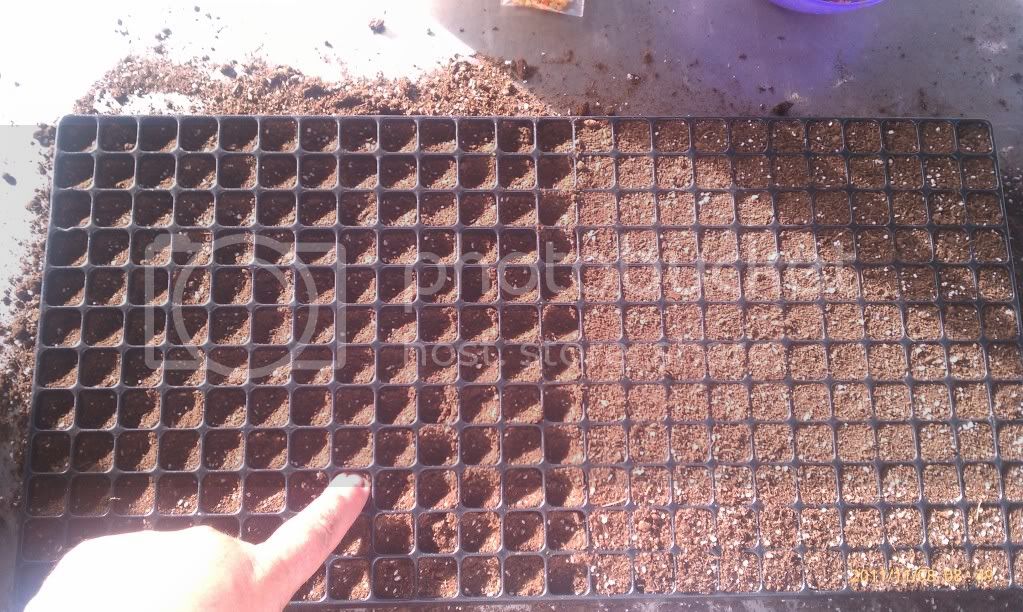
Next...Spray with a fine mist spray bottle to moisten the soil mix before you begin to place seeds into the cells...
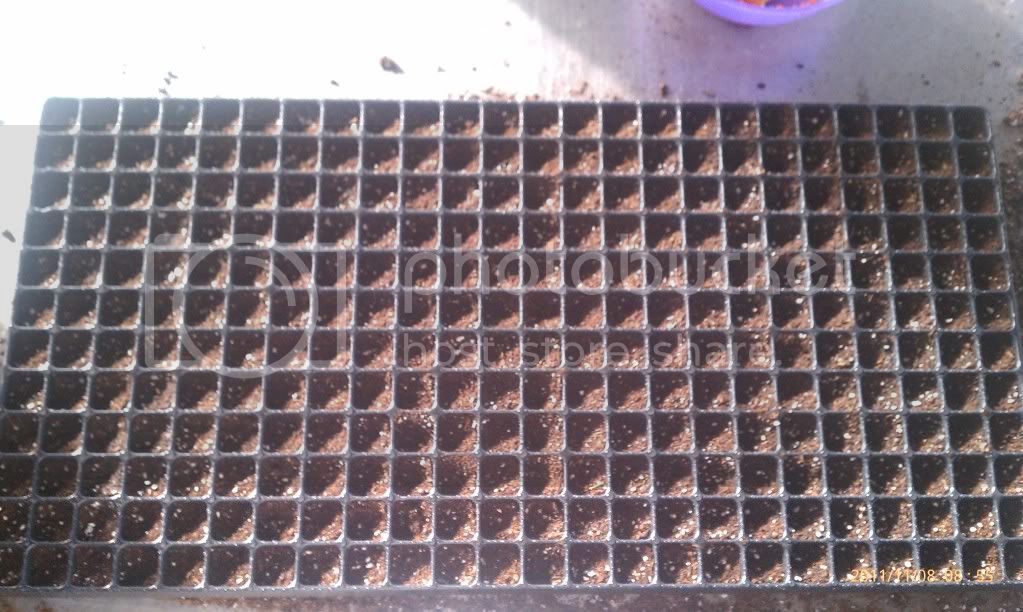
Now its time for the seeds! I presoak my seeds in warm water for a few hours prior to doing this...Fill the tray one cell at a time!
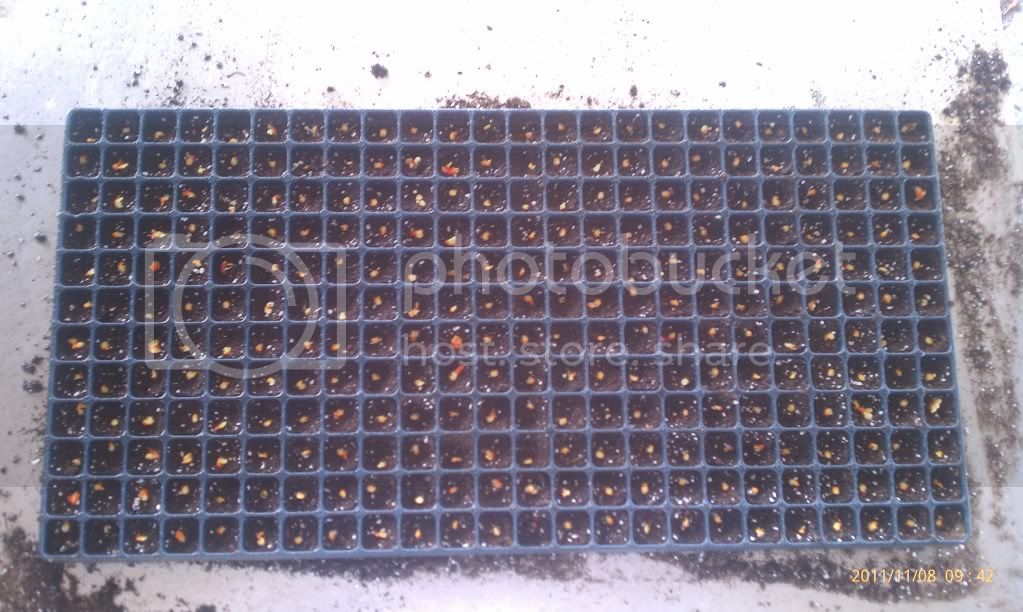
So then we cover the seeds with the same fine soil mix we used before...and press the soil down with a finger like we did before until its covered to about 1/2" under the surface Spray with a fine mist to saturate the soil mix....Label the tray as needed with plant ID tags...
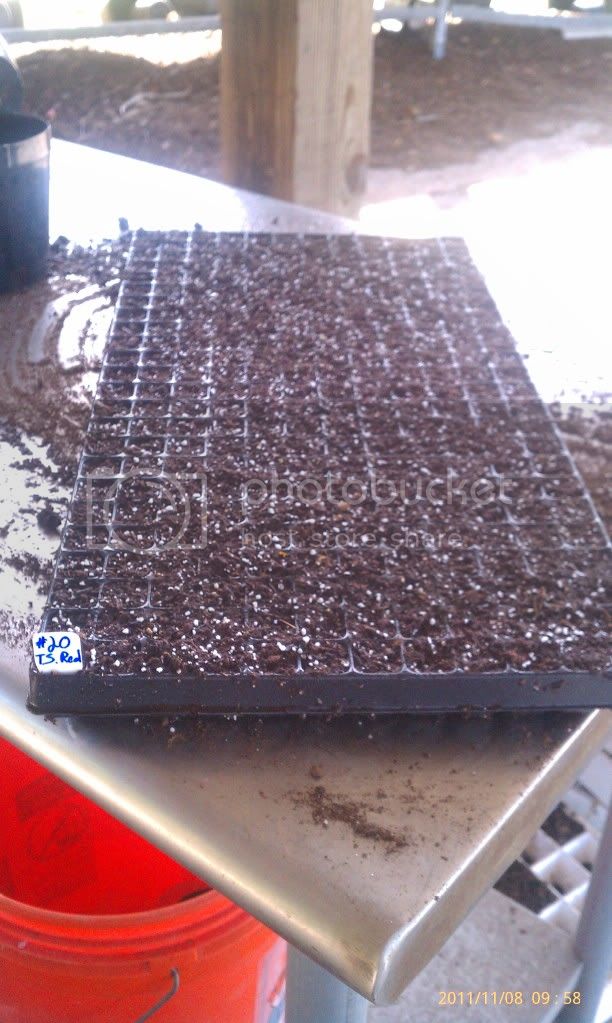
to be continued....
So I got the second light in the upper chamber installed..Now its 2 T5 8 bulb fixtures....16 T5's for a total of 864W!!

Ok so thats that part....I also got to work on these seeds I have been getting in the mail from all you GREAT members here!!. So heres a rundown of how I do 288 cell trays with seeds...
First I lay out all my things that will be used in doing this....For this segment I will be using the Trinidad Scorpion seeds I got from Chad S..Thanks Buddy!

Then we fill the 288 cell tray with a very fine potting medium..its a secret kind im using now...from Canada

Now press the soil down somewhat firmly with your finger to the desired depth you want to place your seeds...

Next...Spray with a fine mist spray bottle to moisten the soil mix before you begin to place seeds into the cells...

Now its time for the seeds! I presoak my seeds in warm water for a few hours prior to doing this...Fill the tray one cell at a time!

So then we cover the seeds with the same fine soil mix we used before...and press the soil down with a finger like we did before until its covered to about 1/2" under the surface

to be continued....
BakersPeppers
Banned
continued...
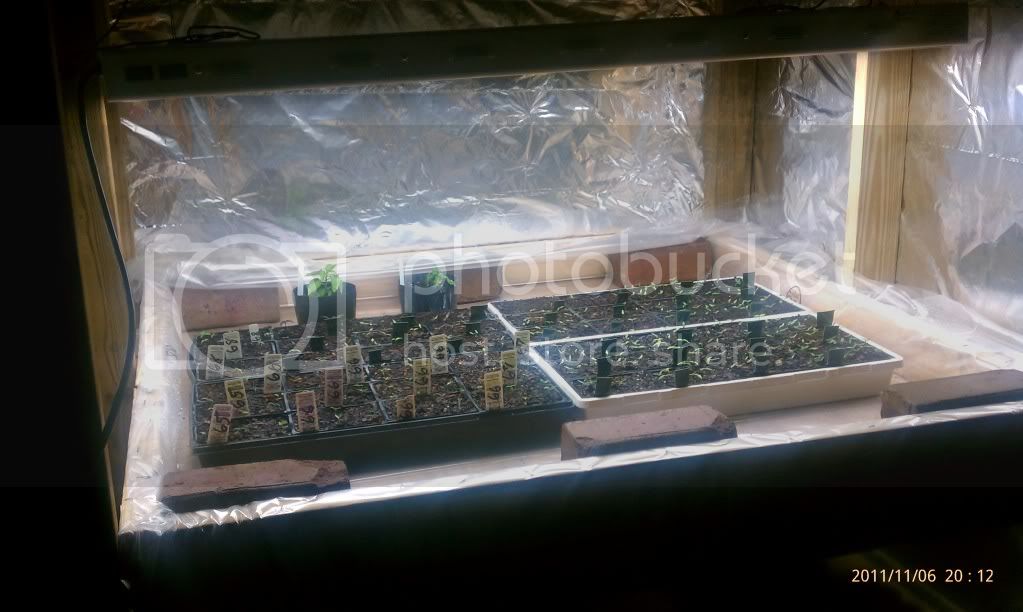
Lastly we put the trays under the lights and KEEP moist!! Thats very imortant!! And maintain warmth levels between 75 & 80 degrees in the seeds area...
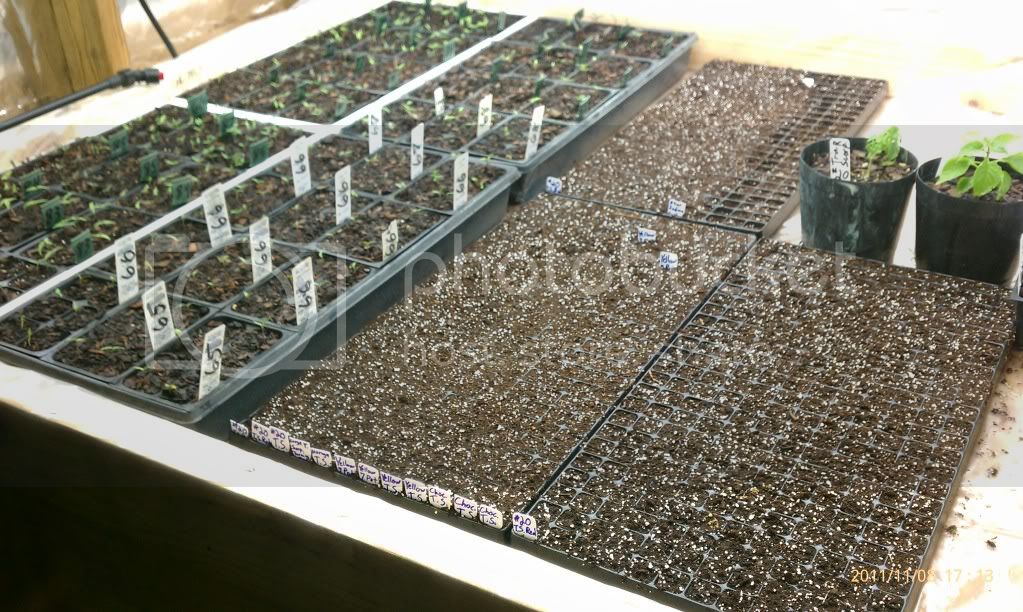
Here a few more 288 cell trays I did of some other seeds..all done and in the grow area
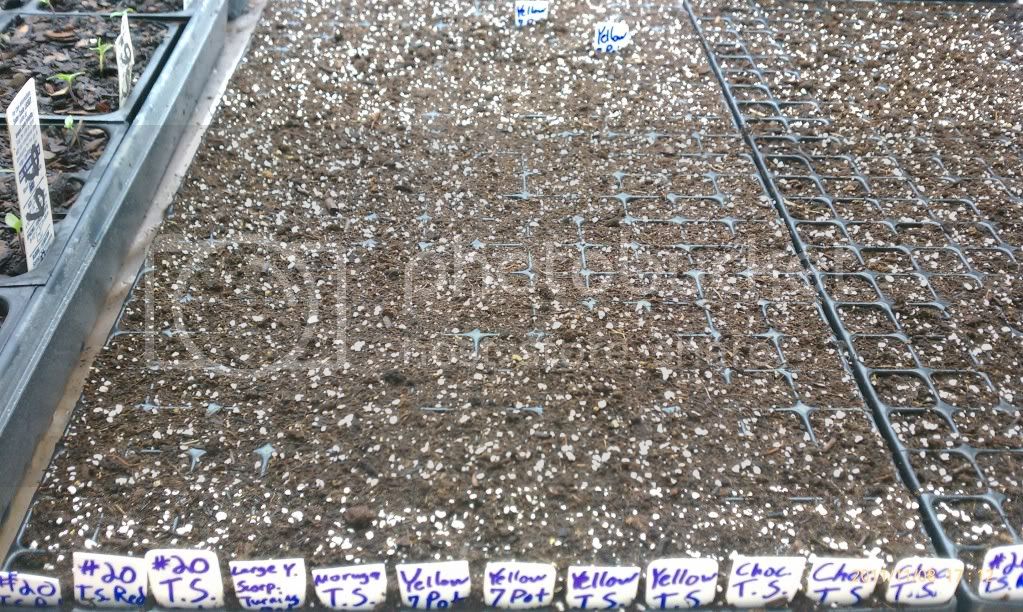
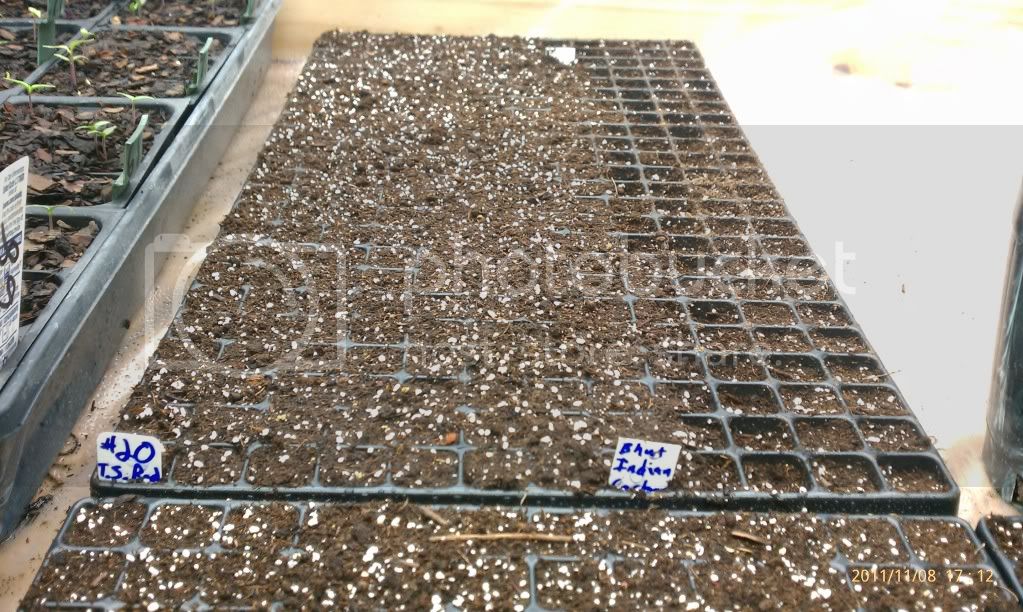
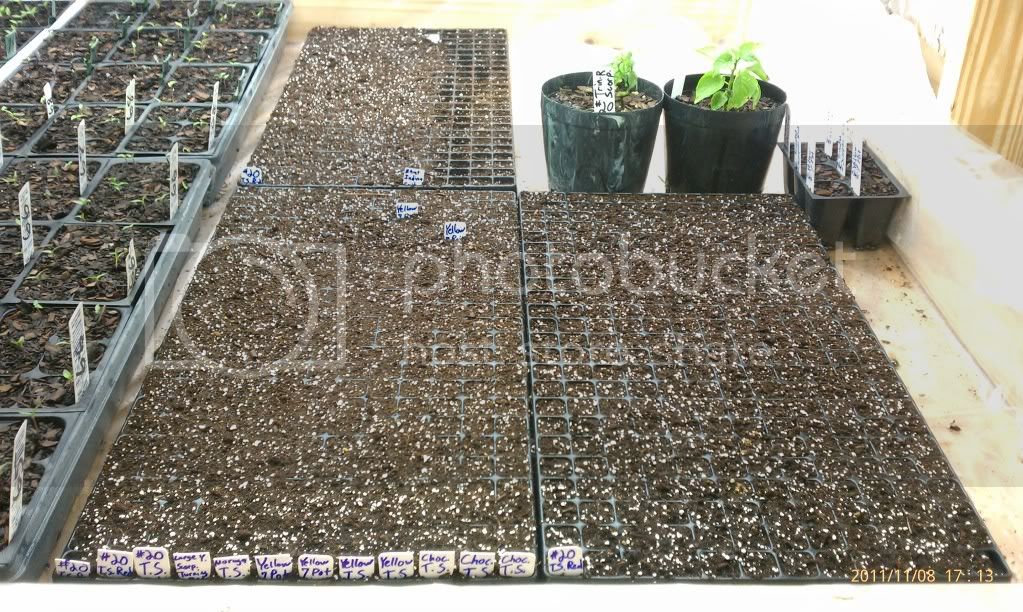
So thats the last for this update...hope people are enjoyng this with me...lol
ALSO...I EDITED the Hydro DIY Blueprint to adjust the return flow fitting placement
To be continued....
Lastly we put the trays under the lights and KEEP moist!! Thats very imortant!! And maintain warmth levels between 75 & 80 degrees in the seeds area...

Here a few more 288 cell trays I did of some other seeds..all done and in the grow area


So thats the last for this update...hope people are enjoyng this with me...lol
ALSO...I EDITED the Hydro DIY Blueprint to adjust the return flow fitting placement
To be continued....
BakersPeppers
Banned
Just have always done it that way...guess im old school...lol... I think im gonna put some dome lids on them though...havent decided yet 
BakersPeppers
Banned
Lambert pro germination mix?
Nope...and im not tellin! LOL
continued...
Lights on in top area with seeds inside..about 400 seeds total in there in this picture...not near what will be
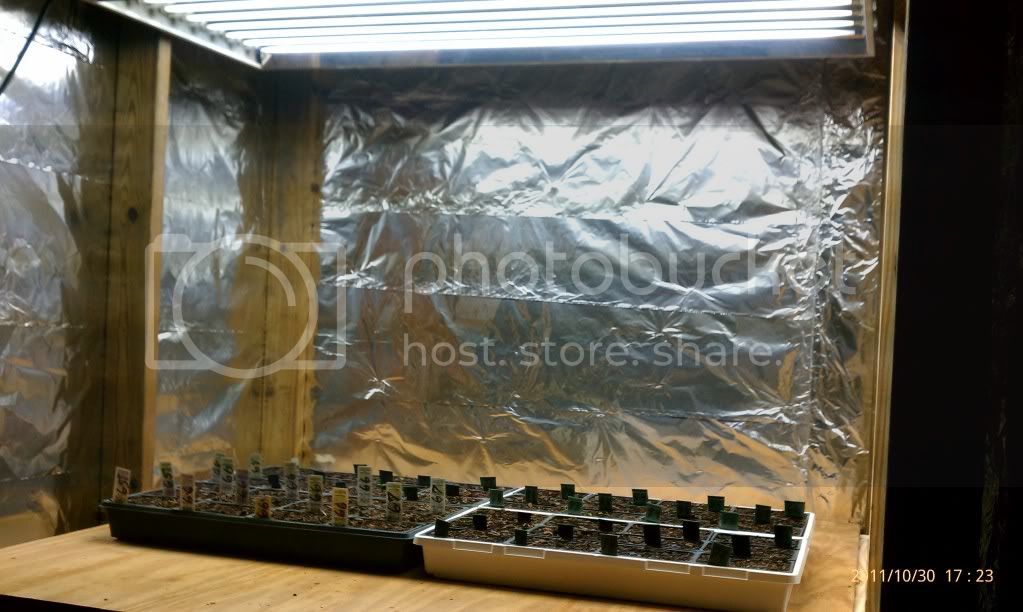
.
^ lamp fixture, how wide is that unit.
BakersPeppers
Banned
Continued.....
I went ahead and put the domes on the new 288 cell trays...Just thought I may try it this way...I hear people swear by it so what the heck
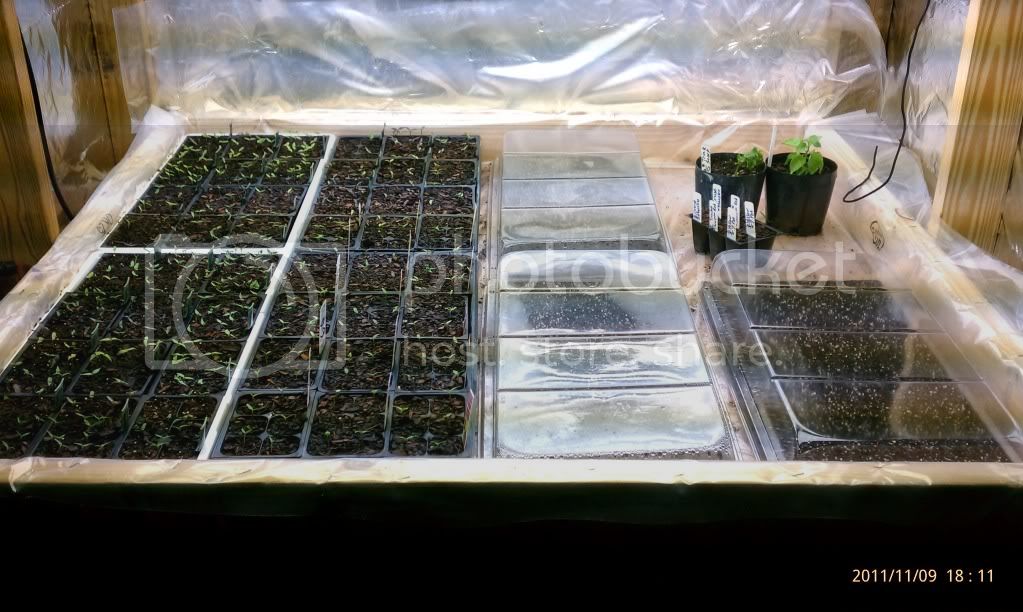
Also brought some seedlings from out in the nursery inside to try them in these pots under the lights...
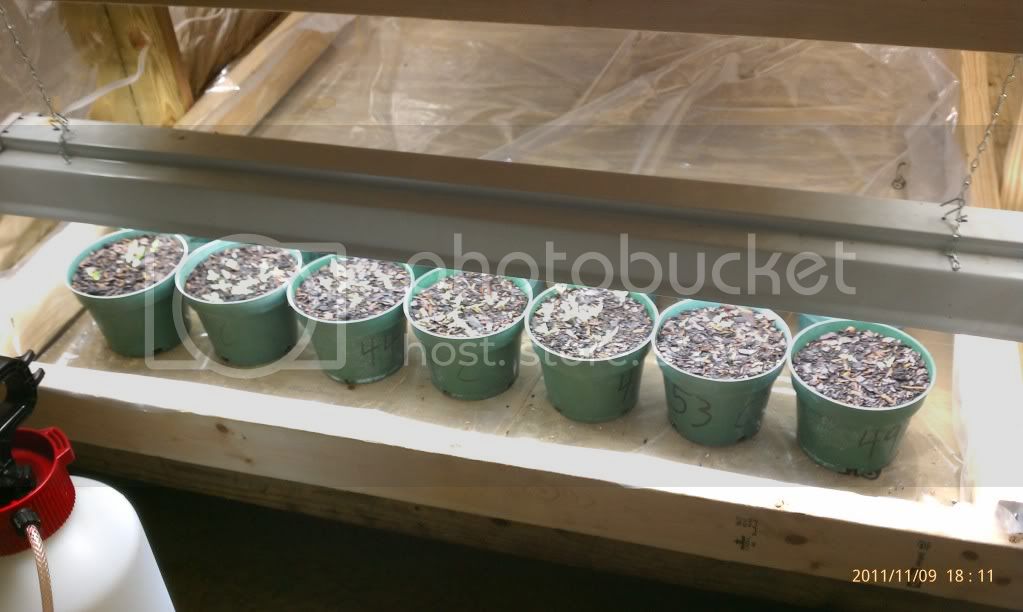
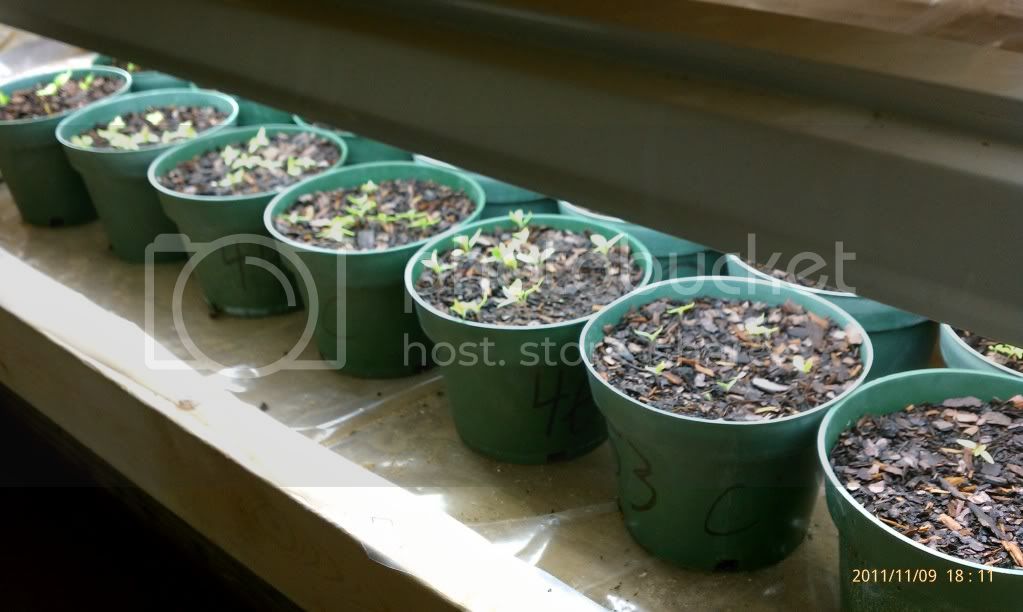
Thats all for tonight... just a little update
To Be Continued...
I went ahead and put the domes on the new 288 cell trays...Just thought I may try it this way...I hear people swear by it so what the heck

Also brought some seedlings from out in the nursery inside to try them in these pots under the lights...


Thats all for tonight... just a little update
To Be Continued...
Looks amazing, and great work 
will be following this thread for sure
will be following this thread for sure

You may cover this later, but I was wondering about your pot-up strategies:
For the seedlings in 72-cell flats, what size containers do you move to next? Also, when you have multiple plants per cell, how and when do you divide them, or do you just go with one 'winner' per cell?
For the 288-cell flats, what size pots will those lil guys go into next?
Thanks in advance Baker P .....
BakersPeppers
Banned
^ lamp fixture, how wide is that unit.
I want to say almost 21 inches wide...put 2 side by side and they will GROW anything!!
