Thought I'd post a few pics of what I have going on indoors this off-season. I used to do a winter indoor grow about every season, but this will be my first in a couple years now. I went a bit over-board with the number of plants, as usual, but I've culled a few already and I have expansion room if needed.
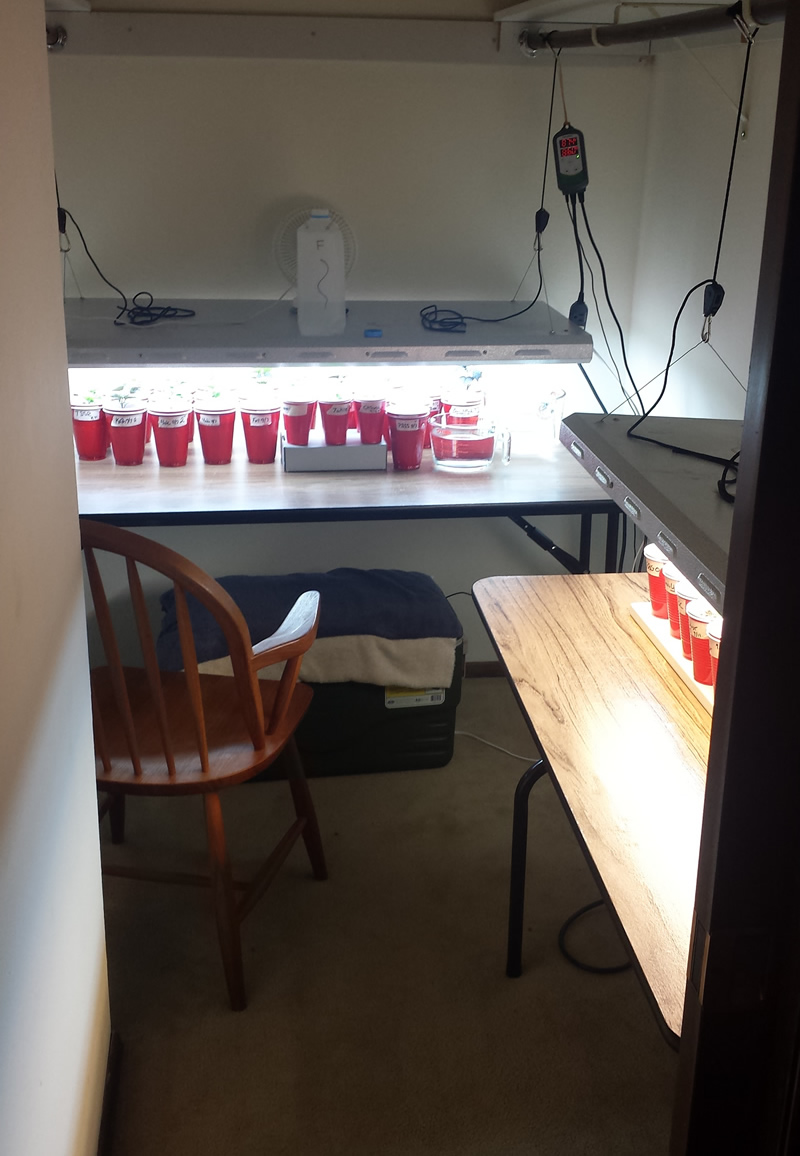
I'm using a handy little extra walk-in closet to start things out. Keeps temp well and makes it easy to chill and work with the plants.
Most everything's potted up into 1g Boxer Browns now. Here's a few of this season's players.
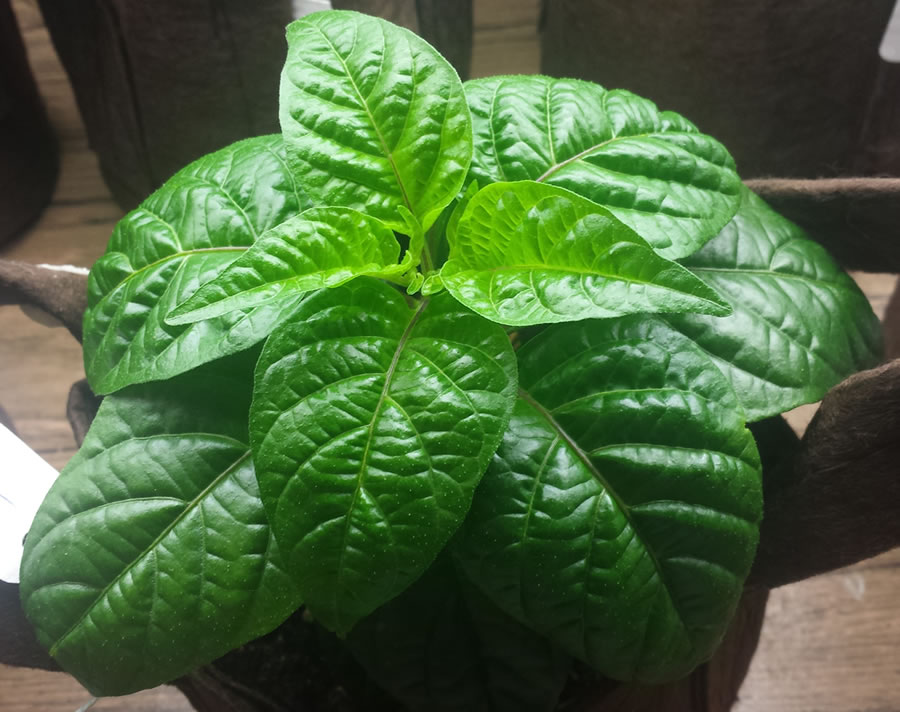
Baha Goat
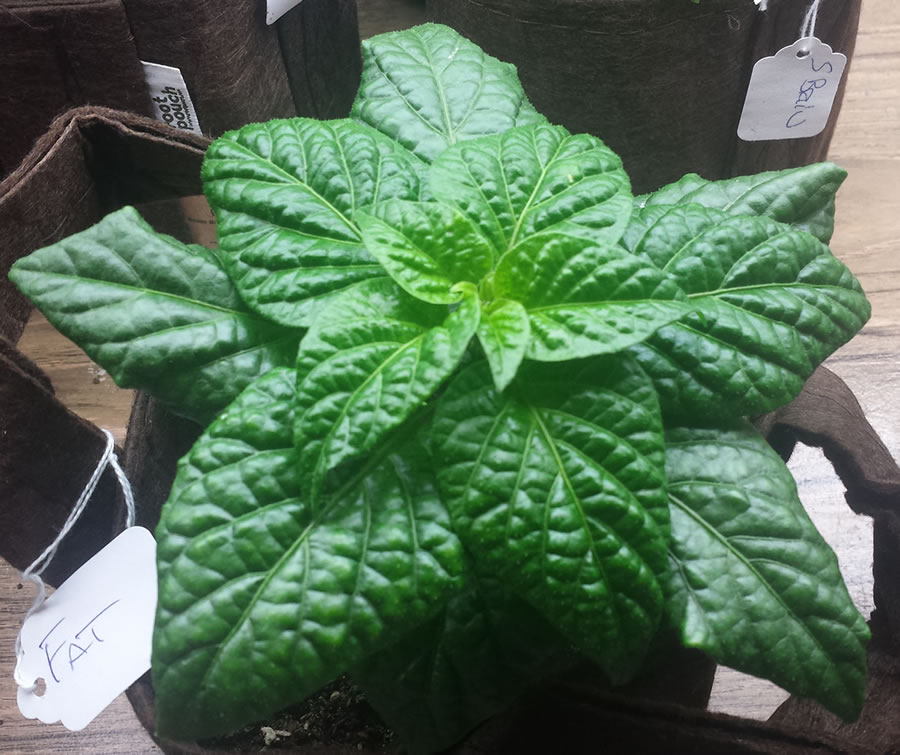
Fatalii
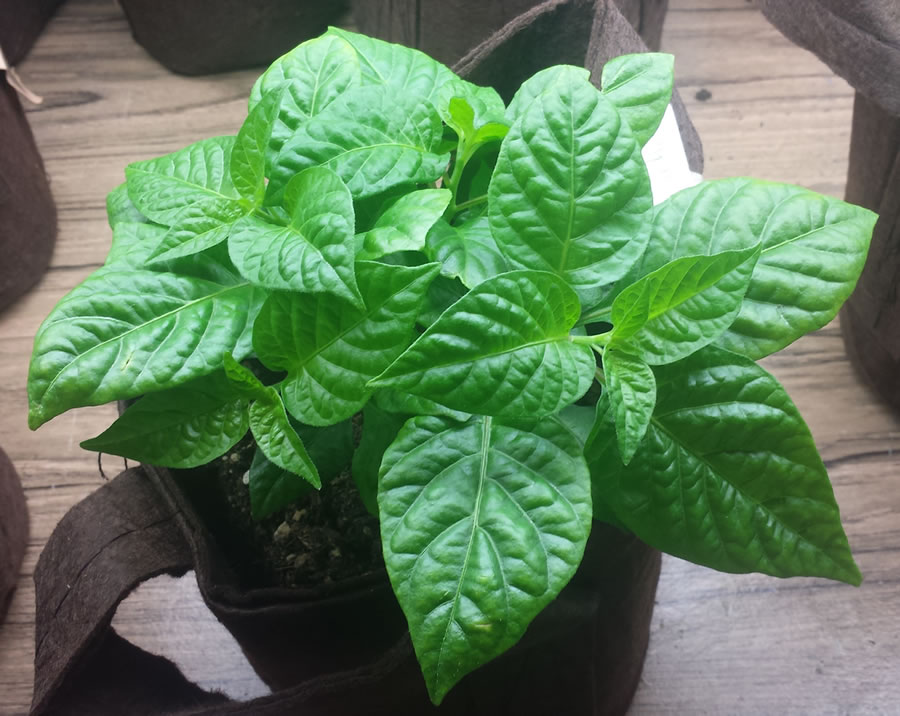
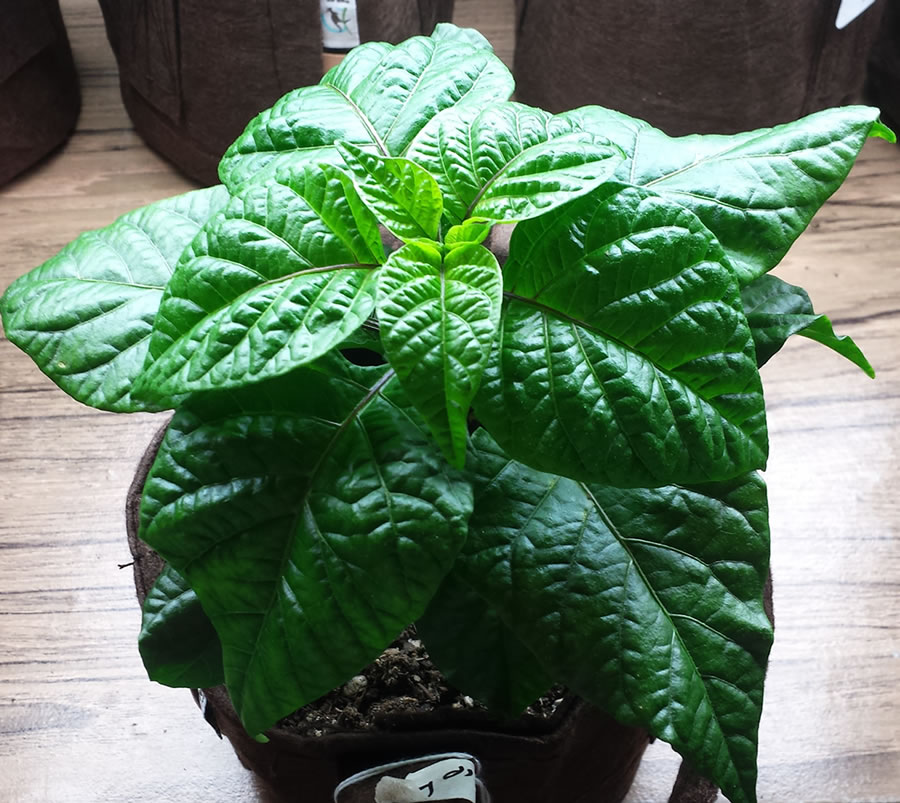
Bhut Jolokia White - topped it early on as it was already wanting to branch like crazy
Butch T
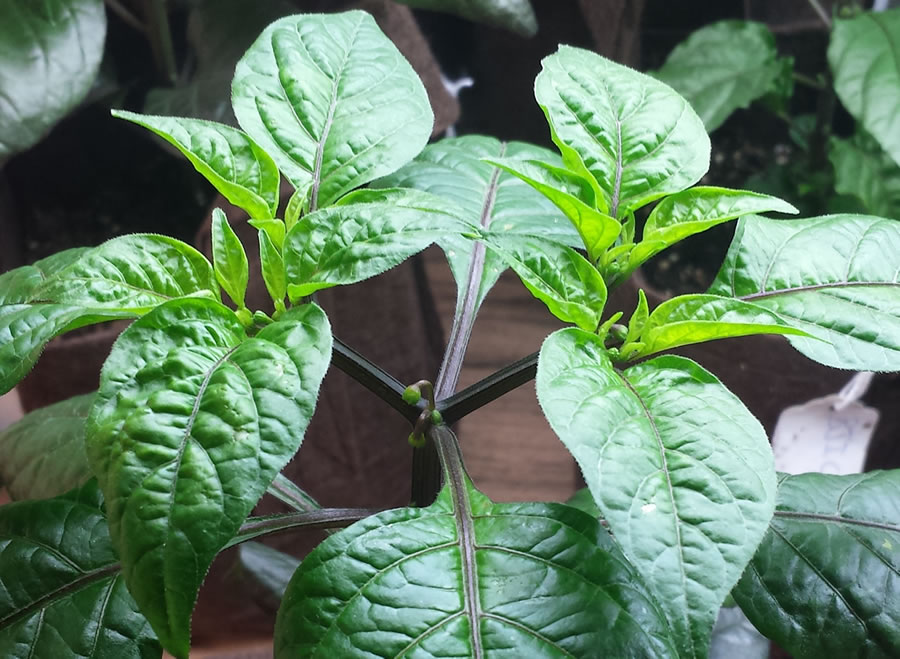
Kathumby starting to bud up
And this guy is a 7 Pot White that sprouted late right up against another plant, so I yanked it out. It had what seemed like only about 2mm of root still attached, but I stuck it in Kratky and it not only survived but seems fairly happy.

CD
I'm using a handy little extra walk-in closet to start things out. Keeps temp well and makes it easy to chill and work with the plants.
Most everything's potted up into 1g Boxer Browns now. Here's a few of this season's players.
Baha Goat
Fatalii
Bhut Jolokia White - topped it early on as it was already wanting to branch like crazy
Butch T
Kathumby starting to bud up
And this guy is a 7 Pot White that sprouted late right up against another plant, so I yanked it out. It had what seemed like only about 2mm of root still attached, but I stuck it in Kratky and it not only survived but seems fairly happy.
CD


