• If you need help identifying a pepper, disease, or plant issue, please post in Identification.

Show us your Ghetto growing gear.

From my grow log, here's my low rent solution for a light stand. I had a metal pipe stand I use for motorcycle maintenance, but you could build something similar out of cheap PVC ($20?) The legs of the stand (not shown) are a simple T junction with the arms about 12 inches long. No cost for an old desk or table and some Nat Geo mags. One 4-ft T8 shop light ($12) with 2 6500K bulbs ($7). You're in the game!


light%20stand%201.jpg


Need more lights, put up some 1/2-inch 'arms' using high pressure PVC for extra rigidity:

light%20stand%202.jpg


Okay, need 3 total lights to accomodate 5 flats of seedlings (sorta) on a desk top 4-ft x 1.5-ft. Clean up the Nat Geo scene. Note: if you've got the coin buy T5 light fixture instead. A 4-bulb T5 unit costs about $150 and puts out more lumens than the 6-bulb T8 shown, bu total cost for the T8's was only $60.

light%20stand%203.jpg
Use some of the foil bubble insulation to make 'flaps' to keep the light in or mylar here and there.

Happy Grow Year... :cool:
 
How about this?

PB090362.jpg


slat frame from my new dishwasher cut down and reformed, 2 desk lamps and 2 lamp fixtures with pie plate reflectors and one clip on work lamp. For a heat pad, I put the starters on the radiator until they pop, then move them up under the lights. I have a 30$ greenhouse for the spring, about 5' high, 2x2', good for smaller plants.

I would say so far you are winning. And I mean that with respect!
 
I would say so far you are winning. And I mean that with respect!

Okay, you've forced my hand. He's good. He's very good. But what about this: a 0-cost germination center. (Disclaimer--used on a closed course by amatuers only. Risk of burning down house somewhat high. Ironing board leg and cookie container not included.)

2011%20garden%20008.jpg
2011%20garden%20006.jpg
 
Here's some ghetto from my first grow in 2010-

germination space with space heater-
growstuff.jpg


growstuff004.jpg


24 hours later, made changes
growstuff007.jpg


building the light frame
growstuff022.jpg

growstuff025.jpg

growstuff033.jpg

growstuff034.jpg


got the last couple elbows , here's the lights lifted up, notice the assorted sprouting trays

growstuff045.jpg


A pretty good overall picture-
The white table is our farmer's market table with the original framework. Ended up with so many starts I had to add another table, a roll-up, put-together camping table. Made one more 1/2 frame to hang more lights from. Notice the tape holding the legs onto the blue camp table so it wouldn't tip over or the legs wouldn't get pushed off the table when the trays were being moved around.
growstuff081.jpg


last pic of part of the seedlings in plastic tubs used for salsa, beer cups, and whatever 3-4" square pots I could scrounge up.
pepperstarts005.jpg


linked original pics, hope this works-
 
SL, that may have started out ghetto but it ended up pro, that is a wicked set up. Yep, silliman, that is pretty tough to beat. I have since bought and added a 24w t5 sunblaster flourescent.

PC150378.jpg


Also for the grow challenge I have a smaller set up :-)

PC310386.jpg
 
trying to get the rest of the pics up-
couple more-
pepperstarts005-1.jpg


they got SOOO tall and we had really crappy weather that spring, I kept them in as long as possible
prodpics016.jpg


Homemade deer repellant- (it worked!)
070.jpg


potting up...tried to use the neighbor's cement mixer to mix up the peat moss, compost/soil mix I had delivered and lime. Ended up being too much of a hassle and the plug was getting REALLY hot. So we did it by hand. But using a cement mixer is pretty ghetto! :cool: And I couldn't afford to buy all new big pots, so I got plastic bag pots. They worked great.
057.jpg


the plants on some leftover landscape fabric-
pepsoncloth004.jpg


had some soaker hoses lying around also, might as well put them to work-
20072010peps011.jpg


Using what's available, here's my rodent control method-
20072010peps007.jpg


At the end of the season, we moved the plants that still had pods on them into the greenhouse and saved everything that we could, even the goodbugs
pepperpatchsept2010059.jpg


pepperpatchsept2010069.jpg


We bumbled our way through the first season and despite our worst efforts, the chile plants grew and produced some WONDERFUL pods. What great fun!

Thanks, ta2, I just wanted to share that people should use what they have available. BigCedar scored with some pots where he worked. I have access to PVC and a few electrical components... I always remember what our HS drama teacher told us when trying to find costumes or props..."beg, borrow, or steal" ...('course, you know she was kidding about the last part...but you get the idea.... :lol: )

You don't have to buy the "top of the line whatever" to get chiles to grow and have fun. It can be a simple as pop bottles and VCR's!

Love It!
 
I have actually used 2L pop bottles as mini greenhouses, cut them in half, put in soil and seed then tape them back together and put a cap on hehe.
 
absolutly! I wonder if cutting the bottle length-wise and then taping back together for the greenhouse would work...


clear pop bottles can work to sanitize water.......

it's all good-
 
I have actually used 2L pop bottles as mini greenhouses, cut them in half, put in soil and seed then tape them back together and put a cap on hehe.

Worked for me ta2! I also made 2" rings from the PET bottles (pop, soda... whatevs :cool: ) when I transplanted my seedlings to the ground, so stop the bugs and slugs crawling up... and lots of spiky mulch.

And while not in the growing thread, this colander is for holding woodchips in my smoker... I bought it at the car boot sale and intended to use it in my all grain beer keggle as a false bottom to stop the hops plugging up my outlet pipe... never got around to using it (5 years) and here it is..

IMAG1780.jpg
 
Ghetto enough :)

novtest002.jpg


My self watering outdoor seedling grow box, each section of the tray has a piece of old shoe lace down the center and through into water in the tray.
Keeps the seedlings watered for a good month or so
 
Top idea Timmmy :cool: - what if you moved north to QLD and only have double pluggers? :whistle:

Ghetto enough :)

novtest002.jpg


My self watering outdoor seedling grow box, each section of the tray has a piece of old shoe lace down the center and through into water in the tray.
Keeps the seedlings watered for a good month or so
 
Worked for me ta2! I also made 2" rings from the PET bottles (pop, soda... whatevs :cool: ) when I transplanted my seedlings to the ground, so stop the bugs and slugs crawling up... and lots of spiky mulch.

That is a good idea, I could have used that last summer when I had my slug problem... might use it this summer, thanks!
 
So here is my attempt of a grow space. The only problem is it wasn't big enough:
466.jpg

I used various sizes of pvc (obviously)
to catch crap I made the floor the size and height of a large tote.
I put the lights on arms I can slip into a higher hole as needed. You will see I can run two heights at once.
Here is the floor.
470.jpg

Using magnet tape and glue spots I sealed the space with mylar. Well not really sealed, but close enough. Here is the "hood" using plexiglass slipped into slots and covered with mylar attached via magnet tape:
471.jpg

Sprouts form seeds collected on vacation
478.jpg


I added a flood and drain table to half:
499.jpg


I have thought of some improvements on the design and am tempted to piss my wife off more.

Here is the frame that i made first into a shade then into a hot house
406.jpg
 
Here is what I slapped together last winter. I did change it from only one t8 fixture to 2. The shelf that the plants sit on is adjustable to 3 different levels. Even at the highest level I still have to raise the plants up early in their life to help prevent them from dampening off.

table1.jpg
 
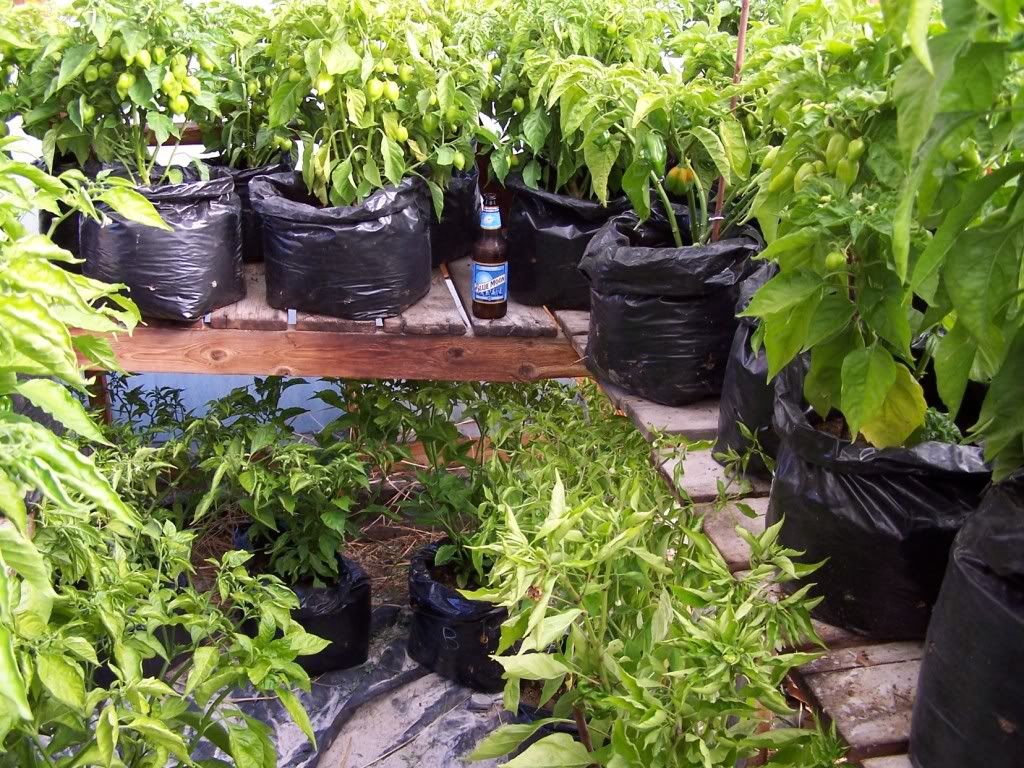
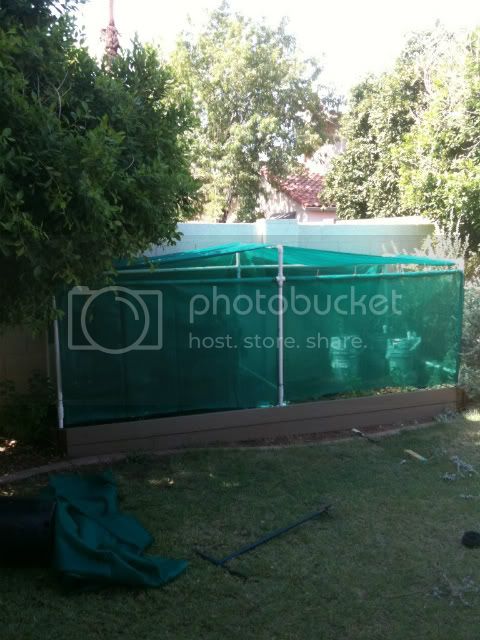
okay, i have done this once before and this is my last time, i am all about cheap, the subject title is "ghetto growing gear", so this is the last time i do this and show my trailer park trash ways!

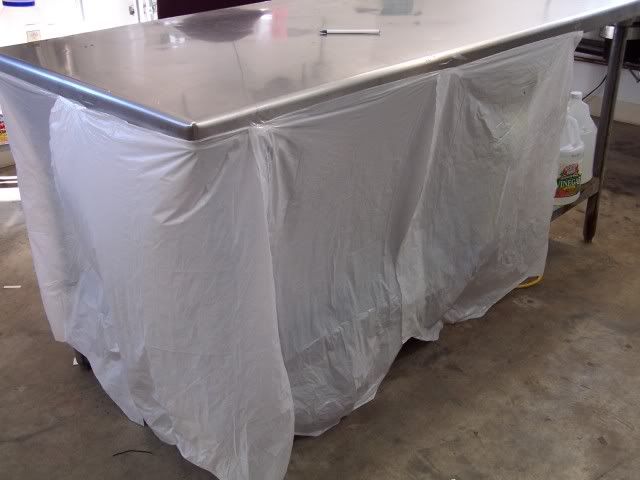
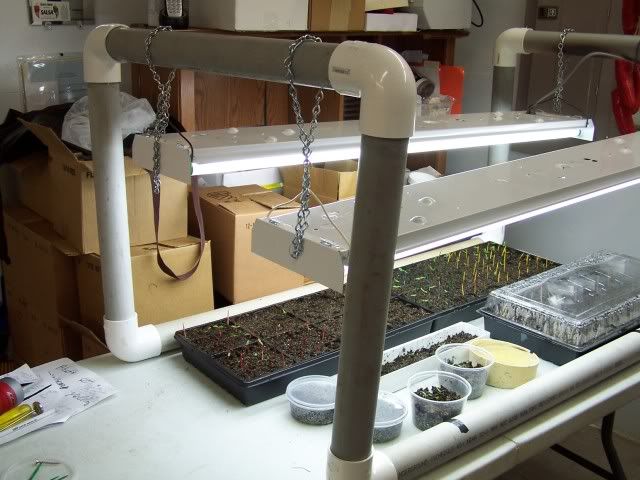
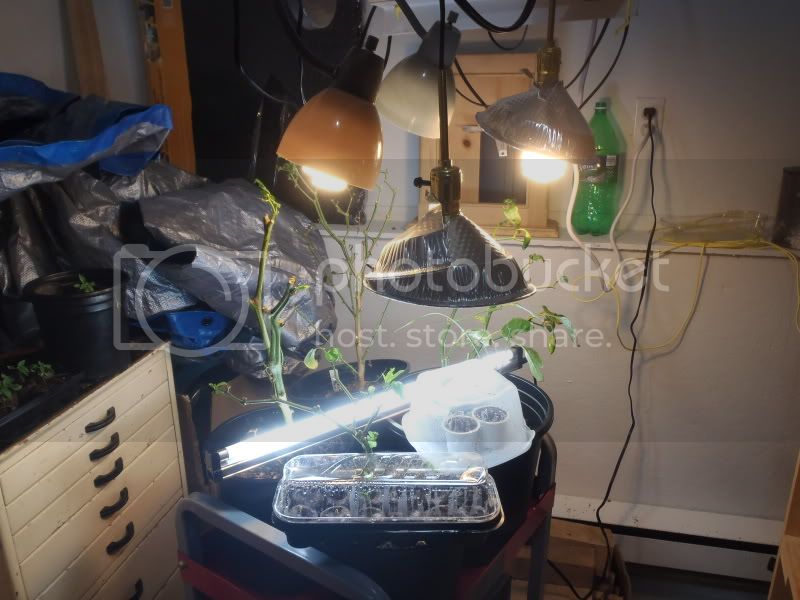
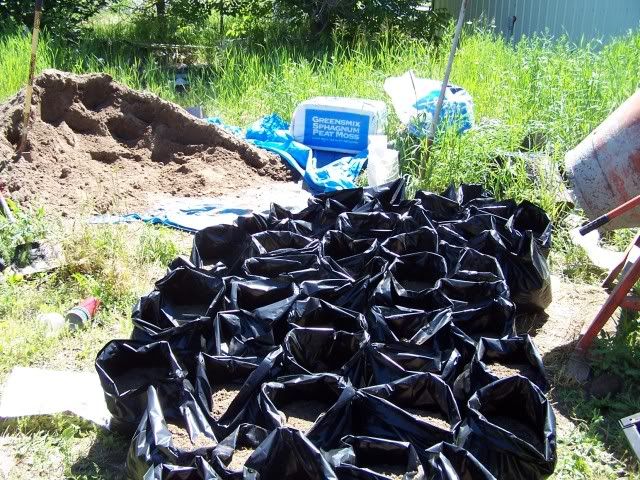
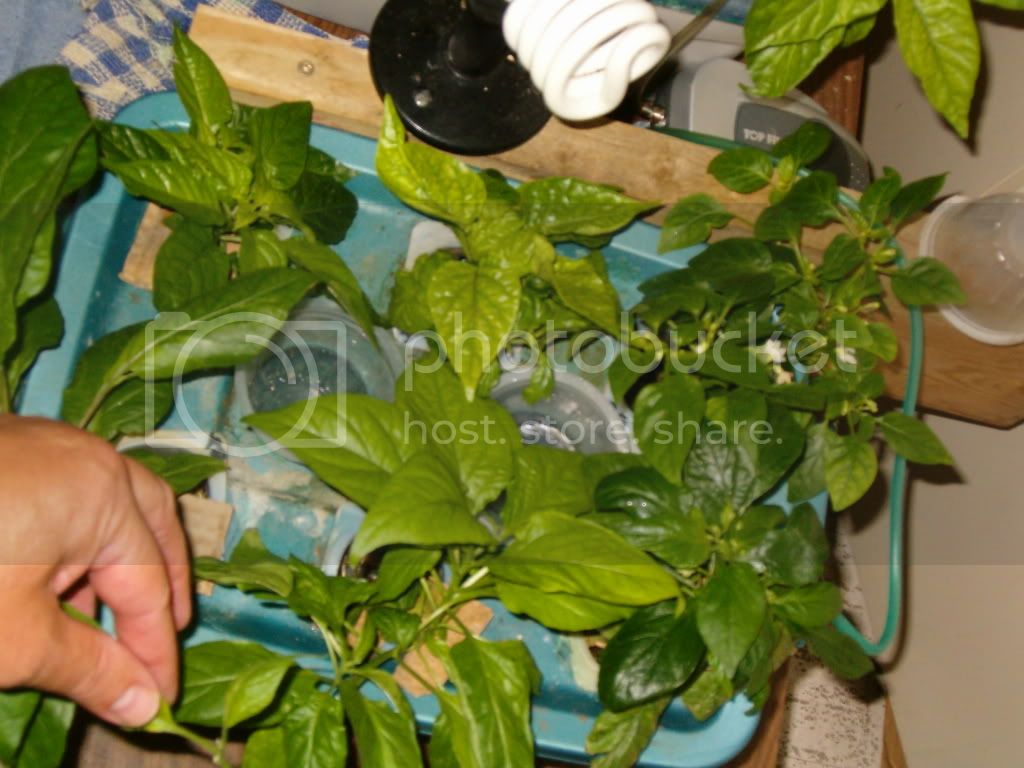
here is my homemade hydroponic system made of recycled product. i will explain what you are about to see:

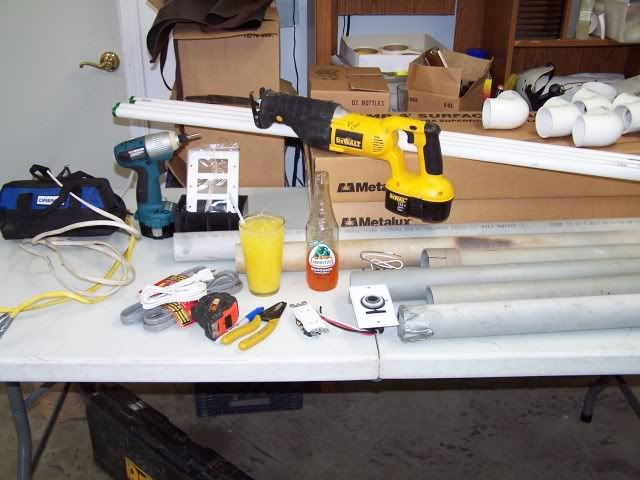
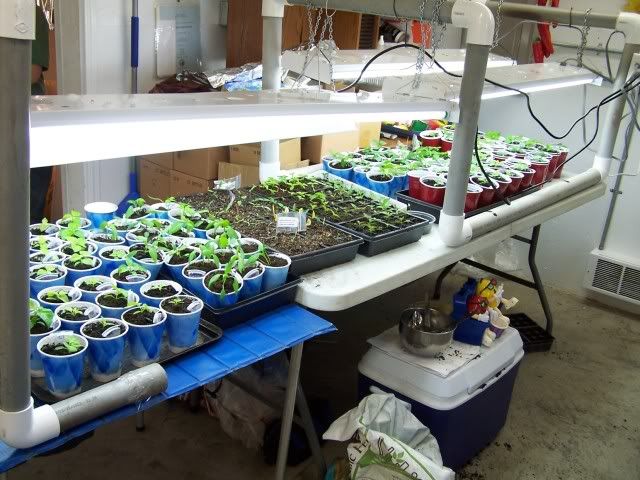
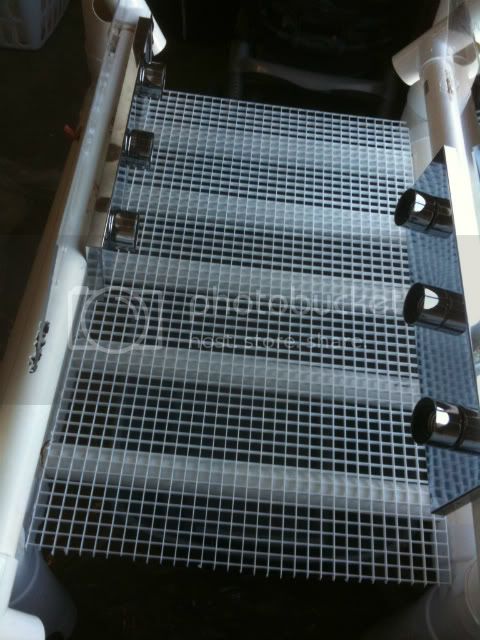
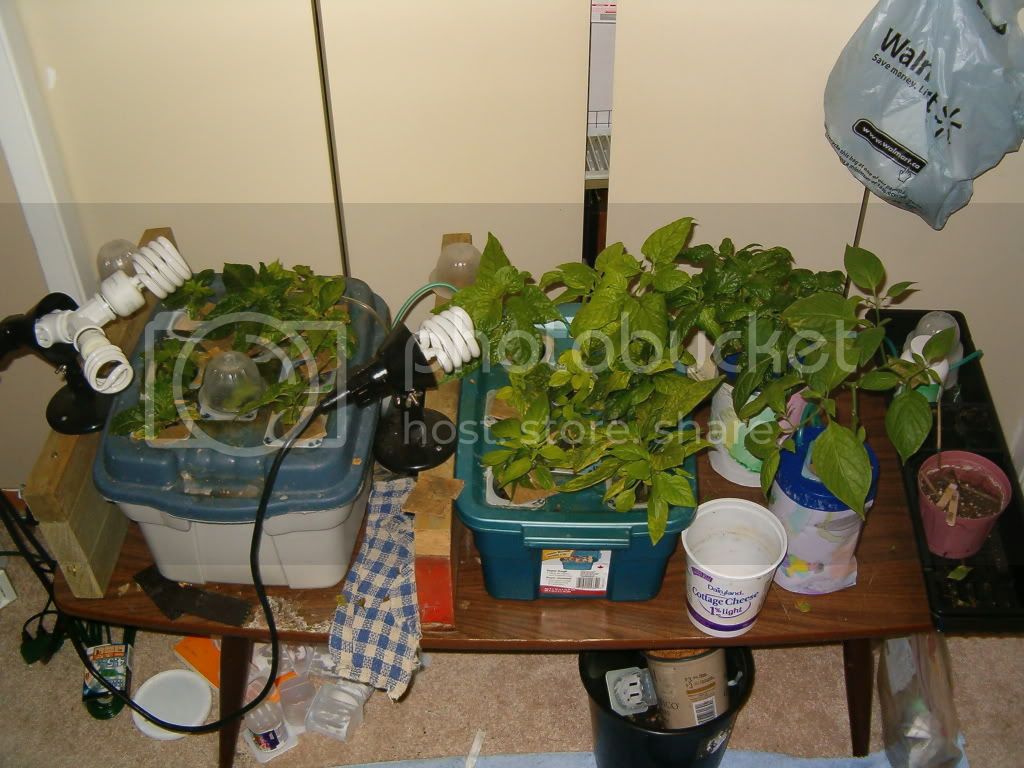
2, 3 gallon totes, each has to be at least 10 years old, they sat in the garage for years with kids toys in them. i decided to convert them into dwc systems one day. my neighbour lent me his circular drill adapters to drill holes - he bought them when Kmart went out of business in Canada, sometime in the mid '90's. i drilled the holes in the top of the totes with an old drill my dad gave me in the '80's, it barely worked then but he knew his son wouldn't use the drill so what's the harm. i got the holes drilled with minimum smoke from the drill motor. but that burning motor smell is addictive!

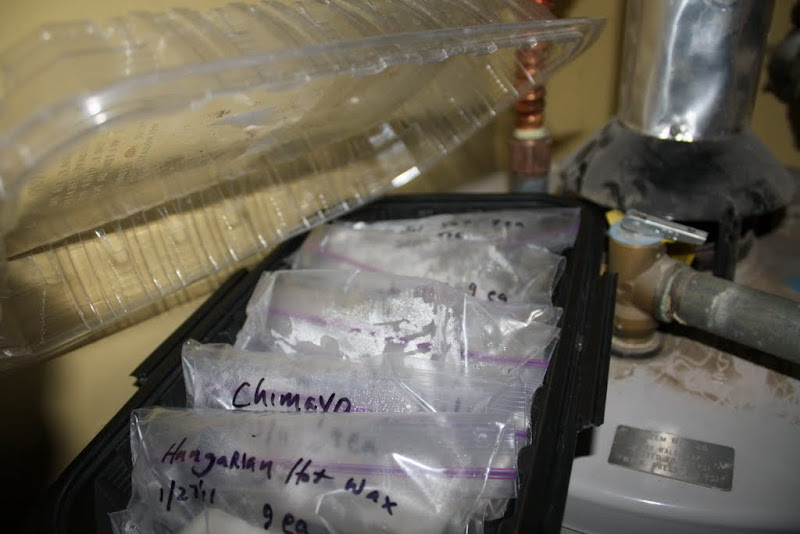
in the tote holes are recycled yogurt cups that i sliced by hand using a carpet cutter in the shape of net baskets. that would hold my plants. for seedlings, i would cover seedlings with fruit cup containers, washed of course but i may have used dirty water.

to keep the plant root base moist, i cut cardboard wedges and taped them over the yogurt cups. the totes are driven by 2 airpumps that came with my old aquariums that had to be almost 20 years old, 1 airpump has to be at least 35 years old. in the totes are airstones and God only knows how old they are but they work. in between the totes are simple dish clothes to soak up any water the drips from the container edges.

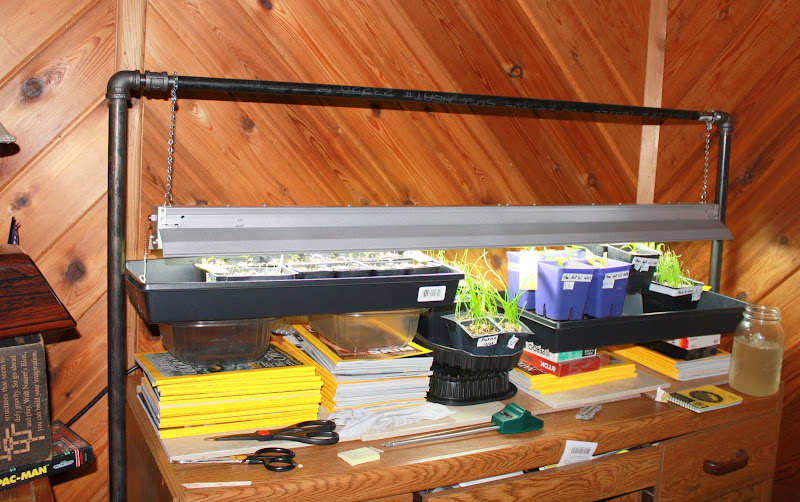
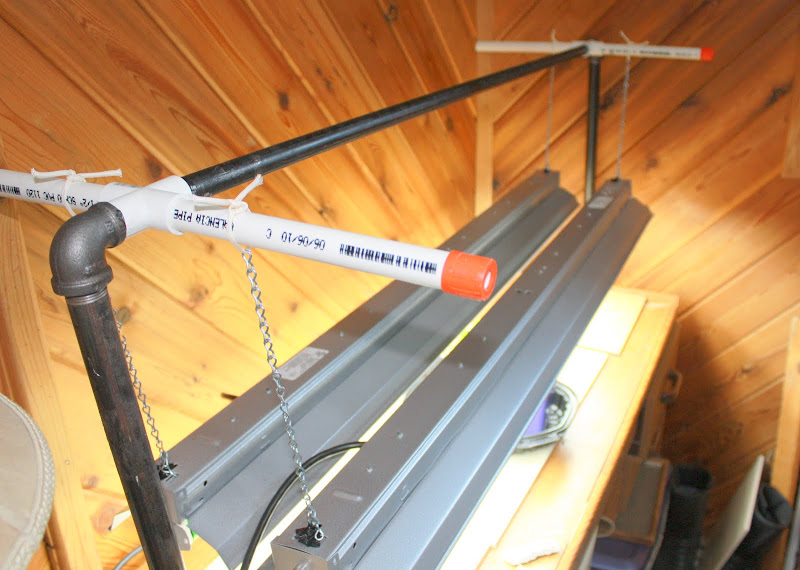
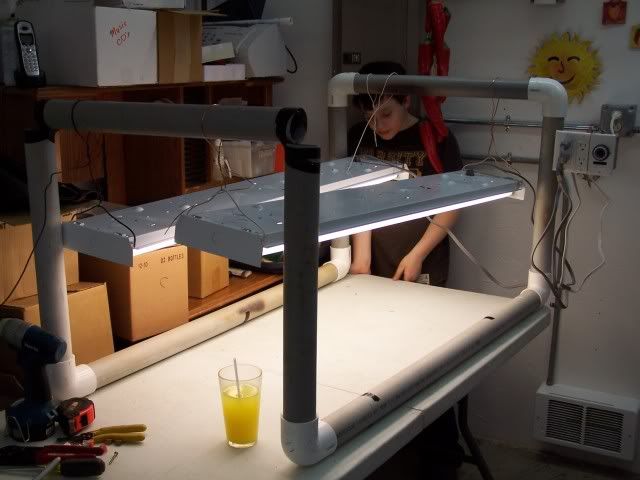
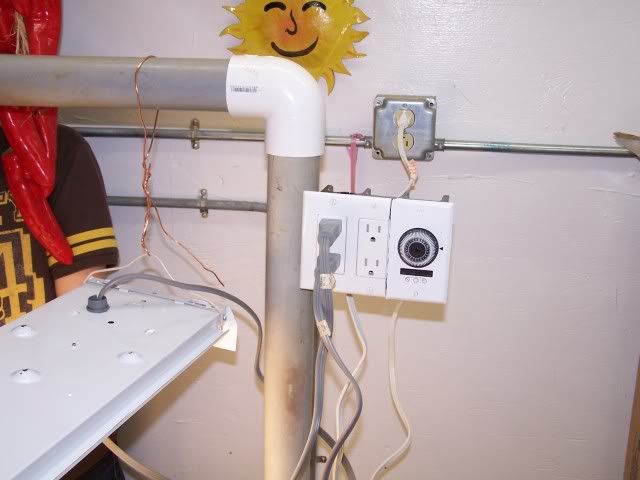
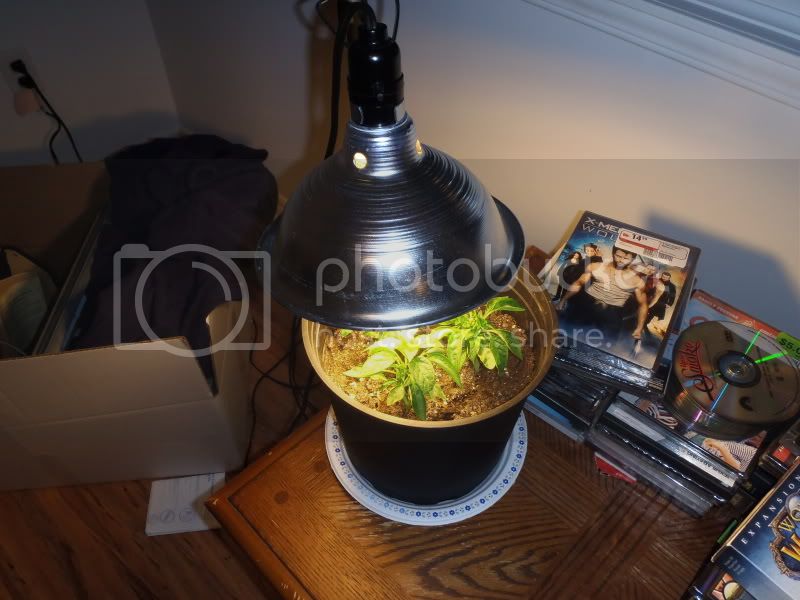
to the right of the totes are 2, mayonaise 1 litre plastic containers that i converted into standalone dwc. 1 of the containers contained nails and sat in the garage for almost 20 years. i had my daughters make drawing on 8.5" X 11 sheets to circle the mayonaise containers to keep the light of the plant roots. the lights with Y adapters are sitting on 2X6's with 1X1's screwed into them to give the lights a little more height. the lights and airpumps are on 2 separate timers that are at least 20 years old but still work just fine and start up and off twice a day.

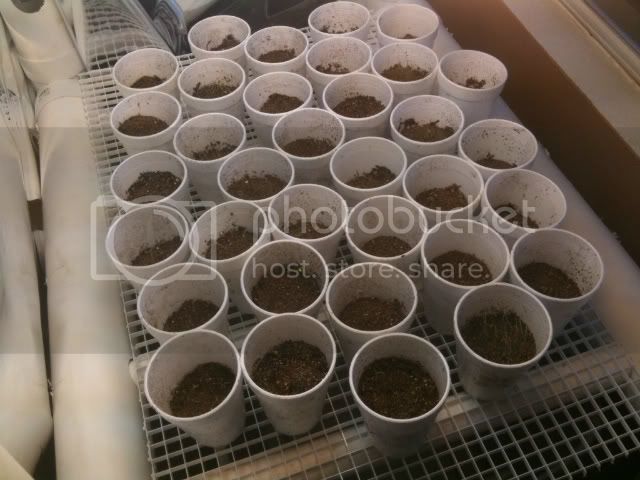
the plants are just in rockwool that i bought on clearance for $11.95 and that was the most expensive item. since, i have filled the yogurt cups with pea gravel the city spreads during snow storms and when the roads become icy and vehicles need traction. i do wash the gravel.

HPIM1974.jpg


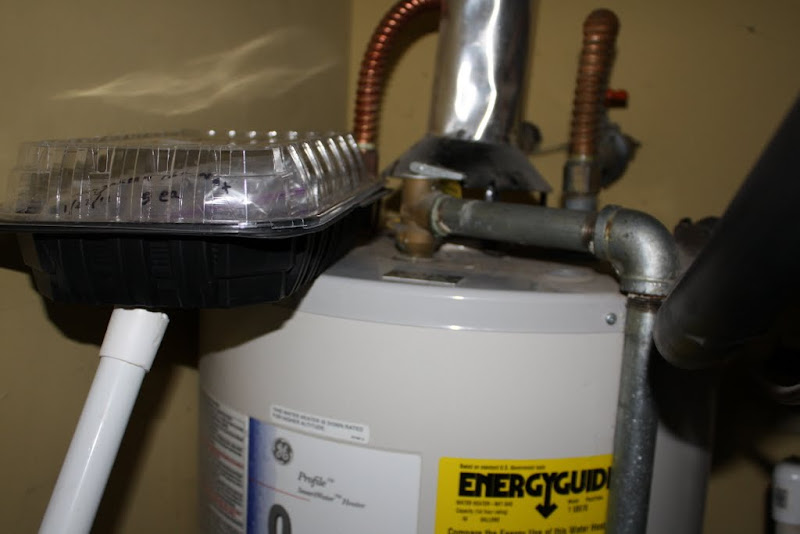
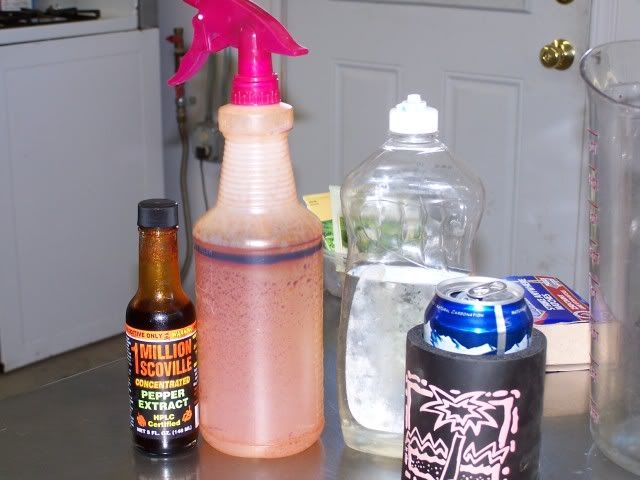
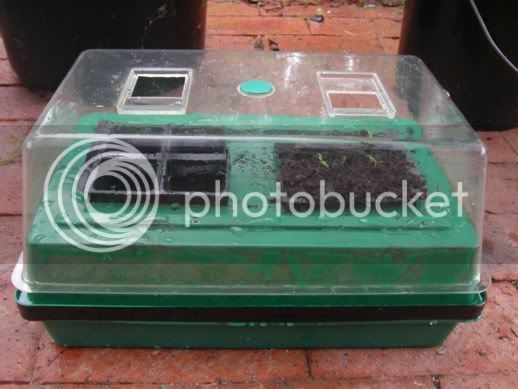
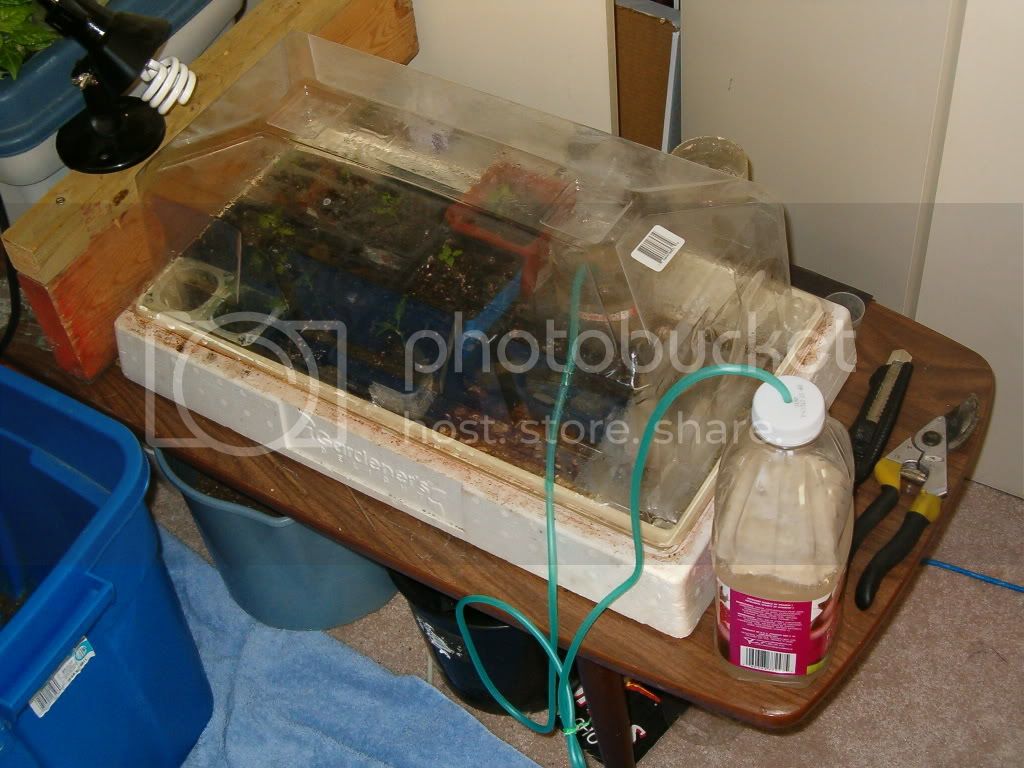
just when you think things couldn't get any cheaper i read about greenhouses using CO2, so i decided to make my own CO2 generator with an old 2 litre pop bottle(actually it was a clubsoda bottle as we don't drink pop). i drilled a hole in the top of the cap and then filled the bottle with water, yeast and sugar. no i didn't go out and by yeast, i had some in the kitchen cupboard with an expirey date of 1996, i mix the brew and fed it into my germination chamber, it bubbled just fine.

HPIM1945.jpg


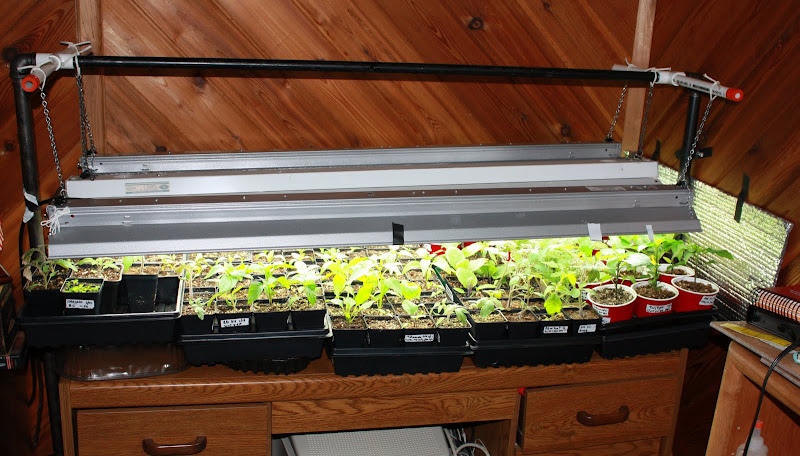
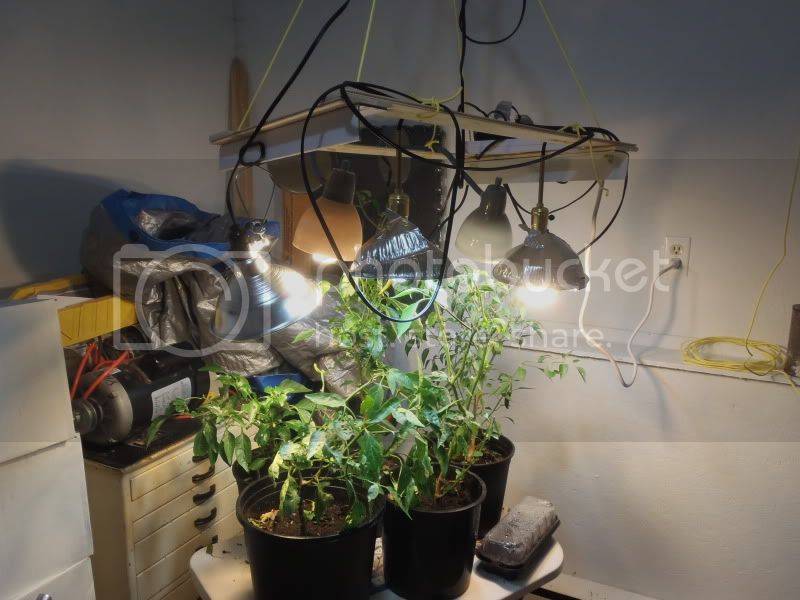
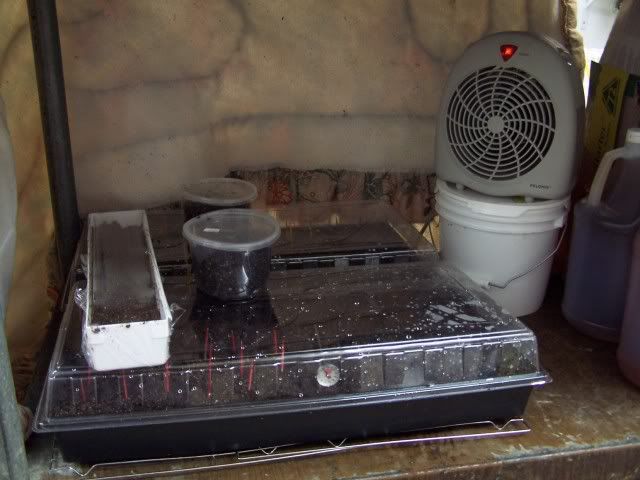
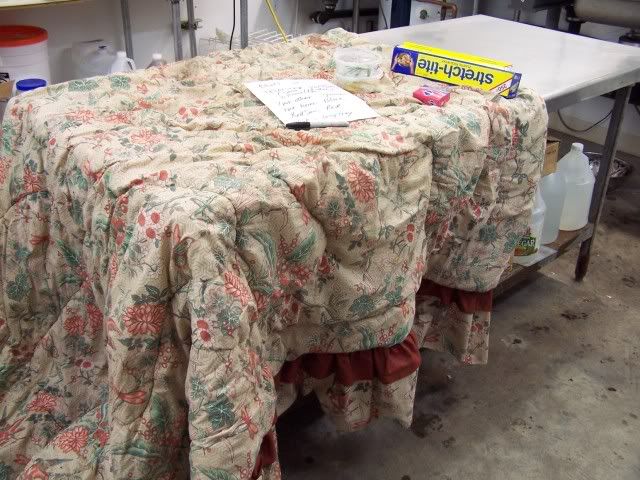
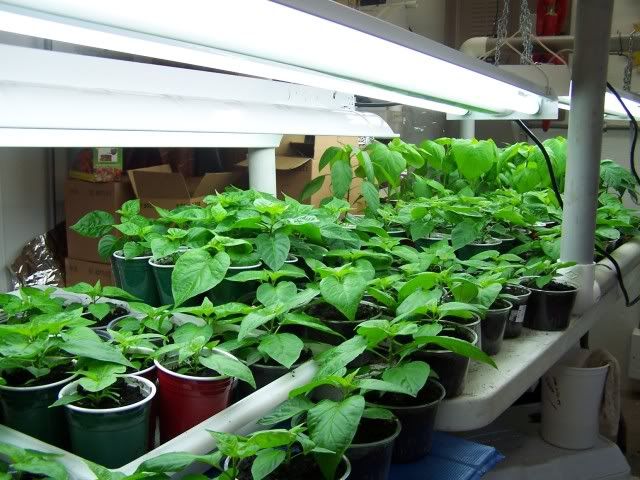
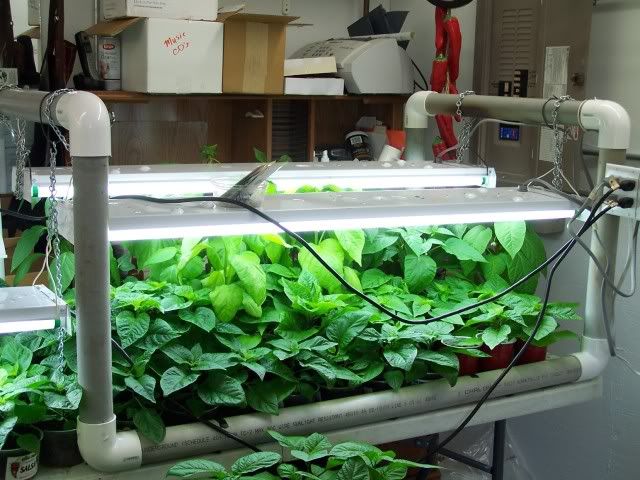
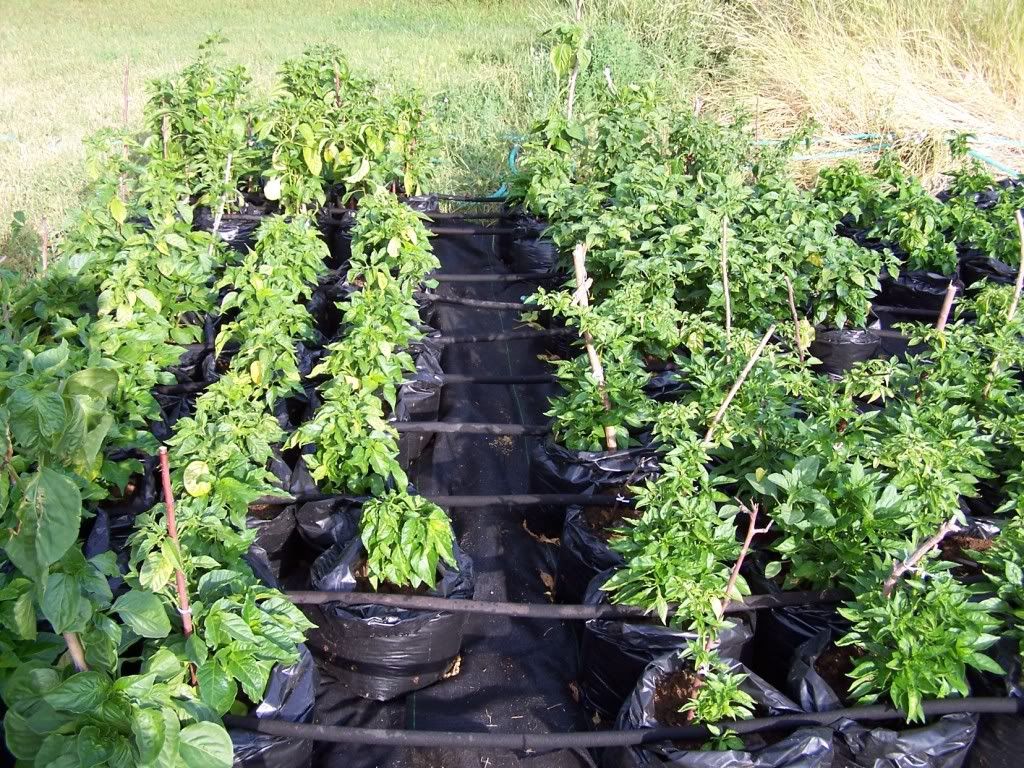
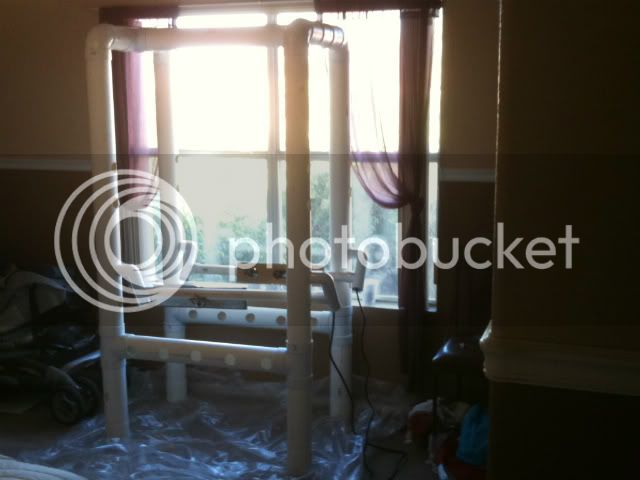
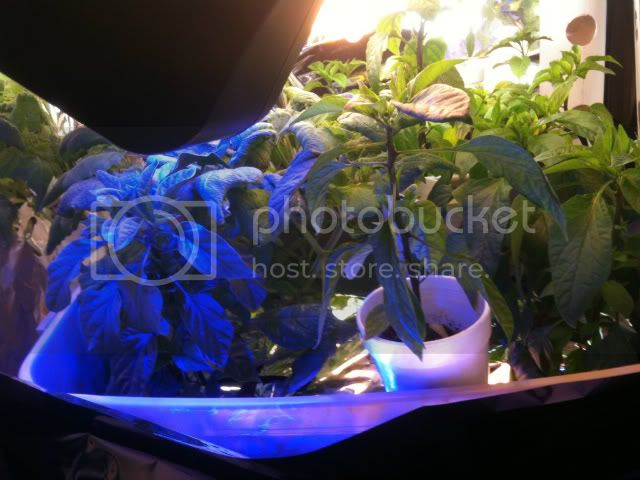
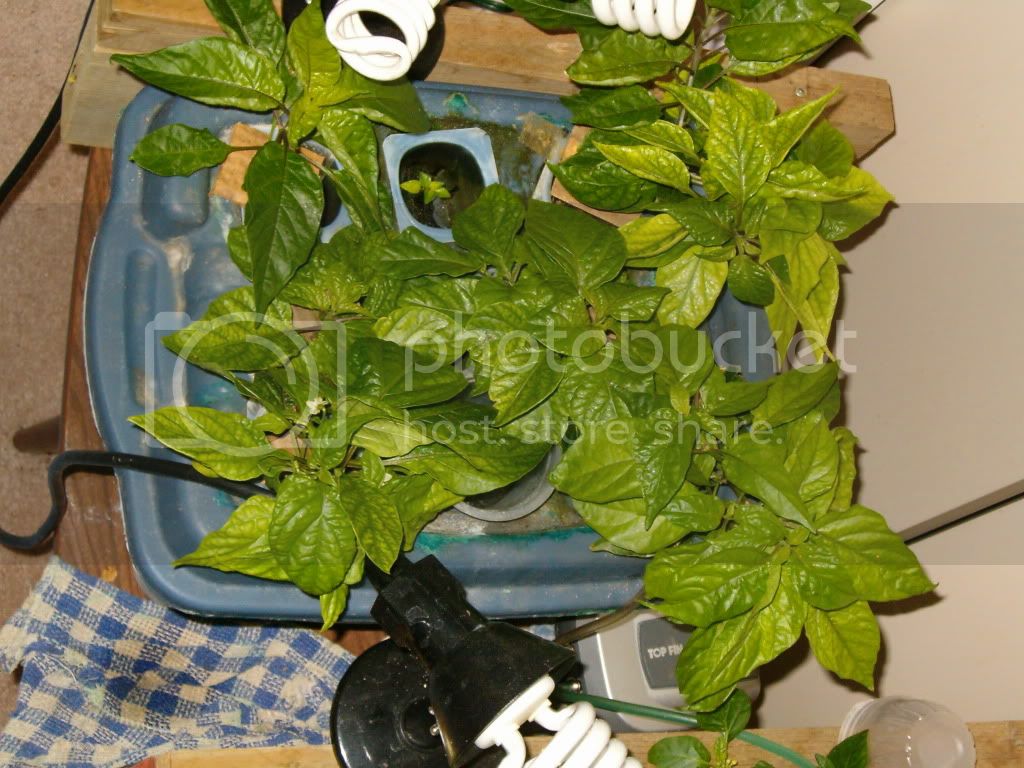
here are a few other pics of my dwc as time moved forward:

HPIM1978.jpg

HPIM1977.jpg


i have done some other really cheap, macgyver setups but didn't take pictures. but i am constantly looking for ways to use and recycle materials without spending my money. my wife just wants to run out and buy me nice clean aerogardens but she knows how disappointed i would be.

thanks for viewing my ghetto post!
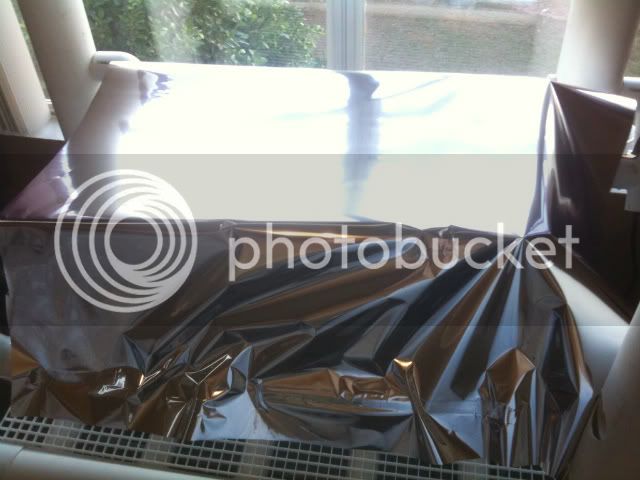
 
BC - you win the Internet! :hot:Most of us have the inner tight-arse gene - for environmental or fiscal reasons, and sometimes just for the satisfaction of getting an outcome from good old fashioned ingenuity. Lots of talented people here making lots of clever and economical growing gear :cool:
 
BC is the best. The hydro-industry tries to create this image that you have to buy special nutrients and Media and .... Then BC comes along and shows peppers growing in vacuum cleaner lint using the cheapest nutes he could buy at a garage sale and glow in the dark stickers as a grow light.
I actually read an article about how to get started in hydroponics for around $600. If BC spent $600 he would have the underground lair in pineapple express. Peppers only of course.
I won't say I take BCs approach exactly but he has taught me that there are always alternatives. This knowledge/attitude has saved me money and made the experience more fun.
 
Onya Frosty, couldn't agree more. Doing something well without dipping more than a toe in the consumer mudslide is satisfying. Bloody satisfying in fact :drunk:
Now I must go and clean myself after soiling my vicinity after reading your "glow in the dark stickers as a grow light" comment... well played Sir! :onfire:


BC is the best. The hydro-industry tries to create this image that you have to buy special nutrients and Media and .... Then BC comes along and shows peppers growing in vacuum cleaner lint using the cheapest nutes he could buy at a garage sale and glow in the dark stickers as a grow light.
I actually read an article about how to get started in hydroponics for around $600. If BC spent $600 he would have the underground lair in pineapple express. Peppers only of course.
I won't say I take BCs approach exactly but he has taught me that there are always alternatives. This knowledge/attitude has saved me money and made the experience more fun.
 
Yep BC.. thats ghetto, although I'm sure you could have used the walmart bag for something if you thought about it. :-D by the way, how did the CO2 experiment work?
 
Back
Top