• Blog your pepper progress. The first image in your first post will be used to represent your Glog.

PIC 1's............Pod-ography.............2013

  Good Eve-ning, and Welcome to my bog...glog !

Hey folks sorry for the late glog-up I'm a month behind last years startup,...... :rolleyes: ...... I still have 12+ weeks (plenty of time) before I can start think about hardening off the plants outdoors.

First off I'd like to give a shout out to those who followed my grow last season. Thanks for all the comments, thoughts and ideas. The chuckles we shared......there were some good laughs...(and especially all the criticisms........ :liar: .......hah)

To those who are new, I try to follow a "weekend update" format with photos and captions. Although if anyone has questions or replies that needs and answer or response I'll get back during the week. I hope to keep this interesting and entertaining...

and away we go!


Garden Rewind

scan0001.jpg


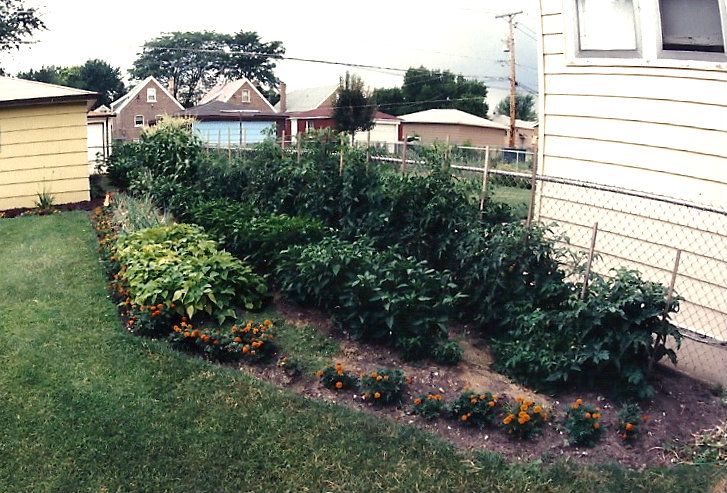
Here's my 1st garden (1986)...it was modest but what we grew we used in our kitchen. I had a couple of dual bulb 4ft T12 fixtures in my basement. A couple grow-lux and daylight color temp bulbs. The indoor grow was far superior to the vegetable starts sold at the local nurseries.
My Italian neighbor couldn't understand why his bell pepper starts only had flowers while mine had golfball size peppers very early in the season.....The hot varieties I grew back then were the cayennes, orange habaneros, and a few different type or thai-birds. Things have changed but I still grow those varities.

IMG_1796.jpg


Here's a shot from last season. I grew around 150+ pepper plants in two different sections of the garden. Plants were grown in raised beds and containers from 5 gal up to 20 gal
IMG_1763.jpg


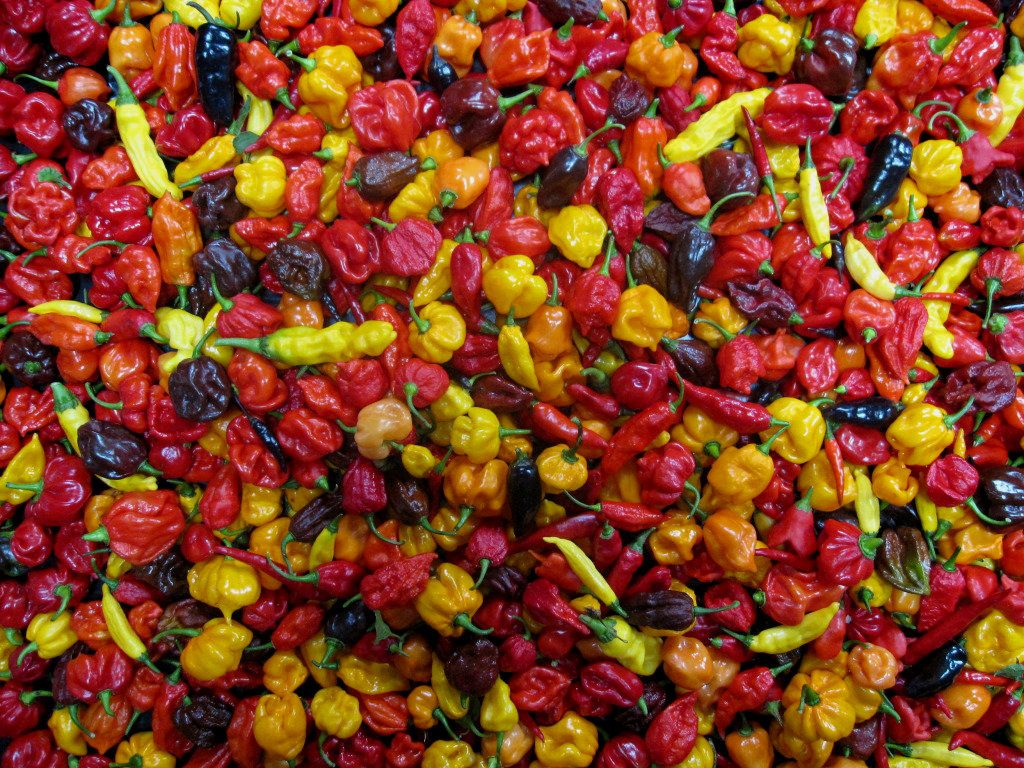
A typical weekend harvest shot from later in the season when the gardens at full swing.
IMG_5253.jpg


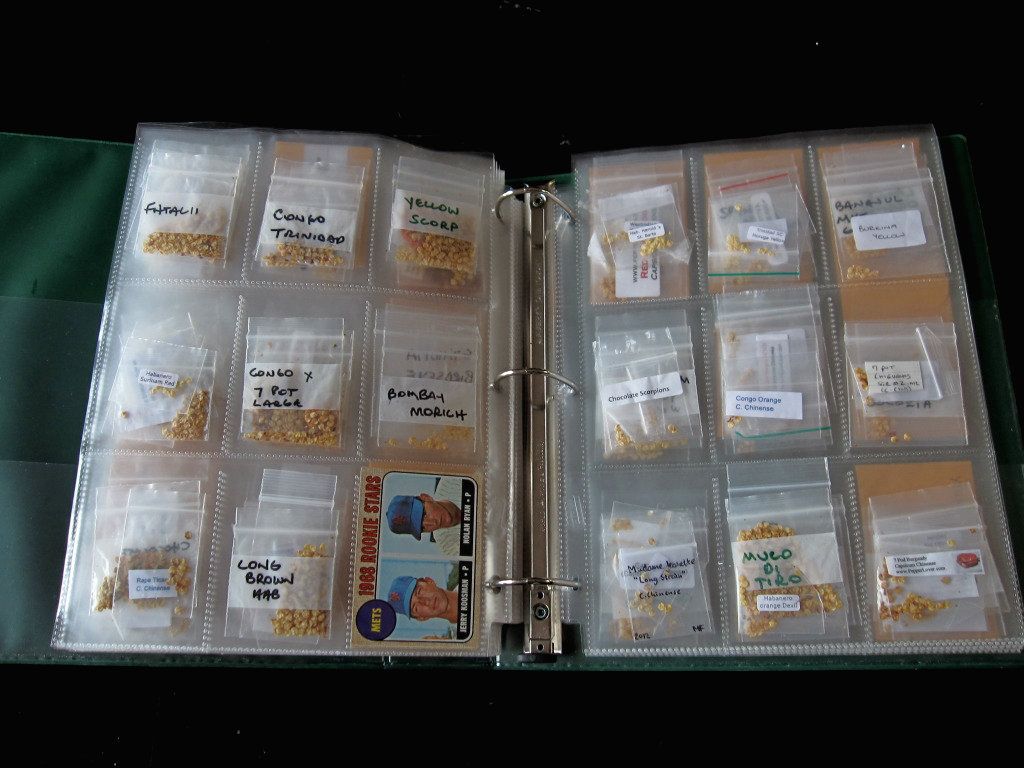
This is one of my seed catalogs, the c.chinense....the seeds that invade our gardens every year...
This book and other seed catalogs are kept in a tupperware container container on a shelve in the corner of the basement.
No elaborate system needed, The seeds are kept in 1.5" zip backs. I have seeds that are as far back as 2007, and still germinating without a hitch....theres no need to pitch. Speaking of pitching theres some old baseball card to display the size of the pages used.
IMG_5217.jpg


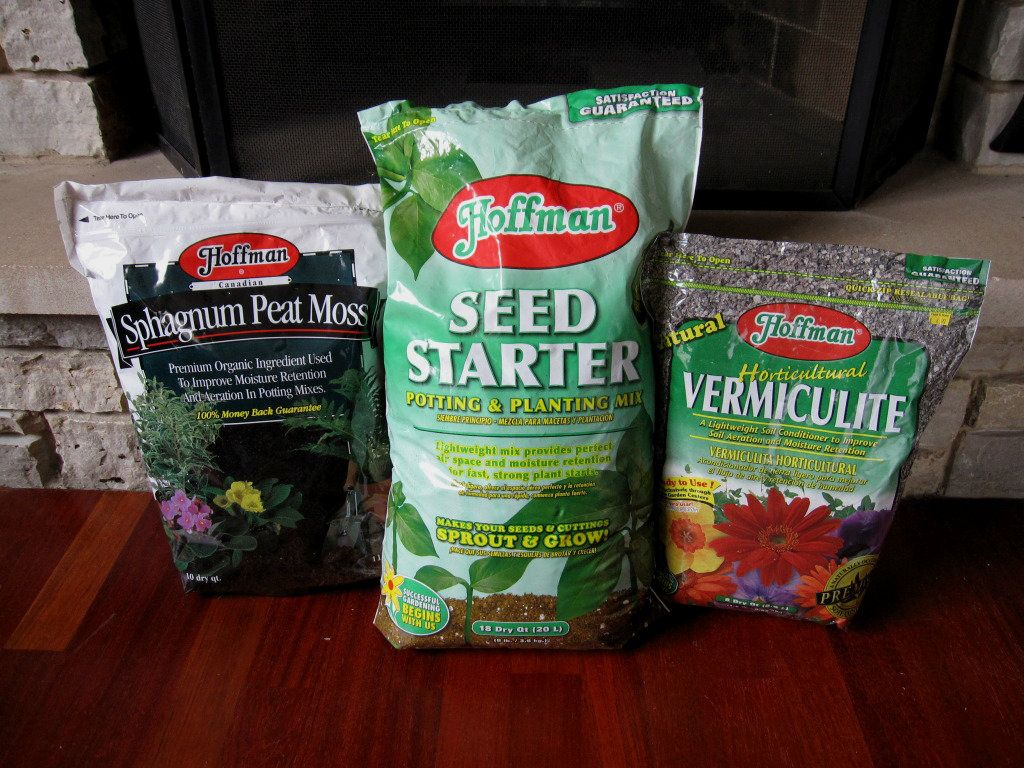
These are what I use to get the seeds on their way. I take 1/4 bag of each, mix that into a 5 gal bucket and moisten with water. The spagnum peat give fluff to the texture also helps indicate when the mix need to be re-moistened but the lighter color it displays. The vermiclite helps with water retension while letting the air and moisture through. The seed starting mix also has fine grain perlite to keep drainage and airflow moving.
IMG_5165.jpg


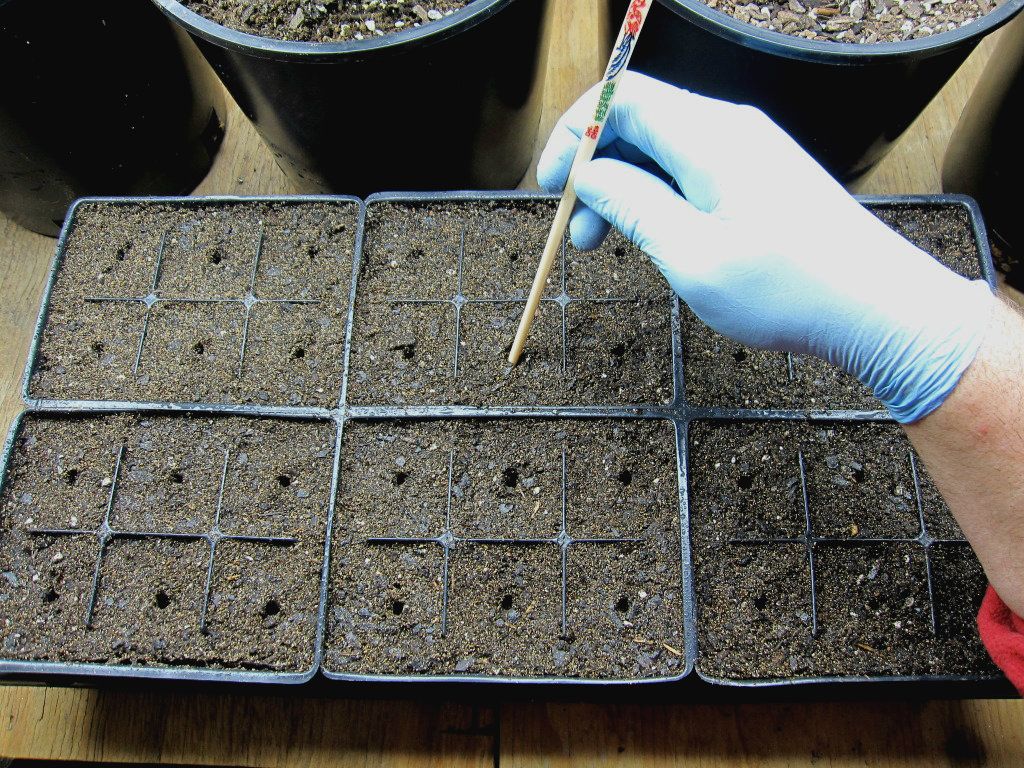
Ha..........I knew this chop stick would come in handy someday. Once the seed medium is moistened I'll make a hole with the stick 1/4" down .
The seeds will be planted at the same depth. That helps when misting the top with water. Seeds that are planted too high may dry out or seeds planted to deep may rot.
IMG_5099.jpg


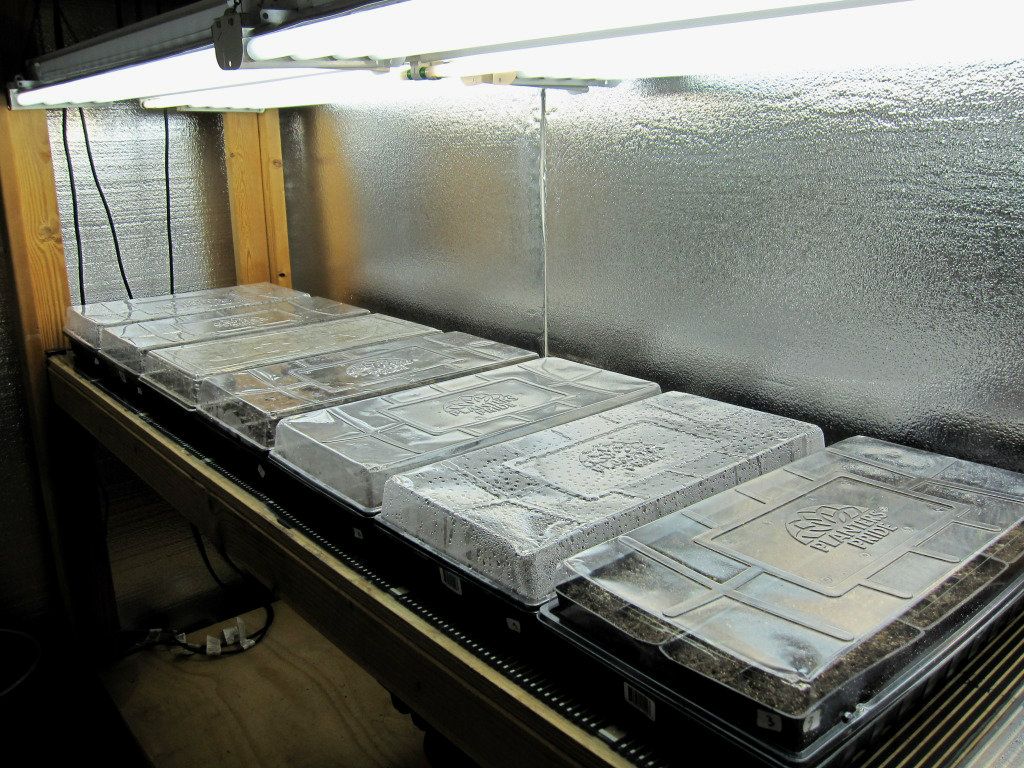
I use two 2ft x 4ft germinating mats. Enough area to warm 8 seed flats at once...
IMG_5246.jpg


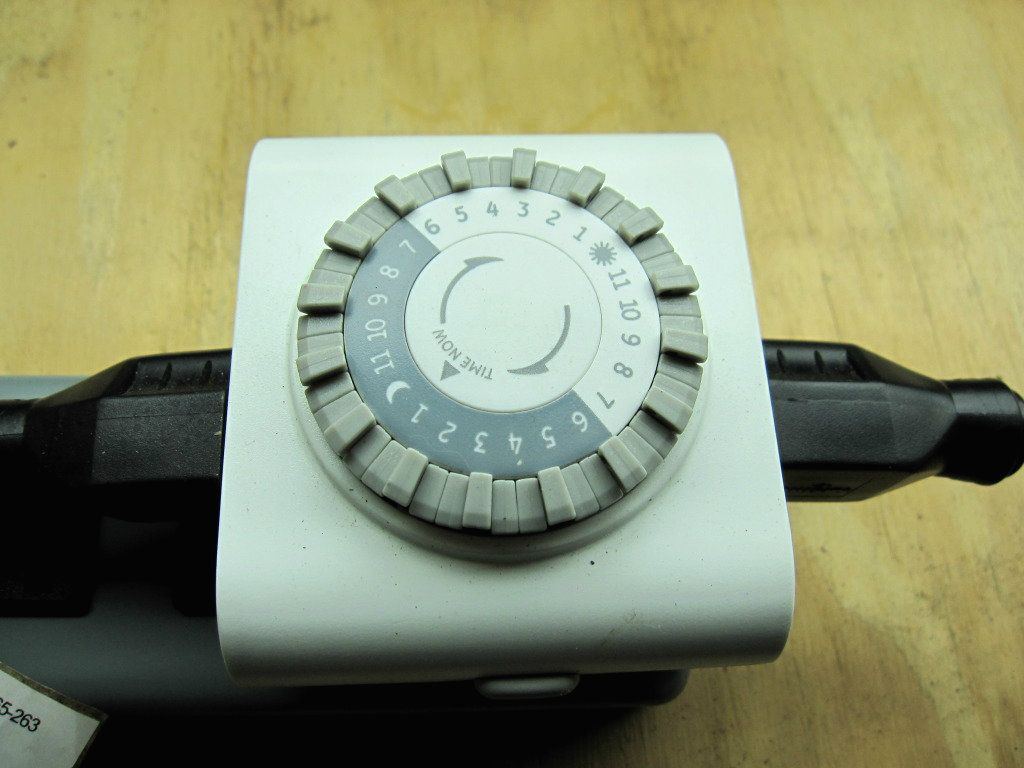
I don't bother with a thermostat for the mats. I run them through a timer, 2 hrs on, 1 hr off...continous. The average temp of the soil stays at +/-85 deg
IMG_5101.jpg


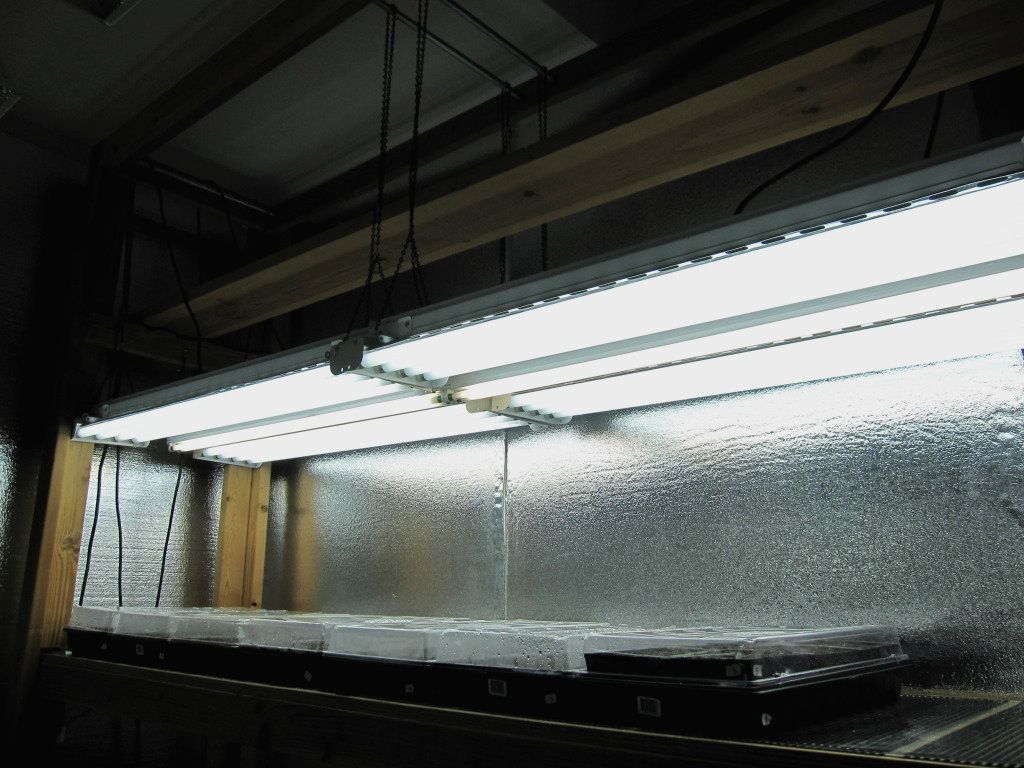
This is the main grow room. I built the 2 tier shelving units 8ft long x 2ft wide. 8 flats fit underneath the lighting units. Here we have four narrow spaced T8 4 bulb fixtures with 6500k bulbs and one 8ft TF twin bulb tight spaced fixture with 4100k bulbs. I have 4 identical systems in the room with an addition of three 400w mh fixtures with 7200k lamps. The room has 2- 20a dedicated circuits and 1-15a to split the current draw..

more photos in a few minutes....thanks for looking!
PIC 1's......Pod Pornage.............2012


.
 

Tongue and Groove.....Cedar, Pine..etc

Wow, amazing glog so far. I need to check out your older ones.

Thanks TJ,
I like to take the glog from the startup through the harvest(s) to the final cleanup...

This is an amazing grow setup. I can only hope, well maybe I should never hope to get to this point! Good luck on what seems to be an amazing grow for 2013.

Thanks JHP,
Its all in the hobby .

Greg, man, really nice opening. Love the way the garden has evolved over the years to the majestic grow space it is today.

Great start bro.

Thanks Bill,
If I can learn one new thing this year, it would be a shortcut to making the grow easier..........but I still haven't figured out how to do that !

Greg, seriously a grand start off mon!!! I am looking forward to following your 2013 glog as I enjoyed reading your 2012 one, but sorry not going back to 1986 ;) I have a feeling that you will outdo last year’s glog as I believe you are honing your skills. While last year was a great glog IMHO, I feel that you are shooting to surpass it and I’m sure you will!

I dig your starting post, very nice tie-ins/tie-backs, followed by great grow room details and seed catalogs, wow … but did you have to post food so early in the glog, now I’m running off to cook something hehe. Dam you guys and your smexy food pictures & recipes :D

I’ll be watching and lovin every minute of it. PS hope you enjoy the Jamaican Habs as much as we do down here …

Hah......Thanks Ramon,
If I could out do last years grow I would be a happy pepper....camper.
33 out of 36 JA Habs are up. I planted 12 of each (1,2,3) I'm looking forward to making some "good red" sauce out of them. I've been using mainly Caribbean Reds (Yucatan) and Red Congo's (Trinidad). Combined together in a sauce is a go to for me on pizza. But I can see some Red Snapper "Vera Cruz" style using the JA Habs................and many other dishes. "Jerk' marinade...anyone?..................ha
Thanks for stopping by and good luck with your season....in Sunny Florida !

The master of all Glogs has arrived and we will all only wish we had your skills.

Too kind,...But Shane..........."The Mystical" has all of us topped. He has the variety of info and the stories!
Brotha Jamie...I will be watching your glog, not only for the outstanding pepper photos, but the food shots you throw out there.
Can't wait until all of us have plants growing outdoors... .

+1 Jamie but I guess it takes a master to know a master. I was soooo looking forward to this and like many others I too went back through your entire glog from last year. That is an excellent set up. When I grow up I want one just like that. Aahhaaaaa. I will be following intently of course. Best of growing to you.

Thanks PIA,
When I decide not to grow any more I'll pack all the lighting gear up in a U-Haul and drop it in your drive way.....you bedda ask your parents, are you 21 yet......hahaharhar
I'm looking forward to your videos this year if you chose todo. Your garden was starting to explode with ripe pods towards the end of the season...
Thanks for the comments and the laughs...

Greg

:surprised: 128 fluro tubes, geez i do NOT want to pay that power bill, that would send my broke with Aussie power prices and that doesn't even include the MH/HPS.

Though it does look like a fantastic way to start a LOT of plants, the plants must really like it if there actually getting pods in your grow boxes.

Ha, I can honestly say my electric meter spins like a top.................. :liar:
Well , ok its not all that bad.

I grow enough plants for a couple of plant sales in April and May. That helps offset the electricity and materials.

All the lights will be running March through April, then I'll ween the plants off the indoor lights and slowly harden them outdoors.
 
Pic1, that is an insane amount of chillies and a first class set up! I would say good luck, but you clearly do not need it! lol Good luck anyway - may this be the year you have to buy a truck!
 
Always a pressure checking in with your grows! Always entertaining and educational. Looking forward to seeing next weeks update!.
Thanks Bee,How did the balconey grow end up? Have you started up the seeds for this year...

NOT a typo...
My pleasure to be under pressure

Yeah it is tongue and groove.
Love that stuff to work with. I decked out the rec room in my old house, walls and ceiling with western red cedar. Alot of 16ft boards with different color characteristics. Back then it was only $.70 per linear ft. I can imagine its probably double that. ...the cut offs smelled nice in the fireplace

Pic1, that is an insane amount of chillies and a first class set up! I would say good luck, but you clearly do not need it! lol Good luck anyway - may this be the year you have to buy a truck!
Thanks Lourens,I hope things turn out as planned, ...ha, maybe a truck and a bigger freezer
 
Nice start Greg, I look forward to seeing your progress. I can't believe you've got poddage already!
Thanks Lavatung,Only one pod so far, but numerous flower clusters especially on the Jamaican Bonnets. The c.chinense are all popping up out of the soil as the grow room temp and humidity feels like the tropics. I feel I nailed the start up on time. Not as early as last year, but they'll have a solid 12 weeks with three pot ups before heading outdoors.
 
You know I got so overwhelmed with seeing that bb card I totally spaced off your grow posts. It's always good to see how a professional does it, thanks.

I can't tell you how many cards I stuck in my bike tires Greg. Probably cry a bit if I knew.

Best of luck to you and yours man.
 
Greg as usual top notch set up and love the food presentation always making me hungry. The seedlings are really taking off can not wait to see you garden filled with amazing pods and pepper trees.
 
As others have said, looks like you have an excellent start going. You're grow box is awesome as well. Unless the camera angle has me fooled, you have a lot of room in there for your babies. Good luck with your season Greg!
 
Weekend update...


IMG_5262.jpg


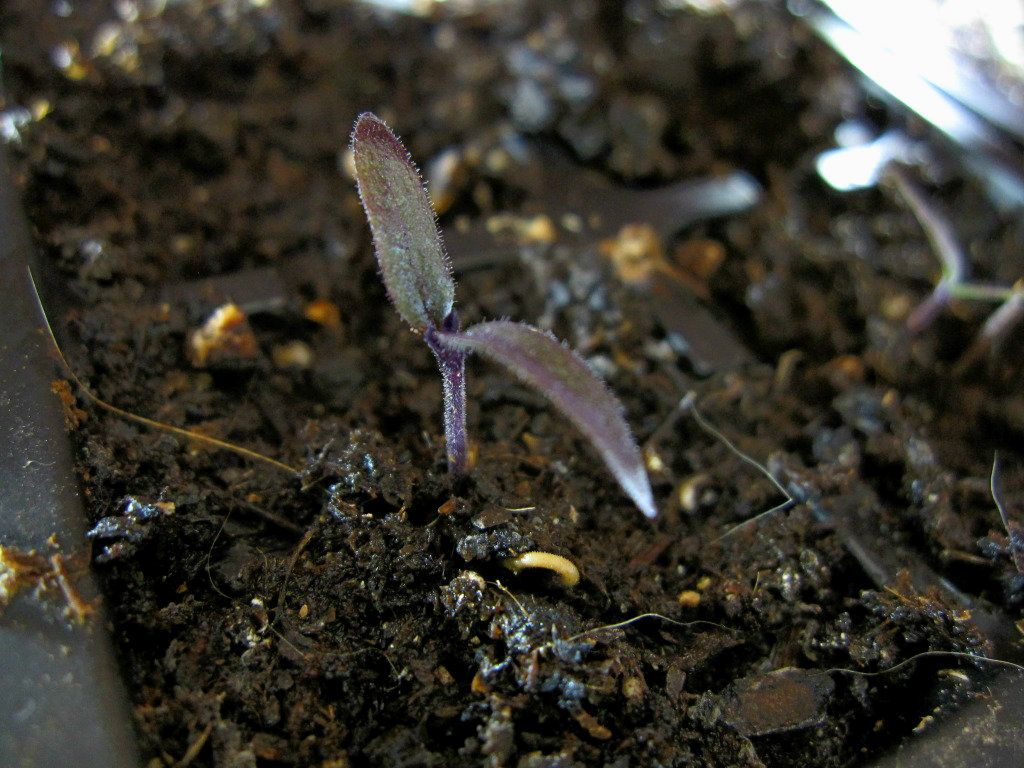
Purple Bhut Jolokia..............and I mean purple!

IMG_5277.jpg


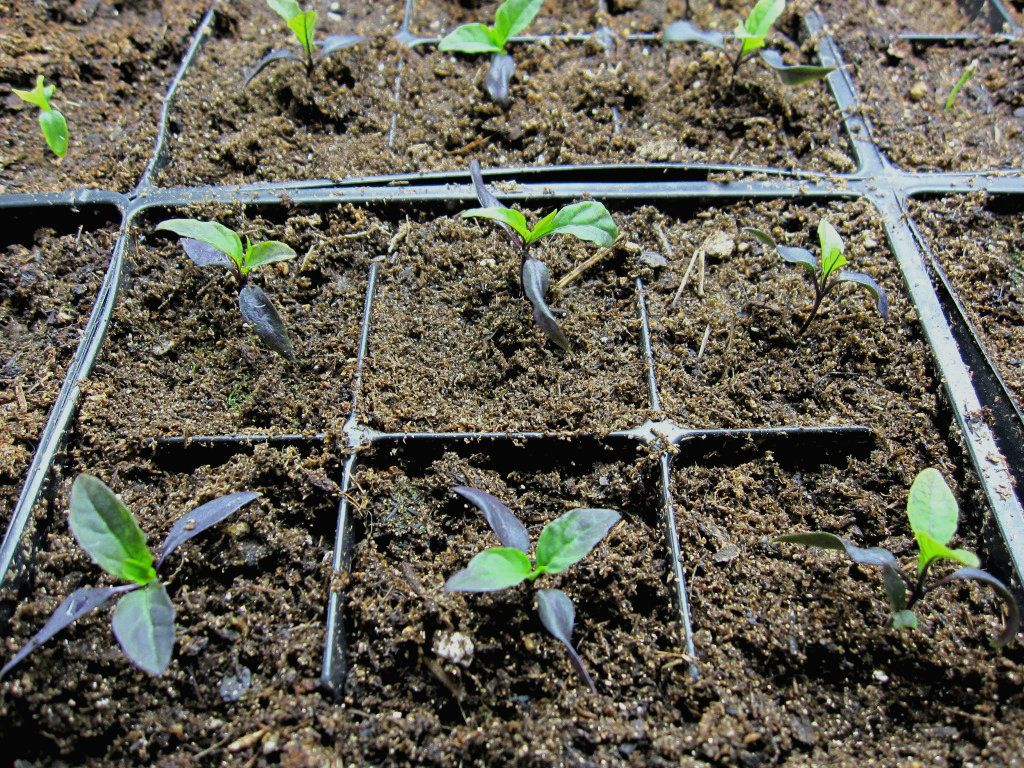
Here's a "squadron" of Maui Purple...the leaves on these plants will stay purple throughout the summer sunlight, while the Purple Bhut Jolokia retains the purple stems but acquires green leaves with purple veins. Both plants will produce red ripened pods............now I'm confused.........ha

IMG_5307.jpg


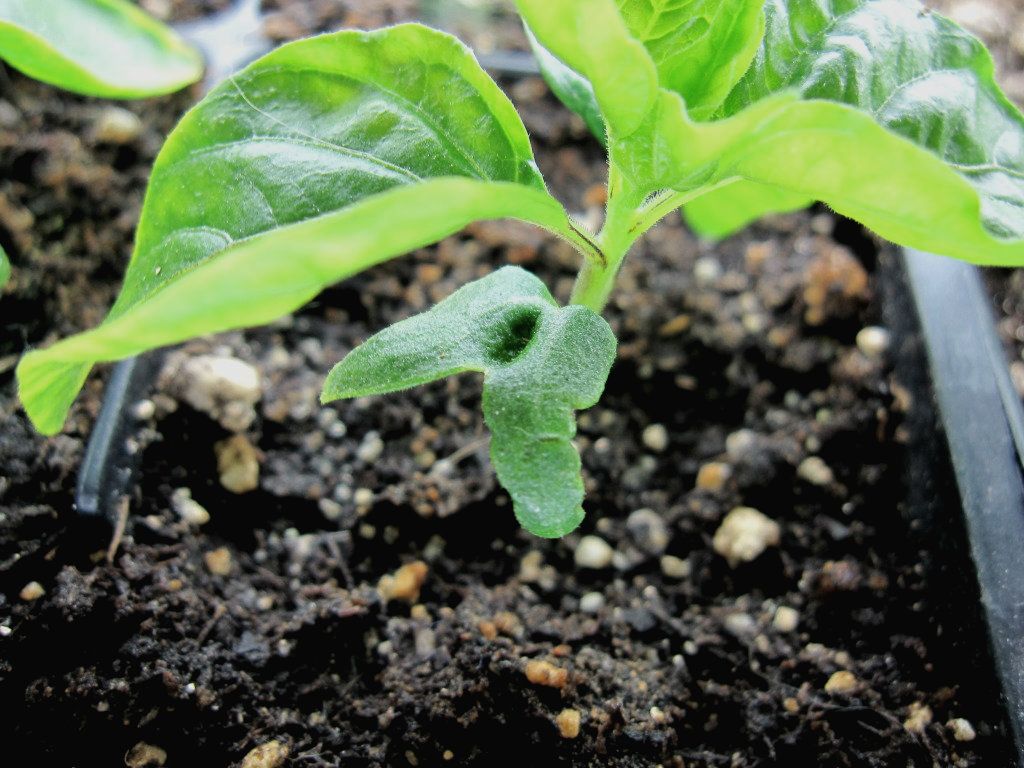
This is a result of a stuck seedcap. Cotyledons that were fused together and appear to look like.....................whatever your creative mind sees!

IMG_5349.jpg


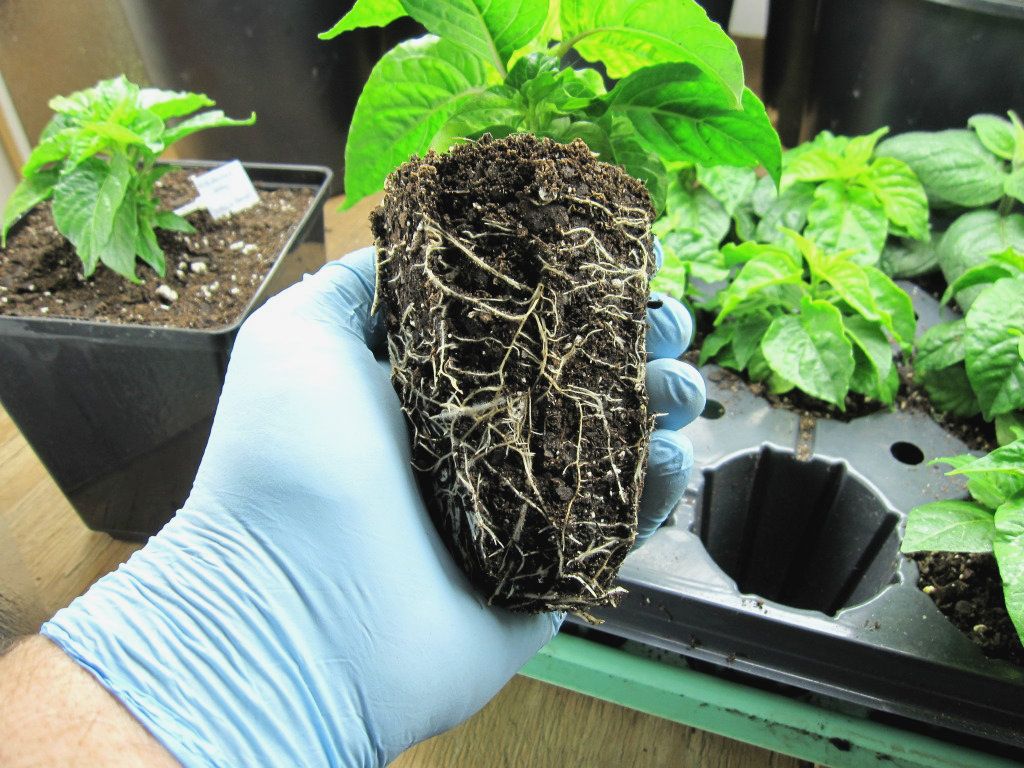
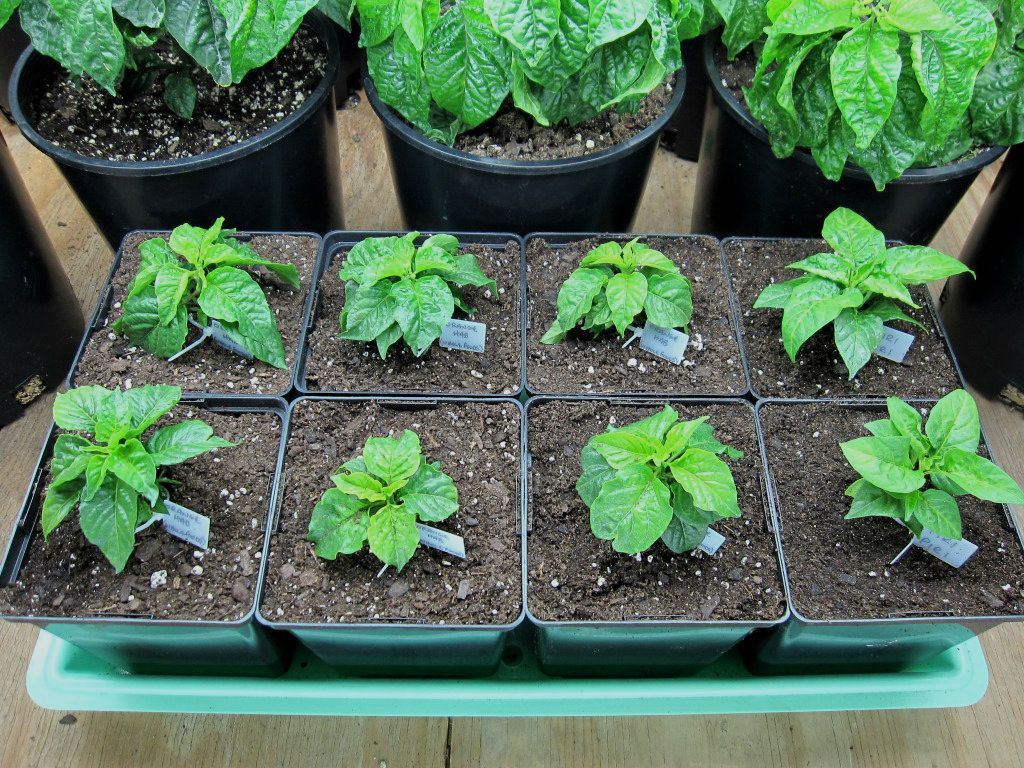
This year I went back to using the "star-inserts". My seedlings that make it out of the 72 insert flats will end up in these 2.5" w by 4" d star shaped inserts. The shape of the wells help direct the roots downward not round and round like a yo-yo. Since I primarily bottom water the trays this is a big advantage.

IMG_5381.jpg


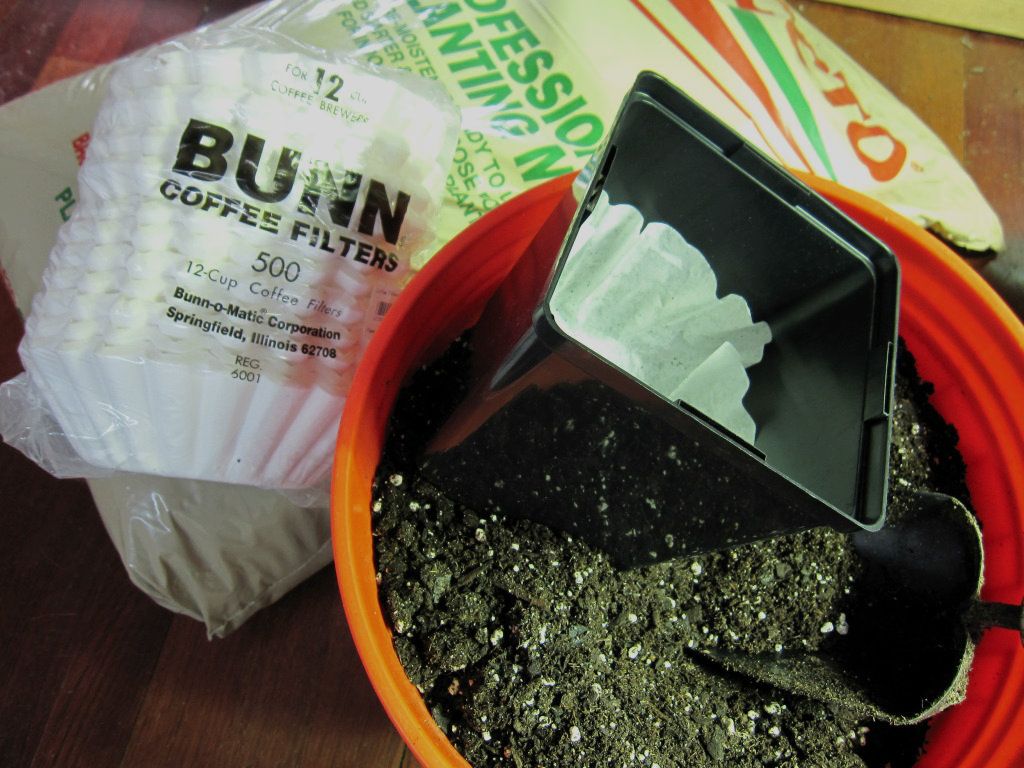
Before I pot up to the 5 1/4" containers I like to place a coffee filter in the bottom. That helps keep the soil from draining out. Eventually they break down but by then its time to transplant to a bigger home

IMG_5355.jpg


Ok.......I not sure how many of you are involved in plant sales. I generally participate in a few...
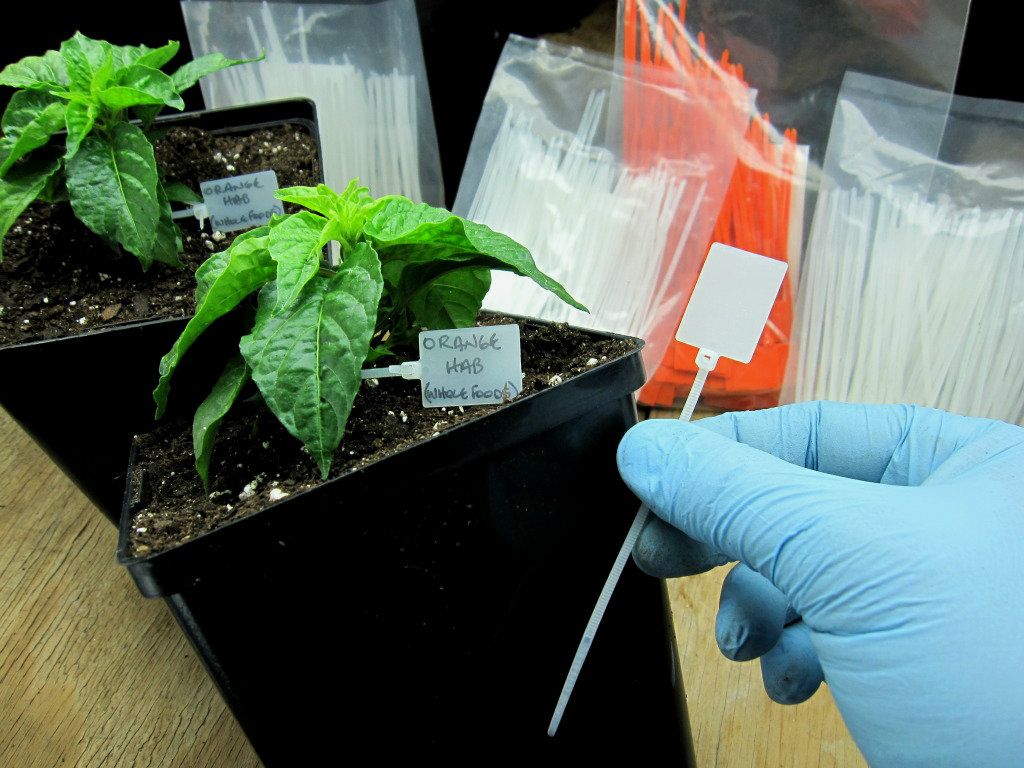
Last year I felt like I was down to my last straw......stick. plastic plant tag....what have ya... I had children and adults taking out the plastic plant tags out of the pots rather than bringing the plant up to me or bringing me to the plant. Needless to say, the tags were either brought back to the wrong plants or not returned at all. I had one young kid that ran up to his mom with a bunch in his hand..." Hey mom, look what I have"........go put those back Johnny !...Ha, put those back where? I'm sure there were folks taking home what should have been a "Douglah" but ended up with a " Barrackpore"......hmmm, to some that may not be a bad deal.........hah

Anyways, I decided to use some Flag-Tag tie wraps with a rain or shine marker......its fool proof.
To the kid that had a dozen tags in his hand..............na.na...na.na...naa.....naa

IMG_5408.jpg


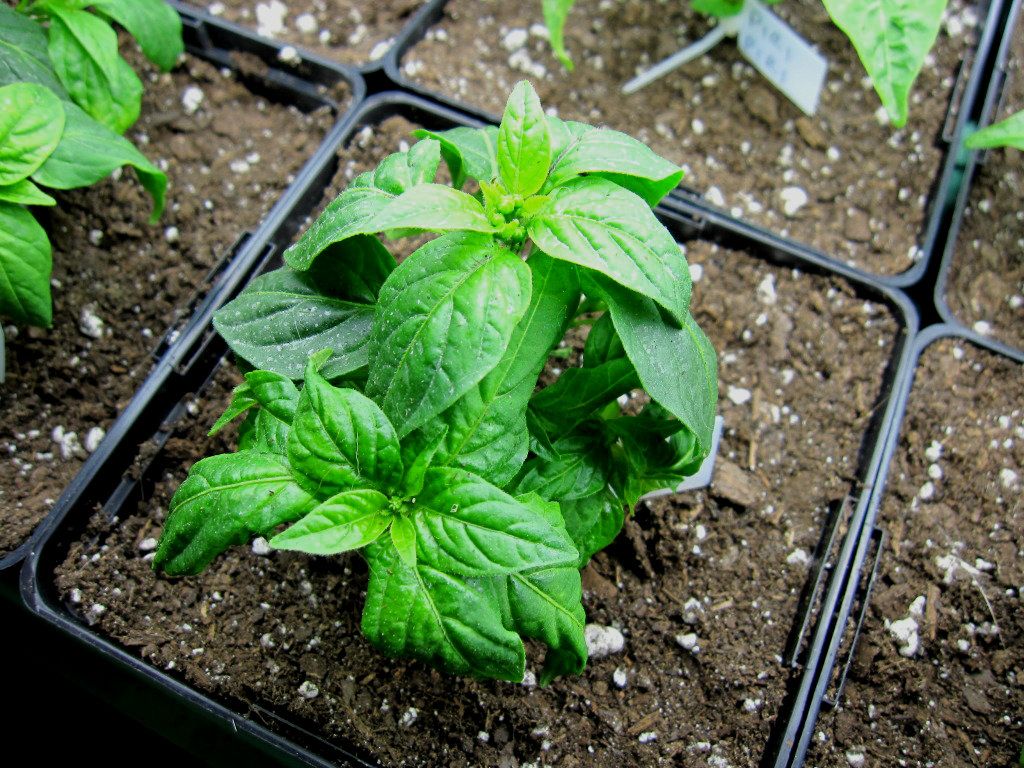
Back to the plants..........Pequin

IMG_5407.jpg


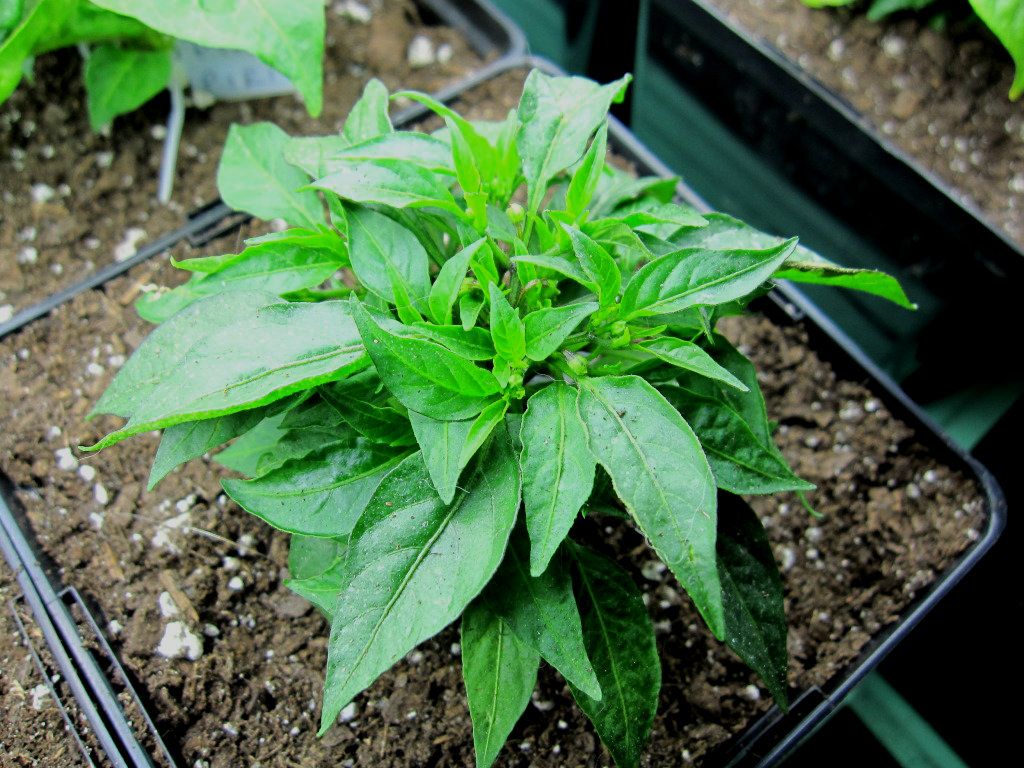
Zimbawie Bird

IMG_5410.jpg


Fatalii

out to lunch...be back shortly...
 
Looking great as always greg .... now instead of tags in little johnny's hand he will come back with handfuls of plant matter and broken stems trying to remove the tags ;) :rofl: just joking Greg ... great idea with the tags ... I need to do something similar just for my own personal plants (although it is small enough that I know exactly which plant is where anyway) especially when they are smaller.
Always enjoy looking at your grows Greg ... professional is the word that best sums them up!!
 
Very, very nice Greg! Amazed as usual! Been meaning to ask you, have you ever potted up seedlings directly to Happy Frog? If I remember correctly you use HF. Wondering if it would be to hot.
 
IMG_5379.jpg


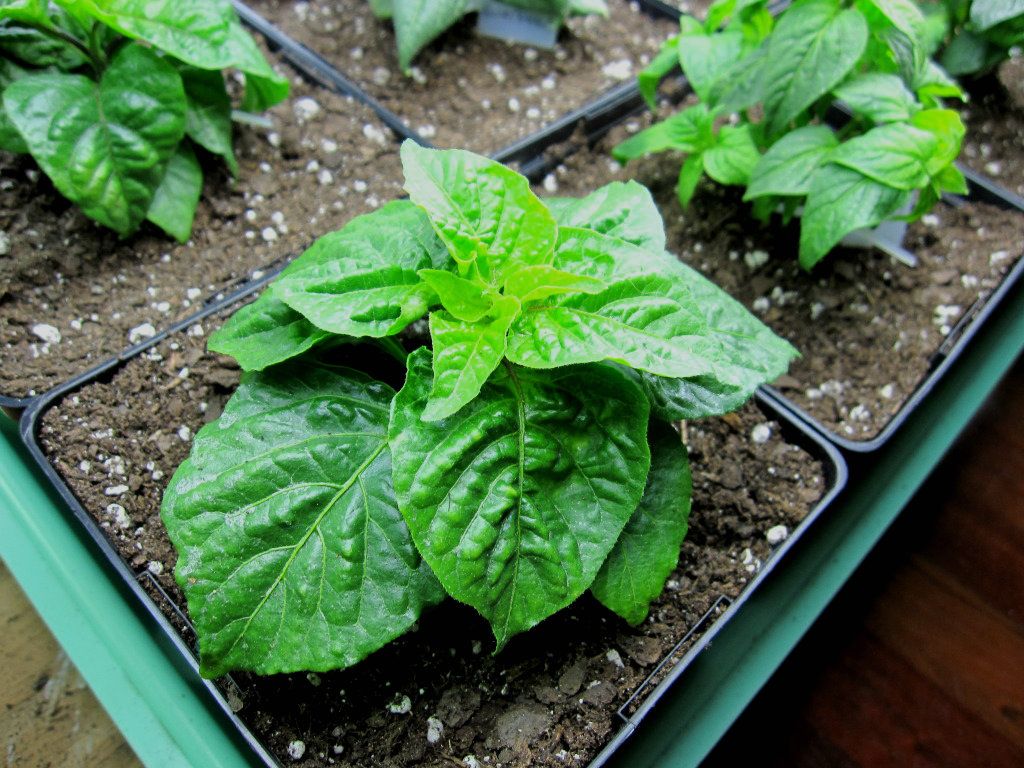
Here's a mix of plants , some 5" containers in the front of 2 gallon size...

IMG_5259.jpg


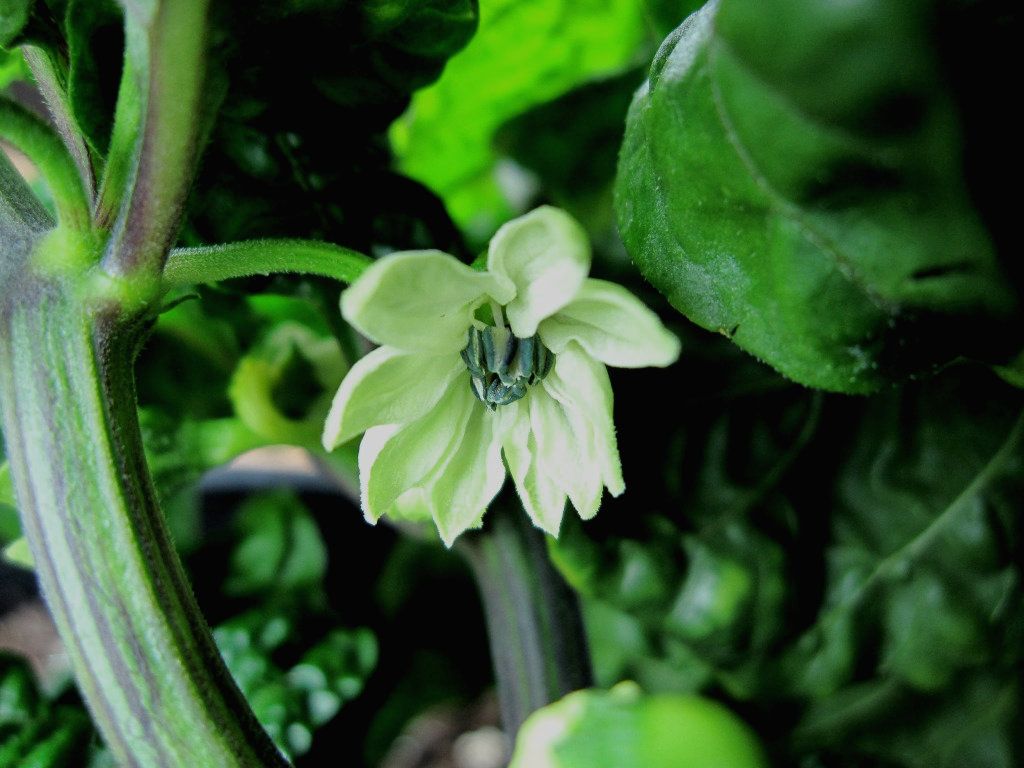
As with most c.chinense, prior to the flower opening the petiole (stem) will lift up.

IMG_5296.jpg


Guatemalen Rocoto

IMG_5284.jpg


Here's a Scotch Bonnet...........lots of color variation with the new growth, all of a sudden some of the plants are in high gear. It must be the "Fish Ferts"............pew !

IMG_5311.jpg


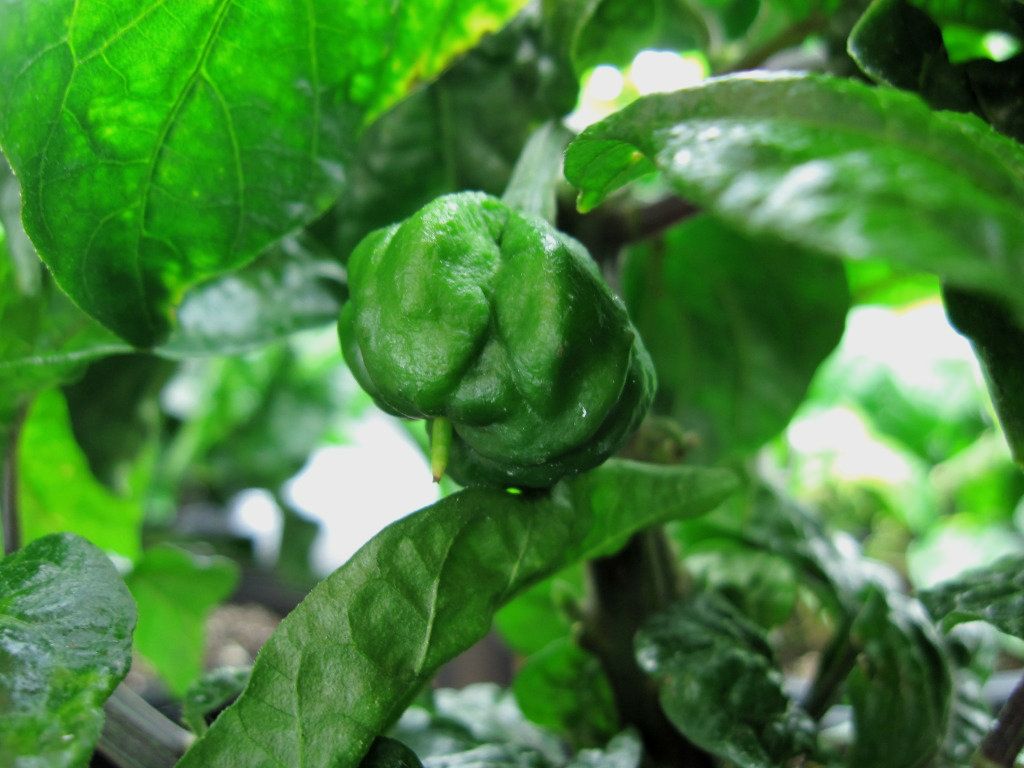
This is that little "scarecrow" looking pod I photo'ed last week. ( Y. Scotch Bonnet x Y. Brain Strain). It doesn't resemble either.....if that makes sense...... I'm happy !

IMG_5365.jpg


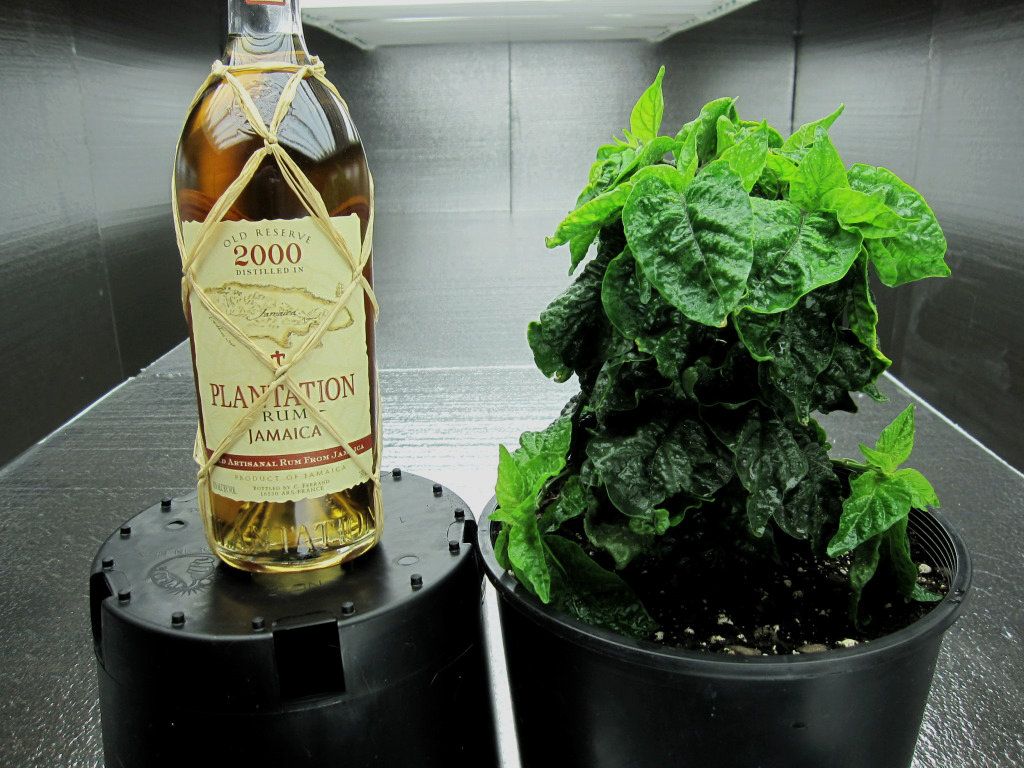
A bottle of Rum and a Scotch Bonnet.......I guess you could say the plant is about a "Fifth" tall...

Did somebody say food?


IMG_5331-1.jpg


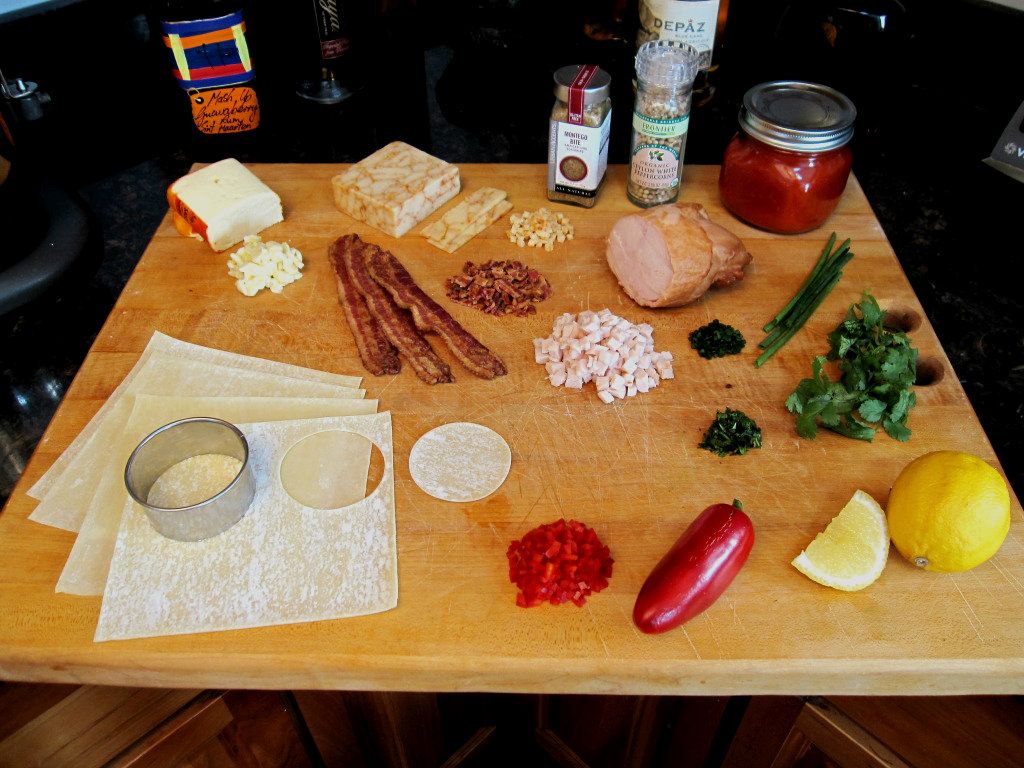
Here's some ingredients for an appetizer...."Superbowl"...maybe? Or if your from here....."Go Blackhawks !"

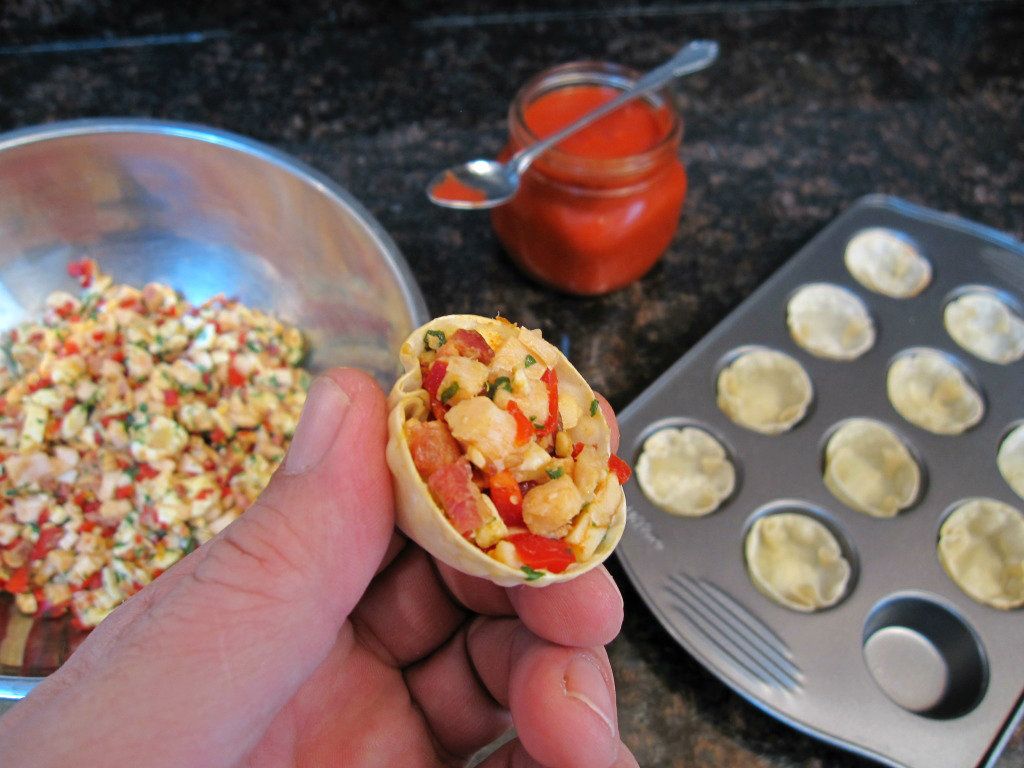
Egg roll wrappers cut in a 2" circle, Red Jalapeno, Lemon, Port Salut Cheese, Cheddar-Chipotle Cheese, Applewood Bacon, Jerk Seasoning, White Pepper, 7 Pot Puree, Smoked Chicken Breast, Chives and Cilantro...

IMG_5393.jpg


Bake skins in a mini muffin in a 325 deg pre heated oven for 7 minutes. ( I lighly tent foil over the tray ).
Add a dollup of Puree or your favorite sauce in the bottom of the par-baked shells. Fill with the diced ingredients and reheat in the foil tented muffin
pans for 7 minutes longer.

IMG_5400-1.jpg


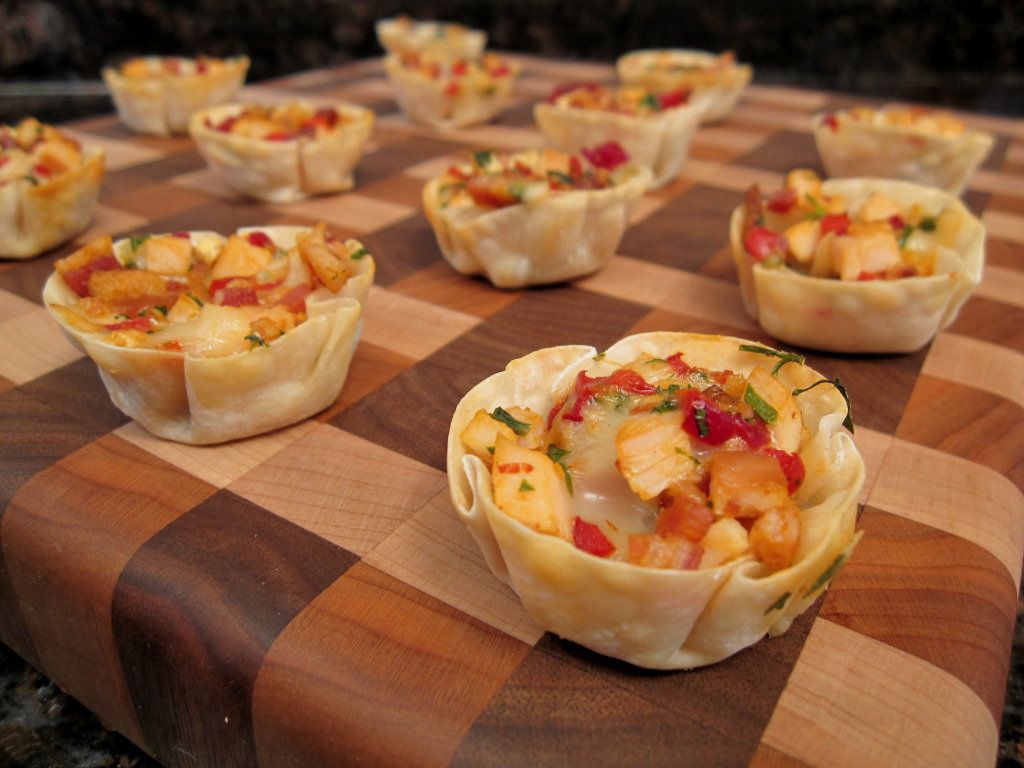
Finished product......You can eat these warm or at room temperature.............yum...Bacon!

Thanks for stopping by....see you next weekend...

Looking great as always greg .... now instead of tags in little johnny's hand he will come back with handfuls of plant matter and broken stems trying to remove the tags ;) :rofl: just joking Greg ... great idea with the tags ... I need to do something similar just for my own personal plants (although it is small enough that I know exactly which plant is where anyway) especially when they are smaller.
Always enjoy looking at your grows Greg ... professional is the word that best sums them up!!

I know this will help me between the pepper, tomato and other veg its hard to keep track. Having the right type of weatherproof marker is also a plus.

Like those purple cotyledons... looking good.

Thanks Charles.......as you know the Bhuts stay purple with the cooler bulb temperatures 6500 to 8000k, once outside the plants variegation dominates to green.

Very, very nice Greg! Amazed as usual! Been meaning to ask you, have you ever potted up seedlings directly to Happy Frog? If I remember correctly you use HF. Wondering if it would be to hot.

Not directly, the "Frog" mix is too chunky. I stick with a fine screen medium which lets the roots travel. Although I have bags of it sitting in the garage, its the stuff I use for the first pot up.
 
Back
Top