• Blog your pepper progress. The first image in your first post will be used to represent your Glog.

PIC 1's...Pepper Graphic...2014

Time to get this Grow off the ground...
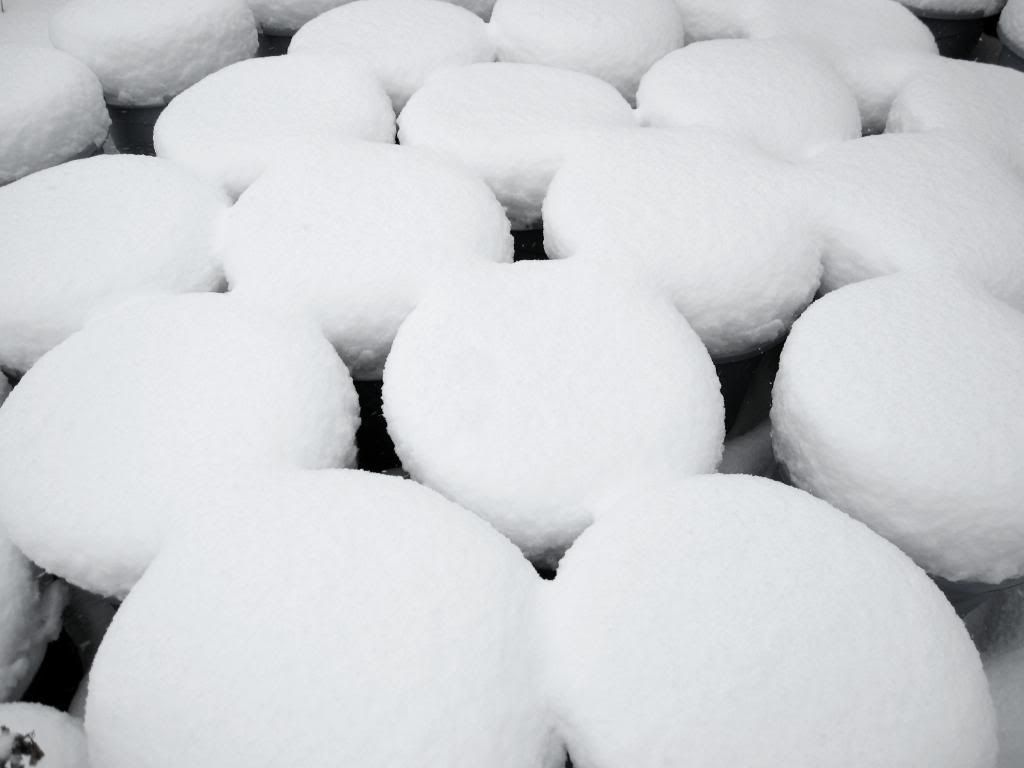


Well sort of...at least the indoor part of it.  Here's the current look at some of my outdoor containers. We've had higher than normal snow amounts since December. A couple of hard frosts to boot. That may kill alot of the spring White Fly that have been dominant the last 2 seasons.
 
A Couple Shots from the Most Recent Seasons
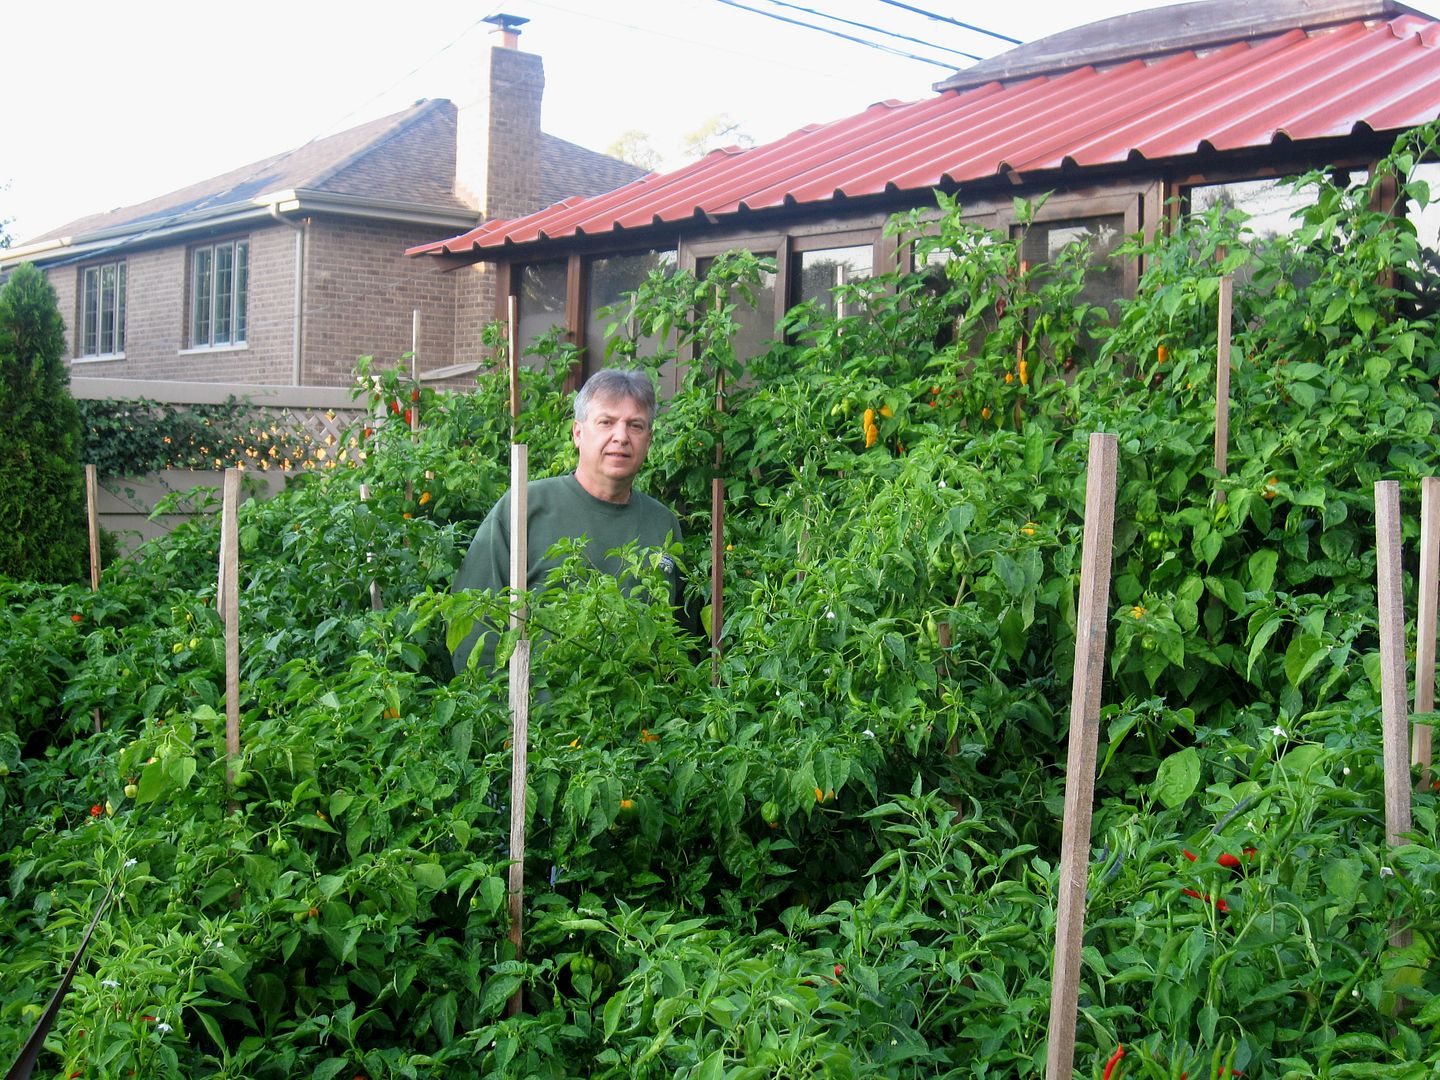


I've started out my seeds for many years in Dec/Jan, and no doubt will provide nice plants with rewarding harvests.
But when you have to start indoors under lights it comes with a cost of time, material and utilities. With some thought I've finally come to (my senses)  a conclusion. As of Febuary 1st I have roughly 14 weeks to plant out. I'm confident that I can raise healthy plants indoors in that span. So this year will be the test...who knows maybe next season will be a March startup.......a march to the finish !
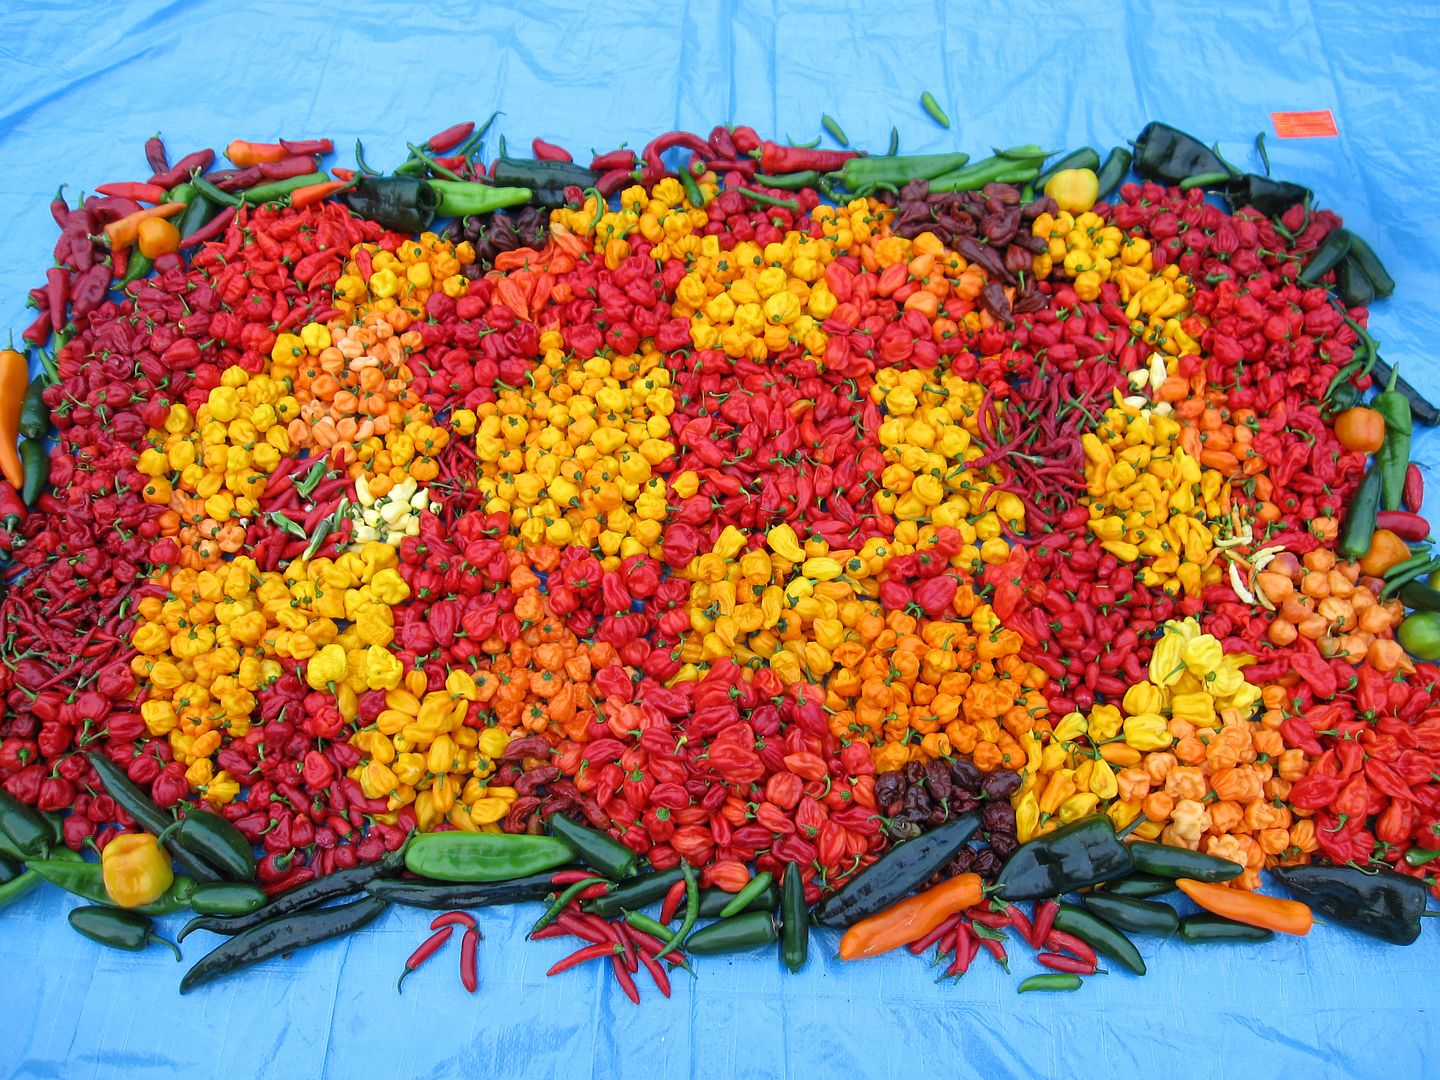


This was my largest harvest last season, late August, 40+ lbs......a few hrs and many beers worth of picking.  
The harvests after this were a few bushels here and there down to the 5 bucket pulls once a week come late September.
 
Enough of the Old and in With the New...
 
Lights...Action......Camera !


Speaking of lights...my current and permanent grow area has been moved down to the sub basement. I gave up a spare bedroom which has been converted into a guest room........ :rolleyes:
I currently have alittle over half the room and lighting setups that I had last year.  I'm planning to use every bit of it.
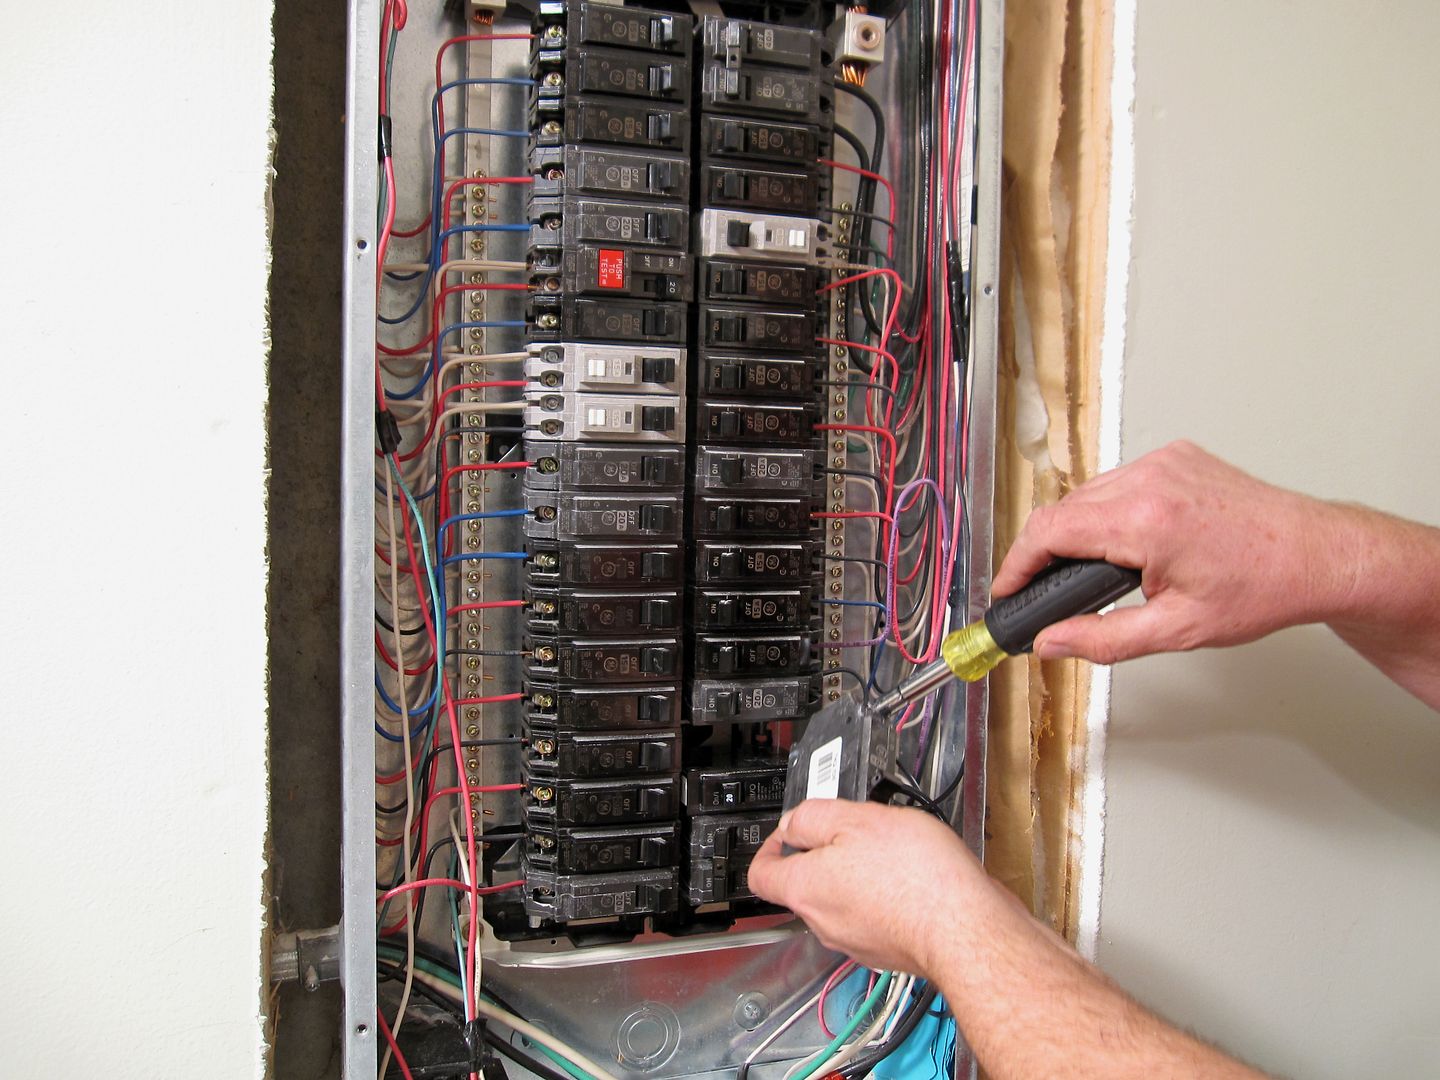
When running over 4k of power you need to have enough "juice"  to supply the lights safely. Inaddition to the circuits I had in the past for the basement grow I've added 2 additional 20a dedicated runs. Also for those who don't, having a smoke detector within perimeter and a fire extinguisher nearby would be a good idea, especially when running HPS units.
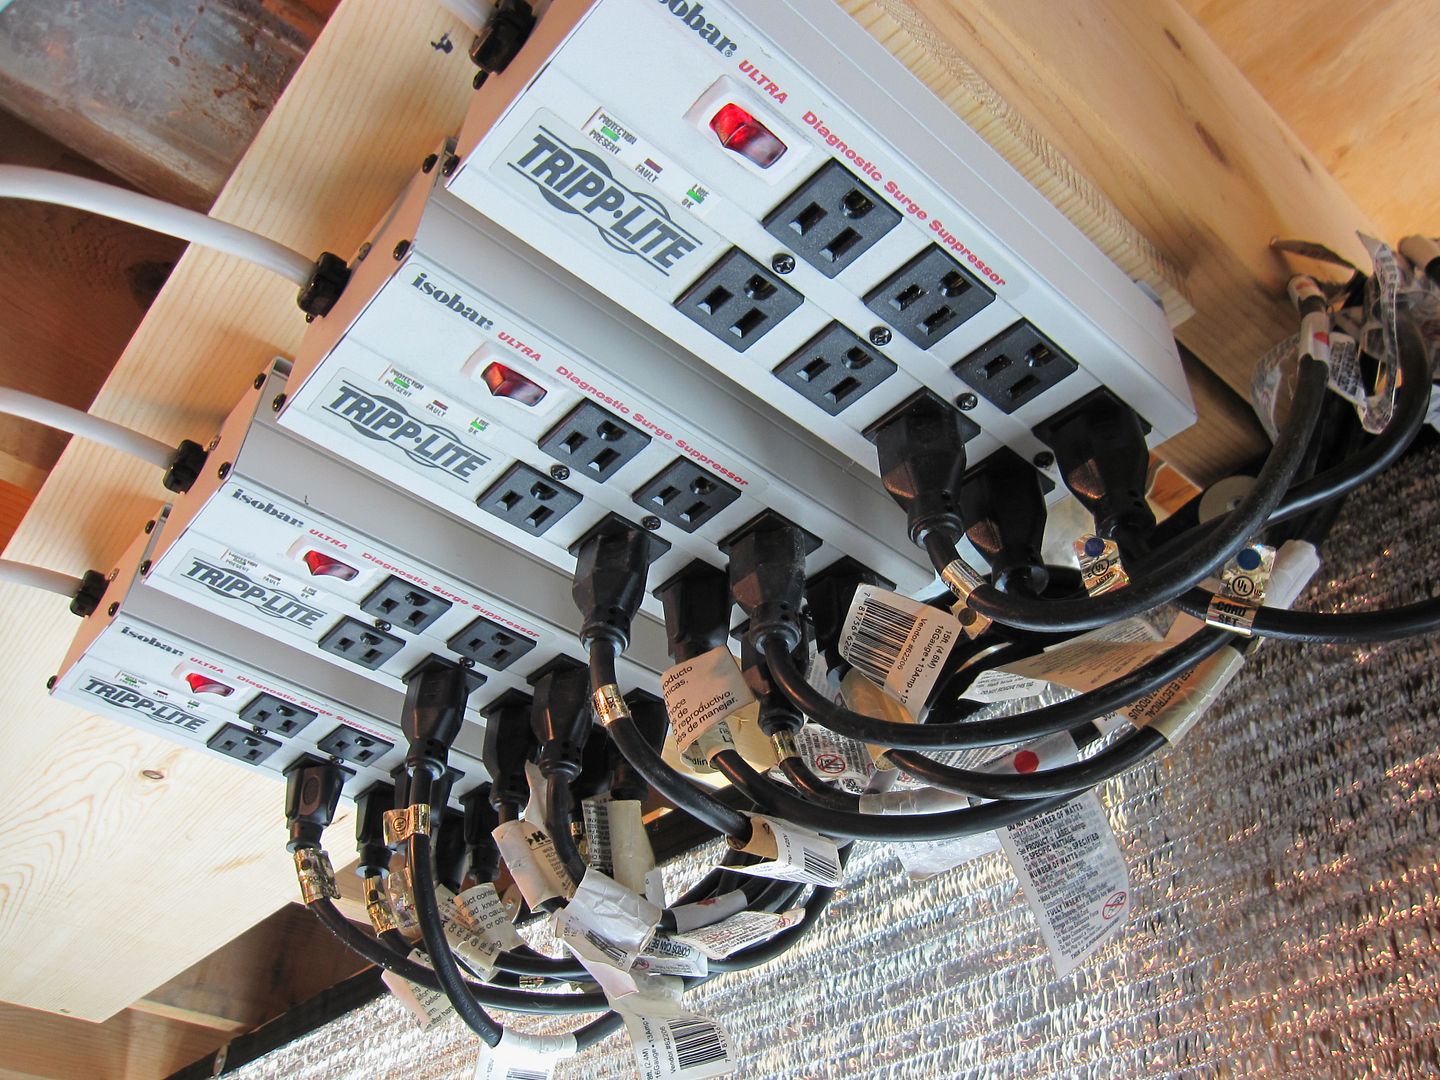


I'm still in the process of mounting some lights, and unless they're being hard wired its a good idea to keep the power cables off the floor
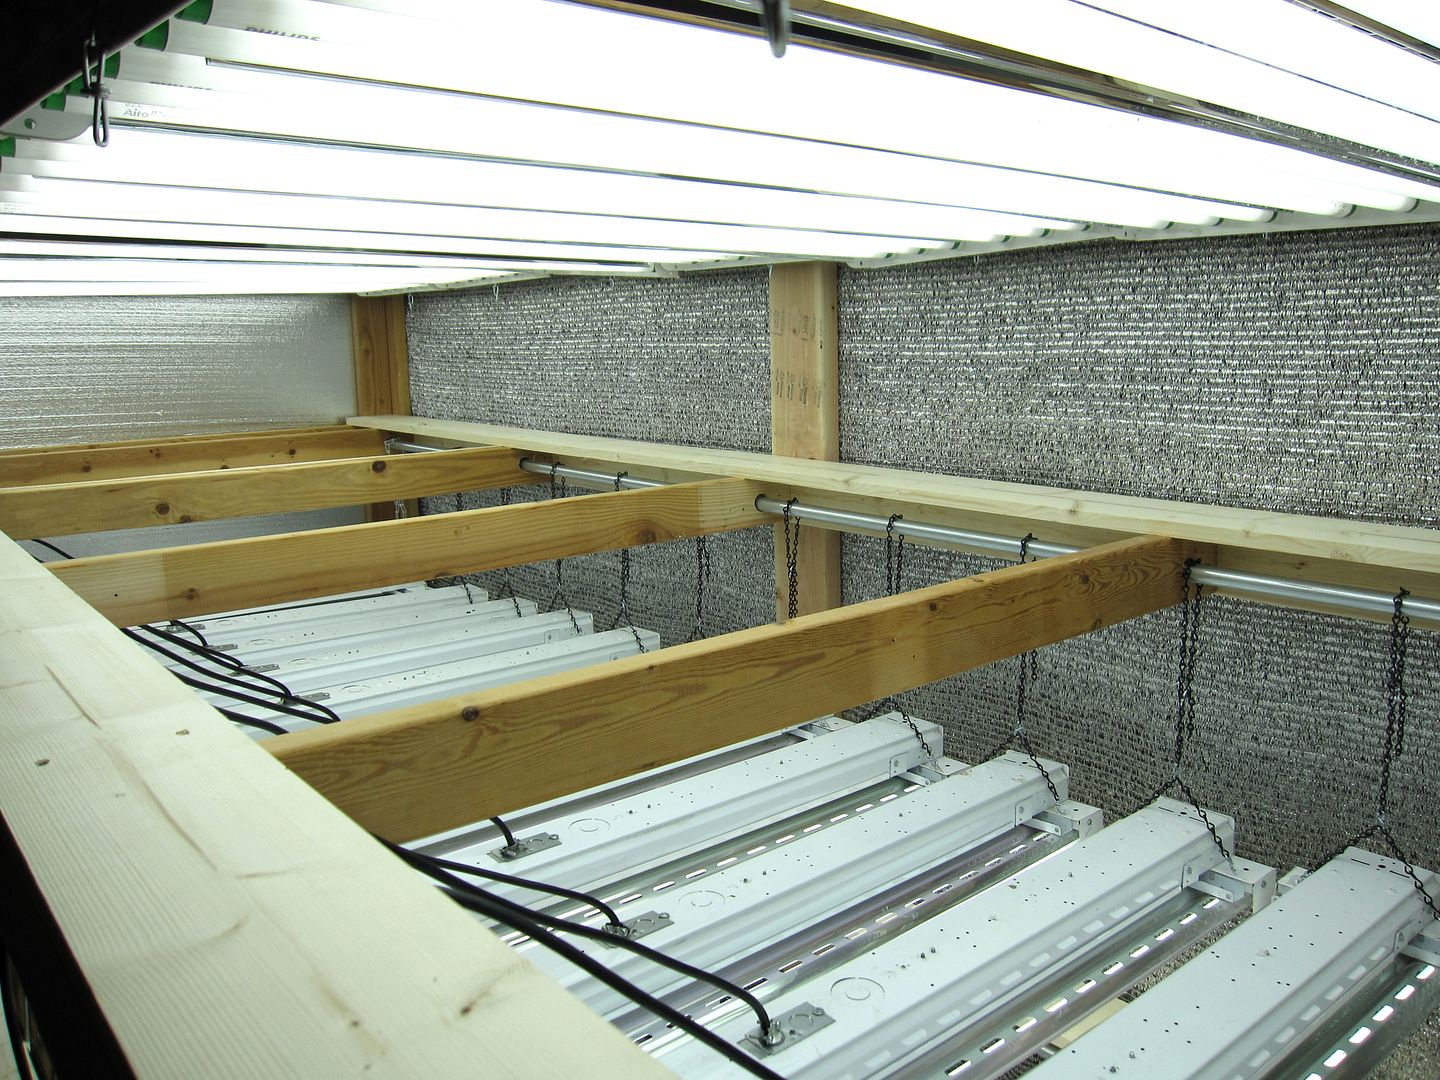


Here's a photo of the plant framing before the shelving is put into place. The deminsions are 54" wide and 12' long.
There's 3 tiers....top has 7 six bulb high bay T8 fixtures, middle tier (shown) has 10 four bulb close spaced T8's with a 6 bulb T8 at each end. The bottom has currently 4 six bulb T8's with a few more being added. The sides have 70% Aluminet shade cloth with can be rolled up unto a pvc pipe and secured to the ceiling. The cloth can let air circulation through by the means of a fan(s). The ends of the framing have foiled faced styro insulated panels.
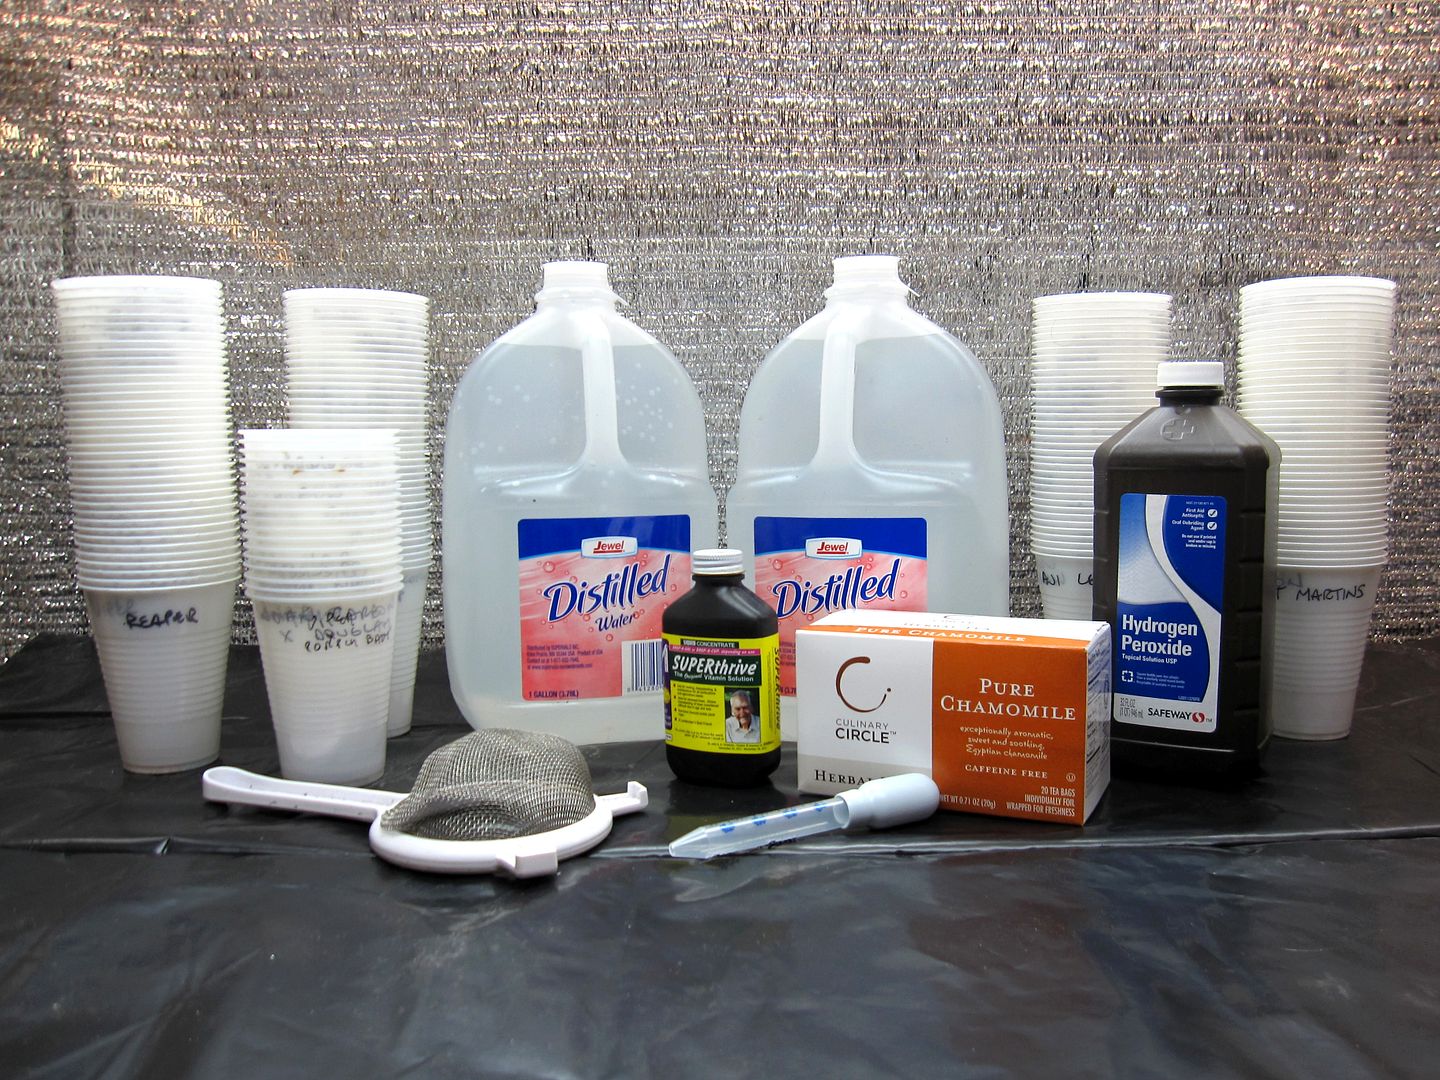


Here we have cups ready to go, each cup may have anywhere between 2 and 20 seeds depending on the variety.
I'm starting out alittle different with the seed soak this season. In the past I've used Potassium Nitrate (Salt Petre) for part of the soak. I'm out of it and its too late to order....what I'm doing instead is a 2 hr soak with 10% Hydrogen Peroxide/ water mix.......drain out then a 24hr soak with a brew of Chamomile Tea (4 tea bags to a gallon of distilled) plus one drop of Superthrive to the gallon. I haven't used the tea before but have heard excellent results in regards to damping off prevention or seed fungal issues.
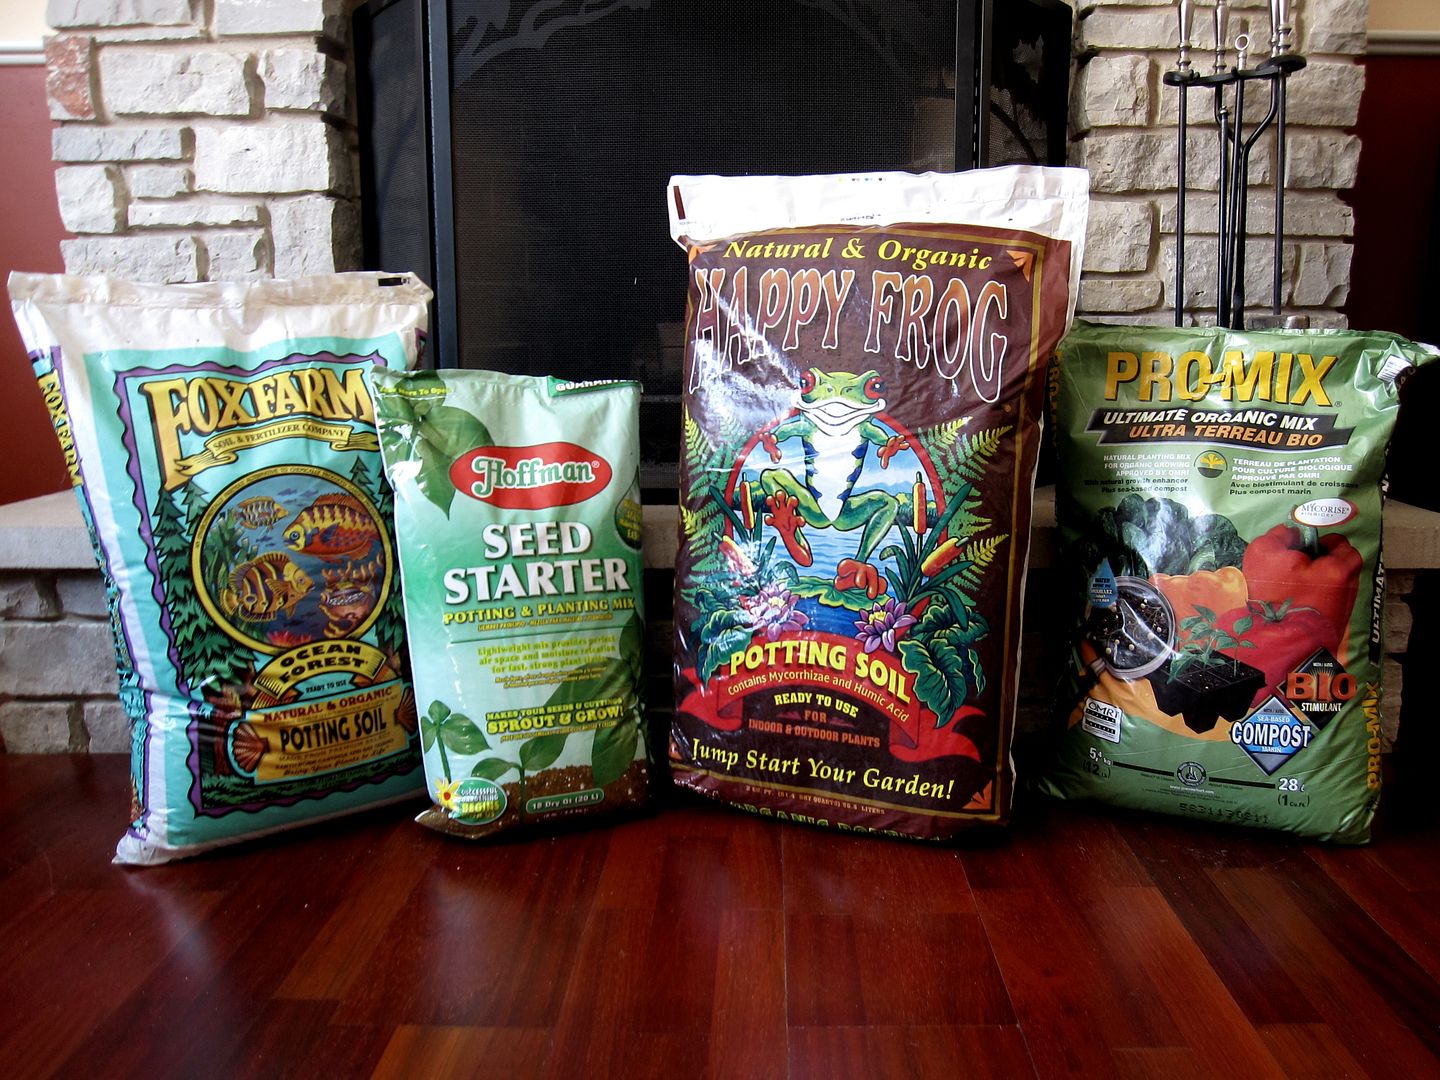


The mediums for the indoor grow.....Hoffmans for the seed starter. For the potting up I'm using a mix of Happy Frog, Ocean Forest and Pro-Mix. These will get equally mixed into thirds. My usual Fafards MetroMix is not in stock. These will give great results as I've used them in the past.
 
a few more shots later after dinner...........did some body say Octopus in Red Sauce.....yum


Spicegeist said:
Wow, now that's some photography!  Great shots.
 
Charles thanks for the compliment and the bumps to continue the string of photos. One never knows at night who's reading the glogs.
stickman said:
Everything's looking extremely good Greg! I particularly like the pics of your Burrito. We've been on a Mexican kick here lately... I was gifted with 8 pounds of Pinto Beans that I did up a la Charra in the slow cooker, with yellow rice and Salsa Verde to go with. Last night We had Baja Fish Tacos. Keep 'em green buddy!
 
Thanks Rickster.....I guess you're right a wrap can be a burrito...............8 lbs of pinto beans ? What a gift !  La Charra sounds good....spice it up with some Nu-Mex quality heat. Love the thought of fish tacos. Friday will be the surf for me...last week was Red Snapper, but the thought of Grouper tacos has my mouth watering...
Jeff H said:
Everything looks outstanding as usual.
 
Burrito looks great, and now I am hungry again. :P
 
When do you start prepping all of the garden beds? Love to see shots of what you do there.
 
 
Hey Jeff.........I hope to start some prep this weekend, the weather will be in the upper 60's and if the sun's out ...well short sleeve t-shirts it will be.
I'm behind on what needs to be done from last Fall...such as running all the container soil through a mesh screen to remove the roots...big job and will take a few days. The soil has to be dry(er) but I can always scim the top in layers. The 3 raised beds only need to be turned over with the usual amendments. I shoot some pictures of the "dirty dealings"
capsidadburn said:
Absolutely Astonishing Greg! Virtual standing ovation from all over the globe I suspect!

Got me hungry now!

Have a great week.
Mike
 
 
Thanks Mike......this is a small task compared to your layout.....I've been absent here for a bit and need to check other glogs out...your's being first !

(Jedisushi06)

Too funny...lol......and what's also somewhat funny is there's a seen in the movie with a large Indian statue on top of a building. I happened to be driving by that yesterday and it reminded me of the film. I also grew up 1/2 mile from there, the Indian was origially on top of a cigar store...at one point someone was doing some archery and lande a few arrows in the back....also the left hand of the Indian had to be rotated, with the arm hanging straight down, if you were to look from a sideview the original placement was deemed "obscene"..true story. Ha....the cigar shop is long gone, as were the 50 cent packs of smokes from the 1960's. The store underneath has many changes to the current optometrist. They decided to put a pair of glasses on the Indian....now I've seen it all.............lol
JoynersHotPeppers said:
Awesome GLOG as usual! I suck this season but perhaps you sparked enough interest in me to get off my ass and do some updates. :) 

Thanks....
Chris I don't know how you find the time with young kids, photography, powdering, work...
When my kids were young my daughter was an elite gymnast 7 days a week, son on club baseball and another in scouting. I was usually away on the weekends shooting a photo job or two. Missed alot of the events....the garden was smaller though..lol easier to maintain compared to now.

I can't keep up with my updating yet responding to others. I have a feeling that it will be getting worse before it gets better. I'm looking forwrd to getting the final plant in the dirt...whenever that will be...this weather sux !
 
Amazing as usual!  Just the magnitude of your grow is so impressive, let alone the quality and condition of your plants.  Looks awesome! 
 
That yellow scotch bonnet sauce is so good. 
 
I just planted my tomato seeds last night, so your picture of all your tomato seedlings caught my eye.  They're looking nice!  Hopefully my few will follow suit shortly.
 
Most excellent update Greg!
 
Plants and pics are superb!
 
A ton of variety you have growing there, it's surely going to keep you very busy this summer.
 
And I wasn't disappointed in the article once I saw they had your name in the credits. That alone is really cool!
 
Keep it green up there in the frozen north!


 Spicegeist had a question about removing the seedlings from the starserts. Here's a 21 cell insert filled with annuums and an empty one. I like these for the fact they only have one large hole on the bottom. Very little root disturbance. As with plant removal with any insert or container, the soil needs to be wet not damp...if the medium is dry the root ball which is clinging to the groves can rip away from the stem. I drench the plants prior to pulling them out. With these inserts or other tapered ones it helps to squeeze the bottom of the plastic prior to pulling the root plug out.....very easy...no spoon needed.


A 72 cell flat of tomato seedlings. Roots galore....but tomato seedlings are very forgiving as long as you don't let them stay dry too long. These will get moved into the 21 cell inserts from the previous photo. Once again, I will pre water the seedlings before removal.


Here's the first pepper plant to get potted into a 2 gal container indoors....and "Sunny" the cat, who thinks I can't see him...but little does he know..I can see the dirt on his nose from here...... :lol:
The plant will get a drench with a diluted amount of root stimulator, and the medium will get a tbl of starter fert scattered throughout the medium.


Here's the root rectangle........ha....and I do mean tangled. To think, I have over 300+ plus of these containers to be potted up. I'm hoping to get most of them outdoors before I back myself into a corner 


Root temporarily placed into the container.....just seeing if I need to adjust the soil level. The roots will get teased apart before filling the pot with soil. I don't plant any deeper than previous soil level. Keeping as high up as possible wth give additional room for the roots to roam. Outdoors is a different situation. I will sink the plant at least an inch deeper for support with some staking of sorts to help brace against the rough Spring winds.


A tray of tomato transplants.....these are all San Marzaos.


one food shot to close this up...........Calzone
 
G, I can't really add to the praise. Everything is perfect. I will make the first negative post in the history of your Glogs. The picture with the TFM on the right is a double. Hah..I can see everyone reaching for their torches and pitchforks! Chucking rotten San Marzanos..boooooo hiiissss!

It is hard sometimes to comment here without repeating what the previous person said. That being said... I look for other things.

The pictures of the plants in the hoops stand out to me. The color of them in the natural light(cloudy bright) matches the inside lighting shots. Awesome! No yellow leaves hidden with a flash or cool flouro light making them look darker and blue green. And you can see rapid new growth on some of them,the lighter green stuff. I'm sure that stuff is dark green by now .

Hope all is well with you. Thanks again for your wealth of knowledge and sharing it openly.
 
Pulpiteer said:
Amazing as usual!  Just the magnitude of your grow is so impressive, let alone the quality and condition of your plants.  Looks awesome! 
 
That yellow scotch bonnet sauce is so good. 
 
I just planted my tomato seeds last night, so your picture of all your tomato seedlings caught my eye.  They're looking nice!  Hopefully my few will follow suit shortly.
Thanks Andy,
Your tomato starts will be booming by Mother's Day. If hot peppers grew as fast as tomatoes grow, I'd start those in April, also....ha
jedisushi06 said:
I love those T8 lights, I've got two right now and I'm about to pick up a third for my tomatoes
Don't hesitate...that's how I started with them...one by one. Many bulbs later and they still do the trick indoors for getting the seedlings up and off the dirt.
jojo said:
Yup.
 
I can see why you're called PIC 1
aha........thanks !
 
Did I read that correctly? 300 to pot up from 5" pots to 2 gallon? I'm trying real hard to stop up-potting at 5" or 1 gallon pots. I do have a few in 2-3 gallon pots, but not many.
 
That is quite a bit of potting soil you will be using.
 
Devv said:
Most excellent update Greg!
 
Plants and pics are superb!
 
A ton of variety you have growing there, it's surely going to keep you very busy this summer.
 
And I wasn't disappointed in the article once I saw they had your name in the credits. That alone is really cool!
 
Keep it green up there in the frozen north!
Thanks Scott,
Once I get started outdoors it will be an everyday project with the prep work. This weekend will be close to 70 deg.

Glad you noticed the name in the credits...reading that made my day !
Also, the Nu-Mex peps on the cutting board were cut from my plants, and I have to admit I enjoy using those as much as the super hots.

Frozen North.......got that right, my fingers and toes have finally warmed up...lol
JJJessee said:
"We're not worthy, We're not worthy,  :rofl:  :rofl:  :rofl: . I concur.
 
Absolutely. Gorgeous. 
 
everything looks perfect, top to bottom.
Thanks triple J....your words are too kind
OCD Chilehead said:
Thanks for the informative post. Calzone looks perfect. Nice crust.
Your welcome...I hope that makes sense to other folks also.

Calzone dough had a 5 day rest in the fridge. The yeasty fresh baked smell was out of this world....
GA Growhead said:
Calzone looks delicious!
Love Sunny hiding out. Didn't see him at first.
Thanks Jason,
I use to grow catnip indoors, but that would drive the cats crazy in a good way..."cocaine for cats"...now Sunny just likes to hang around and watch what I'm doing.
Pr0digal_son said:
G, I can't really add to the praise. Everything is perfect. I will make the first negative post in the history of your Glogs. The picture with the TFM on the right is a double. Hah..I can see everyone reaching for their torches and pitchforks! Chucking rotten San Marzanos..boooooo hiiissss!

It is hard sometimes to comment here without repeating what the previous person said. That being said... I look for other things.

The pictures of the plants in the hoops stand out to me. The color of them in the natural light(cloudy bright) matches the inside lighting shots. Awesome! No yellow leaves hidden with a flash or cool flouro light making them look darker and blue green. And you can see rapid new growth on some of them,the lighter green stuff. I'm sure that stuff is dark green by now .

Hope all is well with you. Thanks again for your wealth of knowledge and sharing it openly.
Dang......you're turning into a photo editor..too....ahaha
J, you're right...and I did notice that the other night. Haven't updated this glog in awhile and when I uploaded photos here I think I strung about 20 in a row...went back to delete...went back to add what I chopped by mistake. I looked after I posted and....wtf. It was late so I let that go and forgot to exchange. Will replace later with a photo of 3 larger plants.....hehe

Can't beat the color temperature outdoors or the natural window light indoors. With the flours as close as they are indoors to the plants the lighting becomes spectral and the highlight to shadow ratio increases dramaticlly. If the lights were on the ceiling they'ed act as a huge broad light source, thus softening the light. The photos would be more pleasing to the eye.

Some of the lighter green leaves are due to the newer growth but with the larger leaves is due to an excessive amount of bottom watering. I came home from work the other day and most of the trays looked pretty wilty. The ambient temp under the lights is running around 85 deg. With over 60 trays to water I used one watering can up while another can in the slop sink filling up. I gave each tray a 1/2 fill of water, some may not have needed as much...thus the lighter leaves which will darken up. The big issue nowadays are the pots becoming slighty rootbound. As soon as the weather breaks I'll harden off the peppers outdoors in 2 gallon containers...as holding bins until final plantout. Hopefully by May 17th.
 
Dang Brotha...sorry I have been gone so long, but you know, life happens! I did read BHG on my plane rides though and got a little more spice for life. Speaking of life happening...it sure is happening at your joint! I wish my cats shared Sunny's distaste for pepper plants, but no such luck. 
 
Your plants look as expected perfect and stunning...with the usual trips to google to research what the heck they are. You have taught me and so many others so much through your posts. Keep them green and the pics flowing brother!!!
 
Very nice Greg, and informative.
 
I know you probably mentioned it somewhere in the back pages, call me lazy so I'll ask. What medium do you start your seeds in?
 
I like those trays with the large hole in the bottom, I can see how they ease plant removal. Someone mentioned a spoon, I prefer a fork when I can't get one to come out easily. I feel it's less damaging.
 
And I feel your pain, but not as much. 300 plants are a lot to up-pot!
 
Can't wait to see those beauties outside for the duration!
 
Back
Top